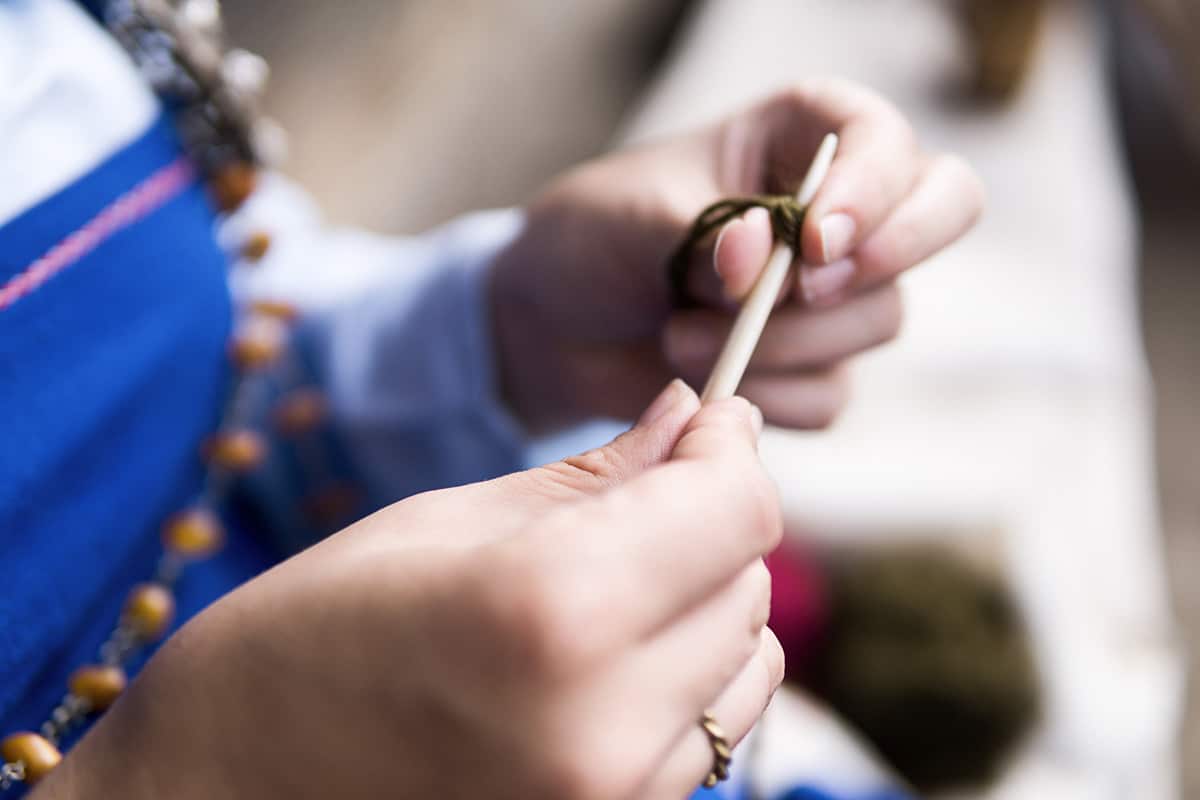
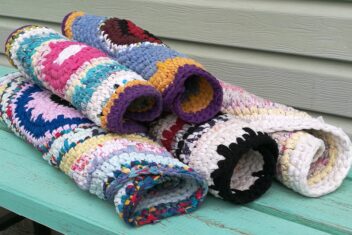
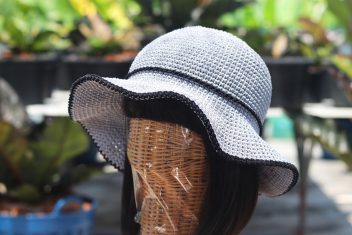
Nalbinding (aka nålebinding, naalbinding, and other variations) is a fascinating way to create textiles. It pre-dates knitting and crocheting by centuries. You weave together your creations using a blunt needle tool and lengths of yarn. If you have thumbs and yarn, you can create knotless “knit” fabrics, Norse style.
Ready to get started? Then read on!
What is Nalbinding?
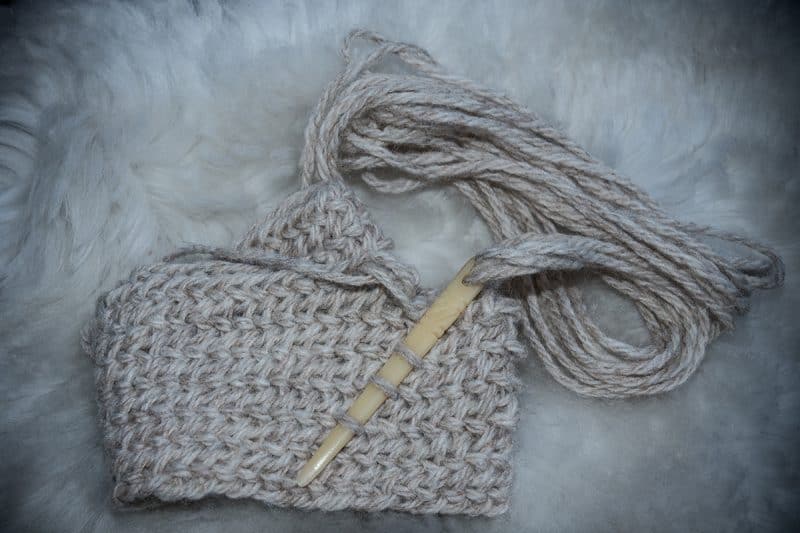
The word literally means “binding with a needle,” and that describes this technique rather effectively. In essence, it’s binding stitches together with a single needle to create textiles. Ancient Norse people created this technique and used it to make everything from mittens and socks to bags, blankets, hats, and more.
One of the main differences between nalbinding and knitting or crocheting is that there is no set gauge. This is because rather than creating gauges with specific needle sizes, the stitches are created with one’s thumb. Since everyone’s thumbs are different sizes, the textiles created will all vary in size as well.
This is both fun and frustrating at turns.
On the one hand, every piece you’ll create will be entirely unique. On the other hand, it’s frustrating because there’s a lot of guesswork involved. Since nalbinding is pretty much free-formed and shaped as you go along, there are few patterns out there to use as a guideline.
Similarly, you’ll only really get the hang of it with time and practice. This can result in a lot of time spent unraveling and re-working stitches.
One you nail it, though, its very satisfying.
What You’ll Need
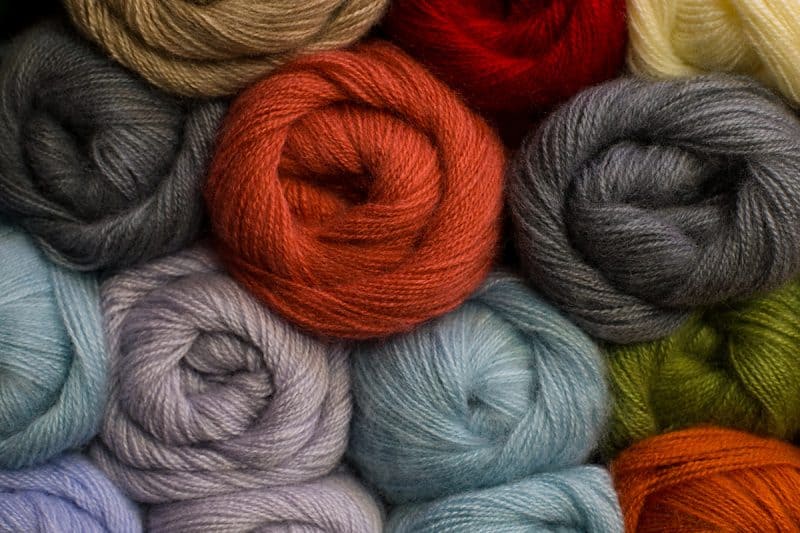
- Woolen yarn, preferably a thicker weight like DK or Aran. Don’t use superwash yarn, as it won’t felt properly when you’re joining it.
- A nalbinding needle: if you can’t find one, a metal or plastic weaving or tapestry needle works just as well. Alternatively, you can make a needle yourself out of bone or wood.
- Your own thumb
- Stitch marker(s)
Yep, that’s pretty much it.
You might also like a tasty beverage while you’re doing this and a notebook to jot down things that come to mind. Additionally, it’s not necessary to listen to music like Danheim or Wardruna, but you might enjoy the ambiance while doing so.
Terms to Know:
- Rear loop (RL)
- Thumb loop (TL)
- Working yarn (WY): This hangs on your thumb’s left side, and drapes down the front of your hand. Always, always keep the yarn in this position as you’re working.
How to Get Started
Thread your needle with about two yards’ worth of yarn. Try to pull the yarn apart rather than cutting it, as you’ll need the ends to be “fluffy” later when you splice in another length.
Step 1: Get Knotty
Make a basic slip knot in the end that doesn’t have a needle in it. Don’t tighten this, but rather leave it as an open loop.
Step 2: Halo Time
Place the open “halo”-type knot over the back of your thumbnail. Hold the front, lower loop (TL) in place with your index finger. Then, push the rear/upper slip knot loop (RL) over your thumbnail.
Step 3: Stitchcraft!
Insert your needle into the rear loop (RL) from front to back. Don’t pull it through at this point, but instead, twist it and push it through the thumb loop (TL) from back to front.
The working yarn (WY) should be draped in front of it.
Remove your thumb from the TL while keeping the needle pressed against it. Then slowly draw the needle and the working yarn through all the loops. You’ll pull this to the left, and as you do so, the WY will draw tightly, creating two new thumb loop (TL).
Push the top loop towards your thumbnail. By doing so, you’ll create a new “halo” type shape to work with.
Step 4: Repeat
Repeat this process until you’ve created a chain.
Have you thrown this project across the room yet? Okay, whether you’re foaming with frustration or you’d just like a step-by-step visual reference, try checking out some video tutorials. You can search for either “nalbinding”, “nalebinding”, or “the Oslo stitch” to find videos on how to start your first chain.
The video link below is a great resource to start with:
Step 5: Connect Stitches to Form the Shape
You can either work back and forth to create a flat piece and then sew it together or join the stitches to work in the round.
To work back and forth, you can use a basic connector called the F1 stitch. Turn your work, and push your needle through the top loop in the next stitch in front of you. This will be from the row you just created.
Next, increase by making two stitches into the next stitch.
To decrease, use the same technique as when crocheting. After making a regular stitch, skip a space instead of stitching into it.
Joining in the Round
You’ll work in the round to create mittens, socks, hats, bags, and anything else that creates a tube.
After you’ve chained several stitches together, join them by creating a band with the chain. Make sure it’s not twisted, or you’ll end up with a Moebius strip. Then push the needle into the first stitch created, from front to back.
Keep working the standard Oslo stitch to create that tube. If you need to increase it to make the tube wider, increase by stitching twice into every second or third stitch.
Step 6: Splice Yarn Together as Needed
Since you’re only working with a couple of yards’ worth of yarn at a time, you’ll need to splice ends together in order to keep working.
Use your fingertips to spread out and “fluff” the end of the yarn you’ve been working with. Do the same with the new yarn end you’ll be joining. Lay these two fluffed yarn ends atop one another, and dampen them with a bit of water. Or spit. Whatever you have, as long as it wets them.
Then, use your hands to rub these ends together enthusiastically. The goal here is to felt these two ends together. This is why you shouldn’t use superwash or acrylic yarn: they won’t splice together properly and will just look ratty and weird.
Once spliced, roll the yarn back and forward between your hands a bit to smooth it out. This should create a nice, even yarn without any bumps or wide spots.
Additional Nalbinding Notes:
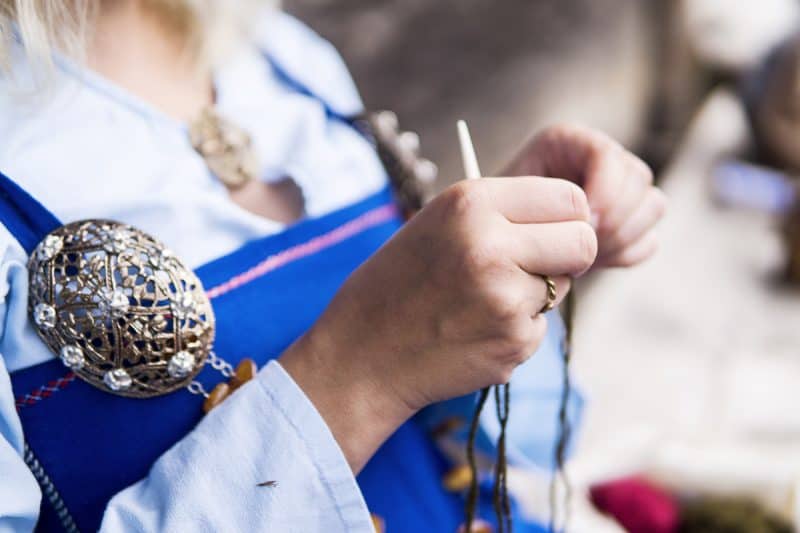
It’s absolutely normal to get frustrated as a beginner. It might take you several tries to get the hang of the looping effect, and you might shriek and swear every time you start a new project. You know what? That’s absolutely okay.
There’s no one “right” way to do this craft. It’s more than likely that a few thousand years ago, Sigrid or Freydis was mucking about with some yarn and a piece of bone and realized she could make “stuff” by making loops.
Work with what you have, how you can, in the way that best suits you. If it’s easier for you, crochet the first round of your project instead of nalbinding right from the start. Or knit a band, finish it off, and then start nalbinding around it.
It’ll likely take several tries for you to really get the hang of this process. Try to be patient with yourself, and remember that there’s no one “right” way to do your nalbinding.
There are a number of different established stitches you can play with, such as the York and Old Finnish stitches. That said, you can get creative and try different methods that are all your own.
