You don’t need a fancy setup or expensive ingredients to dye yarn with plants effectively. Some of the most common plants around your neighborhood can make a startling array of hues.
If you’re aiming to be more self-sufficient with yarn for knitting or weaving, being able to add some color to your work should definitely be on the list! Dyeing yarn with plants isn’t as hard as you might think and it gives you a ton of control over the result.
This guide will walk you through the process from start to finish. Get ready to knit some pretty incredible stuff!
What You’ll Need
Check out our article on natural dye plants to grow and forage so you can get some ideas of what you can use. That article also touches upon mordants such as alum, iron, copper sulfate, vinegar, ammonia, salt, and baking soda. These will alter the hues you’ll create and the subsequent colorfastness, so get familiar with them.
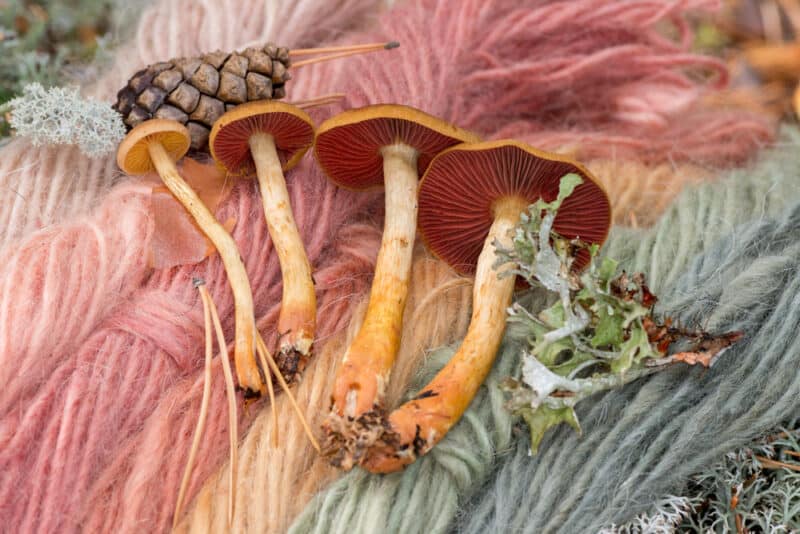
Once you have an idea of the colors you’d like to create, and the plant matter you have available to you, then you can get started on this fun endeavor. Here’s what you’ll need:
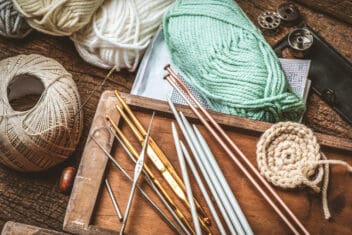
- Neutral-colored natural yarn in skein form, not a ball or loose
- Plant matter
- A scale to weigh your fiber
- Mordants to activate and bind the hues you’re aiming for
- Neutral pH soap if you’re using wool or silk
- Large metal pots (use stainless steel, ceramic, or glass—not aluminum)
- Wooden spoons
- Rubber gloves
- Goggles or other protective eyewear/face shield
- Thermometer
- Tongs
Synthetic fibers don’t absorb or hold colors from natural plant dyes well. For best results, use yarn that’s been spun from plant or animal fibers. This can include cotton, linen, hemp, wool (from sheep, goats, or qiviut), angora (from rabbits), and silk.
1. Create the Dye Bath
If you ask 50 different dyers what the percentage ratios are of fabric to dyestuff, you’ll likely get 50 different answers. Furthermore, most of them will be variable. The general rule of thumb is to use the same weight of plant matter as the weight of the fiber or fabric you’ll be dyeing.
This means that if you’re dyeing a skein of yarn that weighs 100 g, you’ll use 100 g of plant matter to dye it.
Personally, I tend to go for two or three times the skein’s weight, so I’d use 300 g of plant matter for a 100 g skein. This creates stronger, more saturated hues, and increases the chance of colorfastness due to saturation.
In this tutorial, I’ll be dyeing 3.5 oz of Icelandic “plötulopi” yarn from the Álafoss store in Reyjkavik. It’s an unspun, raw yarn that can be a bit fragile during handling as opposed to spun yarn, but takes dye very well. This skein weighs just shy of 100 g (98.4 g, since I’m a pedant who’s fond of precision).
To dye this amount, I’m using the outer skins and trimmed ends of two dozen (24) yellow onions, weighing 203 g in total. I’m also throwing in a handful of dried calendula flowers for good measure, since I’m hoping to get a good orangey-yellow hue out of this.
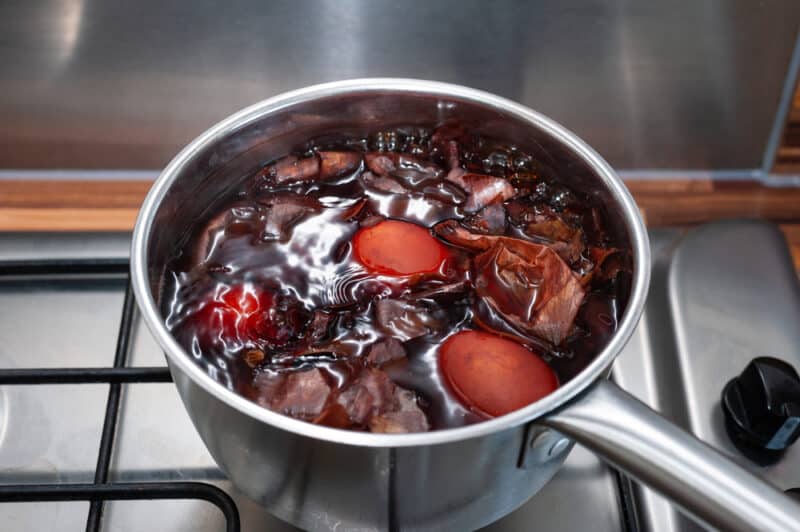
Place your plantstuff in your pot and add water. Keep in mind that the amount of dye you’ll create will have to be sufficient to cover all the fiber evenly. What I do is place the damp, clean fiber in a pot and look at how much space it takes up. Then I know to double that space with liquid.
Remember that it’s better to err on the side of generosity when it comes to plant matter, especially if you’re using bark, roots, and/or nuts in the dye.
Raise the heat beneath the pot until it boils lightly, and reduce to a simmer for about an hour. Then turn the heat off and let it cool overnight. Strain it and set it aside until you’re ready to use it.
Note: Regardless of what plant matter you use, it’s absolutely vital to strain the pigmented water through several layers of cheesecloth before dyeing your yarn. Otherwise, you’ll be dealing with a ton of plant matter stuck in your yarn. While this can have some interesting textural effects, it’s less than ideal for knit clothing items.
Do you know how irritating it is to have a piece of gravel or a bit of twig stuck in your sock? Imagine that, but all over.
2. Wash the Fiber
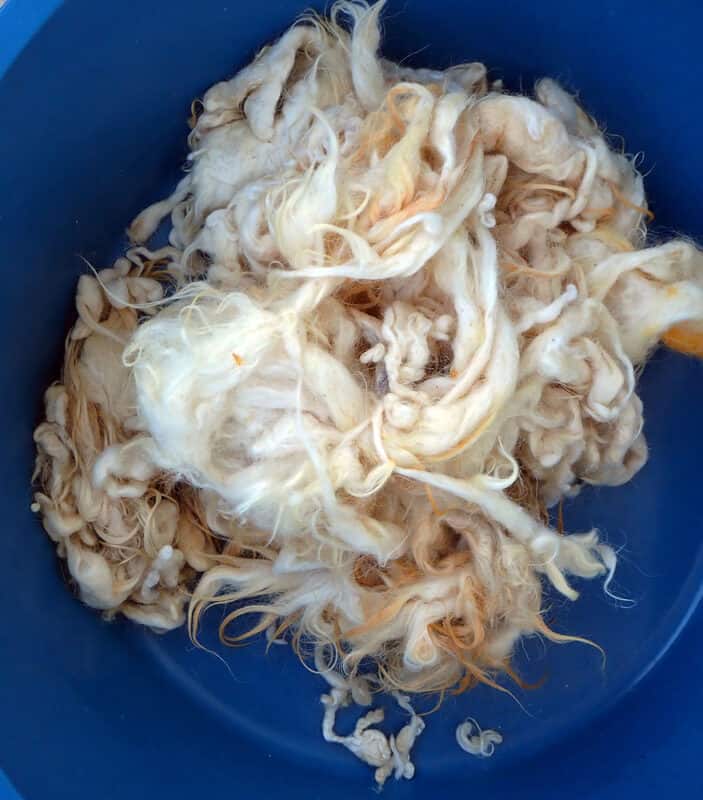
Regardless of where you got the fiber from, it’s important to give it a wash first. This will remove any dirt, oils, or other accumulated icky bits before you get the color bath going. When you wash wool, silk, or other animal-based fiber, the process is known as “scouring.”
Fill a tub or sink with lukewarm water and add about one tablespoon of pH-neutral soap. Immerse the fiber completely in this liquid and then gently add a bit more hot water to heat it up.
Use your hands to scrunch and squeeze the fiber gently in this water, and then just leave it to soak for about 20 minutes. Be careful not to agitate the yarn too much in this hot water unless you want fistfuls of felted wool to play with.
After soaking, rinse gently in warm water.
3. Make Your Mordant Bath
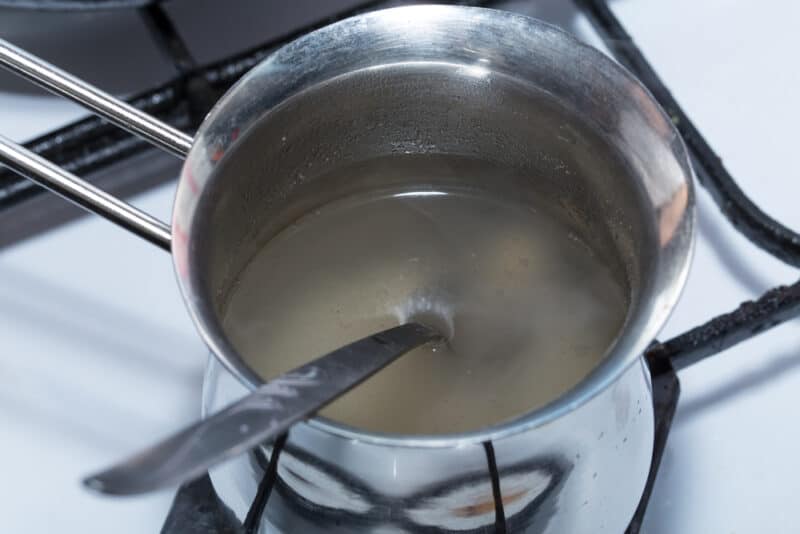
The mordant bath creates a chemical reaction that will help the fiber of the yarn absorb and hold onto dye. This means that the hues will be more intense, and less prone to rinsing out in the wash.
I use alum as a mordant at 10% of the fabric’s weight. For instance, if I’m dyeing 100 g of fabric, I’ll use 10 g of alum. I’ll also add a pinch of cream of tartar for good measure. Next, I fill the stainless steel pot with approximately four cups of water. Then, I dilute the alum in a jar with a bit of warm water in it and add it to the pot of water.
Then I add the cream of tartar to that and stir gently.
You don’t have to use the tartar, but it’s helpful for softening the wool during the process. Not only does it help with pigment penetration, but it also prevents the wool from feeling too “scratchy” once dyed.
After everything is dissolved, gently transfer the damp, rinsed fiber into the pot. Raise the temperature under the pot incrementally until it’s around 190°F (88°C). Increase the heat a bit every 10 minutes until it reaches this temperature. Don’t rush the process!
When it reaches this temperature, let everything simmer gently for 30-45 minutes. Then turn off the heat and allow it to cool.
4. Time to Dye
Put on some clothes that you don’t mind staining and get ready to have some fun.
You can gather either fresh plants to use for this project, or use dried ones from last season (or purchased online). If you’re using dried plants, add a bit of extra water to make up for the plant matter’s liquid absorption.
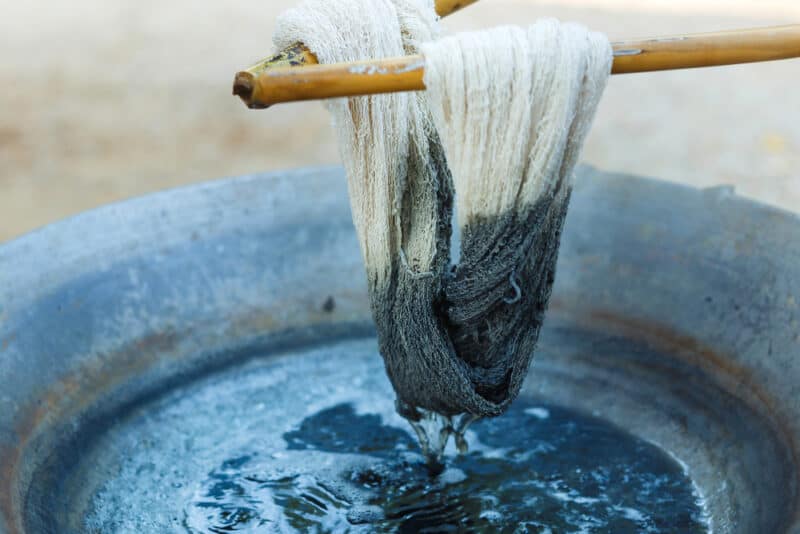
Remove the yarn from the mordant bath using tongs or wooden spoons, and allow the excess moisture to drip out.
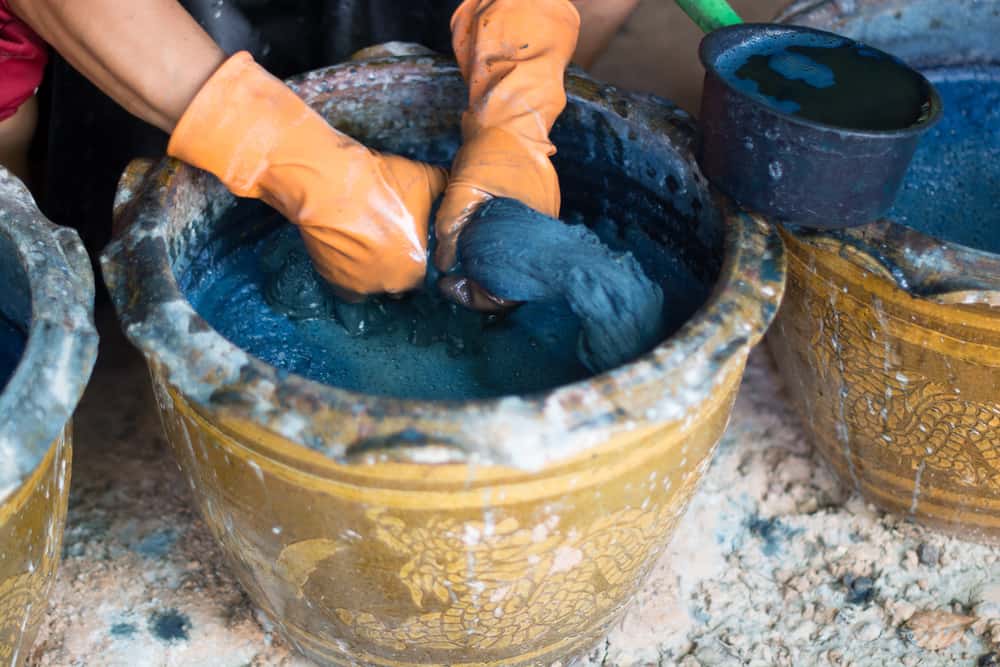
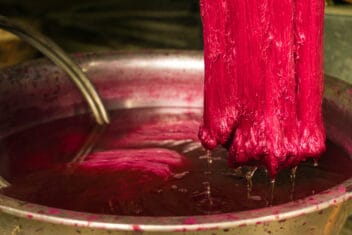
Ease the yarn into the dye bath and press it in so it’s fully covered. Use a wooden spoon to gently swish the fiber so the dye gets into all the nooks and crannies.
Turn on the heat beneath the bath pot and slowly raise the temperature to a low simmer. You’re pretty much aiming for that magical 190°F sweet spot we keep hitting during this process. Let this simmer for at least an hour, then turn off the heat and let the bath cool for another hour.
Use the tongs and wooden spoons to remove the fiber from the dye bath. Then rinse it under very gentle room-temperature water until that water runs clear. Hang it so it can release its excess moisture, or else press it gently between a couple of old towels. Just be careful not to rub it or it’ll felt.
Then move it somewhere it can hang to dry completely, away from direct sunlight. It should be in a dry place where it gets a fair bit of airflow, and won’t be jostled for a few days.
5. Get Crafty!
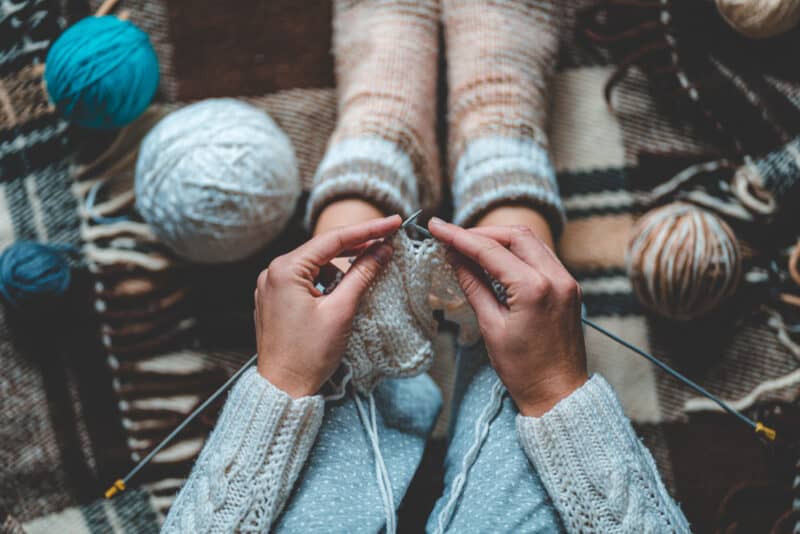
At this point, you can knit or weave with your newly-dyed yarn, or use it for whatever other crafts you’d like. The only thing you need to watch out for will be color bleeds when you wash it.
Some people like to do a gentle wash in cool water with a mild soap before working with the yarn. This way they can ensure that all the excess pigment is removed. It’s also a good way to see what the final color will be. It’s inevitable that there will be a bit of pigment loss, so go this route if you want to err on the side of caution.
It would be unfortunate if you knit or wove a piece only to have the color bleed into adjacent yarns the first time you wash you. Or discover that it ends up being a different hue than you thought it would be.
This is a great project for homeschooled kids, especially if they can take part in the yarn’s entire creation process. If you have the opportunity to work with the fiber from start to finish (e.g. carding, spinning, dyeing, and knitting or weaving), they’ll develop some vital skills along with a heightened sense of appreciation of how these things are made.
Furthermore, you’ll be able to touch upon aspects of math (measurements, fractions, weights), chemistry, and botany. How’s that for learning as you get crafty?
As always, please work as safely as you possibly can when you dye yarn. Although you’ll be working with natural materials, it’s still not ideal to get dye or mordant liquid in your eyes or on your skin.
