
We all need more carrots in our lives. Did you know that? They are really great for helping to protect and improve your eyesight because they provide us with Vitamin A which supports healthy eyes.
Well, considering I’ve been wearing glasses and contact since the 7th grade, I think I need more Vitamin A in my life.
Not to mention, the fact that carrots are so easy to grow, you can grow them practically any time of year (if you have a greenhouse), and they are easy to preserve too, we are kind of out of excuses.
So I want to discuss with you the simple process of canning carrots. It is so easy you are going to be wondering why you haven’t been doing this all along.

How to Can Carrots
You will need:
- Carrots (about 2 pounds per quart jar)
- Canning salt
- Water
- Pressure Canner
- Quart Mason Jars
- Canning Rings and Lids
- Jar Lifter
1. Prepare Pressure Canner
You are going to begin the canning process by following the manufacturer’s instructions for your personal pressure canner. You’ll have to make sure that you put the right amount of water in the bottom of your canner, and also make sure that the seal of your canner is in place and everything looks okay there.
Then you’ll make sure that your emergency release valve is pressed down into place. Also, check your pressure gauge and the weights to make sure that all parts are accounted for and ready to go onto the canner.
In order to can carrots, you need 10 pounds of weight, so this would be a good time to go ahead and put the appropriate weight on the canner.
2. Prepare the Carrots

Once your canner is ready to go, you’ll begin prepping your carrots. To start, you’ll wash all of your carrots. You have to make sure that they are rinsed thoroughly with cold water.
Then when they are all cleaned, you’ll wipe them dry with a hand towel or paper towel.
Next, you are going to peel your carrots. You can use a knife and peel your carrots. Here is a tutorial if you’d like to use this method. I will tell you upfront, I’m not great with a knife (when it comes to peeling things), but this method seems so easy I may try it instead of using my peeler next time.
However, if you have a peeler and are more comfortable with using it, then use your peeler to get the outer layer off of the carrots. When this is complete, you are ready to move on.
3. Put the Carrots in a Jar

Now that your carrots are peeled, you are ready to start heading them towards the jar. What I mean is, you’ll need to slice your carrots. You can slice them into little carrot sticks or you can slice them into rounds. I personally prefer the rounds because it makes slicing easier, and I feel like I get more in a jar which saves me money on lids.
Once your carrots are sliced, you’ll need to put 1 teaspoon of canning salt in the bottom of the jar. Be sure to use canning salt. I will discuss the importance of using canning salt over table salt in a little bit.
For now, just make sure your box of salt does specify that it is for canning.
Then you’ll place the carrots into the jar and pack the jar as full as you can leaving 1-inch headspace at the top.
Next, you’ll fill a pot with water and heat it on the stove until it is boiling. You’ll then ladle the hot water over the carrots, again, leaving 1-inch of headspace.
Finally, you’ll need to slide a butter knife or a canning knife down the side of the jar to make sure that you remove all of the air bubbles from the jar.
Once this is done, it is time to put a fresh lid on the jar and place the canning ring on the jar as well. When this is done, you are ready to put the carrots in the canner.
4. Can the Carrots
Now that your jars are all ready to go, you will need to place the jars inside the canner. You can usually fit 6-7 jars in a normal size canner. If you have a double canner, then you might be able to fit 14 jars.
Either way, you’ll place the jars in the canner, attach the lid until it locks in place, and turn your stove on high.
Again, review the instructions for your specific canner, but this is a generalization of what you do with some canners. After the stove is turned on high (if you have the canner with the jiggler) you’ll listen for it to begin to jiggle. This should happen after the pressure valve raises to show that pressure has built up in the canner.
Then you’ll turn the canner down to where the jiggling sound is steady and set your timer. You need to can your carrots for 30 minutes (for pints) at 10 pounds of pressure.
Once the 30 minutes has passed, turn off the stove and leave the canner alone. Do not open the lid of the canner!
Once the pressure valve has dropped back into the canner, you’ll know that all of the pressure has released, and it is now safe to remove the lid.
5. Remove the Carrots from the Canner

When the pressure valve has dropped on the canner, you’ll need to use jar lifters to grab the hot jars. Use a hand towel to hold the jar with your other hand in order to not drop the hot jars.
Next, you’ll put the jars on a hard surface that has been layered with towels, so it won’t scorch the surface. You need to let the jars sit for 24 hours and then check them to be sure that they have sealed. You’ll know they’ve sealed if the button in the center has gone down.
If the jars have sealed, then you just need to label them and store them.
Recipes for Your Canned Carrots
1. Creamy Carrot Casserole

This casserole looks like a delicious side dish for practically any meal. You start with your canned carrots and then add green onion, corn flakes for a topping, and half-and-half, whipping cream, and butter for a binding ingredient.
So the next time you’d like to turn your carrots into a casserole, reach for this recipe. You’ll be glad you did!
2. Carrot Soufflé
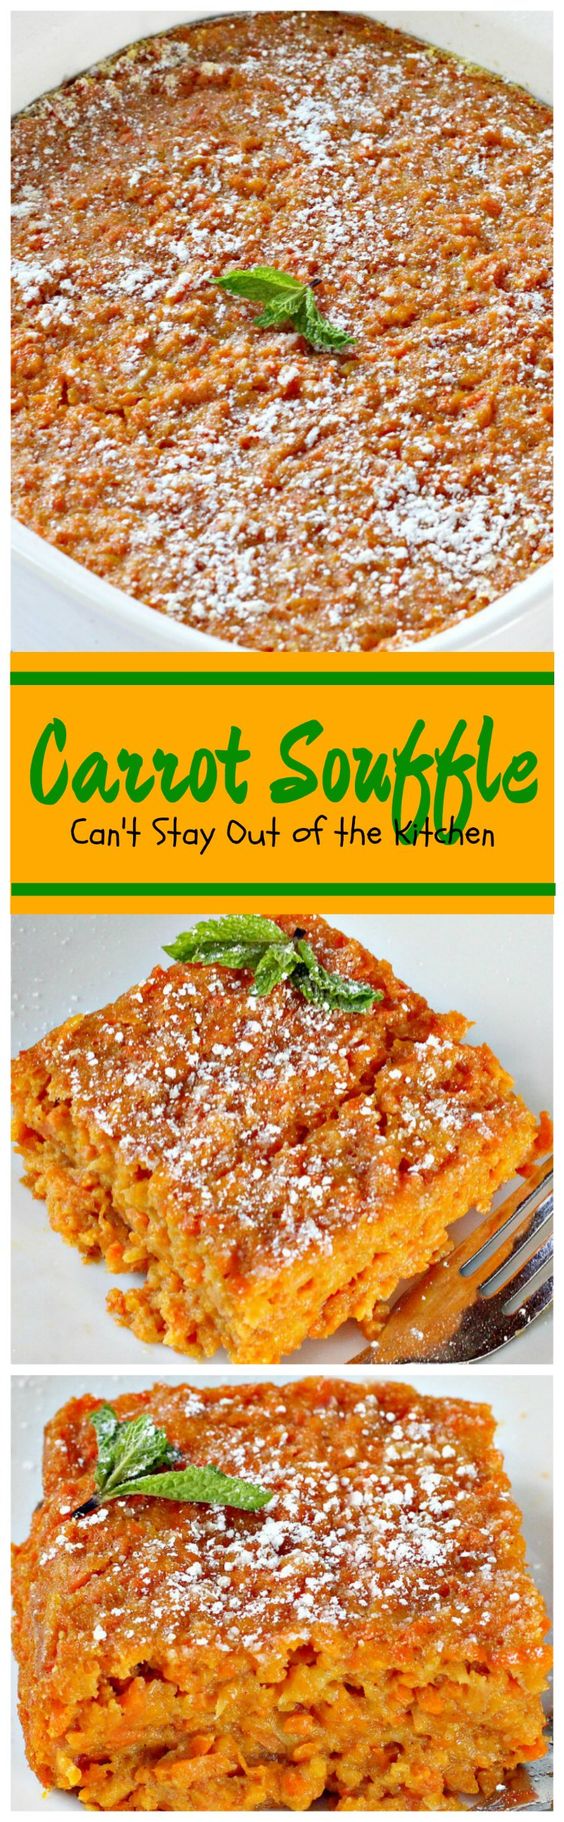
Carrot soufflé is a delicious way to get your family to really dive into their carrots. It is like a pudding type casserole made of carrots, sugar, cinnamon, eggs, and butter.
Not only is the recipe rather simple to make, but it is also really frugal. It becomes even less expensive to make when you begin canning the carrots you use in it yourself.
3. Healthy Carrot Cake Cupcakes

Most of the time when making carrot cake, you need to have shredded carrots on hand. This recipe calls for the same.
However, why not open a can of carrots and make them into a puree to add to the cupcake mixture? That way you can have a healthy treat while utilizing what you already have on hand.
Why Can Your Own Carrots?
I’m just going to share some prices with you to give you an idea as to why I began canning my own carrots. I can purchase a 5-pound bag of carrots at my grocery store for $2. I can grow my own carrots for even less.
However, if I go to purchase canned carrots from the store, I’m paying close to $1 a pint. 2 pints make up a quart, so I’d be paying close to $2 a jar for what I can at home. I make about 4-quart jars from one 5 pound bag of carrots that cost $2.
So in short, the math just adds up (whether I grow my carrots or purchase them) it is much cheaper. Not to mention, I know exactly what is going into my jars of carrots.
What is the Difference Between Canning Salt and Table Salt?
Speaking of what goes into home-canned jars of carrots, I told you I would explain to you why you should use canning salt and not just regular table salt. The reason is that canning salt is the purest form of salt available on store shelves (sodium chloride.)
However, table salt has iodine in it to keep the salt from clumping. This is a problem when you are pickling something or even canning something because it will make your food turn colors and the water turn murky which is not appealing in the slightest.
Well, you are now very well versed in canned carrots. You know what you need to can the carrots, the process of canning the carrots, recipes to utilize your canned carrots, why you should even entertain canning your carrots, and the importance of canning salt when canning carrots.
Shew! That is a lot of information, but when you put it all together, you should be able to conquer canning carrots.
However, I know that canning with a pressure canner can be rather intimidating. So if you are ever in doubt, don’t be afraid to seek out a friend or relative that has experience using a pressure canner to ask for help. We always encourage safety first around here.


