Have you ever woken up with a sore back and a frown on your face?
That was the case for my husband and me recently. We used to have a king size bed many years ago before we sold it all and took up homesteading. Since then, we’ve been sleeping in a queen-sized bed. That may not sound too bad for most people, but when your husband is almost 7 feet tall things get rather cramped.
So one morning he woke up and was over it.
Just like that, he began the research to building his own king-sized bed.
And that, my friends, is what we’ve been up to this week. We were dedicated as we plowed through this task in rain and snow.
How to Make a King Size Bed
But here is how we built our king-sized bed with lots of storage and a rustic design.
Materials List:
- 8 sheets of 3/8 inch plywood
- (12) 22-inch drawer slides
- (1) 50-inch drawer slide
- (13) drawer handles of choice
- (6) 1x10x8ft long rough cut timber
- 1 gallon of Polyurethane
- Nails
- Wood glue
- Screws
Tools:
- Table Saw
- Skilsaw
- Nail gun or Hammer
Disclaimer: We got our general idea from I Like to Make Stuff. We then altered it to fit our needs and budget.
1. Create the Dresser Frames
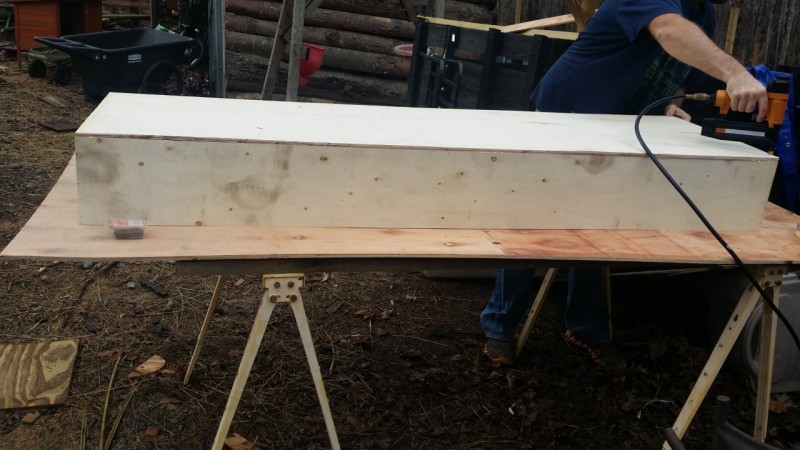
One of the dresser frames
We began by cutting our plywood into the right sizes for the dresser frames. We used our table saw to rip the wood into the correct size.
Our plywood measurements ended up being 24 inches wide by 80 inches long, and they stood 9 inches tall. This part of the project wasn’t very difficult. You just need adequate workspace and someone to push the wood through and someone to catch it on the other side.
You will be doing this process as you will have 4 sections of dressers. The dressers will then stack two high. So you’ll have 2 dressers on each side of the bed.
When the wood for the frames is ripped, you’ll put the frames together. You do this by gluing the sides first, then nailing them together.
2. Determine Drawer Sizes
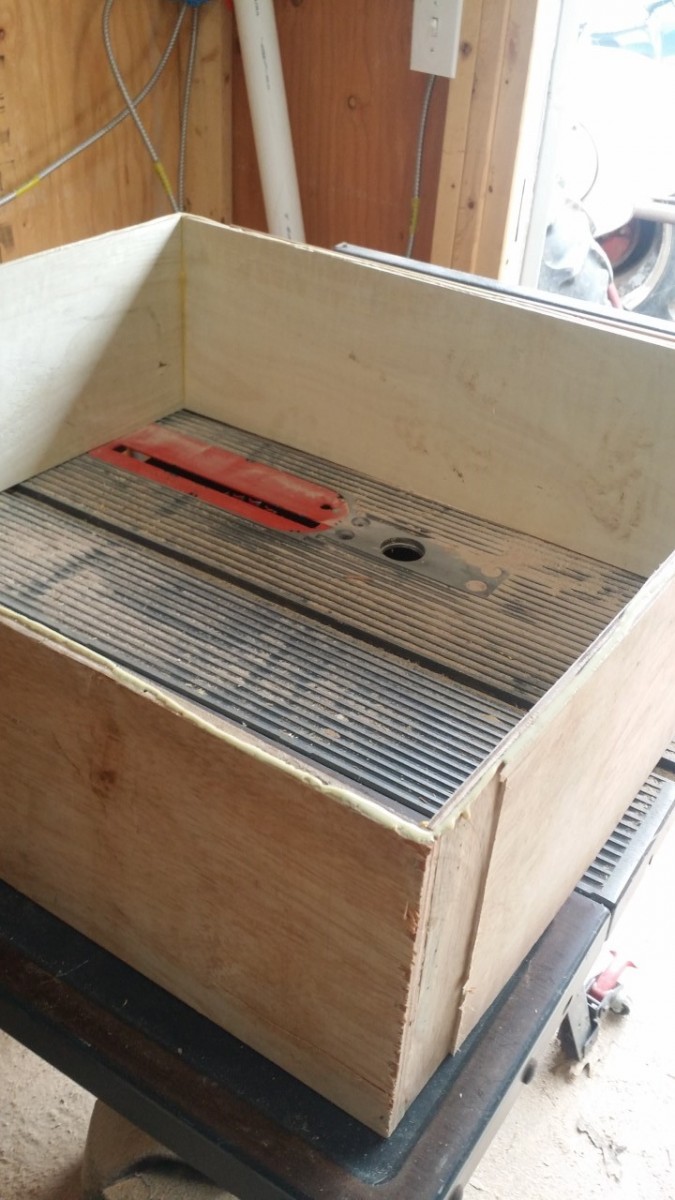
A frame of one of our drawers
Next, we needed to determine how many drawers we wanted. This will obviously determine the drawer sizes. I’m going through this stage with our house that less is more.
So my idea was to build our dresser into our bed so I could get rid of our bedroom dresser and have more space. For us, we decided to go with a total of 12 drawers, 6 on each side of the bed. This equaled out to 3 drawers per section.
Once you’ve decided on the drawer sizes, you’ll need to insert the pieces of wood that serve as the drawer dividers. You’ll need to glue the pieces first and then nail them into place.
3. Get the Drawers Ready
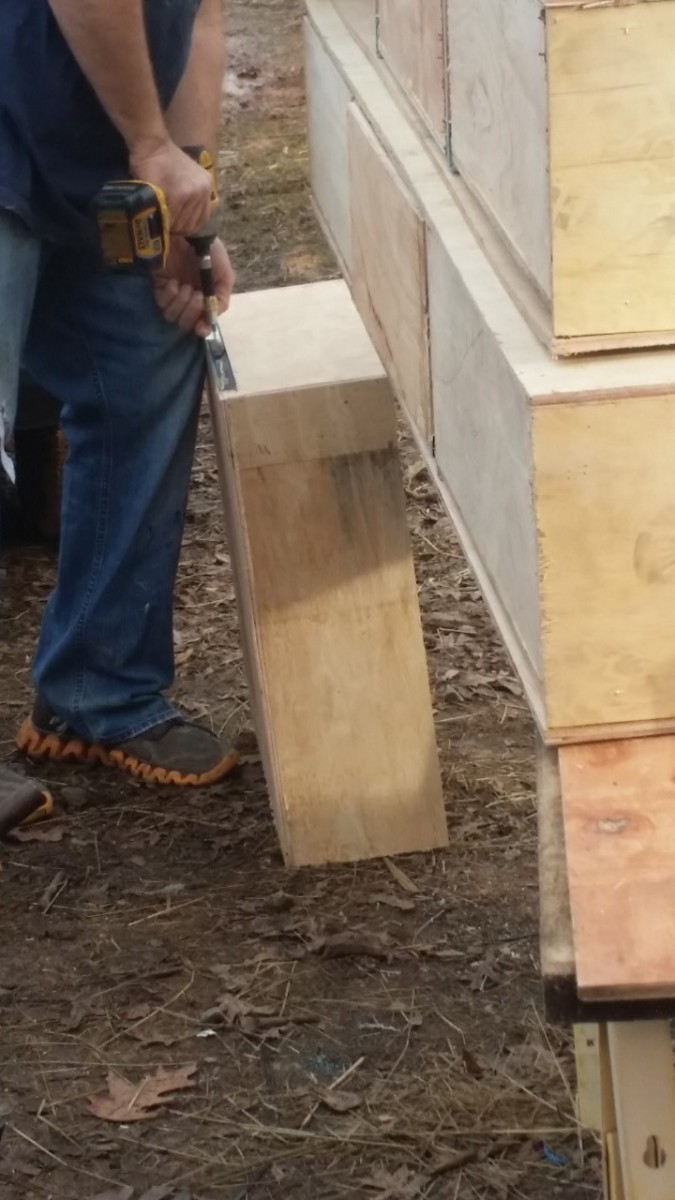
My husband adding drawer slides.
Our next step was to build the drawers. We cut wood for the sides first. They were 22 inches x 25 inches. You’ll use a nail gun (or hammer and nails) to put the sides together. Be sure to glue the sides first. To be clear, when building the sides of the drawers, you will need to cut 2 pieces of wood at 22 inches long. Then you’ll need to cut 2 pieces of wood at 25 inches long. You’ll do this for each drawer.
Then the bottoms will obviously be a square with those same measurements to close in the drawer. You’ll use a nail gun to attach the bottoms to the drawer as well. Understand that we used a nail gun, but any area that I say ‘nail gun’, it can be substituted for a hammer and nails.
After you finish building the drawers you’ll need to install the drawer slides. This step is pretty simple as you will attach one part of the slide to the dresser frames. The other part will actually be attached to the drawers.
Truthfully, building drawers can be tricky. It took some ‘fiddling’ to make them slide in perfectly and fit as we desired. The most important tip I can offer is make sure that everything is squared. We ran into a few issues because we didn’t purchase new plywood. In order to save money, we purchased plywood from someone that had bought it and didn’t use it.
So we ended up with our plywood having some warped areas to it which caused it to curve. If you can afford to purchase your plywood new, it will save some of the headaches.
However, if you are an experienced carpenter (which my husband is) and you feel up to the challenge, then by all means, save some money. It is truly your call, but don’t grow discouraged if you face a few hurdles with installing drawers. We did too!
4. Put Faces on Drawers
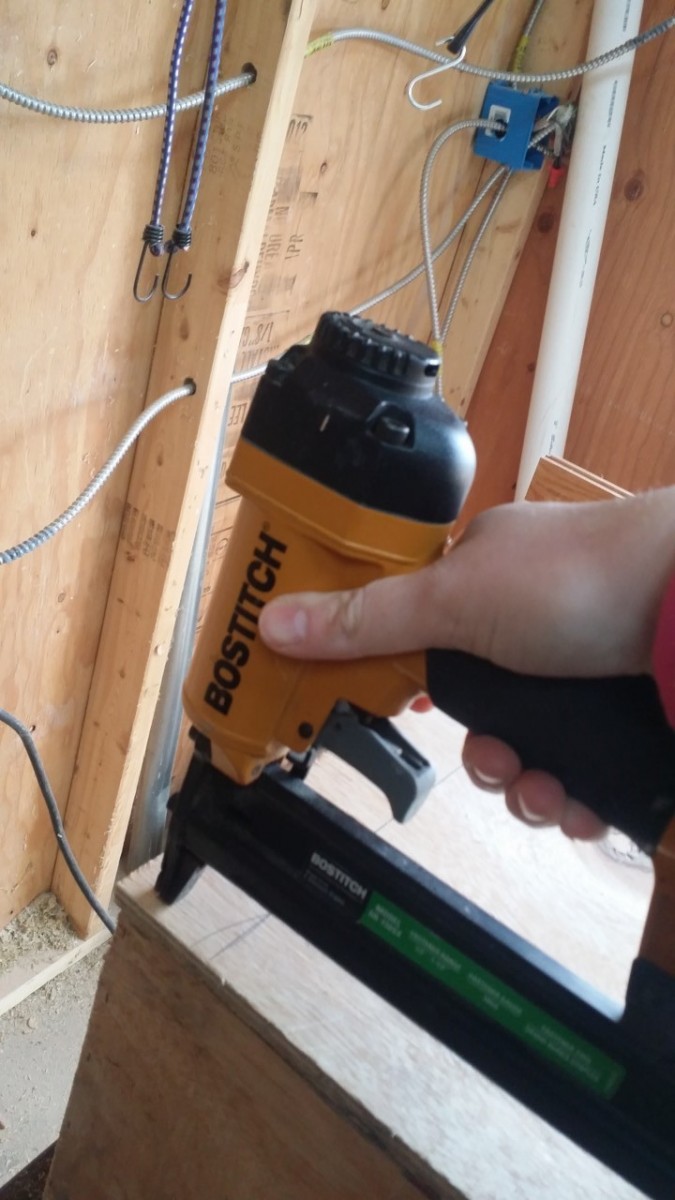
Me nailing drawers together.
This next step is really all about your budget and taste. This is the part of the drawer everyone will see. My taste is more rustic, and I obviously like to do things as inexpensively as possible. Therefore, my husband put a call into the sawmill down the road from us. We were able to get a really reasonable price for the rough cut wood.
So that is what we used. You could also choose to go with laminate flooring as a front to the drawers, or anything else you can possibly dream up. It is just about what you like.
Once you decide on the drawer front you like, you’ll need to cut the wood to the size of your drawer front. Then you’ll use a nail gun and attach it to the front.
5. Create the Under the Bed Drawer
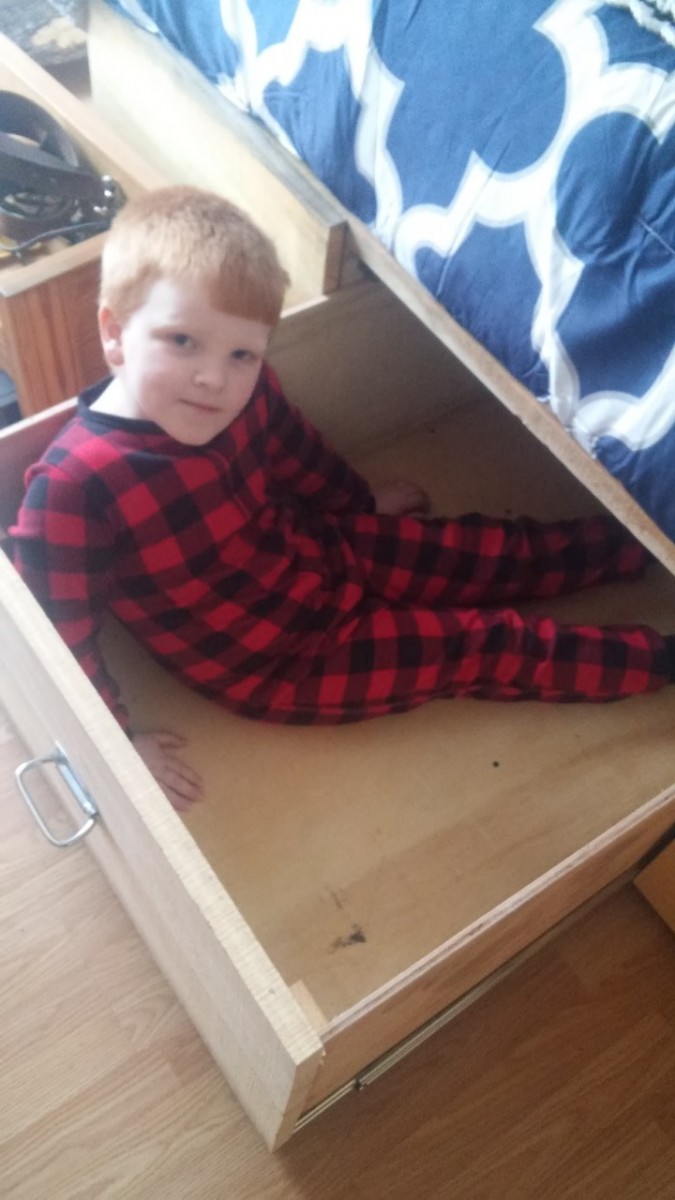
My youngest in the under the bed drawer. We originally took this pic for grandma so she’d see how big the drawer was.
We added this drawer to the design because we realized we wouldn’t really have any place for storage and it seemed like wasted space.
So the size of the under the bed drawer will depend upon the size bed you are building. Realize this design can be altered to make a full or queen sized bed. You will build it to fit the space between the dressers under the bed.
For us, the drawer ended up being 20 inches wide by 50 inches long.
6. Put the Bed Together
After you get all of the pieces created and put together, it is time to put the bed itself together. We don’t have a lot of work space so we built what we could in my husband’s workshop and had to do a lot of it outside in front of his workshop.
So boy was I glad when I got out of the freezing temperatures, rain, and snow. We brought the dressers inside first. Because it was late we added a coat of polyurethane to the drawer front and crashed!
But the next morning we woke up to a beautiful blanket of snow, and the goal of sleeping in our new bed that night. We began by measuring where the center of the room would be so we would have our bed centered.
Then we placed each side of the dresser in the right spot. This will vary for you on how your room is laid out and where you’d like your bed to go, but this is how it went for us.
Next, we added the big drawer slides for our big under the bed drawer. Once we got that drawer installed, we added the second layer to the dressers. Then we screwed the top layer of the dresser to the bottom layer. That way you don’t have to worry about the dresser toppling over. It will then be one large piece.
Finally, you’ll need to cut wooden slats to size depending upon the space left between the dressers. This will be the support for that small section in between for your mattress. You can add as many slats as you desire. We added about 10 and figure that if our mattress doesn’t do well with that amount of support, we’ll just add a thin layer of plywood over the top of the dressers to give it a solid piece under the mattress.
That should help avoid any ridges in our mattress.
7. Place Handles on Drawers
We were so close to having our bed together. So we scurried along to add the dresser handles to each drawer.
For us, we thought flat handles were the best option and here is why. We were afraid if we went with a knob that we’d constantly be knocking our ankles on them when we got out of bed.
Plus, until we finish our bedroom remodel, we don’t have the most space between our bed and our bathroom door. This means that if handles were sticking out, you’d have a sore toe or ankle one.
Either way, decide what type of handle would work best for you in your room design. You can make the handles as fancy or as plain as you’d like. You could create handles, or you could purchase them.
Honestly, you could even create indentions in the drawers where your hand just slips in them in order to pull the drawer out. That way you have a way of opening your drawers without having handles on the outside. No stubbed toes or ankles for sure that way.
8. Add the Finishing Touches
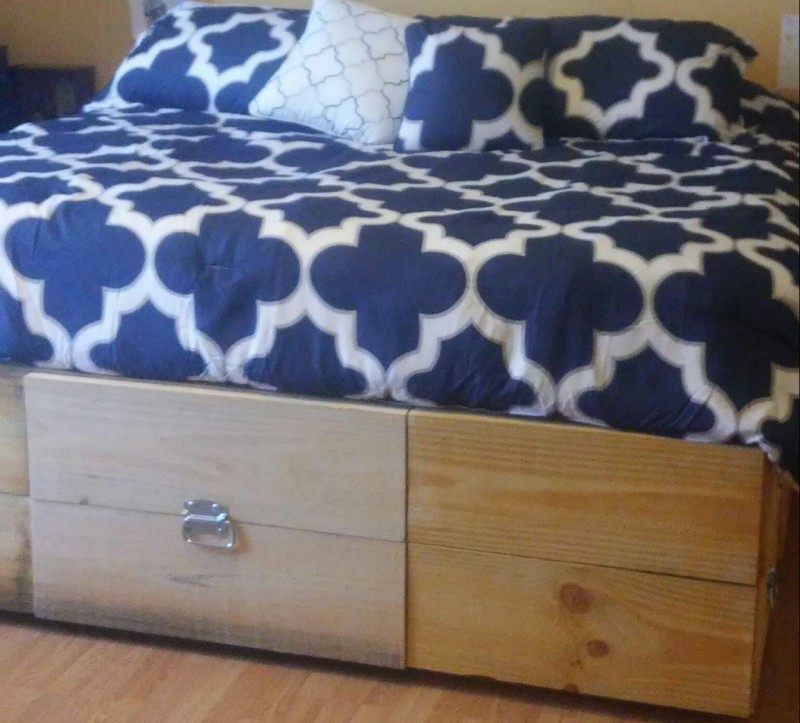
The finished product.
So once the handles were in place, we were ready to add the finishing touches. We did this by adding our mattress. We purchased this new mattress that is shipped to your door and then inflates over 48 hours. I’ve only slept on it one night but so far, it is pretty amazing. (And I’m not affiliated with that company in any way. This is just my experience.)
We then added our bedding, and I was ready for a nap by this point.
Needless to say, I’m very thrilled with the way our bed turned out. We had our challenges (mainly the weather), but we stuck it out and I’m so glad. I told you we were working on a tight budget. I believe we were able to build our bed and purchase a new mattress for around $600 (the mattress was $350), but we already had the nails and screws on hand.
So that means we were able to build the bed frame for around $250. You can’t beat that, in my opinion.
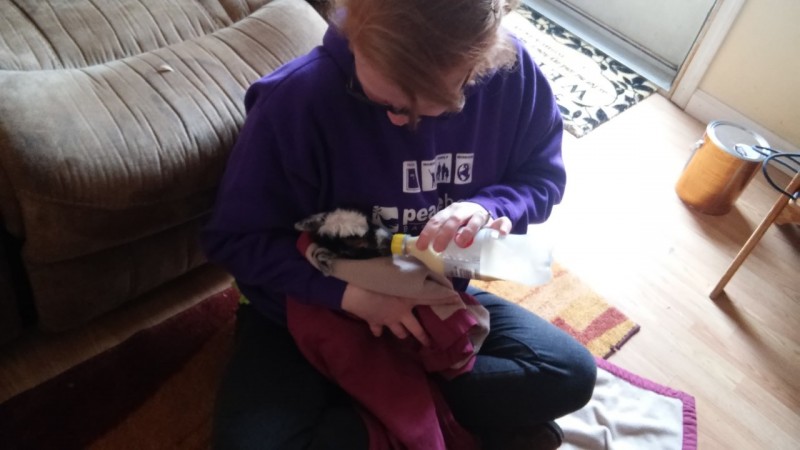
Me bottle feeding the newest addition.
Oh, and did I forget to mention in the middle of all of the craziness of building and weather, one of our goats had a traumatic birth that ended with an adorable baby goat that we are now bottle feeding?
But hey, it’s all in the life of a homesteader, right?
I hope you all will find this tutorial helpful and that it will inspire you to make your own bed instead of paying premium prices for store bought bedroom suits.
However, I want to hear your thoughts. Have you ever built your own bed? What design did you go with? Were you able to create extra storage space with it?
