The easiest way to get a jump on your gardening season is to get an early start planting seeds and transplants. Unfortunately, it seems like every seed starting article I read begins with instructions to get lights or buy a heating pad.
Although those are great tools for starting seeds early, what about those of us trying to reduce our dependence on electricity or living off-
I thought the answer was a greenhouse. So we built one. But I didn’t realize that above ground greenhouses are only warm during the day, and then only if it is sunny. They lose heat quickly at night and can easily fall below freezing without a heat source.
Many greenhouse growers use propane heat or electric seed mats to start seedlings, even after they spend a fortune building a greenhouse! Well, that’s not my idea of self-sufficiency. So, I realized I’d need to dig deeper to find my answers.
How to Start Early Spring Gardening Without Electricity
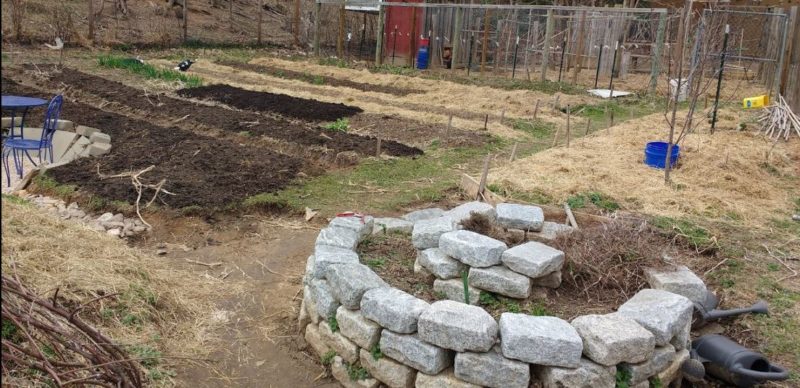
When I stopped looking for technology-based answers and started looking around my homestead for creative ideas, getting an early start on the season got a whole lot easier.
Here are some of my off-grid early start tricks for getting a jump on the gardening season.
1. Start with Heirloom Seeds
Hybrid seeds are built for speed. They’re like the race car of seeds. Like any race car, they need more maintenance than your ordinary, run of the mill work horse seed. Well, at least in terms of seed starting (and fertilizer inputs).
When starting seeds without electricity, choose time-tested, naturally-adapted heirloom seeds. Heirloom seeds, particularly those saved since before electricity became normal, are often adapted to start at a wider range of germination temperatures.
Cool season heirloom seeds, in particular, can have germination temperatures from 40° F through to 80° F. Even many of the heirloom tomatoes I have started will germinate as low as 50° F in strong sun.
2. Slow Start = Strong Finish
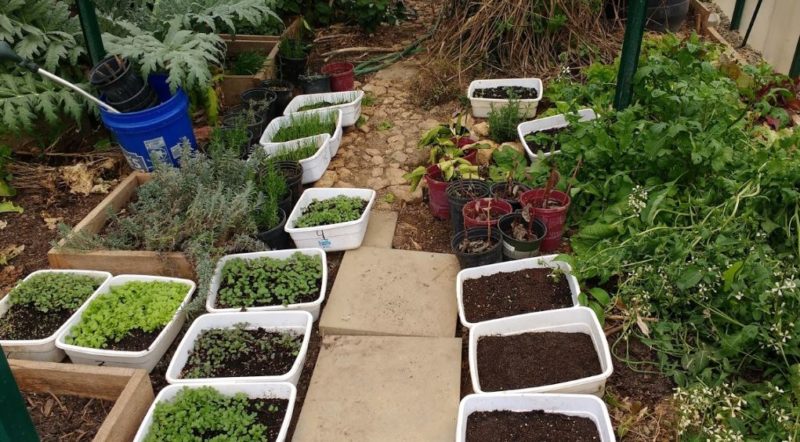
I do have lights and have sprouted many seeds under them. But, I kept having this feeling that the plants started under lights were slower to grow after transplanting in the garden. The seeds I started under natural light seemed to take off faster when I put them in outdoor beds.
Since I am one of those backyard experimenter types, I ran a few semi-controlled tests using onions, cabbage, and tomatoes. Turns out, the plants I started under natural light in my greenhouse, were much slower to germinate.
The same seeds, in the same soil mix, under artificial lights in my 70° F house germinated as much as 1-3 weeks faster. Yet, when I put the plants in the garden at the same transplant sizes, the natural
Cabbage and Onions
Even though the artificial light plants had a huge head start in the garden, the onions and cabbage from both batches reached maturity at the same time. My heads and bulbs had similar weights. Plus, my natural light started cabbage had fewer problems with cabbage moths even in the same exact bed.
Tomatoes
My natural light tomatoes took 3 weeks longer to get to transplant size. However, they started ripening only about a week behind my artificial light tomatoes.
The natural light tomatoes had no early blight problems. Meanwhile, I lost two of my artificial light grown tomatoes to early blight. Overall, I ended up getting higher yields from those later transplanted, natural-light started, tomatoes.
Caveats
Admittedly this is not the most scientific test. There could be any number of variables to account for the difference. I suspect waiting a bit longer to put transplants out gives the soil longer to warm and that speeds growth.
Still, whatever the reason, in my climate, I don’t lose more than a week to harvest starting seeds under natural light in a greenhouse or cold frame. Plus, my natural light started plants are consistently healthier than my artificially started plants.
3. Deep Bedding
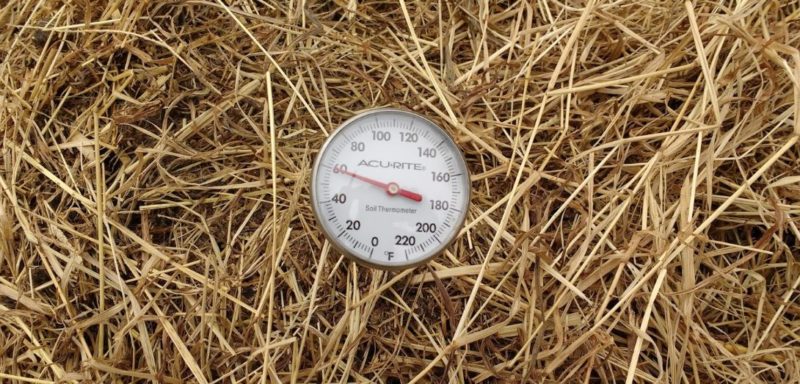
I also have another secret weapon in my early gardening repertoire. After my seed starting trials above, I started to wonder about ways to speed soil warming so I could direct seed sooner in the garden and still get fast germination rates.
Well, one day while hanging out with my goats in their barn, I sat down on their bed of hay, straw, poop, and urine. (Don’t worry, I had just topped off the area so I was actually sitting on fresh straw.) I couldn’t believe how warm it was.
I went and got my soil thermometer, and yep, that 10-inch deep bedding measured 75° F. Now, that’s not exactly hot composting temperatures. But it is very similar to the seed warming mats you plug into a wall.
– In the Greenhouse
So, I cleaned out my goat barn into my greenhouse. I made about a 1 foot deep by 4 feet wide seed starting bed using some of that litter. I sat my tomato flats on that natural heat mat and voila!
I was able to get natural light germination in my greenhouse just as fast as under lights in my house. Plus, that pile breaks down into great compost for my in-ground greenhouse growing in fall and winter.
– In the Garden
I use this method in the garden now too. I dig about 6 inches of soil from my garden paths between my rows and put it in on my beds. Then I cover my beds with well-aged, dark-colored compost.
Next, I pile about 12-14 inches of all that livestock litter into the pathways to insulate the beds and warm the root zone. Immediately after that, I start planting my first cool-season direct seeds like kohlrabi, carrots, kale, turnips, radish.
I don’t quite get to 75° F seed mat temperatures in the garden. But, the composting litter in the pathways keeps soil temperatures consistently warmer, even in cool weather.
If I add a cold frame or cloche, to protect from wind, then germination happens nearly as fast as in the greenhouse on deep bedding.
4. Germination Board
Some seeds don’t even need a cold frame to start. Carrots, for example, are designed by nature to germinate at low temperatures and grow their greens close to the ground until they have developed significant root growth.
Unfortunately, in some places, wind and rain can easily displace carrot seeds and slow their start. Covering the seeds with a board preserves moisture, stabilizes the seeds in the soil, and protects from wind and excessive rain. It also provides thermal mass and helps keep soil temperatures beneath the board more consistently warm for faster germination.
Lift the board once a week after planting to see if seedlings have emerged. If they have, remove the board. If not, put it down and check again in a week.
This trick works well with lettuce, parsley, parsnips, dill, and fennel too. It does not work so great for seedlings that have large cotyledons like mustard, radish, cabbage, etc.
5. Thermal Mass
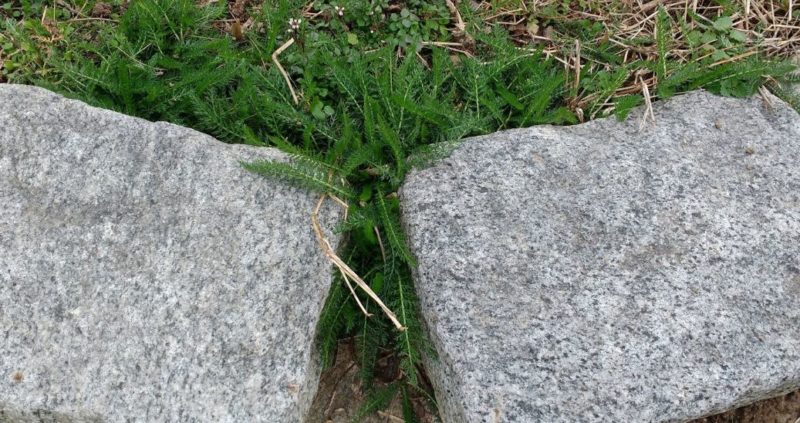
Speaking of thermal mass, if you have any of those cinder blocks sitting around, put one directly on the north side of your transplants of seedlings. The flat side should face your seed starts. The concrete block absorbs heat from the sun during the day and radiates it back to the plants at night.
In my case, since our wind also comes from the north, the cinder block acts as a wind block and protects my delicate young plants too. You can also use rocks or even buckets of water for this purpose. Anything with enough mass to absorbs heat and hold it for a while will work.
6. Soil Blanket
Similar to the way black shirts draw more heat from the sun than white shirts, compost is dark colored and therefore draws more of the suns rays into the soil. Adding compost right before you plant will raise the temperature a few degrees on sunny days.
If you added your compost earlier though, or don’t have enough compost ready yet, there’s another way to raise your soil temperature at the start of the season. You can cover your soil with a blanket.
Any kind of plastic covering will help catch and trap heat at the surface of the soil making it warmer for seed starting or safe transplanting. You can use black plastic trash bags, tarps, a quilt made of your plastic soil amendment bags, the rain protection bags your deliveries come in, and more.
I cover my beds for a week before planting to get them good and warm. I don’t do it longer than this though. If the soil gets too warm or too dry, it can kill all the soil life like worms, beneficial bacteria,
7. Blue Bucket
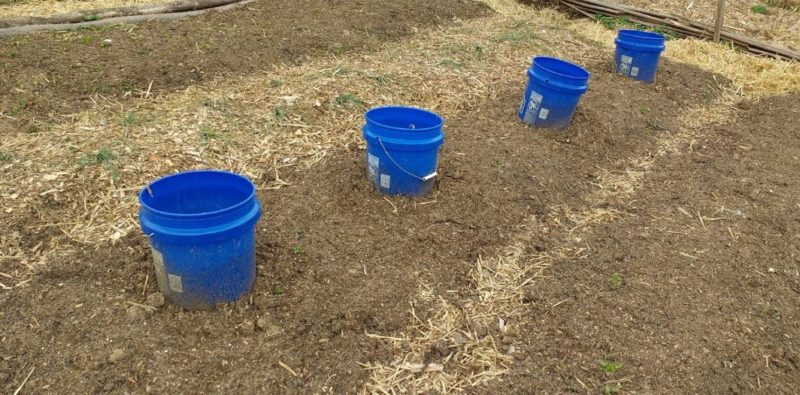
The hardware store nearest to us is Lowes. Their signature color is dark blue. So, they sell these dark blue buckets for under $4.
I drill a one-inch hole in the bottom, then I bury them about 4 inches into the soil in the middle of my beds. Once placed, I fill them with fresh chicken manure, kitchen scraps, and goat litter (since it has a lot of brown matter).
The dark color of the buckets draws the sun during the days. The composting materials heat up a bit and act as thermal mass at night.
Plus, the compost leachate drains into the soil from the hole in the bottom acting as a fertilizer. By putting the buckets a few inches under the soil, the leachate encourages plants to develop deep roots. It also prevents shallow, young roots from accessing strong nutrients too soon.
I top these buckets off with weeds and more compost materials throughout the cool season to keep the thermal mass and compost going. Also, if you use floating row covers to protect transplants or seedlings, you can float the covers right on top of the buckets and hold the edges down with rocks.
8. Hugelkultur
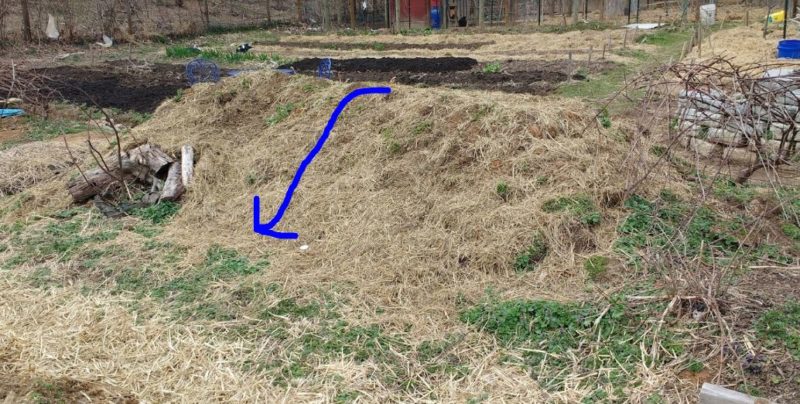
I also use the southern slope of a 1-2-year-old hugelkultur for seed starting and hardening-off nursery. The decomposing wood on the inside generates constant warmth of about 60° F at the surface.
The hugel acts as thermal mass. Also, in my case, it makes excellent wind protection for our winds from the north. Make sure to rotate your flats of plants every couple days though so your stems stay straight.
Conclusion
Not only do these ideas cut your fossil fuel dependence, but many of them also improve your soil and make use of things you probably already have. You don’t need to spend a fortune to get a great start in the garden.
Pay attention to nature and use things you have on the homestead to harness the power of the
