Brassicas are my absolute favorite plant family. After all, the group includes cabbages, which are a delight to try growing.
Harvesting a glorious head of cabbage at the end of a long season is one of my most cherished garden rewards. I’m always astounded to watch a tiny seed grow into a dense, round cabbage.
While they’re fun to grow and provide a tasty end-of-season reward, cabbages—like other members of the brassica family—pose several important challenges, including annoying pests.
Keep reading to find out how to grow your very own heads of cabbage right in your front or backyard garden patch.
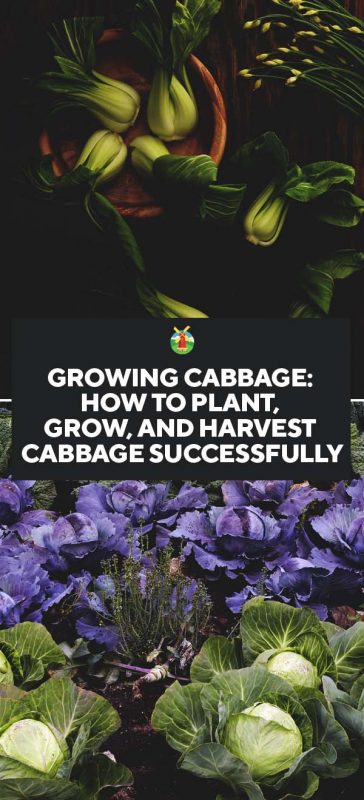
If you’re looking to expand your nutritious options while cooking, an excellent place to start is by growing cabbage. Cabbage is full of vitamin B, calcium, iron, protein, and niacin.
Cabbage Plant Info
- Hardiness Zones: 1, 2, 3, 4, 5, 6, 7, 8, 9
- Soil: Sandy, loam, PH between 6.5 to 6.8, well-drained
- Sun Exposure: Full sun, at least 6 hours of direct sunlight per day
- Planting:
- Start Indoors: 6 to 10 weeks before the last frost date
- Start Indoors (in fall): 6 to 8 weeks before the first frost date
- Hardening Off: 1 to 2 weeks before transplanting
- Transplant Outdoors: When the seedlings have 3 to 4 leaves, 2 to 3 weeks before the last frost date
- Spacing: 4 to 6 inches between plants and 2 to 4 feet between rows
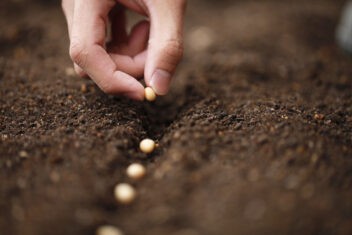
- Depth: ¼ to ½ inches seed depth
- Best Companions: Beans, cucumber, celery, dill, spinach, sage, thyme, onion, lettuce, potato, kale
- Worst Companions: Tomato, strawberry, broccoli, cauliflower
- Watering: Even watering, once a week up to 1½ inches
- Fertilizing: Side-dress with compost manure after every 3 weeks, apply balanced fertilizer 3 weeks after transplanting
- Common Problems: Anthracnose, black rot, alternaria leaf spot, damping off, clubroot, powdery mildew, sclerotinia stem rot, watery soft rot, white rust, bacterial soft rot, downy mildew, blackleg, ring spot, beet armyworm, cabbage aphid, cabbage looper, cutworms, diamondback moth, flea beetle, cabbage worm, thrips, root knot nematode
- Harvest: 50 to 60 days after transplant, when the head is fully formed and feels well-packed and firm when squeezed
Cabbage Varieties
There are many different varieties of cabbage. I’m going to share with you some of the most common types and their uses so you can decide which is best for you.
Canon Ball Cabbage
This variety of cabbage looks like an overgrown brussel sprout. This variety of cabbage is a good option for shredding and making coleslaw and sauerkraut.
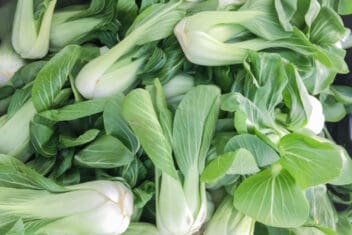
Bok Choy
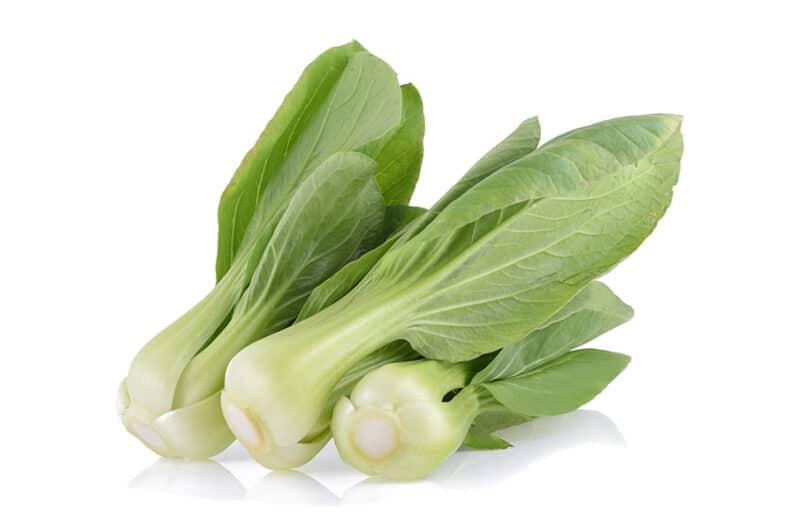
Bok Choy is an excellent variety to sauté, make stir-fries with, and also include in soups. Because Bok Choy has tender leaves, it can be used in a variety of different dishes, from stir-fries to salads.
Choy Sum
You may not recognize this variety of cabbage by this name, but what if I told you another name for it was Chinese cabbage? Then you might recognize it a little easier. This cabbage variety is great for including in an Asian inspired salad.
Early Jersey Wakefield Cabbage
This cabbage is a green variety. It usually weighs around four pounds, and is suitable for both sautéing and steaming.
If you would like a more traditional style of cabbage, then you should consider trying this one.
January King Cabbage
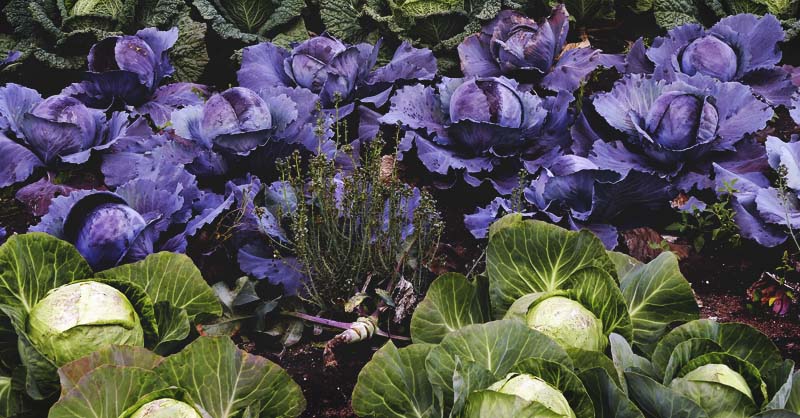
The January king cabbage is a unique variety with curly, blue, and green leaves. It looks rather snazzy when you cook with it.
If you want to grow a cabbage that you can make special occasion meals with, then you’d love this variety because it is great for roasting.
Napa Cabbage
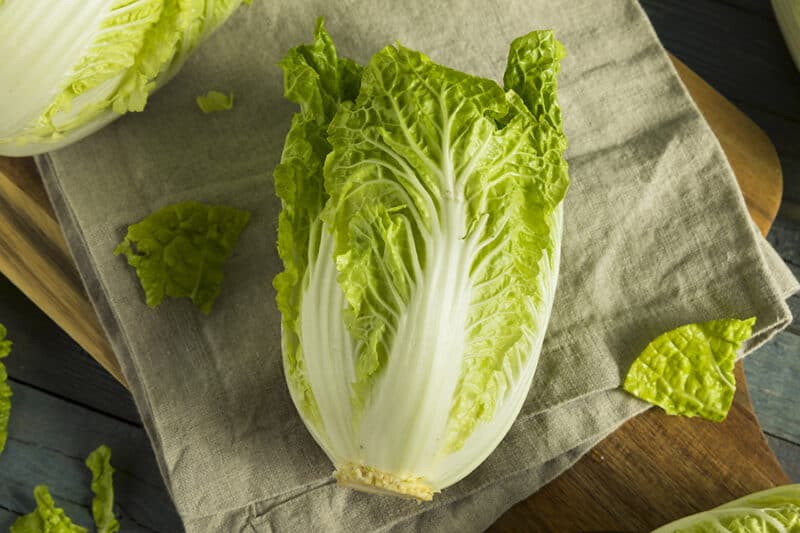
Napa cabbage is a variety that gets away from the typical round shape and has a longer form to it. It also has a crispy stem.
Because this cabbage has a sweeter flavor and is softer than most other varieties of cabbage, it is a great option to use raw in a salad or to steam.
Portugal Cabbage
Portugal cabbage is another green cabbage variety. It has large, ribbed leaves, but it doesn’t grow a ‘head’ like other green cabbage varieties.
However, be advised that the leaves of this cabbage are tougher. It is good for cooking in soups.
Red Drumhead Cabbage
I love red cabbage. It adds a nice crunch to recipes and some color as well. Most red cabbages are good for pickling. But if you aren’t a fan of pickled cabbage, you can also use red varieties shredded in coleslaw too.
Red drumhead is a particularly tasty variety.
Savoy Cabbage
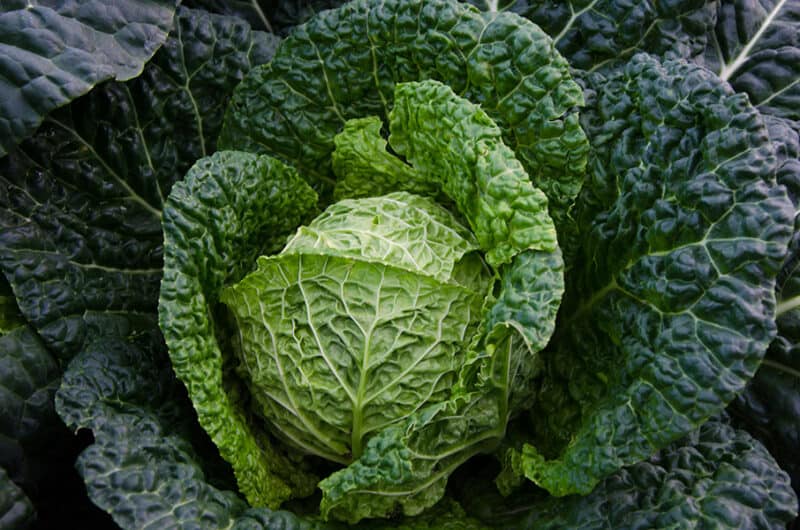
Savoy cabbage is another type that looks pretty fancy. It has curly, green leaves that are eye-catching.
This variety of cabbage is great for making salads, stir-fries, fermenting, and for making kimchi as well.
Walking Stick Cabbage
This unusual variety grows to be around two to three feet high and looks more like kale than a cabbage.
But you can sauté the leaves. The fun part about this cabbage is that it got its name because the stems are so sturdy that they were once saved to make walking sticks from.
Winningstadt Cabbage
This cabbage variety has dark green leaves that have a sheen to them. Though this type of cabbage will stand out, it also needs a lot of growing room because the leaves stretch out three to four feet across.
This variety has a sweeter flavor and is suitable for sauerkraut, coleslaws, and salads. Just be advised, it attracts worms because of the wingspan of the leaves.
Brussel Sprouts
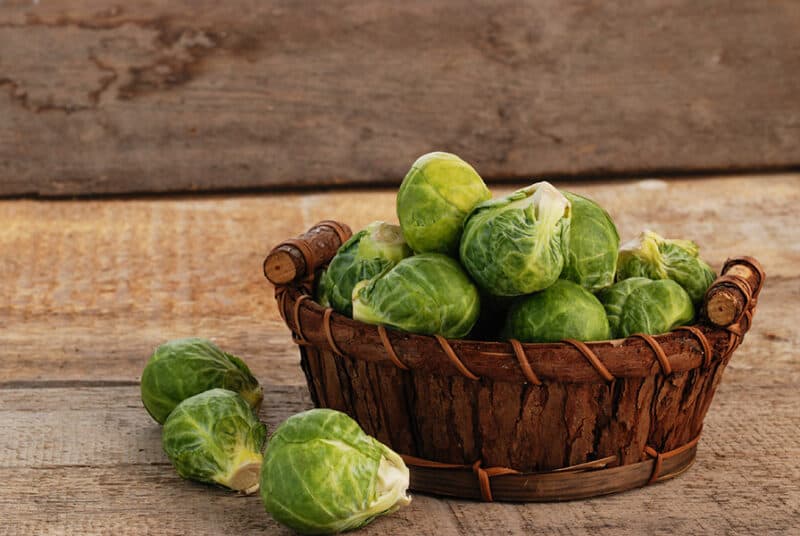
Brussel sprouts are small cabbages that, in my opinion, are delicious. They are also versatile as well. You can use Brussel sprouts for roasting, sautéing, and steaming as well.
However, if you grow Brussel sprouts, remember to keep them on their stems as long as possible because they will stay good after harvest for weeks as long as they are left intact.
Green Cabbage
Finally, I wanted to mention green cabbage as its own variety. There are many different types of green cabbage such as ‘Golden Acre,’ ‘Flat Dutch,’ and ‘Danish Ballhead.’
They are all round, green cabbages that are good for pretty much anything. You can sauté them, use them in slaw, or even fry the leaves.
How to Plant Cabbage
Planting cabbage is not a complicated process. There are a few basic steps you need to follow to ensure that you start your crop out on the right foot.
Cabbage can be grown both in the spring and fall because it loves cooler weather. It grows in zones 1-9.
Choose the Best Location
Cabbage needs six or more hours of full sunlight a day. The soil in must be well-drained, cabbage can’t stand wet feet. The soil should be high in nutrients and able to retain water well
The soil should have a pH level of 6.5 to 6.8. The right pH can keep clubroot from forming.
After doing a soil test to determine if your soil is lacking any of the major nutrients, mix manure, compost, blood meal, or cottonseed meal into the soil to improve the soil quality and give cabbage the necessary nutrients.
When you’ve completed these steps, you are ready to plant.
Start Your Seeds Indoors
If you’re planting in the spring, then you’ll want to start your seeds indoors 6-8 weeks before the last frost.
Plant two cabbage seeds per 1/2 inch space in small potting containers.
Indoors, keep the seeds under lights and mist them with a spray bottle to keep the soil moist. You will do this until it is time to harden off your seeds, which will be a week before planting.
Planting Seeds Outdoors
If you’re planting your cabbage in the fall, then you’ll want to start your seeds outdoors 6-8 weeks before the first frost.
Plant each seedling one to two feet apart. The more distance you put between plants, the more significant heads the cabbage can produce.
Be sure to place each seedling about two inches into the ground when planting.
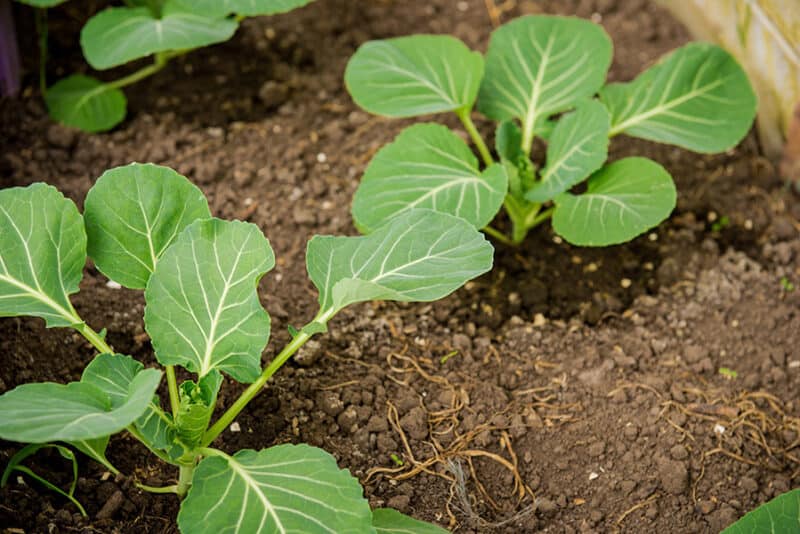
Then you’ll need to be sure that you mulch around the cabbage plants. Mulch will help keep moisture near the plants while also keeping the soil temperatures consistent.
Finally, it’s a good idea to place a rain gauge in your garden to know how much rain you get each week. The reason being is that cabbage needs an inch to an inch and a half of water per week. This will help you keep your watering consistent as well.
How to Care for Cabbage
Cabbage is a low-maintenance plant. If you follow a few care tips, then your plants should do just fine. Here is what you need to do:
Rotate Your Crops
Cabbage has a lot of pesky enemies. If you want to stay on top of soil-borne diseases, then you need to rotate your cabbage crop each year.
You also don’t want to plant where you’ve had a cole crop (cauliflower, broccoli, etc.) in the past few years.
Water
Cabbage needs lots of water. You should keep mulch around your plants and make sure the cabbages get anywhere from one to two inches of moisture per week, depending on your location.
The soil should stay moist but not wet. It should feel like a wrung-out sponge.
Thin Your Transplants
When your transplants begin to take off, you may realize that you don’t have as much space between them as you thought.
Well, when they reach five inches tall, go through and thin out any transplants you believe are overcrowded to ensure that they produce large enough heads.
Fertilize
Fertilize your cabbage transplants three weeks after they go into the ground. Fertilizing will make sure that they are well-fed and healthy plants.
Pests and Diseases
Cabbages face a lot of problems in the garden. You’ll have to be on high alert and recognize problems before they wreck your harvest. Here is what you need to look out for:
Cabbage Loopers
Cabbage loopers are insects that do the most damage in the larvae stage. They attack most cole crops, such as cabbage, broccoli, cauliflower, etc.
When they are in the larvae stage, they eat three times their weight in your plants per day. This can wreak havoc on your harvest by nibbling holes into the leaves. A bad infestation can totally defoliate your plants.
An organic answer to fighting these pests is to plant herbs next to your cabbage. Herbs such as dill, fennel, coriander, and parsley will encourage beneficial insects to come into your garden.
Then they will eat the loopers before they do any more damage to your harvest. If that fails, try using Bacillus thuringiensis.
Slugs
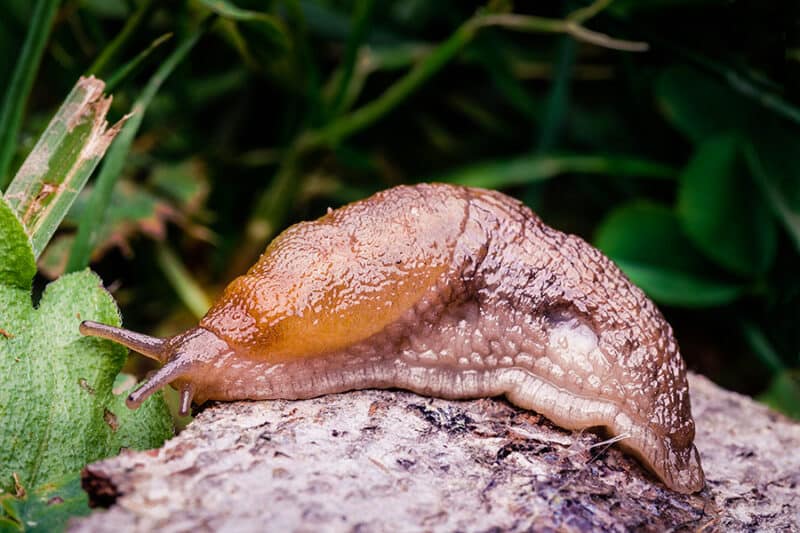
Slugs enjoy munching their way through your garden, as well.
Use your favorite slug control method to keep them in check. We have 12 all-natural options to help you out.
Cabbage Worms
Cabbage worms are little green worms that live on your cabbage and chew through plants.
You can rid yourself of cabbage worms by spraying BTK on your plants every week or so. You can also just walk through your garden and handpick the worms off of your plants.
Some gardeners like to sprinkle cornmeal on cabbage leaves. The worms ingest the cornmeal, swell up, and die.
Cabbage Root Maggots
Cabbage root maggots are grubs that live under the soil and feed on the roots of your cabbage plants. They are often hard to even realize you have until you notice that your cabbage plants aren’t growing or are beginning to wilt.
Wasps will eat these maggots. If you have wasps, let them be. Also, consider adding nematodes to your garden since they will eat the maggots as well.
Finally, consider making a cabbage collar and placing it around the base of your cabbage plants to discourage eggs from being laid there by pests.
Aphids
Aphids are tiny little bugs that are, unfortunately, in most gardens. You will know you have them if your plants begin to wilt, look discolored, or are becoming deformed.
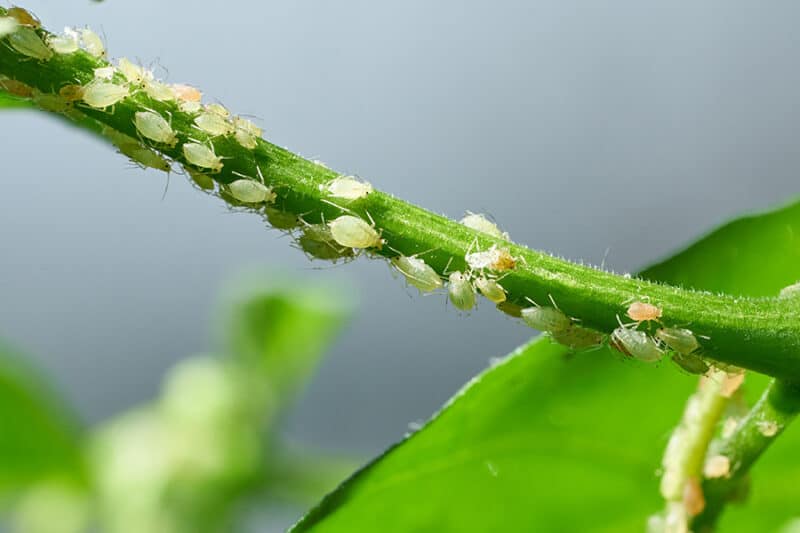
Also, where they feed on your plants, they often leave a sticky substance called honeydew behind.
You can get rid of aphids by spraying your plants with a blast of water. This will usually cause them to dislodge themselves. You can also try sprinkling your plants with flour as well.
But prevention is often the best answer. Try inviting beneficial bugs (such as wasps) into your garden.
Also, companion planting helps a lot when dealing with aphids. Aphids are not fond of catnip, which could be planted around your cabbage patch to deter their entrance.
Flea Beetles
Flea beetles are little black, tan, or striped bugs that you see in your garden. Like fleas, they will hop from plant to plant.
Though they don’t cause a lot of harm to adult plants, they can cause a lot of issues for young plants and can also spread bacteria from plant to plant as well.
The best answer for flea beetles is to plant catnip to deter them from your garden altogether. You can also dust your plants with talcum powder or spray your plants with insecticide.
Cut Worms
Cutworms are tiny worms that will cut your plants down when feeding on the stems. You don’t want this because your garden could easily be destroyed.
There are many solutions to getting rid of cutworms. The first is to put a plant collar around your plants to deter pests from laying eggs around the base of them.
You can sprinkle diatomaceous earth around the garden. This will cut the worms to pieces when they crawl over it.
Black Leg
Black leg is a fungal disease that develops in the soil. It will overwinter in debris often left in a garden after the harvest is finished. You will see it in your plants by small brown spots appearing.
If it isn’t controlled, it has the potential to wreak havoc on your garden. Follow the steps below, and you should, hopefully, be able to give black leg the boot.
Black leg is hard to treat. The best way to kick it out of your garden is to keep your plants on a four-year crop rotation.
Since the fungus mainly feeds on cole crops, if you don’t place a cole crop in the same location four years in a row, the fungus will die out.
Also, keeping a clean garden is vital too. If there is no debris for the fungus to overwinter in, then it will die out that way too.
Black Rot
You’ll know you have black rot on your plants when you begin seeing yellow or yellow/orange V-shaped markings on your leaves. Then black veins will start developing as well.
Black rot is challenging to get rid of because it’s a bacterium that travels through the soil of your garden. If a leaf is damaged on a cole crop, the bacteria can easily find its way in.
There are no pesticides or over the counter sprays that guarantee to rid your garden of this bacteria. The best thing you can do is practice crop rotation and also keep a clean yard with no debris left lying around.
Clubroot
This is another fungus that forms in the soil and goes after cole crops. It’s absorbed through the hairs found on roots.
When this happens, the roots become misshapen and have difficulty absorbing water and nutrients which will cripple the plant. This disease can survive in the ground of your garden for a decade at a time.
If notice that your plants are wilting, especially during the hotter parts of the day, it’s likely you have it. It will also cause the plants to be stunted and not produce as they should.
A fungicide will not treat this disease. Instead, the only things you can do is to keep a clean garden, raise your garden soil’s pH level to around 7.2, and rotate your crops.
Yellows
Symptoms of yellows is when your plants take on a yellow/green coloring and begin to look like they are wilting. Then the plant will slowly die off piece by piece.
Yellows is a fungus that will enter in through the roots of a plant, especially if the roots have been damaged in some way.
There is only one real solution to yellows, and that is to purchase varieties of seeds that are resistant to developing this fungus.
Best and Worst Companion Plants for Growing Cabbage
Like most plants, cabbage has certain plants that it can be planted around and perform better. Here is what they are:
- Lettuce
- Beans
- Cucumbers
- Kale
- Onions
- Potatoes
- Spinach
Unfortunately, cabbage also has other plants that it needs to be planted away from to not compete for nutrients or to draw pests. Here is what those plants are:
- Broccoli
- Cauliflower
- Strawberries
- Tomatoes
How to Harvest and Store Cabbage
Harvesting and storing cabbage is relatively simple. When the cabbage head has reached the size you desire, you use a sharp knife and cut the head off at the base of the plant.
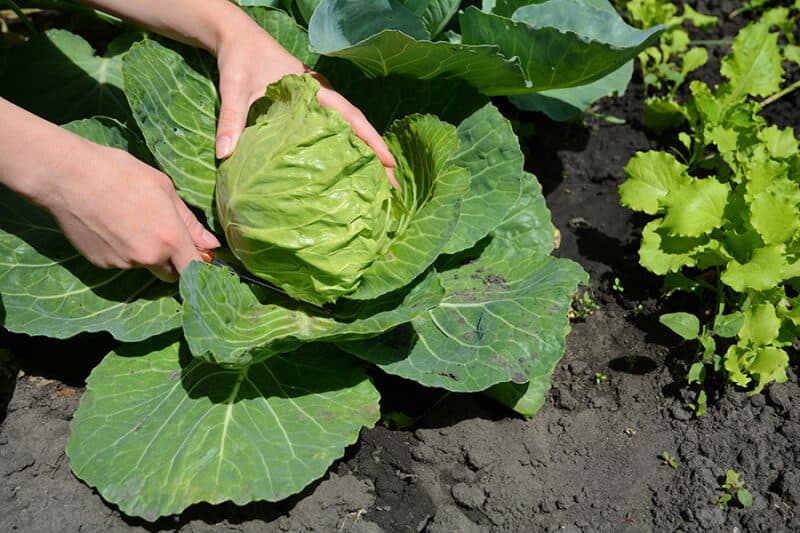
Remove the entire root from the soil to keep any soil-borne diseases at bay. You will know the cabbage head is ready based on its firmness. Most cabbages take around 70 days to harvest.
From there, you can store the cabbage in the fridge for around two weeks, or if you have a root cellar, you can place the cabbage there, where it could last for up to three months.
However, if you planted your cabbage early enough, then you might have time to get a two-for-one deal. When you harvest your first cabbage, don’t remove the outer leaves or the root.
Instead, just cut the head out of the center of the cabbage. This should give the plant the opportunity to create a second head of cabbage from the same plant.

