Most people have never heard of culantro, but if you’re looking for a tasty new option to start growing in your herb garden, it may be just the thing.
Culantro is known for its strong, aromatic scent that spreads throughout the air wherever it’s touched. It also has a strong flavor that is perfect as a seasoning for many different dishes.
Curious to know more? Let’s look at how to grow culantro in your garden.
What is Culantro?
Culantro (Eryngium foetidum) originated in Mexico, Central, and South America. It’s a culinary herb that’s used in Caribbean, Latin American, and Asian cuisine. Many popular dishes throughout these areas feature this herb.
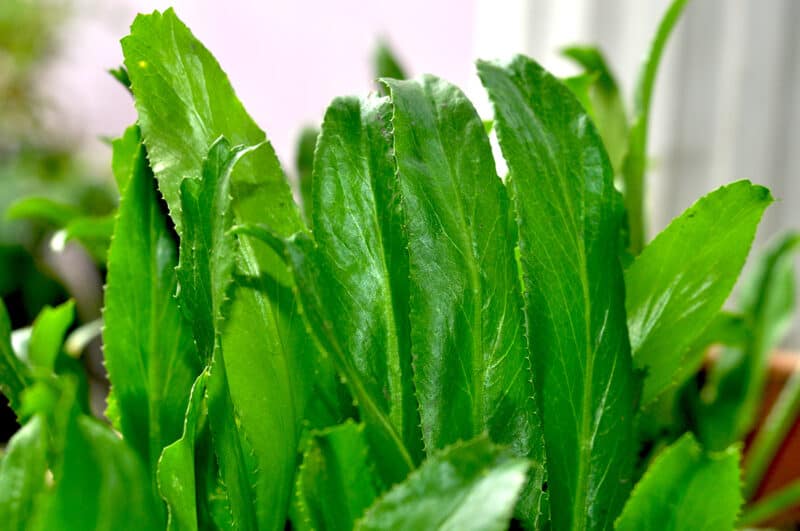
Sadly, it’s not widely popular throughout the United States, though it’s grown and used in Puerto Rico, where it’s known as recao.
Culantro has several names or nicknames. The most popular are long coriander and false coriander. In Vietnam, where it’s a popular ingredient, it’s called saw-leaf herb.
As you might guess from the name, culantro is closely related to cilantro (Coriandrum sativum).
No matter what you call it, this culinary herb has a strong flavor that people either love or hate (like cilantro!).
It’s commonly used in dishes that contain meats, vegetables, and chutneys.
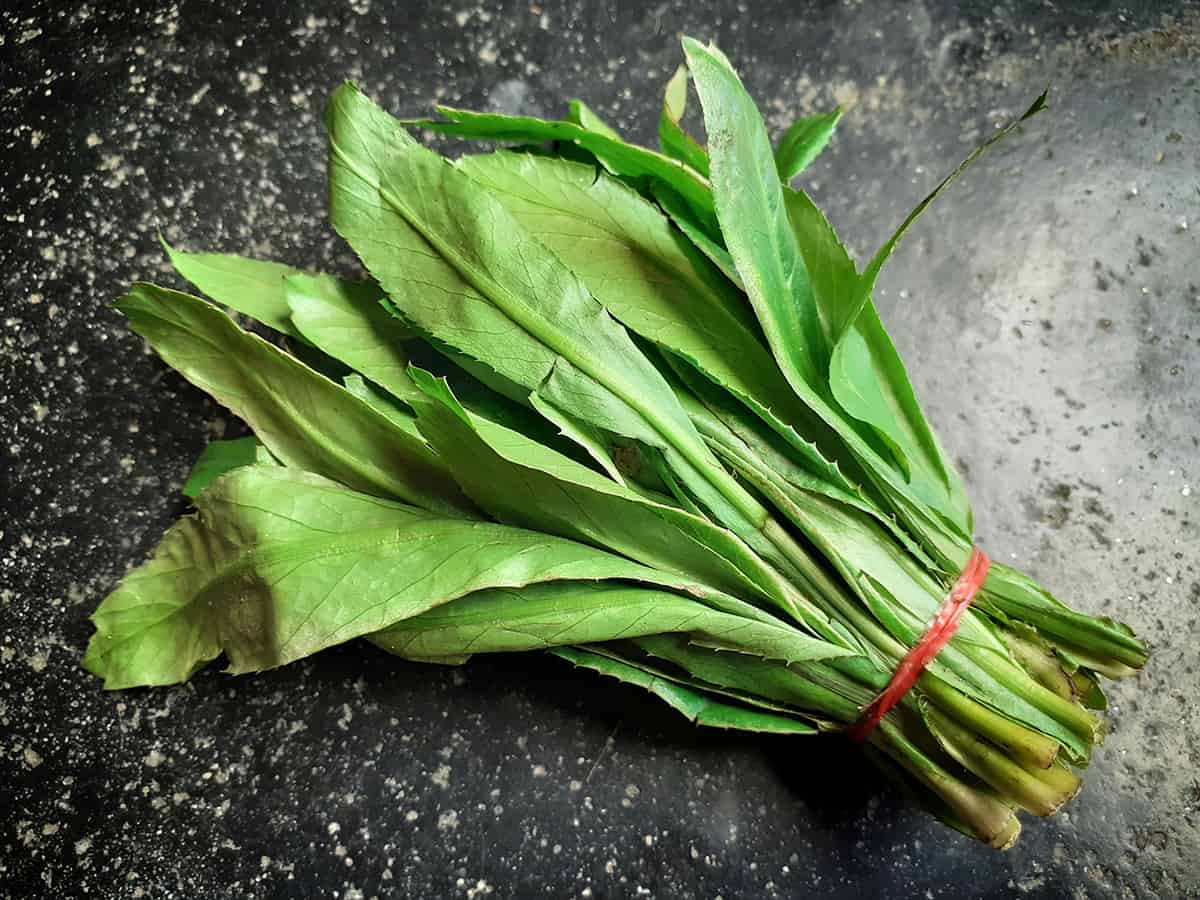
Culantro looks different from its cousin cilantro. For one, it’s taller and goes to seed in the lengthening days of spring rather than summer.
Once you see the plants side-by-side, it’s easy to tell them apart, but both have similar aromas, with culantro being stronger.
Most people grow culantro as an annual, but it’s technically a biennial plant. That means it grows for two years if it’s propagated in a warm enough region to allow it to overwinter.
Culantro is a tropical plant, so while those in colder areas can grow this culinary herb, it’s only possible to grow it as an annual in the ground. This herb grows as a biennial in USDA Growing Zones 7-11.
Planting Culantro in Your Garden
The best time to plant culantro outdoors is in the spring after the final frost in your area. This plant isn’t frost-friendly, so make sure the danger is gone before planting it outside. Exposure to frost kills this herb.
This herb likes well-draining, fertile, rich soil with a pH range between 6.0-7.5. Before planting, it’s best to mix in several inches of compost or composted manure into your soil. This adds the nutrients that the culantro plant requires for optimal growth.
Culantro grows native in Central America in partly shady areas. In your garden, aim for the same conditions. Culantro grows best in partial shade, resulting in larger leaves and a prolonged harvest.
Increased temperatures and too much sun cause this plant to go to seed, causing the leaves to turn bitter. Planting culantro in full sunlight shortens the overall life span.
Starting Culantro From Seed
This herb is slow to start from seed, but it grows well once it establishes in the ground. It’s best to start the seed indoors 6-8 weeks before the final frost date in your area to give the plant the best head start.
Fill your seedling pots with a seed starting mix or coconut coir and peat moss mixture. Make sure to keep the planting media moist after you plant two to three seeds in each pot.
When starting culantro seeds indoors, the more heat and warmth provided, the faster the seeds germinate. Consider using a heat mat for your culantro sprouts. It takes 14-30 days for culantro seeds to germinate.
Transplant the seedlings outside after the last spring frost. Plant the seedlings in containers or into the ground that’s prepared for these herbs. Space each culantro plant 8-12 inches apart, and be sure to water well after planting to establish the root system.
Growing Culantro in Containers
Many gardeners prefer to grow culantro in containers because frost kills this plant. Growing this herb in a container lets you bring it inside before the temperatures get too low.
Pick a deep, wide container, such as one that is 8-12 inches wide and deep. Use potting soil designed for containers to ensure it’s well-draining.
Caring for Culantro Plants
For the most part, culantro is an easy, low-maintenance plant that just needs to be watered and fertilized regularly. Here is what you need to know about caring for this herb.
Make sure you check the soil around the culantro plants regularly. If the top inch of the soil is dry, it’s time to water.
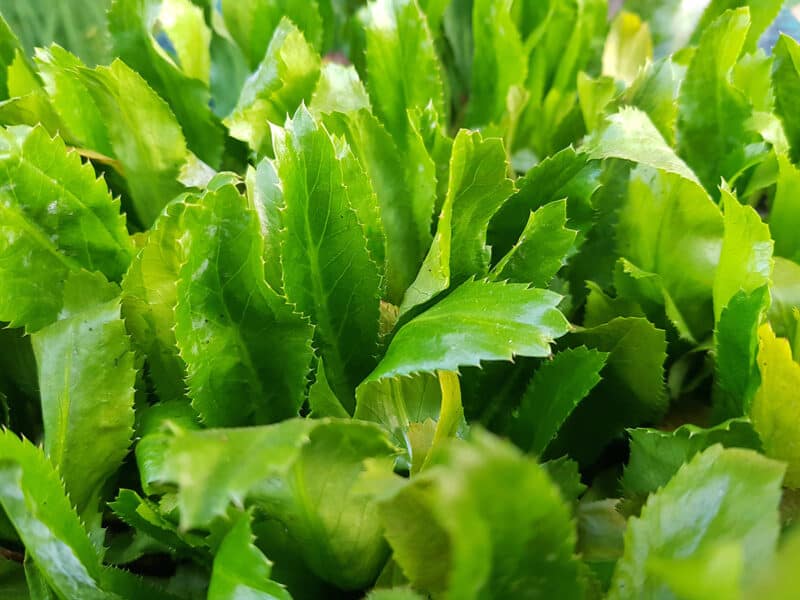
Applying a thick layer of organic mulch around the base of your culantro plants helps to retain moisture in the soil. Organic mulch prevents the growth of weeds around the plant that might compete for the nutrients in the soil.
Culantro plants benefit from regular feedings because it leads to more leaf production. Try using liquid plant food every other week on your plants.
Another option is to mix a slow-release granular fertilizer into the soil when planting in the spring. A 14-14-14 blend provides the plant with nutrients for three to four months. You might also side-dress the plant with compost.
Culantro Companion Plants
Culantro has several good companion plants that you should consider when growing this herb.
- Cilantro
- Peppers
- Oregano
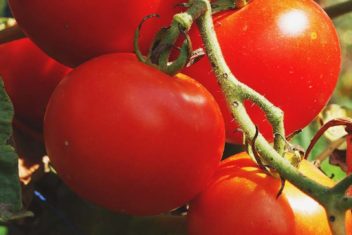
- Tomatoes
Culantro Pests & Diseases
One of the best reasons to grow this herb – beyond the flavor – is that it’s generally considered a pest and disease-free plant. It has few problems, making it ideal for those who need low-maintenance addition.
Here are some of the potential problems that culantro faces.
Armyworms
If you see closely-grouped circular holes in the foliage, you might have armyworms. These young larvae feed heavily on plants, leading to the skeletonization of the foliage.
These insects reproduce so quickly that they can build up rapidly and kill a plant. It’s possible to control an armyworm population by using Bacillus thuringiensis as a biological control method. Neem oil also works in some cases.
Nematodes
Several species of nematodes appear in the case of direct sowing, but the root knot nematode is the most common one to infect this herb. Root knot nematodes cause galls on the roots that reduce the plant vigor. You might notice yellowing of the plants and, eventually, the plant will die.
Solarizing the soil before planting your herbs reduce the nematode population. Otherwise, treating plants infected with root knot nematodes are hard to treat. In most cases, these plants need to be removed.
Bacterial Leaf Spot
This bacterial disease causes small, water-soaked spots between leaf veins that eventually enlarge and turn brown or black. It might cause dark streaks along the stems, along with a yellowing of the plant.
It’s difficult to control, so make sure to avoid overhear watering and never work with a wet plant. In most cases, plants infected with bacteria leaf spot must be removed from the garden.
Harvesting Culantro
Harvesting culantro is similar to harvesting most herbs. The plant is ready to harvest about 10 weeks after seeding.
Pick the individual leaves throughout the summer until the high temperatures arrive. Once the hot temperatures set in, the plant grows out of its rosette, stretching upwards in a stalk as it goes to seed.
After it sets seeds, the plant dies. Sometimes, the seeds drop to the ground and reseed, but in areas with freezing temperatures throughout the winter, most seeds die in the ground.
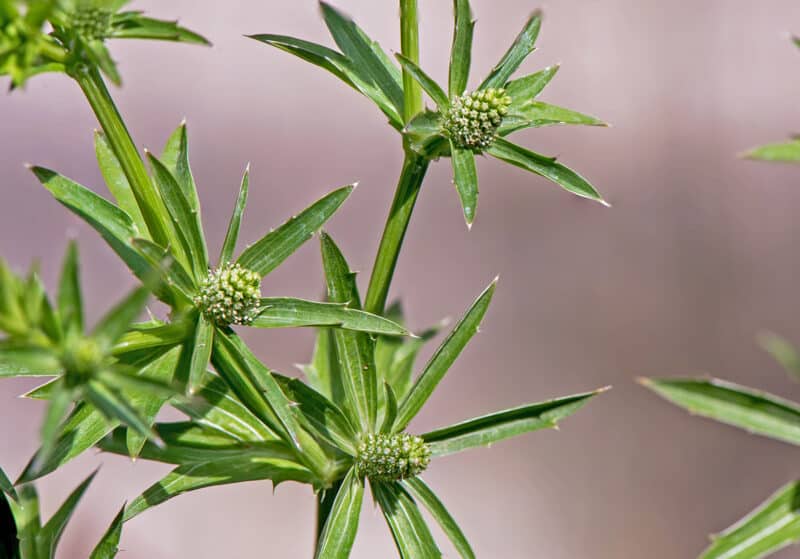
Make sure you cut off the flower stalk when it appears to encourage more leaf production rather than flowers. In time, the plant will flower, and at that point, the leaves have a tough, less-appealing taste and texture.
The outermost leaves are the first ones that should be harvested. Wait until they are large enough to use and use sharp, clean gardening shears to remove them from the plant.
Preserving Culantro Leaves
After harvesting, culantro leaves have a short lifespan unless preserved. The most popular way to preserve this herb is in olive oil. Keep the leaves in the olive oil in an air-tight container inside of the refrigerator.
Another option is to allow the leaves to dry, and then grind them into a powder. Culantro powder retains its flavor and color well, but be sure to store in the refrigerator to preserve the flavor.
