Rain rain go away, come on back some other day! What happens when the rain does go away, and your plants are suffering from lack of water? Some people turn on the sprinklers, but drip irrigation may be the best way to protect your plants from drought and keep them healthy.
Irrigation is essential for most gardens since water doesn’t always go where we want it when we want it. It’s especially important in areas where water conservation is necessary, as it is in many western states. It’s also helpful for those on a private rainwater catchment or cistern system.
Drip irrigation is a system of watering plants in which you send water through tubes that are run in or on your garden soil. In this article, we’re going to give you the basics of drip irrigation and explain to you why you should use it (hint: it will improve the health of your garden and save you cash).
What is Drip Irrigation?
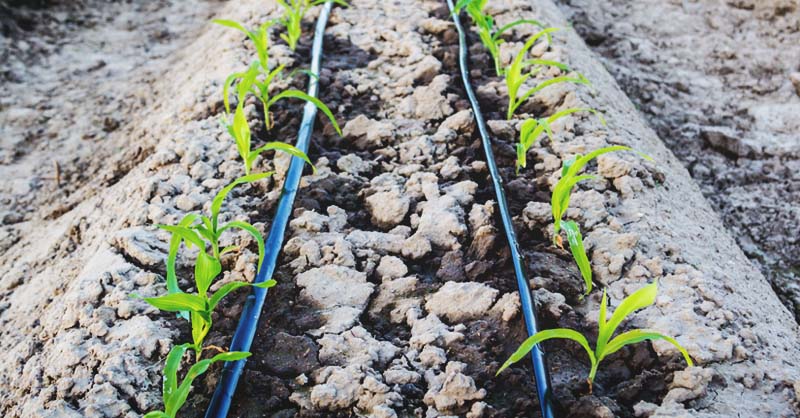
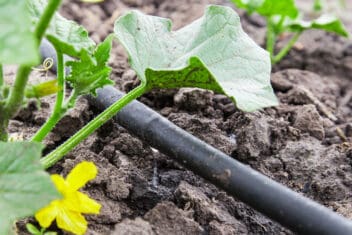
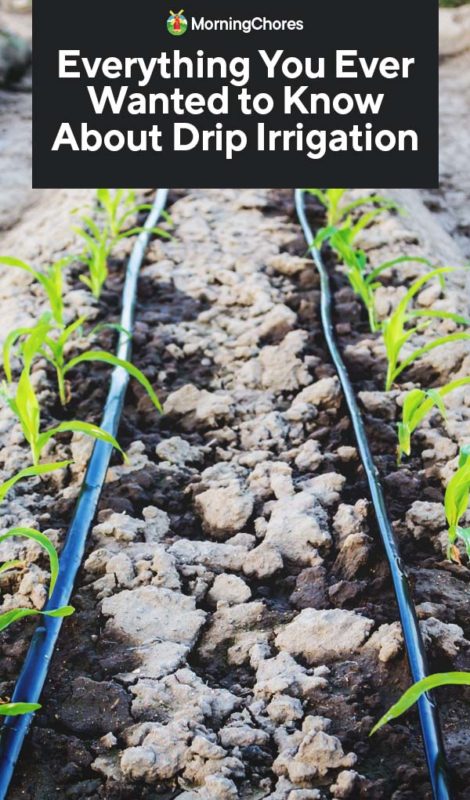
Drip irrigation is sometimes called trickle or low flow irrigation. With drip irrigation, you send the water through long tubes. These tubes have small holes called emitters that release water to your plants. Because the rate is slow, the water is more readily absorbed into the ground. This system saves water by reducing evaporation and runoff. It also targets the roots of the plants, rather than providing water at the leaves, which is better for most plants.
Advantages of Drip Irrigation
Drip irrigation is uniform and allows you to cover a large area. In addition to conserving water, it saves the gardener an enormous amount of time. Drip irrigation:
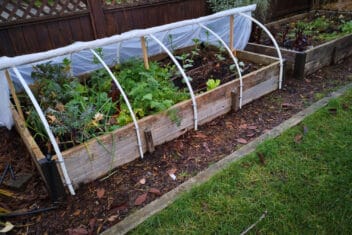
- Is flexible and can be used in raised beds, irregularly shaped gardens, and in containers.
- Reduces soil erosion.
- Makes it easier to send fertilizer to the roots of your plants.
- Is cheaper than other irrigation systems.
- Give plants a more direct source of water and nutrients, which makes them healthy and happy.
- Reduces diseases, especially fungal diseases, by keeping foliage dry.
Disadvantages of Drip Irrigation
Drip irrigation systems work much slower than sprinklers and are measured in gallons per hour. This slower rate means that the water is going where you need with little loss, but it takes a long time. This can be an advantage or a disadvantage depending on what you’re looking for. The other potential disadvantages of irrigation are:
- The initial cost is higher than some overhead or hand watering systems.
- You can damage tubes by stepping on them, running over them with a tiller or mower, or the sun can break them down.
- Time factor – setting up, taking down, and general maintenance requires time and labor.
Why Not Sprinklers?
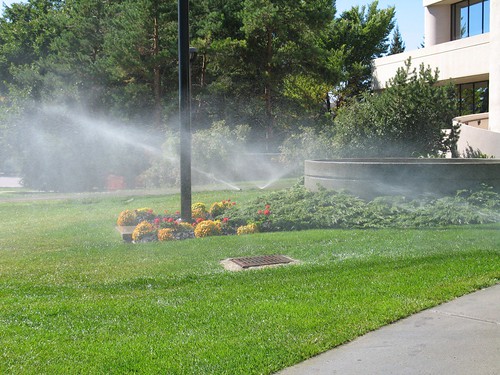
Overhead irrigation, such as your sprinkler system, sends out water that lands on the plants, soil, and anything else within range. So you may be watering pathways, rocks, weeds and other non-necessary things. It can also result in uneven watering.
Overhead irrigation applies water rapidly. Most overhead sprinklers measure water on a per-minute basis, which means that the soil may not be able to soak up all the water, leading to puddling and waste.
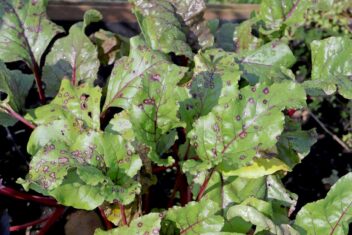
Sprinklers also waste water through evaporation and wind drift. On top of all that, sprinklers apply water to the leaves of plants, which can attract diseases like molds, fungus, and bacteria.
Types of Drip Irrigation
Now that you know why you should choose drip irrigation, it’s time to learn about the different options. There are several different types of drip irrigation systems.
Surface System
The surface drip irrigation system utilizes emitters that are laid out on the surface of the garden soil. They send water down into the ground about six inches deep.
The advantage of this system is that it is easy to monitor. You can tell if the emitters are releasing water or possibly clogged by looking at the surrounding soil.
The disadvantage of this system is that it is labor intensive. Generally, you put the driplines out at the beginning of the season and take them back up for storage at the end of the season to prevent winter damage. You also can’t water deep with surface drip irrigation.
Sub Surface System
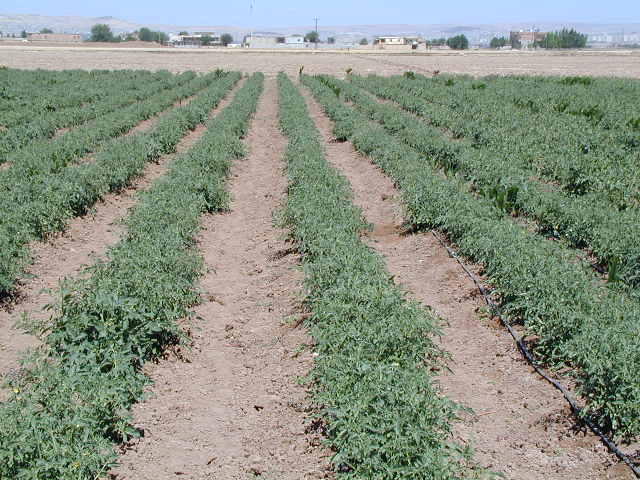
The subsurface system (SDI) is more permanent than the surface system. Typically, you see this system on large farms, but it’s becoming more popular with smaller operations.
For this system, you bury hard tubing in the soil. These lines can be placed below the level of your plow or tiller to avoid damage. Unlike the surface system, you don’t have to pull the lines up during the winter.
One disadvantage of this method is that the water is deeper and not as available to seedlings or small plants. It’s also harder to determine if things are working as they should because you can’t readily see the tubes.
Soaker Hoses
Soaker hoses are porous and covered in tiny pinpoint holes. The water sweats out of them onto the soil. They work well in raised beds, containers, and beds alongside a building.
Soaker hoses are flexible and can bend to go with your bed if it has an irregular shape. They’re perfect for smaller gardens.
The disadvantage is that they’re easier to damage and take more work to maintain.
How Does Drip Irrigation Work?
No matter the type of drip irrigation system, they all tend to have the same components. Knowing how these systems are made up will better help you understand how they work.
Water Source
Every drip irrigation system needs a water source, whether that’s city water, a cistern, a tank or a well.
Your set-up will vary depending on your water source. For instance, if you are on city water or use a well, then you’ll need a pressure control valve or regulator to control the flow of the water going into the tubes.
Many of us in rural areas don’t have access to city or county water and use cisterns or wells to meet our water needs. You can design a gravity-fed drip irrigation system that sends water from a cistern or rain barrel to your garden. Wells and city water, on the other hand, require a pump.
Valves, Filters and Gauges
Valves are located between your water source and your emitter pipes. They regulate the water flow and can be turned on or off. You can also have your valves on a timer system to automatically regulate the flow. You’ll want to install some hydraulic valves at the joints to direct where you want the water to go.
Filters are installed before your valve so that they don’t get clogged. Filters are especially vital if you’re collecting rainwater from a rooftop because the water may contain dirt particles or debris.
Gauges measure the amount of water passing down your irrigation line.
Pipes, Tape and Tubes
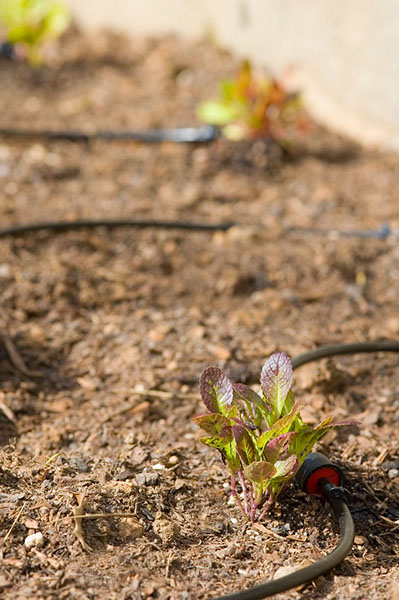
Polyethylene tubing is the workhorse of your system. Depending on the size of your garden you will be using a lot. Fortunately, it’s the least expensive part of drip irrigation set up.
Tubing transports the water throughout your garden. The water is then released through emitters into the soil. Some tubing comes with preset holes, while others allow you to poke holes where you need them. Holes may be predrilled 6, 9, 12 or 18 inches apart. Emitter tubing is ideal if you have long rows or uneven ground.
Instead of tubing, you can also go with drip tape. Drip tape is a flat, inexpensive line of tape with holes in it. It doesn’t last as long as tubing and requires frequent repairs. Drip tape is flexible and ideal if you have a curvy plot or raised beds. Tape runs on low water pressure which makes it good for gravity feed systems.
Keep in mind that you will need to place a joint at any corners unless you’re a using soaker hose or tape, which is more flexible.
Emitters
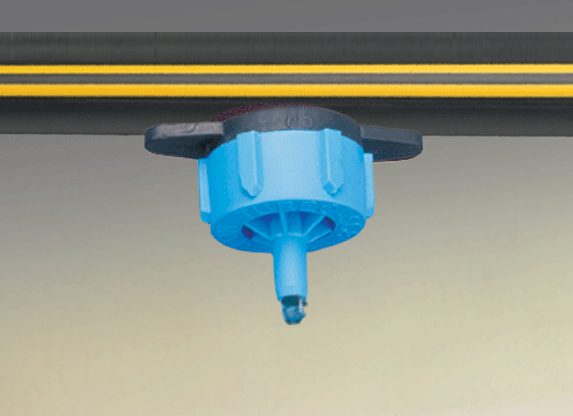
Emitters can be the holes in your tubing, or they can be an additional emitter plug. A plug is a plastic piece that fits into the tubing like a teeny, tiny sprinkler head. They’re a good idea if you have high water pressure and need to control the flow.
Regulators
Water pressure regulators ensure that moisture reaches every part of your garden. Essentially, regulators prevent high pressure and low-pressure areas from forming in your lines.
Controllers
Finally, you’ll need a way to control the whole system. This can vary from a simple manual set-up to a complex computer system that keeps things humming.
Gravity Fed Drip Irrigation
Drip irrigation is incredibly efficient, and even more so if you use gravity to feed the water into the tubes. I use a gravity fed system with a 400-gallon tank on the back of my barn that collects rainwater with couplings to allow for a garden hose connection. The garden hose runs down to one of two gardens. I then attach the emitter tubes to the garden hose. These tubes run throughout my garden.
The downside is that I have to monitor this system. I turn it on at the tank and then watch to see when the soil looks sufficiently wet, which is labor intensive. However, it’s still better than hauling water buckets in August.
If you go with my set-up, I suggest putting a filter between your water source and the tubes so that your lines don’t become clogged. You can also set up your gravity feed system in an automated way, though it will cost you more.
Designing Your System
Now it’s time to create a drip irrigation system for your garden.
Planning
Every garden is unique. The best way to plan your drip irrigation system is to draw out your space on a piece of paper. Make a note where you experience water runoff or pooling. What areas of the garden tend to be dry?
Next, measure where you want to place your pipes. This will tell you how many total feet of pipe you need to get from your water source down to the garden. Measure the length of each row and draw it out on your plant. If you’re going around beds you can lay out the string and then measure your length.
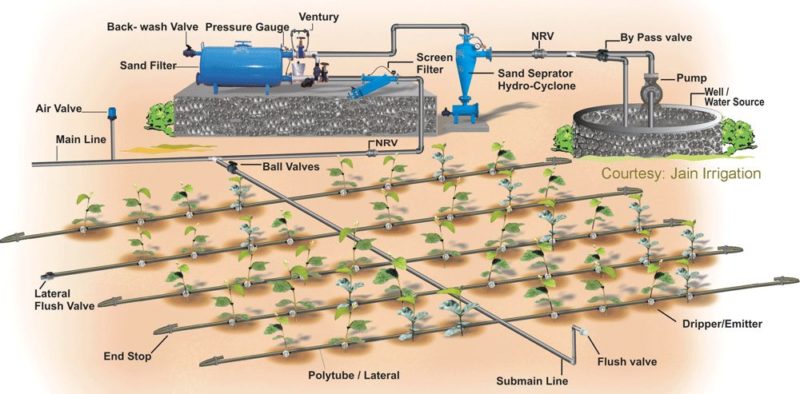
Each area you run emitter pipes to is called a zone. You may have several zones. For example, a vegetable garden, berries, and herb garden may all be in one zone, while fruit trees are in another, and need a different plan.
Spacing
You can purchase different tubes depending on what plants are in the row. For example, I plant cutting lettuce about six inches apart. So the tubing I use for them has pre-drilled holes every six inches.
You can also purchase tubing without holes and insert holes using a punch wherever you have plants.
If you’re feeling overwhelmed, plan out one section of your garden at a time. This way you can get used to your new way of watering and only invest a small amount at a time.
Drip Irrigation Kits
If you are feeling confused about putting it all together you can check out irrigation kits which are widely available online. These contain everything you need for individual gardens. The downside of kits is that they do not take into consideration the needs of your individual set up. That said, they’re a good option for people who are new to drip irrigation.

