I’m sick of seed starting. Every year, my enthusiasm is stolen by problems that arise during the process. This year, a fungal disease knocked out a whole shelf of plants. It wasn’t the first season I considered throwing in the towel – seed starting is a stressful process.
Don’t get me wrong; it’s one of my favorite parts of gardening. I love watching the tiny seeds I’ve planted sprout and grow bigger each day, but every year, my basement is taken over by massive shelves filled with seedlings. And the containers. SO. MANY. CONTAINERS.
I’ve tried them all. The first few years I tried my hand at seed starting, I used jiffy pellets and a single grow light and had moderate success. I graduated to flats and inserts not long after because I wanted to upgrade my efforts. I liked the inserts fine, but they were expensive and flimsy.
Next, I tried pots. First, round ones because they were the cheapest I could get my hands on. But I hated that they didn’t fit flush in my sizeable plastic shelf trays. I opted for square pots the following year and loved how sturdy they were. Still, square pots don’t work for all plants.
This year, I mixed and matched my seed starting containers and tried out cow pots. I wanted a solution that was less wasteful than what I’d tried in the past and one that would be less work when the time for transplanting came around. They were fine but extremely pricey, and I couldn’t afford enough for my entire fleet of seedlings.
Then, I found out about soil blocking. No more pots, no more expensive, throw-away supplies, no more stress around transplanting.
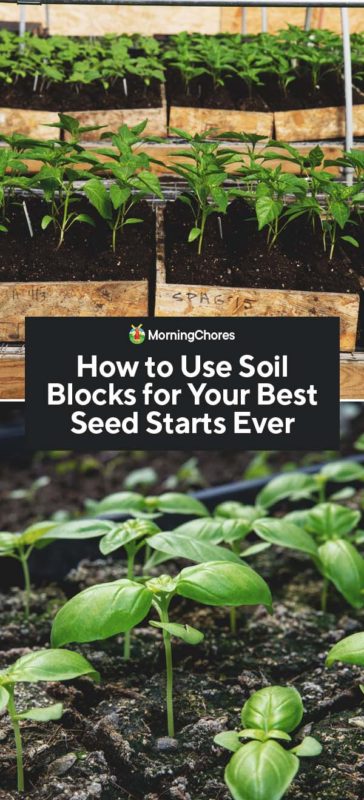
Why Soil Blocking Is So Great
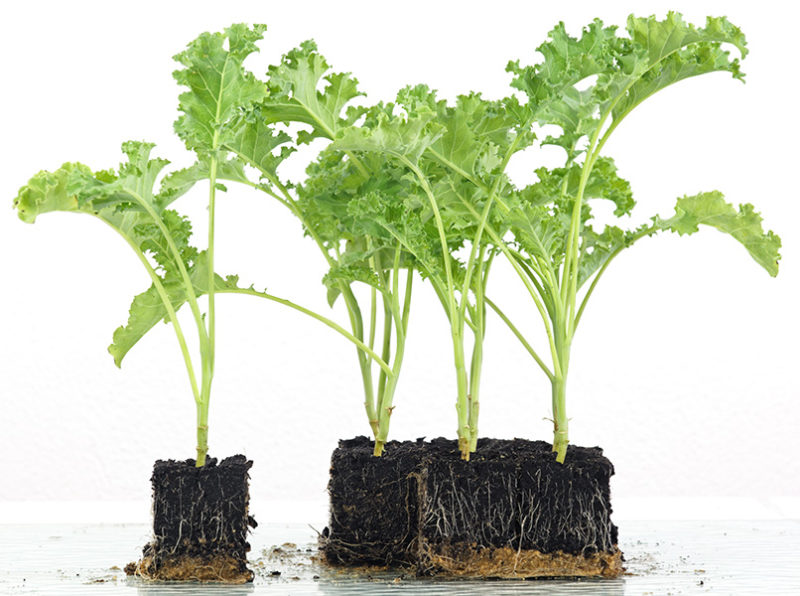
Soil blocking is exactly what it sounds like. It involves creating compressed blocks of soil to start seedlings in. Why should you try it? There are a ton of reasons:
It’s Inexpensive
Aside from the cost of creating or buying seed starting mix and purchasing the initial tools required, there’s no need to acquire flimsy pots or containers each year – even if you intend to re-use them. We all know they’re easy to break, lose, or misplace, and sanitizing them is a pain in the neck!
Easier Transplanting
Because the “container” is made up entirely of soil, there’s no risk of potentially damaging your delicate seedlings’ root systems, which means less chance for transplant shock.
Healthy Root Systems
Without the constraints of a pot or container, plant roots are free to grow and breathe. Your seedlings will never become root-bound.
It’s Eco-friendly
You can use less plastic and prevent waste using this method. You’ll never forget a plastic pot outside again. You also won’t have to find space to store those plastic containers, and there’s no need to sterilize pots for next year, so you’ll save a lot of time.
No Transplanting to Larger Pots
Oh my gosh, I hate doing this every year. When my plants start to become root bound, I’m forced to upgrade them to bigger containers, and it’s such an annoying process. It’s messy and extremely time-consuming. And if you forget, you’re left with stressed-out plants, and often, the process of transplanting to bigger pots will stress them out anyhow. With soil blocking, seedlings don’t become root bound, so this process isn’t necessary.
What Are the Drawbacks?
This method isn’t ideal for those who want to eventually sell or trade seedlings since it’s kind of tough to transport loose blocks of soil.
Soil blocking can also become a messy endeavor if you’re not careful. I suggest preparing a working area by laying down a plastic tablecloth before starting. Wear gloves to prevent dirt from settling under your fingernails.
To prevent making a mess on your kitchen table or wherever you plan to soil block, use a deep container like a wide dishwashing bucket for your soil mix.
How to Start Seeds Using Soil Blocks
What do you need to start soil blocking? Here are the basics:
The Tools
- A seed-friendly soil mix (buy one or create your own)
- A soil blocker — these are available in multiple sizes, and once you purchase it, that’s it. No need to replace it every year like crappy plastic containers. If you can only afford one soil blocker, opt for a 2-inch design, which will work for most seeds.
- A container of some sort.
The Steps
- Moisten your soil mix and allow the water to soak into the mixture. If your soil is too crumbly, creating soil blocks won’t work.
- After about a day of soaking, your soil should be ready for blocking.
- Dunk your soil blocker in your container of soil and press firmly into the mix. The soil blocker cubes should be filled to the brim. Gently scrape away excess dirt.
- When you’re ready, release the little cubes of soil onto your planting tray.
- Time to plant seeds! Soil blockers leave a handy little indent that’s ready for receiving seed.
Getting the Right Mixture
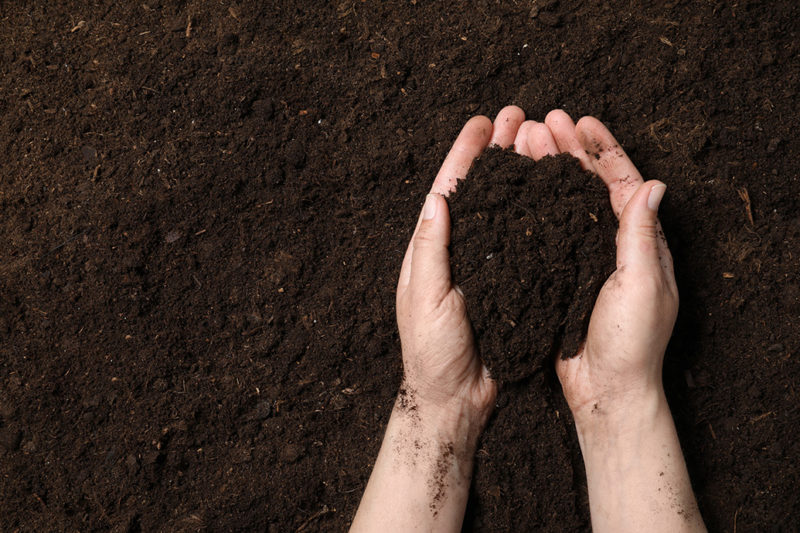
The ideal soil block mixture is composed mainly of peat in addition to compost and vermiculite or perlite. Some companies create blends especially for soil blocking, but many gardeners prefer to create their own mix. One of the most popular recipes is included in Elliot Coleman’s book The New Organic Grower. You can find a version of the recipe here.
Helpful Tips
The key to successful soil blocking is getting the right water to ratio mixture. A crumbly mix that lacks water will fall out of the blocker before you even release the mechanism. If blocks are too wet, they’ll smoosh apart after being released onto your planting tray. You’re looking for a consistency that’s similar to oatmeal.
Keep in mind that if you don’t have the right moisture levels and consistency, your soil blocks will not hold together.
Like with any other seedlings, use a dome to cover your soil blocks and retain humidity until sprouts emerge. Be sure to remove the domes as soon as seedlings have started to appear.
Don’t forget, you need to water soil blocks. Watering from below is easy with this method, and soil blocks should readily soak up water. Avoid overwatering and allowing water to pool. This helps prevent diseases from developing. Leaving water to pool cuts off root access to oxygen.
While hardening off won’t be as involved a process as with other containers, you’ll still need to harden off soil block starts. You will, however, notice that the plants are a lot less prone to damage or stress during this crucial period.
The Bottom Line
If you’re tired of all the plastic waste involved in traditional seed starting methods, consider soil blocking. Grab a soil blocker off of Amazon or any garden supply retailer and never struggle through transplanting again.
Or, if you’re struggling to find enjoyment in the seed starting process and are frustrated by the piles of spent, cracked plastic containers on your hands, soil blocking is worth considering.
