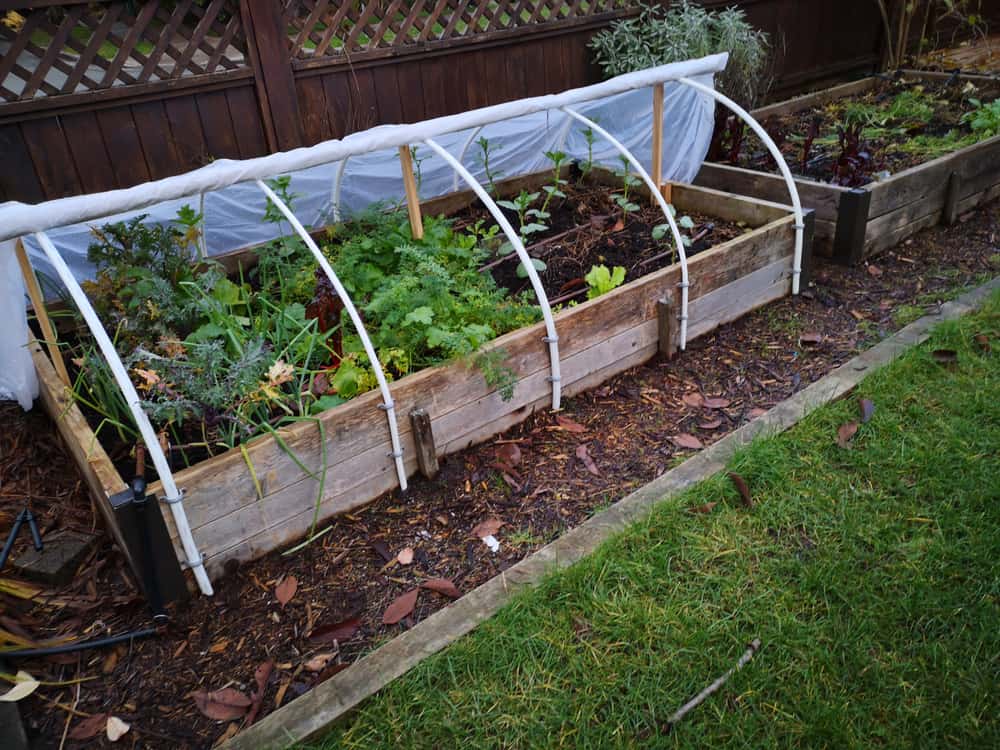
Low tunnels are an excellent tool to help extend your growing season. They are easy to construct, are temporary, and don’t cost a lot of money.
Low tunnels fit into gardens of any size or shape and can be used in winter and early spring to protect plants from cold weather. In the summer, you can use tunnels to protect plants from sun, heat, and insects.
If you want to know all about how to build and use low tunnels, you’ve come to the right place. Let’s go.
What are Low Tunnels?
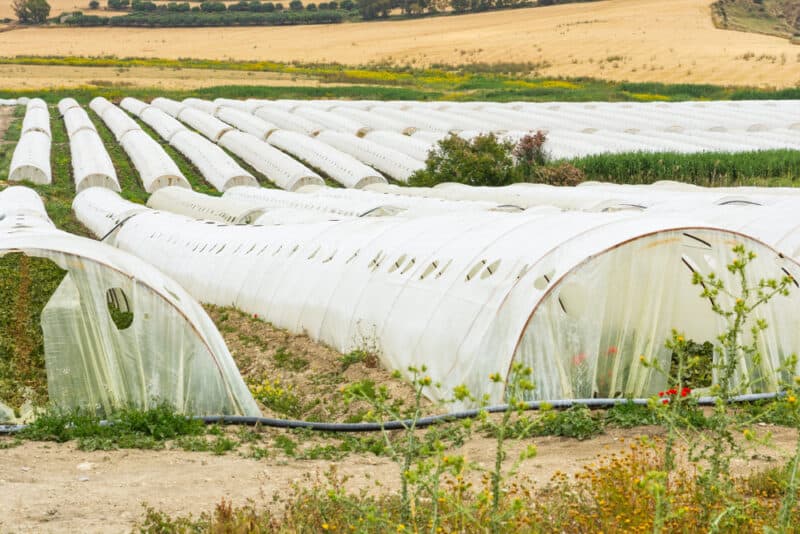
Unlike permanent structures like greenhouses and cold frames, low tunnels are temporary structures that increase your crop yield by extending the growing season. With the right material, you can protect your crops from freezing even in temps down to 24°F.
Think of a low tunnel as a mini greenhouse. It covers rows of plants or raised garden beds and protects the plants from the elements. You can add months onto your growing season using low tunnels.
A well-made low tunnel will create its own micro-climate and warm the soil more than the outside temperature. There can be snow on the ground, but the temperature inside the low tunnel can be perfect for crops that love colder weather.
Before You Get Started
A low tunnel can be made to size based on a raised garden bed you have or placed over a particular part of the garden.
Consider the following points before deciding where to construct a tunnel or new garden bed.
- Cool-season crops require soil temperatures of around 40°F. This is for both germination of newly planted seeds and for plants to grow well. Placing the tunnel in an area of the garden that is shaded or too cool may cause your crops to struggle.
- Construct the tunnel in the fall to use in winter to give the micro-climate to settle in.
- If you construct the tunnel in the winter or even late fall in colder areas, leave it empty for a few weeks to allow the soil to build up heat.
- Prepare for snowfall if your area is prone to it in winter. Even small amounts of snow can cause a tunnel to collapse, so cover the tunnel material with smooth plastic. This is to get the snow to slide off the sides, rather than staying on top. You can use various techniques to strengthen tunnels like using a top railing to reinforce the shape of the tunnel.
- Consider the size of the crop before creating the tunnel. Some cool-loving plants like kale can become quite tall, especially in optimum growing conditions.
Materials
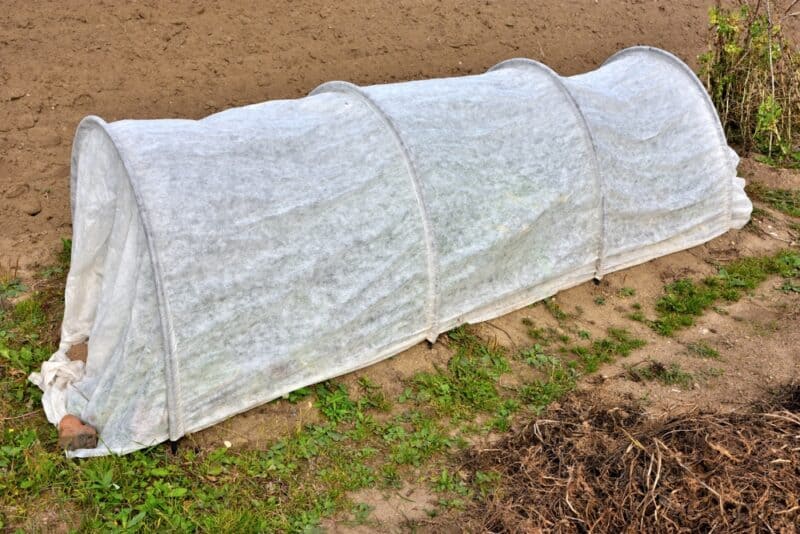
Your low tunnel can be whatever size you need it to be. The material you use can be bought from a local hardware store or repurposed from the materials around your house or homestead.
- Hoops: You can use PVC. This is my preferred material because it is light and easy to handle. PVC doesn’t have the lifespan of copper or metal hoops. Metal hoops are also harder to shape unless you have pre-made ones from another structure or tunnel, or a special bending tool.
- Cover. Over the hoops you need to lay a material to create the warmth inside. Agricultural row cover material is best. It comes in different grades depending on your requirements. You may need to protect against heavy snow, or just to keep the temperature warmer than the outside. You choose based on your knowledge of the winters in your area.
- Secondary Cover. When the real cold winter temperatures set in and snow falls, you can strengthen the tunnel by laying over clear plastic. This makes the tunnel stronger against the weight of the snow, though you have to make sure it is taut by driving in stakes at certain points, or by using sandbags around the edges.
- Base. If you are covering a raised garden bed with a low tunnel, the base of the bed determines the length of the tunnel and the size of the hoops. If you are creating a tunnel on the ground, the size is completely up to you. The average size of a low tunnel is about three to four feet tall, and up to six feet wide.
Create a Low Tunnel Using PVC Hoops
You will need:
- 8-foot-long PVC pipe (1/2 to 3/4 inch). You will need several, based on the length of the low tunnel.
- 18-inch long 1/2 inch steel rebar (as many as it takes to get the required length of the tunnel based on the next step)
Push the rebar six inches into the ground at a 45º angle facing out. Place another rebar opposite the first one about three to four feet away. This needs to be 45º facing outwards as well.
Slide the PVC pipe over the rebar pipe and do the same on the opposite one. This creates a hoop shape. Repeat this process, ensuring the rebar is pushed in far enough to be secure and the PVC hoop is pushed as far down the rebar as possible.
This tunnel should be secure enough to place the next rebar bases and PVC hoop in the ground three to four feet away.
Create a Low Tunnel in a Raised Bed Using PVC Hoops
This is the easiest (therefore, my favorite) way to make a low tunnel. You can cover just a portion of the garden or the whole thing.
You’ll need a drill and some screws, along with your PVC.
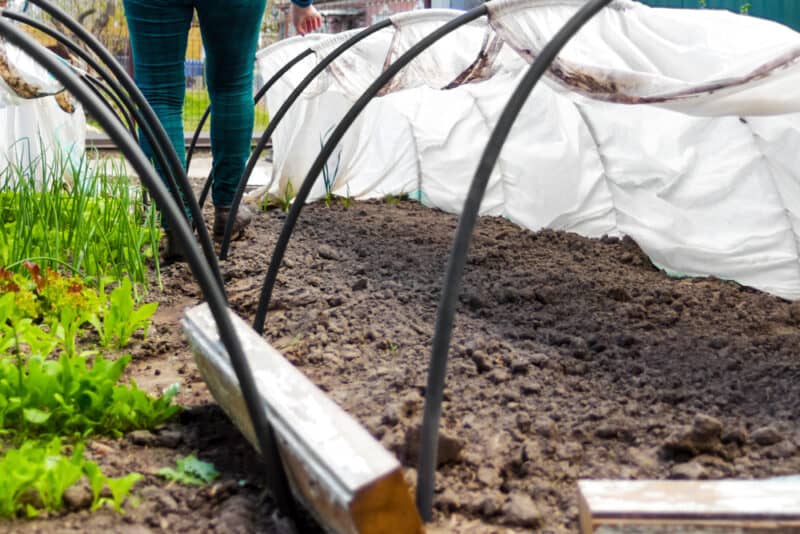
Measure out the length of the PVC pipe to the length and height you desire. Basically, you are creating the hoop from one side to the other.
- Drill two holes in both ends of the PVC, the first about an inch from the end and the second four inches from that one. (The distance between the holes depends on the height of your raised garden edge.)
- Place one end on the inside of the garden bed edge and drive a screw through the first hole into the side of the bed. Repeat with the second hole.
- Bend the PVC pipe over to the other side and fasten using screws just like the first side. This creates your hoop shape.
- Repeat every three feet along the garden bed. Do this as many times as you need to cover the area.
- You may need to secure a top railing. You can use a straight piece of PVC to do this.
Create a Low Tunnel Using Metal Hoops
This version requires special tools, so it might be a method you look at if you are handy with them or you already have the tools on hand. It tends to be longer lasting than using PVC. You will need:
- A hoop bender: These can be purchased online and in some retail stores. They can be attached to a workbench or even a wooden picnic table.
- Galvanized or aluminum tubes: preferably a quarter-inch diameter for the internal hoops and half or inch for the ends for strength.
The hoop bender determines the size of the tunnel. Aim for at least a four-foot wide and four-foot-high hoop. Place these no more than five feet apart.
Form the hoop using the bender. They will come with instructions and may be slightly different, so read the manual first. Once the hoop is formed, push it into the ground to around six inches deep. Do this to both sides for the length of the tunnel you need.
Place the Cover Over the Hoops and Secure
Once the frame of the tunnel is created using whichever hoops you choose, it’s time to cover and secure.
Agricultural row cover material or frost cloth is best. You can use any material you want, though it needs to be light and breathable. Try not to use plastic as the cover, as this can cause sweating and condensation in the tunnel.
You can use two layers of you’d like an extra layer of protection.
Use plastic as an additional cover when the snow comes. This makes the snow slide off to the side.
There are many ways to secure your cover to the frame. Just make sure it is tight and protected from moving in the wind.
The sides can be secured to the ground using dirt, sandbags, bricks, stones, pegs, empty plant containers, or anything else that will anchor the material down. Just remember you need to be able to get into the tunnel, so don’t make it too difficult on yourself.
At a bare minimum, place heavy bricks or stones at the base of each hoop on both sides.
Tie the end together with string and secure it to the ground using stakes. I find driving the stake into the ground and then securing the end to that with string works best.
You can buy row cover clips, so if that is easier for you, they are common in many garden retail stores or online.
Crops Suitable for Low Tunnels
Try any cool weather crop, but these are good to start with.
5 Tips for Low Tunnels
- Low tunnels can get warm inside on sunny days. Open the sides up on warm days to let fresh air in. If the temperature is above 55ºF, open the tunnel. If the nighttime temperatures approach 32°F, cover before it freezes.
- Various-sized hoop benders are available, so you can make tunnels from large to small dimensions.
- Construct the tunnel in the fall to allow the soil inside to warm up before planting on a warm day.
- If you construct the tunnel in winter, it needs to remain empty of plants for at least two weeks.
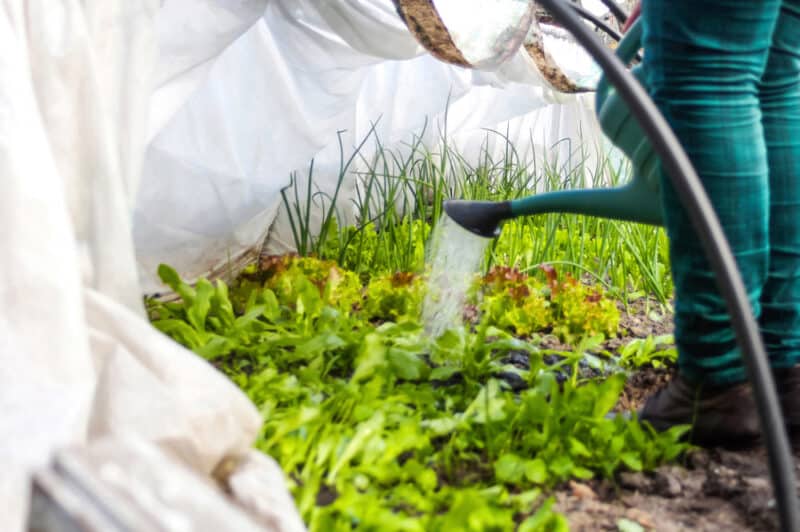
- Allow easy access for watering and checking plants.
