
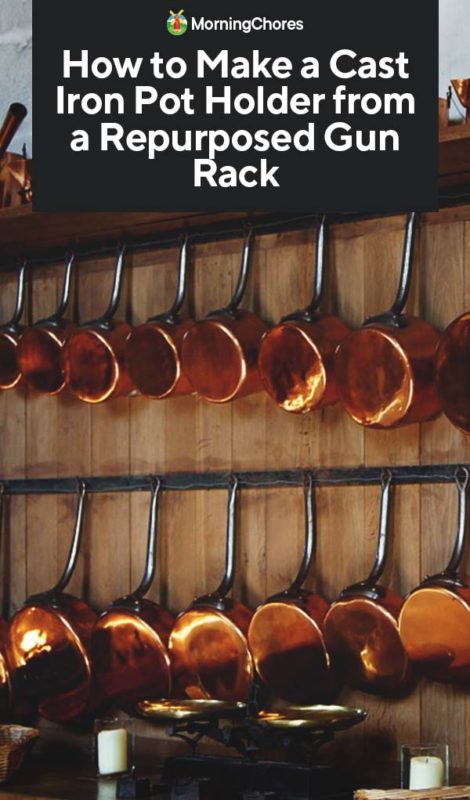
While browsing the internet the other night, I came across an interesting question.
The question was how do you store your cast iron? Many ideas accompanied the answer, and I shared how I stored mine and posted a picture.
Surprisingly, my phone blew up consistently for the following hours because people were interested in how to recreate this nifty cast iron pot holder my husband had made by upcycling a few items.
Since it was such a big hit, I wanted to share it with you too. If you’re interested in creating a pot rack or in a simple way to store your cast iron pans, here’s what you need to know:
You’ll Need:
- A single horizontal gun rack
- Wooden dowel rod
- Large cup hooks
1. Dismantle Gun Rack
Finding a single horizontal gun rack is not easy. Many racks offer two or more areas to store the guns horizontally.
The reason being, most people own more than one gun. They also like to place their weapons where they’re on display for both pride and safety reasons.
However, when creating a potholder, you only need one layer of the gun rack. Therefore, you must dismantle the gunrack to where you have the two end pieces.
The idea is to place the curtain rod in the ends for it to rest as a gun would.
2. Attach Rod
This next step is simple. It’s important to make sure the dowel rod is secured to the rack because this is what will be holding up heavy cast iron pans.
You’ll need wood screws and an impact to attach the dowel rod to the gun rack. Place the rod securely at each end of the gun rack and drive screws into the ends.
When done correctly, the shower curtain rod should have a screw through it which attaches it to the wood of the gun rack.
If you miss this step, your toes could pay the price, so make sure the dowel rod is attached securely.
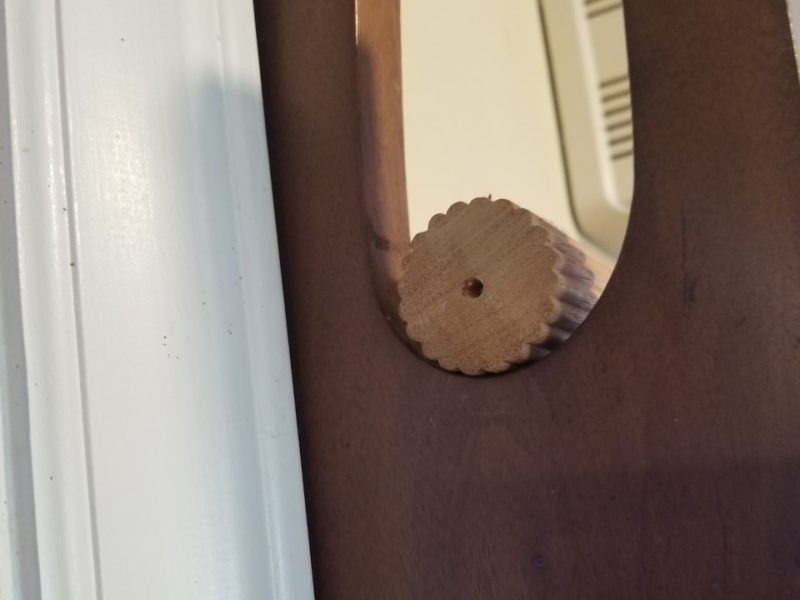
3. Insert Cup Hooks

This step is the part that was a breeze for my husband but drove me insane. If you have a firm grip, you should have no trouble screwing the cup hooks into the wooden dowel rod.
I, however, had a hard time applying pressure and screwing something into a piece of wood simultaneously.
I found it easier to predrill a hole in the dowel rod to encourage the cup hooks to screw into the wood easier. It’s up to you and what your comfort level is.
Make sure you consider spacing before adding the hooks. Our hooks are approximately 6-inches apart.
4. Hang on the Wall
This step is pretty self-explanatory. First, make sure to search for the studs in the walls before hanging the cast iron pot holder.
It’s vital because if you don’t attach the holder to a stud, it’ll be supported by drywall only. Drywall tears easily under pressure.
Considering this potholder was built with the intention of hanging cast iron on it, it’s vital it be attached to studs in the wall.
You can sometimes tell when you’ve hit a stud by knocking on the wall. It will sound as if you’re hitting wood under drywall instead of the typical hollow noise you hear when tapping drywall only.
However, if you don’t feel comfortable using the knocking technique, you can also use a stud finder to make this task easier.
When you’ve located the studs in the wall, this will tell you where to hang the potholder. Be sure to use a long enough screw which can be driven through the potholder and into the stud in the wall.
Secure both ends of the potholder with screws and pull on it to make sure it is as secure as possible.
5. Hang Your Pots
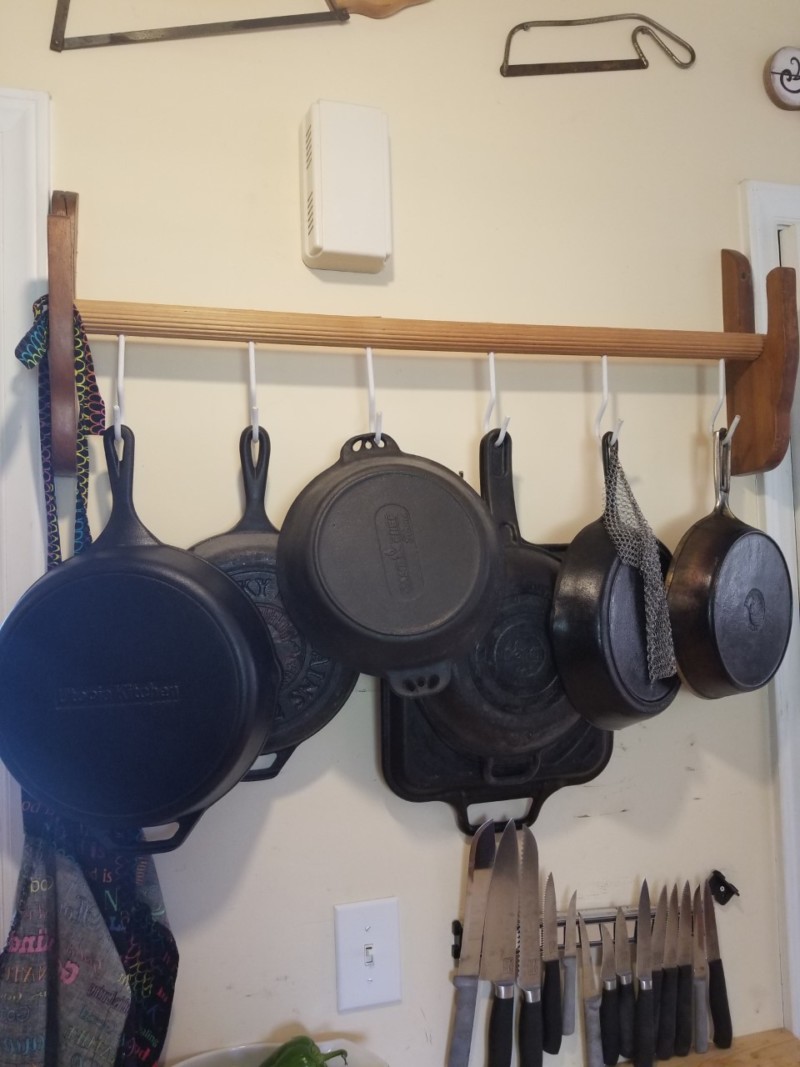
The next step may seem an obvious step in the process of making the cast iron pot holder. You need to choose the pots you’d like to display on the potholder and hang them.
Depending upon where you placed the potholder, it may make a difference in what order your pans are aligned.
In my case, my potholder is hanging in my kitchen between my basement and bedroom door. It’s important I keep shorter and flatter pans towards the end of the potholder to prevent people from hitting their shoulders or heads on them as they rush in and out of doorways.
Once your pans are organized, your job is technically complete. However, I still have a few more items to point out to you as to why this potholder is such an amazing DIY project.
6. My Favorite Part
When we create DIY projects, I like them to be items I’m going to want to hang on to for many years. We’ve been using this potholder for approximately 4 years.
There are a few things I adore about it, and I’d like to point them out to you in hopes you’ll appreciate your pot holder as much as I do mine.
First, I love how this pot holder hangs flat on the wall. I’ve tried using the holders which hang in a square from the ceiling.
When you live in a smaller home, it’s challenging to have items hanging from the ceiling because you can easily hit your head on them.
Not to mention, I don’t want my cast iron hanging from the ceiling in case it decides to fall. That would be painful!
Next, I love this potholder because it allowed us to utilize items we had hanging around our home but weren’t using.
In this case, it was extra cup hooks from another project, a gun rack my husband had won in a box of items he purchased from an auction, and an old dowel rod my mother-in-law had but wasn’t using.
In short, this cost us no money to create a fully functional item. If you have items hanging around your house, try to use them on this project.
Your cast iron pot holder doesn’t have to look identical to mine. Which is what makes it your DIY potholder.
Finally, I love having a one of a kind item hanging in my kitchen. People notice it every time they come into my home.
I’m asked regularly if I truly have a gun rack as a potholder? People notice it because it’s regular, everyday items being repurposed. Give your home some flair in a unique way without spending a fortune. Make a DIY potholder!
My intriguing pot rack caught many eyes on the homesteading forum I posted it to, and now you know how we made it.
Hopefully, your cast iron pot holder will be an item to love as well and will function well for you around your home or homestead.


