
Are you looking to have a genuine, old-fashioned Christmas? I am! I don’t like the new way of doing things where you feel pressure to spend all kinds of money (most of us don’t have) for a single day celebration.
Instead, I like to keep gifts simple, decorations simple, and eat the food I’ve grown to make an enjoyable meal for my family.
However, in trying to keep decorations simple, I’ve learned to make them myself is the cheapest option. It’s also a great way to make memories with my family.
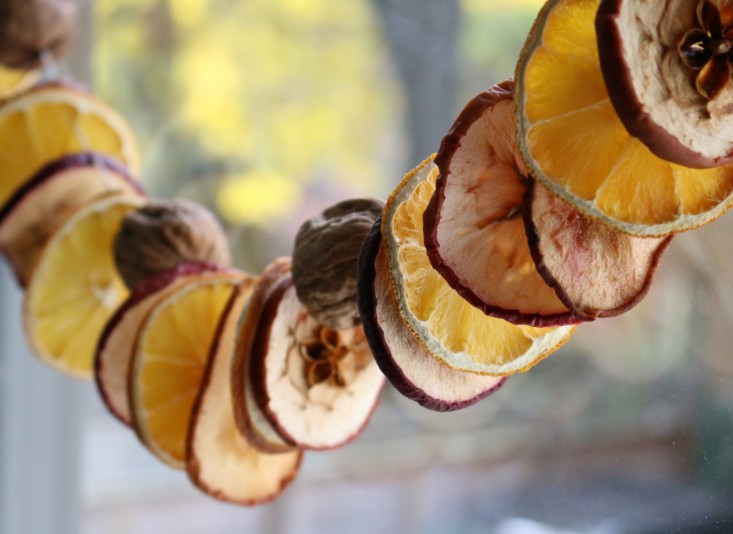
One thing we’re doing this year is decorating our tree with dried fruit ornaments. They’re simple to make and inexpensive too.
Here’s how you can make your own DIY dried fruit ornaments:
You’ll Need:
- Fruit to dry (apples, oranges, pears, or star fruit work well)
- Oven or dehydrator
- Baking sheet (if you use an oven to dehydrate)
- Lemon juice
- Spices (optional)
- Toothpick
- Twine
- Paper towels
- Knife
- Craft items for further décor (optional)
- Clear craft varnish (optional)
1. Prep Your Oven
To begin making your ornaments, decide whether you’d like to dehydrate them using a dehydrator or if you’re going to use your oven.
If you don’t have a dehydrator, preheat your oven to 200°F. If you’re using a dehydrator, pull it out of storage and make sure everything is clean and ready to be used.
Once your dehydrating equipment is ready to roll, you’re ready to get hands-on with making ornaments.
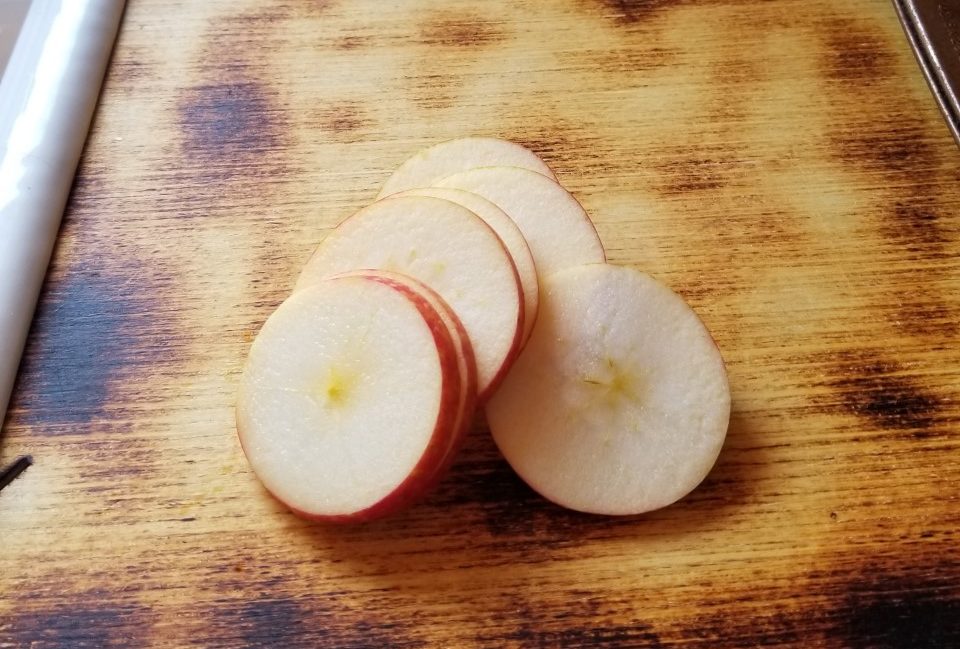
2. Slice the Fruit
The ornaments themselves will be made out of your choice of fruit. I prefer to use what fruit I have on hand or in storage in my root cellar.
You may want to use the same method or use whatever is on sale at your local grocery store. It’s your choice.
Some of the best fruits to use for this project are apples, oranges, pears, and starfruit. They each bring something different to the table with their unique designs and colors.
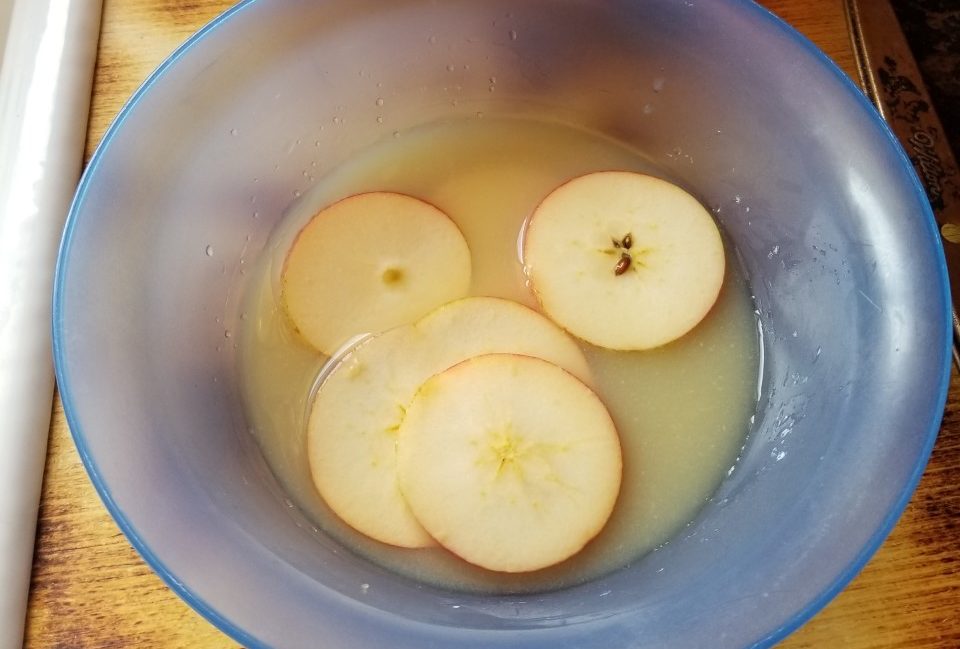
When your fruit is picked out, slice it into ¼-inch thick slices. Apples should be dunked into a bowl of lemon juice. This will help them in keeping their original color instead of turning brown.
3. Dry, Sprinkle and Poke

After your slices are finished, lay them out in rows on paper towels. Place the second layer of paper towels on top of the rows of fruit.
Any excess moisture will then be absorbed before placing them into the dehydrator or oven. When the paper towels are finished absorbing the liquids from the fruit, dab the tops of the fruit once more.
When finished, sprinkle spices on the fruit. This step is optional, but it can help add a lovely fragrance to your home during the holiday season.
A Good choice of spices for this step are cinnamon, clove, nutmeg, or you can do a mixture of them all by adding apple pie spice.
Either way, when the fruit slices have been sprinkled with spice, you’re ready to add the hole for the twine to fit through.
You can use a toothpick or any other small, sharp object (perhaps a needle or sharp pair of craft scissors would work) to place a small hole in the top of the fruit. Be sure the hole is large enough to fit a piece of twine through it.
4. Time to Dry
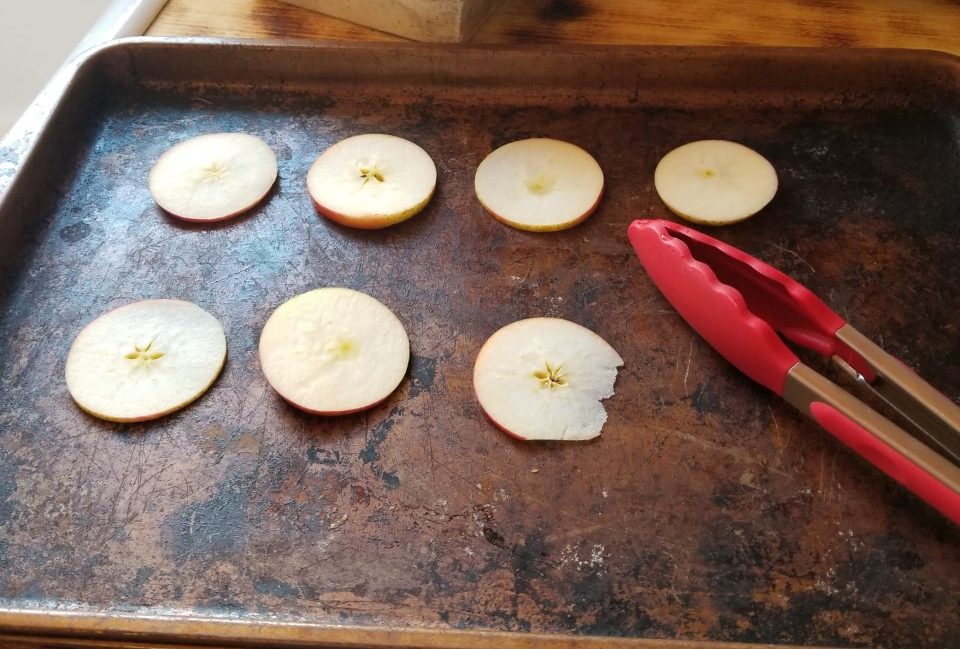
Now your fruit ornaments are ready to begin the drying process. If using an oven, place the fruit pieces on a baking sheet and put them in the oven to dry for 4-6 hours.
If you’re using a dehydrator, check the manual for your machine for proper drying times. Spread the fruit slices out on the trays and turn the dehydrator to the appropriate temperature for fruit.

Again, you may need to check your manual for specifics. You’ll wait until the time is up, and you feel confident they’re dry enough to be used as ornaments.
5. Turn Them into Ornaments
When the fruit slices are dried, you’re ready to turn them into ornaments. Cut pieces of twine into 6-inch pieces.
Run the twine through the hole in the fruit slice and tie a knot at the top when the two ends of string come together.
It should create a loop which will be how you’ll hang the ornaments on the tree.
6. Add a Personal Touch
This final step is another optional step in the process. If you’re trying to do a ‘themed’ tree or if you’re creating these ornaments with kids, decorating is a great way to make this more enjoyable or to get the decorations to fit in even better.
Therefore, you can use different craft items to add some pizazz to your ornaments. You may want to consider placing buttons in the center of the ornaments for an old-fashioned but unique look.
You could also add ribbons or small bows to the ornaments as well. A bow at the top or the bottom of the ornament would be a nice touch, or adding a ribbon outline to the decoration could add some color too.
Consider adding glitter to the ornaments. You may have it everywhere, but it’ll certainly make your Christmas tree shine, and the kids will love it.
If you haven’t used glitter in a while, add glue to the ornaments, sprinkle the glitter on it, and shake the ornaments off over a paper plate (for easy disposal.)
You can create different designs with glue or cover the whole ornament for a sparkly DIY Christmas ornament.
A final suggestion would be to turn the ornaments into Christmas creatures. You could make them look like reindeer by adding googly eyes, a red glitter nose, and a button smile.
You could do the same thing with creating a Frosty the Snowman head. The options are as vast as your imagination.
7. Make Them Last

If you’d like to do this craft once and not have to do it for years to come, consider adding a clear craft varnish to the ornaments.
This varnish will seal them. The downside is you lose the fresh fruit and spice smell, but they should last a long time when coated.
If you choose to coat your ornaments in varnish, wait until after they’ve dried. Use a small paint-brush and coat one side of the ornaments in the varnish.
When one side has dried, flip them over, and paint the other side of the ornaments with the varnish. It’s a simple and inexpensive way to have DIY ornaments which will last for years.
I know you’ll enjoy making these inexpensive and gorgeous DIY Fruit Decorations ideas – I did! They’re a great way to make memories with the kids or stick with an old-fashioned theme for your Christmas.
Remember, you can use them to solely decorate your tree or mix them with other Christmas fruit decorations as well. The sky is the limit with what you can create at Christmas.


