Every herb gardener has struggled with a harvest that they don’t know how to use up before it goes bad. Or perhaps you long for homegrown flavors in the middle of the winter. Either way, learning how to dry basil will let you extend your basil harvest.
I think basil can be an acquired taste and some people have to learn to appreciate it. Some cuisines, like Italian and Thai, center around the herb. I, on the other hand, grew up with a mild dislike of Italian dishes (except pizza — it’s the food of the gods) mainly because so many of them were seasoned with basil.
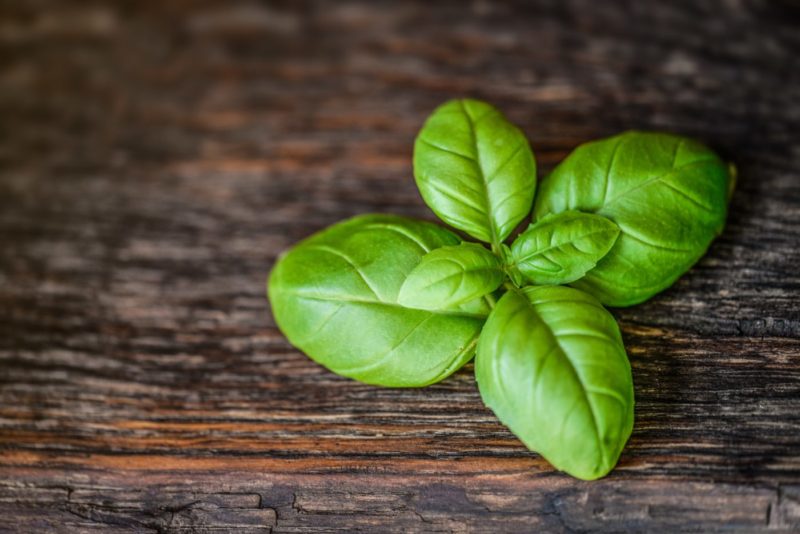
Fast forward a few years. As a gardener, now I’m incredibly familiar with herbs, and I’m no longer basil-averse. I add fresh leaves to homemade pizza and eagerly scoop dried basil into my pasta sauces. Dried basil can be an excellent way to win over basil haters because drying mutes the spiciness. In addition to letting you use your basil year round, dried basil has a unique flavor that improves numerous dishes.
Growing the Best Basil for Drying
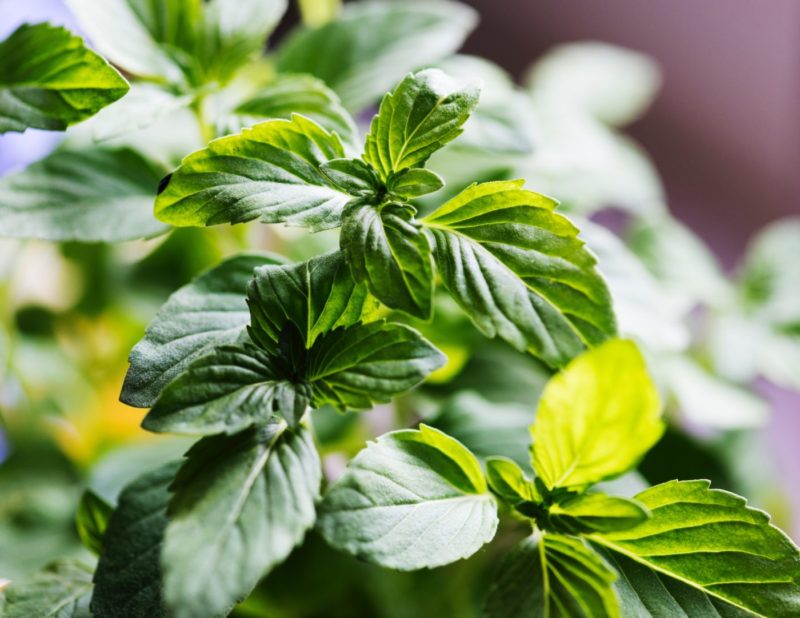
Before you can dry basil, you’ll want to make sure you’re growing healthy leaves. Our comprehensive basil growing guide has all the info you need to maximize your harvest.
Here’s a quick overview of what this herb needs to thrive:
- Basil likes warm weather, so keep it away from temperatures below 50°F. During cold months, that means it’s best to keep basil plants indoors and away from windowsills.
- Choose a pot that’s large enough. Basil is too-often sold at nurseries and grocery stores in cramped pots. If you buy a basil plant, transplant it to a larger container.
- Plant in a well-drained area. Outside, that means avoiding spots where the soil is often waterlogged. Inside, that means choosing a pot with drainage holes.
- Care for your basil by regularly watering it and allowing the soil to dry out completely once in a while.
When to Harvest Basil
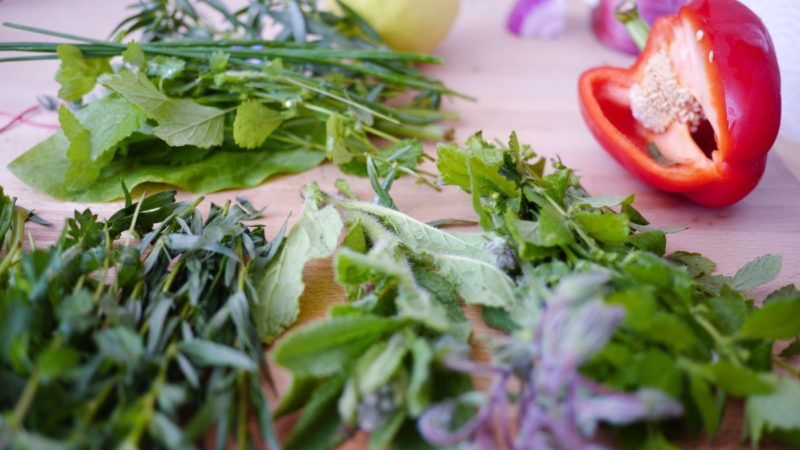
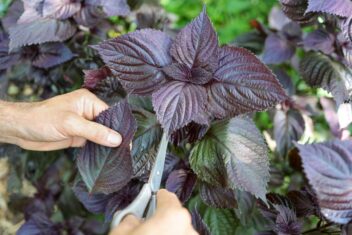
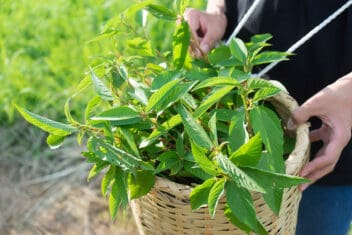
Picking leaves from your basil plant the right way is essential to the drying process. Frequent picking is a signal to your plant to keep producing. It will also encourage it to grow bushy instead of leggy and tall. Snip flowers to encourage leaf growth and prevent the plant from going to seed.
Even if your goal is to dry basil, feel free to harvest fresh leaves throughout the season and add them to dishes as you wish. You can cut a bunch of leaves without completely sacrificing your plant. If your plant is big enough, you can also pick off branches for drying during the growing season, but your best bet is to wait until the season is over to harvest foliage for drying in large quantities. It’s more efficient to dry lots of basil than do it in small batches throughout the season.
If you’re harvesting mid-season, be sure to leave a small portion of stems and foliage behind so that your plant can re-generate. When harvesting, remember that as fresh leaves dry out, they shrink in size, so pick more than you think you need.
Why Bother Drying Basil?
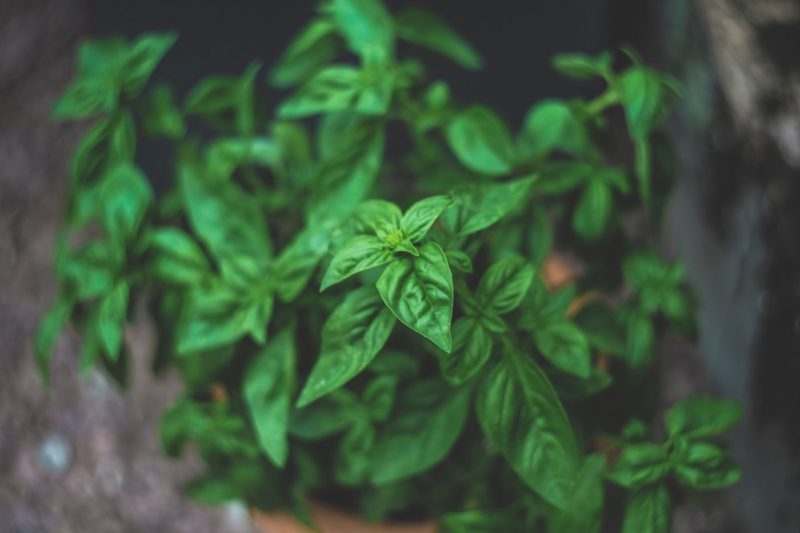
Unless you’ve eaten so much basil throughout the summer that you’ve grown sick of it, chances are you’ll crave the herb once winter rolls around and cuts off your fresh supply of leaves.
Basil plants are annuals, so even if you’re lucky enough to garden in a warm climate, you’ll need to re-plant basil each year to enjoy it in your cooking. Drying it provides you with access to the delicious leaves when your new seedlings aren’t yet ready to be picked.
Compared to fresh basil, the dried version is much more pungent, though it lacks the peppery spice that fresh basil has. The flavor also fades over time.
Drying Basil
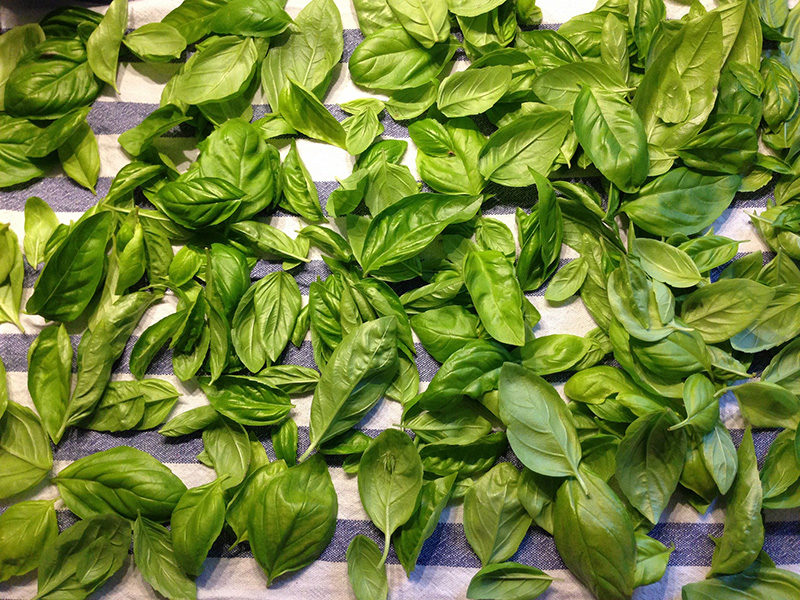
The key to drying basil is to eliminate moisture content without burning the leaves. Too much moisture left behind can result in mold growth, while high heat can scorch your leaves. Always thoroughly wash and blot basil before setting it out to dry.
There are multiple methods for drying herbs including:
- Oven drying
- Microwave drying
- Dehydrator
- Air drying
Drying Basil Using a Dehydrator
There are plenty of excellent quality food dehydrators available, and the key is finding a unit that’s the right size for your needs.
A dehydrator uses low heat and adequate air circulation to suck moisture from food to preserve it. It’s important to layer food to ensure even drying. Most dehydrators include a guide to help you pick the right settings and temperature for drying your chosen food product.
Drying with a dehydrator requires no babysitting, and there’s no need to worry about proper air circulation. It takes about 24 hours to two days for drying to be completed with a dehydrator.
Air Drying Basil
The easiest, most low-cost method for drying basil is to air dry it. Create a bundle of basil, tie it together, and hang somewhere to air dry. The somewhere is important, though. It should be away from direct sunlight, warm, and the humidity in the room should be low.
Use a tray below to catch falling leaves or cover the bundle with a perforated paper bag. This method doesn’t require any special appliances or the use of an oven, so it’s ideal if you’re on a budget. It requires patience, though, since bundles won’t dry out overnight.
If it’s still hot outside when you’re planning to dry your herbs, air drying is also helpful since you won’t have to turn on the oven and sweat it out in your home.
Oven Drying Basil
Speaking of ovens, using an oven is another way to remove moisture from your homegrown herbs. Low heat is critical to prevent burning leaves to a crisp. Set the temperature on your oven to the lowest possible — at most 200°F. As with a dehydrator, evenly spread out leaves to ensure everything dries at the same pace. Don’t layer leaves atop of one another.
Bake at the low heat for approximately 20 minutes. Keep an eye on your basil to avoid burning it. After the timer has gone off, turn off your oven and leave basil to continue drying overnight. After about 12 hours in the dry, warm oven you should wake up to find easy-to-crumble bits of basil ready to store.
Microwave Drying Basil
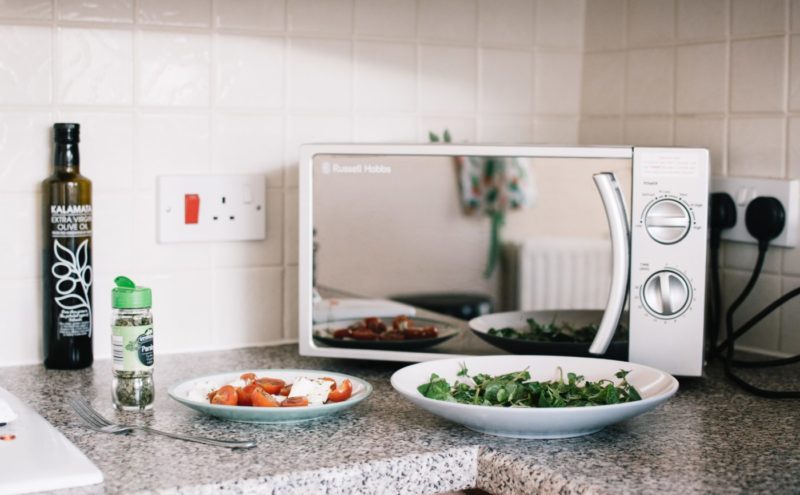
You can also use the microwave to dry out basil in a flash. It’s a delicate process, though, since a microwave emits high heat. You must be careful not to burn the leaves.
You may need to do some trial and error to get the time and heat setting right since microwaves vary. Place dried leaves on a paper towel in a single layer.
You’ll only need to zap the leaves for twenty seconds or so on the high setting to dry them out. Check and return basil to the microwave to zap it again if it’s not dry enough. If you want to be a little more careful, cook the basil a little longer on a medium-low setting. Microwaved basil is dry enough once it’s easily crumbled.
Storing Dried Basil
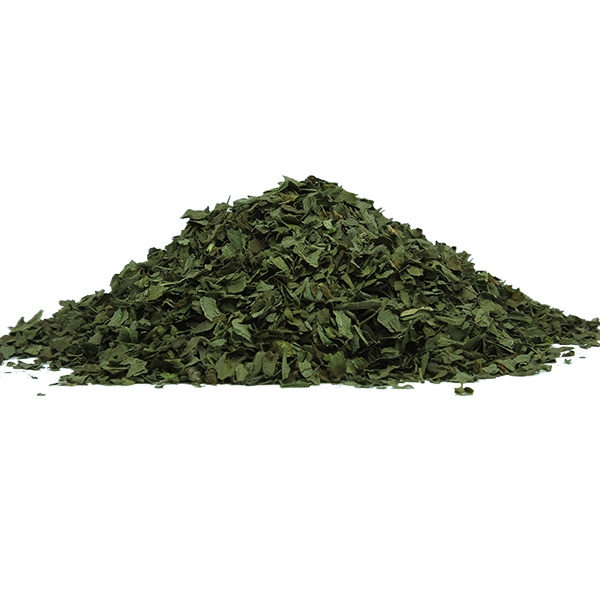
Don’t forget to store your dried herbs properly. Improper storage can strip your dried flakes of flavor. Store basil in an airtight container away from light. A cupboard is ideal, and make sure to choose the right type of container.
Glass containers that can be sealed airtight are ideal. Think glass screw top containers or clamp top containers. Avoid metal or plastic.
Wait a bit before putting your dried basil into containers and keep an eye on your stored dried basil to check for condensation. Any remaining moisture can cause mold growth, so if you see droplets of water, it means something went wrong, and you’ll have to chuck everything away and start again.
Chop or crumble leaves after dehydrating so that the basil is ready to use for cooking.
Don’t keep dried herbs for longer than a year. They’ll be tasteless by then. They’ll stay fresh for about 6 months – the perfect amount of time to get your next basil plant going.
Another option for persevering herbs is to freeze them. Alternately, if you can’t bear the thought of living without fresh herbs, consider adding an indoor herb garden to your kitchen space. Read our indoor herb gardening guide for ideas on how to grow herbs in the dead of winter.
What are your favorite ways to use dried basil?

