I used to have a love-hate relationship with topiary when I first started gardening. I absolutely loved the way a few well-placed topiary plants can add formality and depth to an informal cottage garden, potager, or even to some wild-like permaculture garden areas.
Yet, I hated how expensive topiaries plants were to buy ready-made. However, now that I grow all sorts of plants on my homestead, I have learned how easy it is to make my own topiary plants for a lot less. So, that love-hate relationship has evolved to pure, unabashed love for growing a lot of topiaries on my homestead.
To create your own works of topiary art at home, you’ll need to choose the right plants, give them proper care, and be brave with your pruning shears. You also need to be willing to make a few mistakes and learn from them as you go.
Fortunately, those are the same basic skills required for keeping fruit trees or caring for tomatoes. So, I know you can do it!
The History of Topiary
The term topiary comes from the Greek word “topos” meaning place and the Latin word “topiarius”, the title for an ornamental gardener. The earliest mentions of the practice of ornamentally pruning plants date back to 60 A.D. when yews were shaped into hunting scenes in Roman gardens.
Topiary has been popular in formal gardens throughout Europe since the 1700s. Today, training and maintaining topiaries, particularly in the form of formal hedges, is practiced in ordinary home gardens all around the world.
In fact, topiary has become so common you can even find things like topiarized rosemary Christmas trees in the florist area of your average grocery store in the US. You can also find decorative faux topiary at home supply stores and arts and craft shops year-round.
Despite the broad appeal, though, many people still have reservations about making their own topiaries at home. If you fall into that crowd, let me offer you a simple way to start.
How To Create a Rosemary Tree Topiary
Rosemary is one of the easiest, most forgiving plants to use to practice your topiary skills. You can start your own plants from cuttings or pick up a plant at just about any garden store.
Step 1: Find the Form
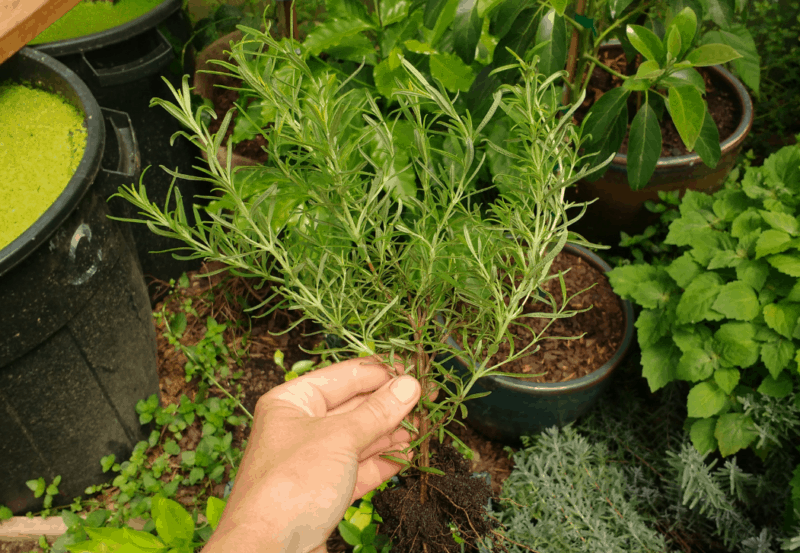
Your first step is to remove your rosemary plant from its current container so you can get a good look at its shape. You also need to know how big its root mass is so you can select an appropriate topiary pot to transfer it into.
Step 2: Choose a Trunk
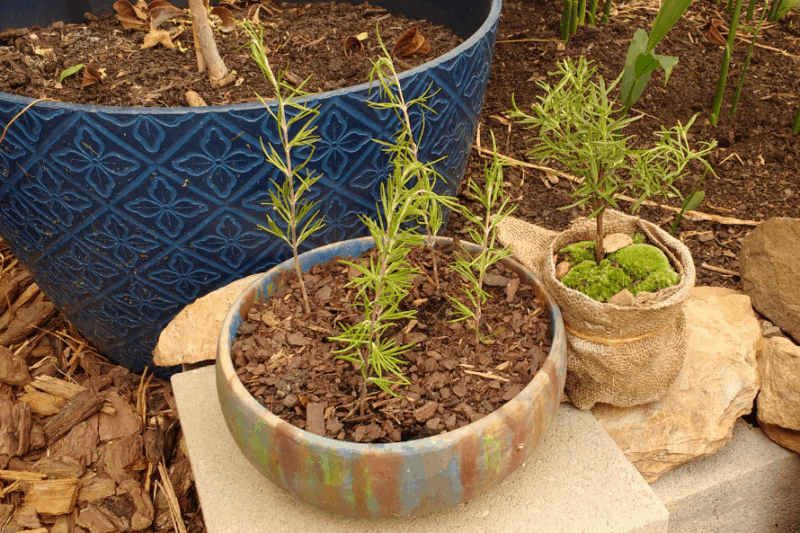
Next, you need to find the primary stem to use as the trunk of your topiary rosemary tree. When I start my own cuttings, I use a straight spear tip of rosemary, so the new plant starts in the ideal form to use for making topiary trees.
When you buy rosemary plants at the store, though, sometimes the plant will have multiple trunk options. In that case, choose a stem close to the center of the root mass that is mostly straight. You may need to stake the trunk to straighten it out too.
It’s also nice if your chosen stem already has branches growing from it toward the top. That way it looks more tree-like at the outset.
Step 3: Create the Shape
Now, prune away any extra stems from the plant so you just have one central trunk. Also, remove any branches or rosemary leaves from the bottom portion of your new trunk. I typically start by clearing about halfway up the trunk.
This part always feels awful because you go from having a nice little rosemary plant to having a little wimpy looking topiary rosemary tree. Don’t worry though! In just a few weeks your plant will be growing gloriously again.
Step 4: Pot Properly
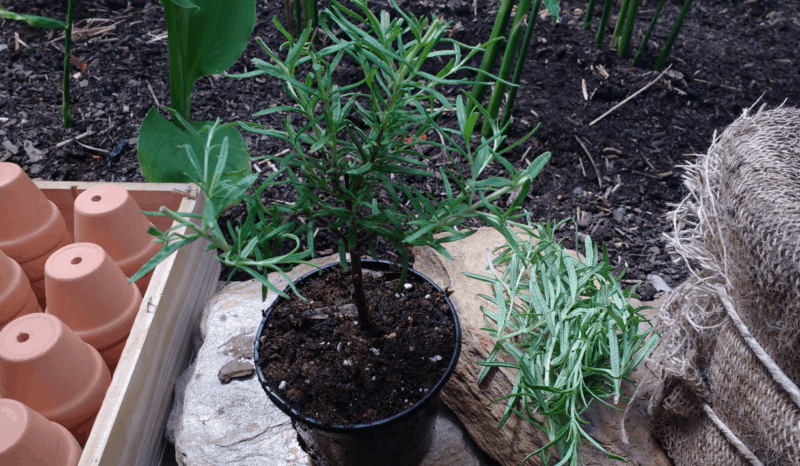
Now you are going to put your plant in a nice little pot with some compost and water it regularly until it recovers from that one-time act of butchery. The pot should be decorative and only as large as necessary to support the size of the root mass on your plant.
You will need to “pot up” eventually. However, keeping the pot proportionate to the top growth is what gives the rosemary the appearance of the tree. If you were to put this in a bigger than necessary pot, the rosemary plant would be dwarfed by the pot.
Also, make sure your potting soil is of high quality and contains some compost. That will help your rosemary recover quickly.
Step 5: Decorate (optional)
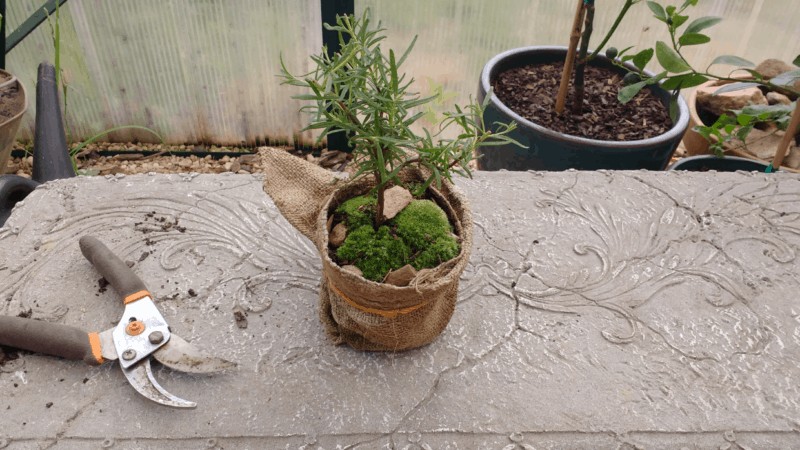
You don’t have to decorate your topiary. However, many people do. You may want to mulch it with pea gravel or granite dust or add some moss.
In my case, I like to use things I already have on hand. So, I wrapped my cheap plastic pot in a small piece of burlap and tied it with straw bale twine. Then I added some moss from some of my overgrown moss scapes.
Step 6: Apply Routine Care
From this point on, you’ll need to keep pinching the upper branches of your rosemary to encourage them to become bushier. Also, keep clearing any new growth on the cleared trunk areas.
When the trunk gets taller you can slowly start to clear away more of the bottom branches. The key is to keep enough leaf growth at the top to support the root system down below. Generally, by maintaining leaf mass that is the same size as the pot, you’ll keep that ratio right.
As your tree sizes up, then you can start thinking about a larger pot. In the meantime, though, since you are intentionally keeping your rosemary tree in the smallest pot possible for the size of its root system, you need to water regularly.
You also want to apply some compost tea weekly while your plant is actively growing. Alternatively, you can use your favorite organic liquid plant fertilizer as directed on the container.
Advanced Topiary Skills
That’s a super simple example. However, believe it or not, that’s really all there is to topiary no matter how large or small. There are just a few more things you need to keep in mind before you tackle turning larger plants into topiary artwork.
1. Plant Selection
Although there are some landscape artists who can pull of pruning miracles, most of us mere gardeners need to be practical about our topiary pruning choices. So, you’ll want to decide what form your topiary takes by looking at the natural plant and imagining which shapes it might safely be used to create.
In other words, as long as you don’t try to shape your apple tree into an Edward Scissorhands’ style animal hedge, you’ll do fine!
– Evergreens

Evergreens such as boxwoods and cypress, for example, have small tight leaves that lend themselves to making spiral shapes or creating fancy animals or hedges in a formal landscape. Likewise, arborvitaes and privet are perfect for making windows or sculpting entryways into garden rooms.
– Mediterranean or Tropical plants
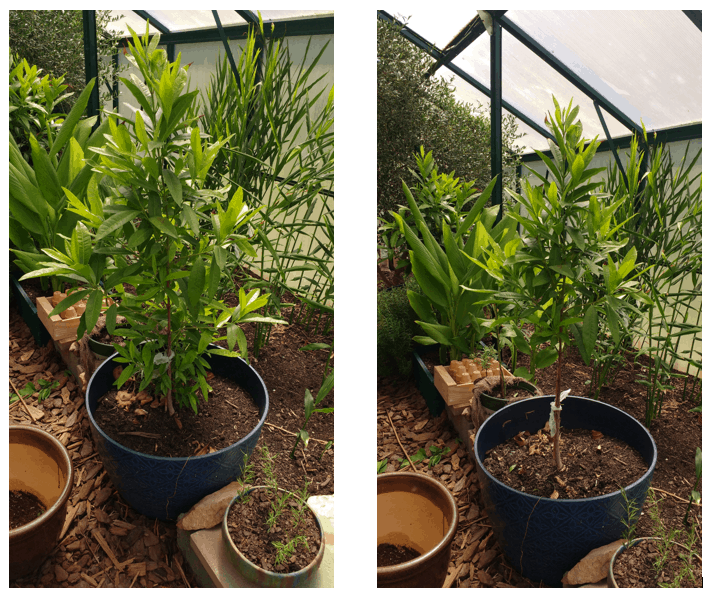
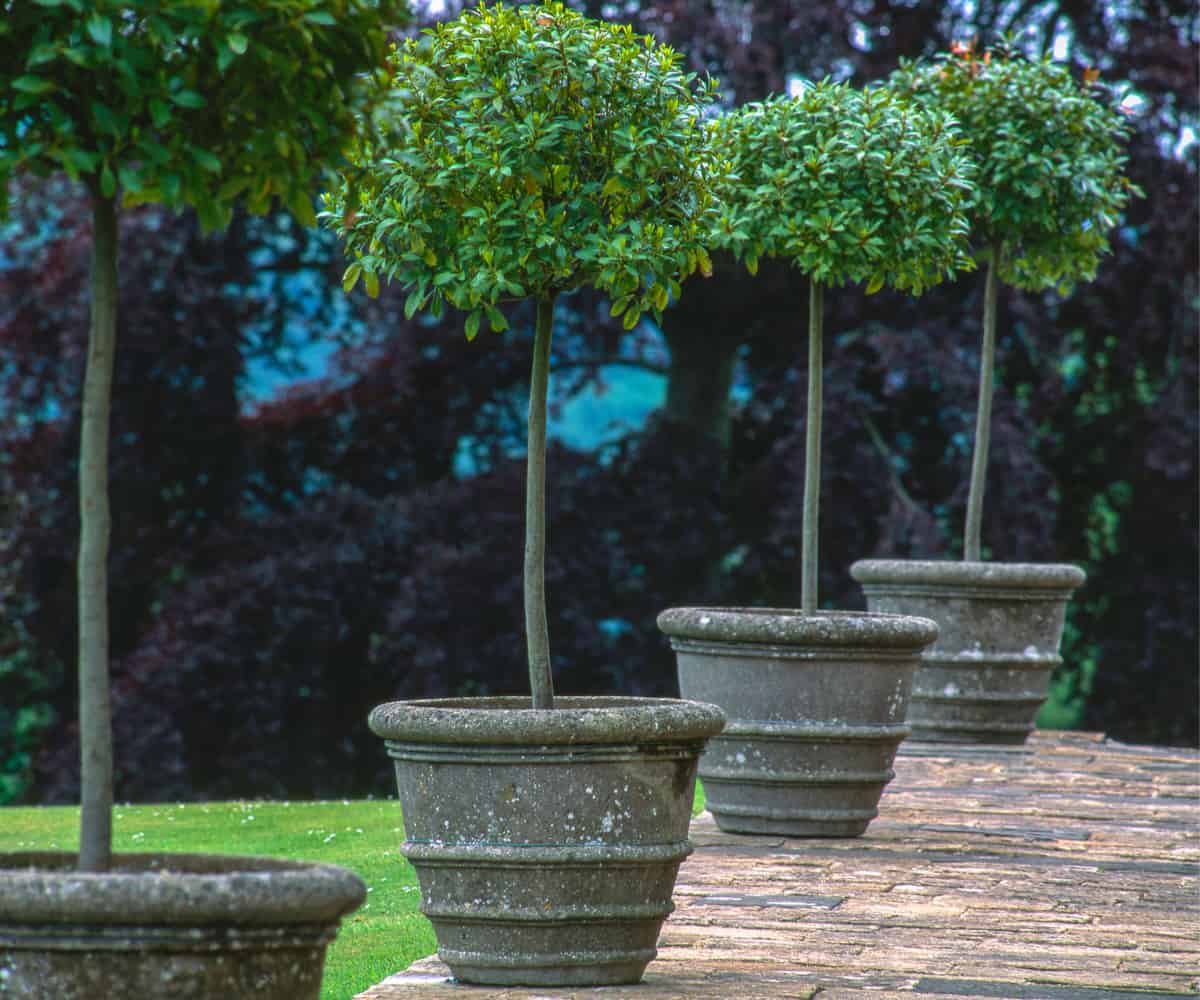
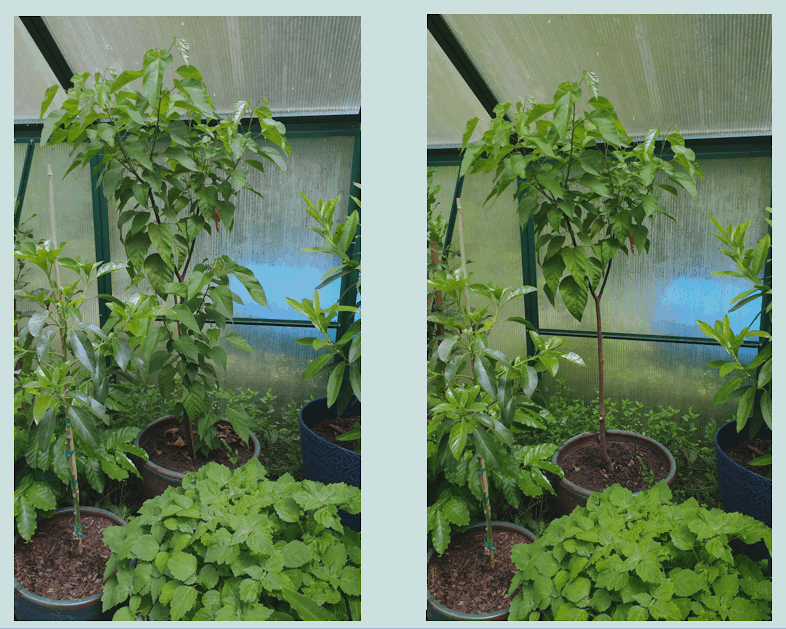
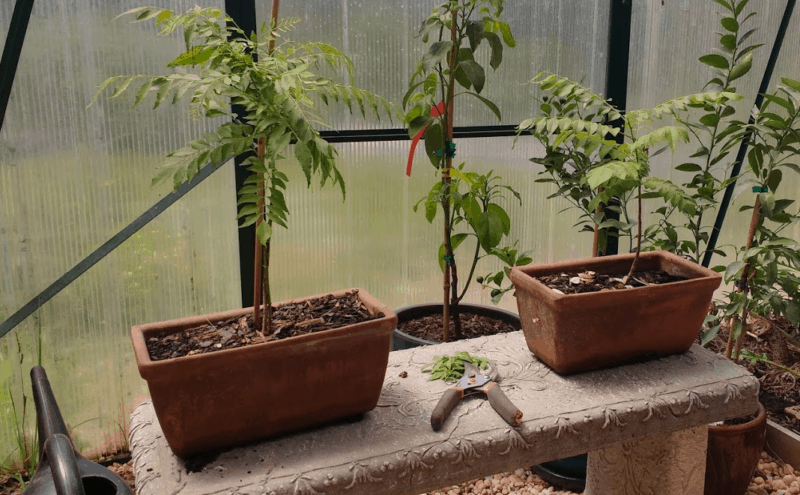
Many Mediterranean or tropical plants such as annatto, allspice, bay leaf, olive, curry, and citrus plants really lend themselves to creating single trunk, heavy-topped trees. These can be used to punctuate a landscape like upside-down exclamation points.
2. To Pot or Not
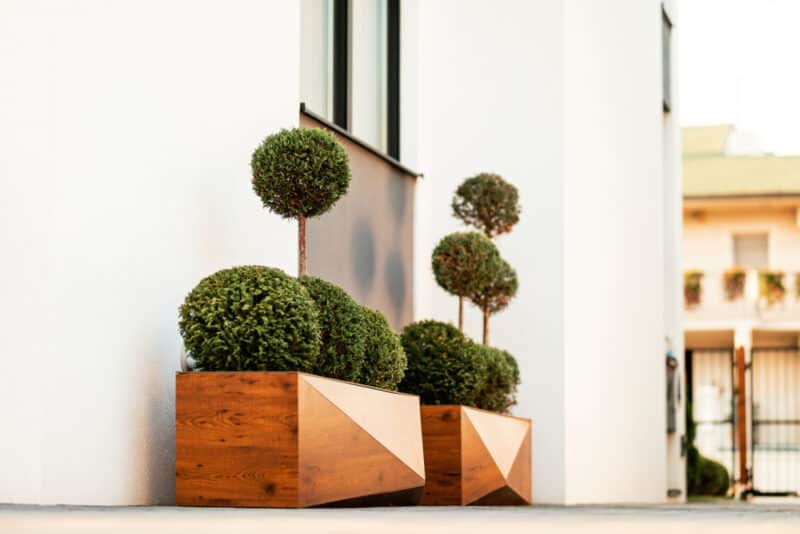
Topiaries can also be grown in pots or direct in the ground. So, you’ll need to decide which format is right for your garden.
– Growing in Pots
The upside of growing in pots is that you can take plants indoors if necessary, during cold weather. Smaller potted plants are also easy to move or protect in the event of violent weather storms or other unforeseen risks.
Pot grown topiaries, though, require more frequent watering and fertilizing. They also won’t be as resistant to pests and diseases as in-ground plants since they may have shallower roots and be more prone to stress from extremes of heat or cold.
– Ground Grown Topiaries
Ground grown topiaries, as long as they are suitable for your climate and soil-type, tend to be more resilient to pests and diseases than pot grown topiaries. They are also more forgiving if you forget to water or fertilize. Plus, ground grown plants have longer natural lifespans than potted plants in general.
Unfortunately, they may need more frequent pruning because of their extensive root systems. They can also be harder to keep compact. Plus, if your ground grown topiary does suffer from pests or diseases, you can’t move it out of sight like you would a potted topiary until it recovers.
My best advice is to start with potted topiaries. Then when you have some experience and confidence, try your hand at some small in-ground planted topiaries to grow your skills.
3. Using Forms

Also, with larger plants or more complex shapes, you may need to use tools to make sure you know where to prune. For example, when making a spiral-shaped cypress form, you may want to run a rope, streamers, or caution tape around the tree in a spiral formation so you can follow that as a guide to know where to prune.
If you are making animals, you may want to make or buy a chicken wire guide. Then grow your plant inside the guide. As the plant outgrows the form, you can prune the leaves and branches that pass outside the form boundaries.
It may take a while for the plant to grow large enough to fill the shape. Even so, in the meantime, the form acts as a stand-in for the topiary as a garden decoration.
4. Patient Planning
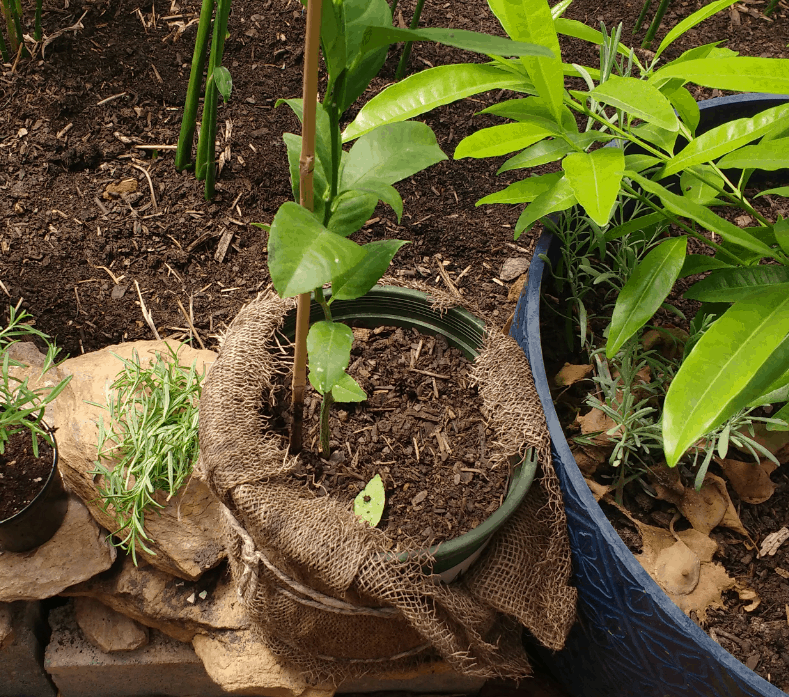
Especially if you are starting your own plants from cuttings or seeds, you’ll also need to be prepared to wait a while to achieve the look you want. For example, when I start with citrus cuttings, it takes several months for the roots to take.
After that, I have to pot the plant and let it size up before I can choose a central stem to stake and train as a tree. Then it takes quite a while to keep pruning the top growth to make it bushy. All in, it might be two years before a citrus cutting looks anything like a citrus topiary.
Slower rooting plants like bay laurel or olive take even longer. So, sometimes it’s easier to just buy an already established 4-inch potted tree that has good basic form and train into a topiary.
That will cost a lot more than growing your own. However, it will still be less than buying an already trained topiary in a pot.
5. Practical Pruning
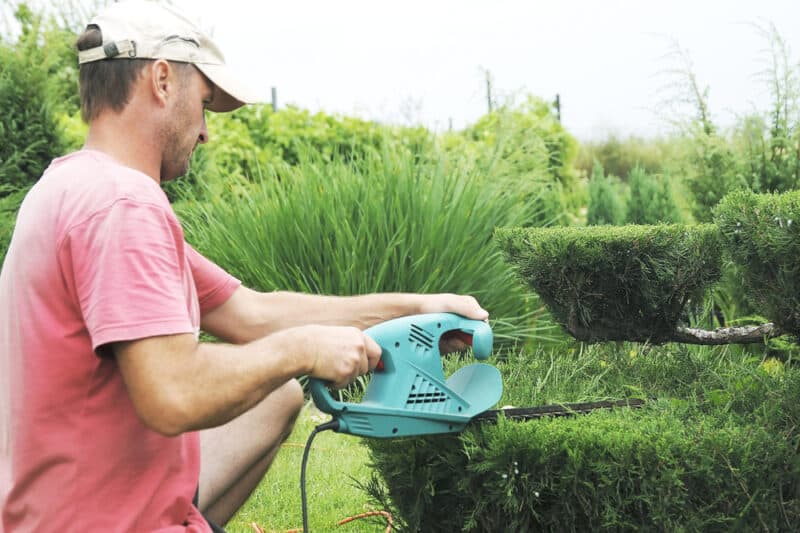
The other thing to be aware of when turning more mature plants into topiaries is that you may not be able to shape them in one go. In general, if a plant is healthy, it can be pruned by about 30% per year without risk of death.
Some plants may even be able to tolerate more pruning depending on your climate and the age and type of the plant. However, if you don’t want to put your plant at risk, prune, and shape your topiaries over a long period of time.
Prune once. Then, see how the plant recovers before pruning again. Also, avoid pruning late in summer to avoid encouraging new growth going into the cold season. Pruning for shape in winter or spring is much safer for your plant.
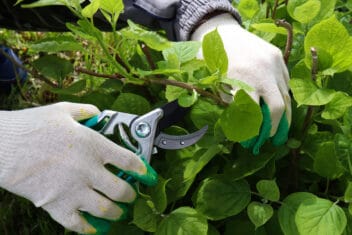
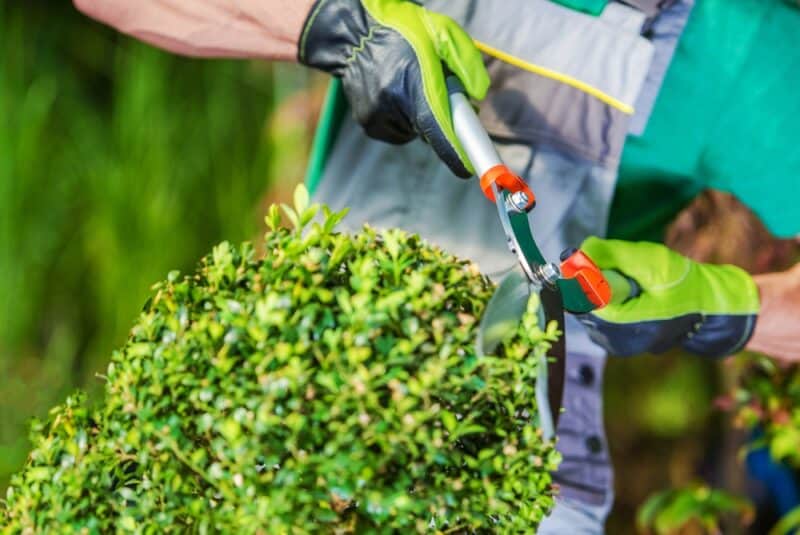
Using the right equipment can make pruning an ease while loping with a hand pruner can be time-consuming when you have plenty of topiary plants to take care of.
6. Long-Term Care
Larger and more complicated topiaries take a lot more work. As such, you’ll likely want to make sure they are long-lived in your landscape.
Start by choosing plants that are well-suited to your climate conditions. Make sure your soil or potting mix is the ideal texture and pH for the plant you are using as a topiary.
For in-ground plants, help them feel at home by incorporating aged compost into your soil and mulching around an area at least four times larger than the plant root mass.
Water frequently and deeply until plants are established. Continue to water and fertilize as needed for the life of the plant. Check for and pick off pests frequently.
Also, make sure plants have good air circulation and annual applications of compost and mulch to ward off fungal pathogens. In some cases, you may need to use preventative measures like foliar-applied compost tea or other fungal pathogen preventatives appropriate to the risks in your region.
Becoming a Topiarius
Once you have mastered the concepts of making your own topiaries at home, you’ll join the elite ranks of those qualified to bear the title “toparius” (Latin for ornamental gardener).
If you like the sound of that, then you may also be a perfect candidate to transform your homestead into a ferme ornee, or ornamental farm, using your new-found topiary skills!
