I love growing chili peppers in my garden. For me, they’re practically a cash crop. One or two plants give me enough veggies for the season with plenty left to preserve, freeze, sell or give away.
Chilies are the fiery cousin of tomatoes, so as you’d expect, they like similar conditions. Fresh or dried, chilies are effective stimulants and digestives. They’re also high in vitamin A and C, which is why they were carried on sailing ships as a delicious way to prevent scurvy.
Beyond being prolific and easy to grow, chili peppers are invaluable in cooking if you like a little spice. You can use them to make hot sauces, to flavor up salads, to spice a curry, or to add flavor to a drink. Whether you like a little heat or a lot, there’s a pepper out there with your name on it.
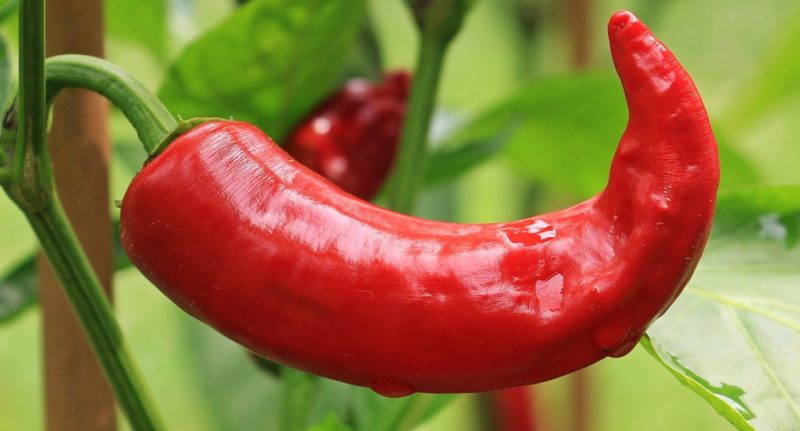
Pepper Varieties
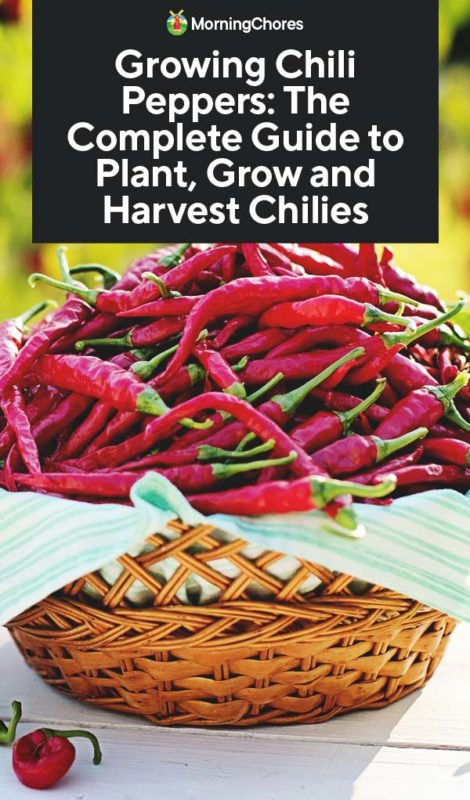
There are so many chili pepper varieties we couldn’t cover them all here, so we’ve listed the most common. Chili peppers are rated by how hot they are, denoted by Scoville heat units. The higher the number, the hotter the pepper.
Bird’s Eye
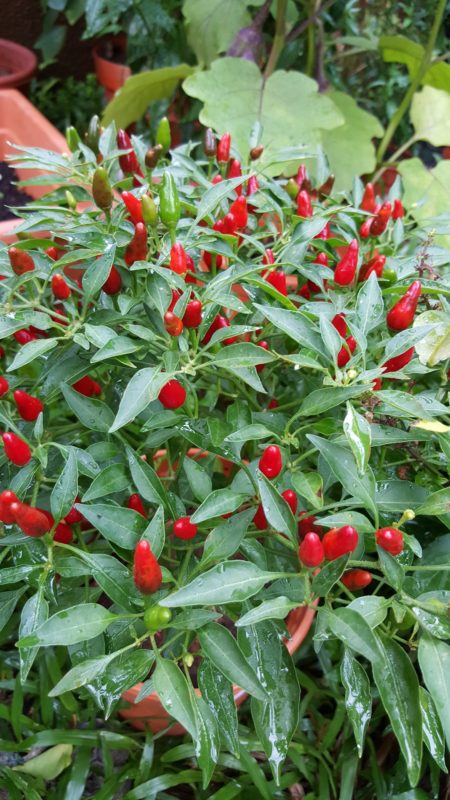
This fiery little chili is indispensable in Thai cooking. There are many varieties of Bird’s Eye. The most common types in North America are Chiltepin and Pequin. It has a Scoville rating of 50,000 to 1000,000.
Habanero
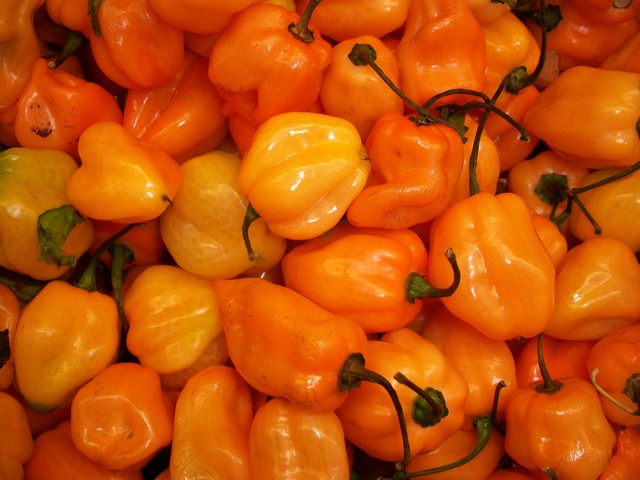
Unripe habaneros are green but can mature to yellow, red, white, brown or stay green. It all depends on the variety of habanero you have.
Habaneros have a Scoville rating of 300,000 to 475,000, with peppers from the Caribbean coming in hotter than Mexican varieties. They mature in about 90 days and can handle northern climates.
Jalapeno
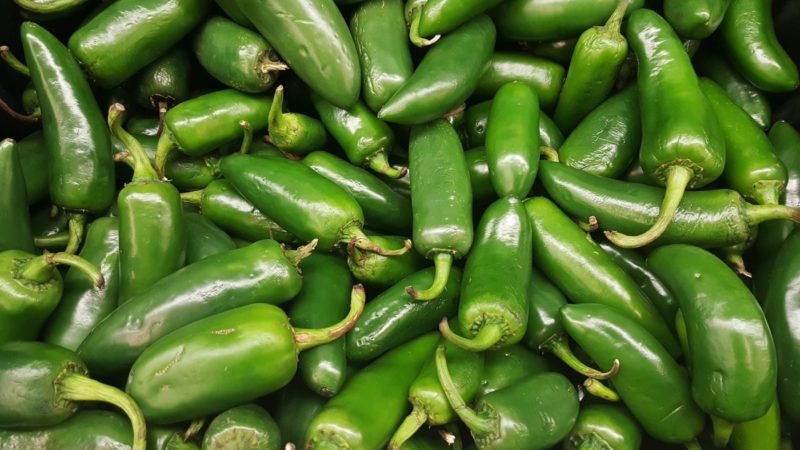
One of the most common chili peppers, this variety encompasses a wide range, including the hybrid Jaloro and Purple. The seeds have a sharp flavor of their own, so unlike many chili peppers, the seeds are used cooking. Jalapenos have a Scoville rating between 2,500 to 8,000 depending on the variety.
Cayenne Pepper
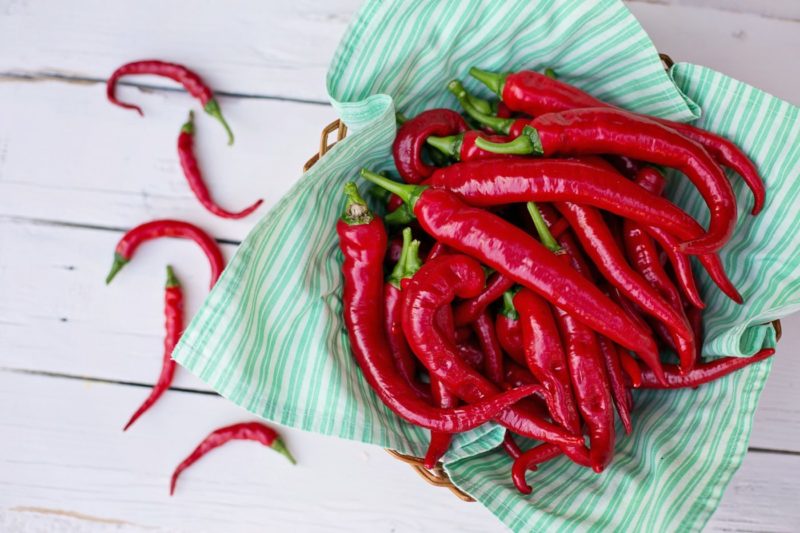
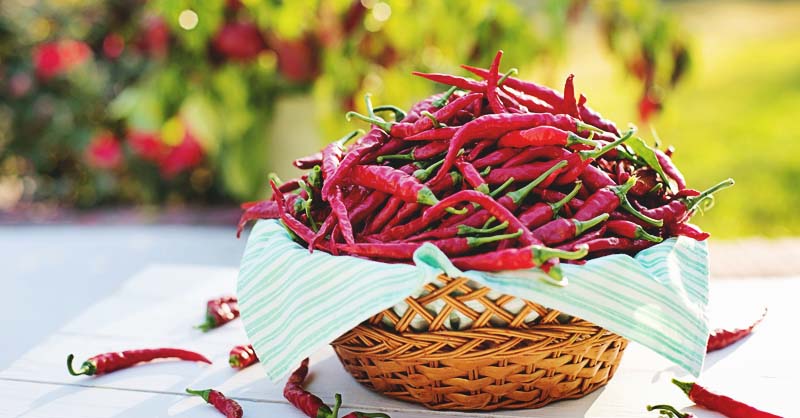
Cayenne is my favorite chili pepper to grow. They aren’t fussy, they produce large amounts of chilies and aren’t as hot as some varieties. Cayenne types include Aji Sivri, Diablo Grande, Dagger Pod, and Golden.
Cayenne peppers are thin and green to red. They have a Scoville rating between 30,000 to 50,000. The Carolina cayenne variety can be twice as hot. I use cayenne peppers to make Thai chili sauce and a spicy tomato sauce for pasta and pizza.
Anaheim
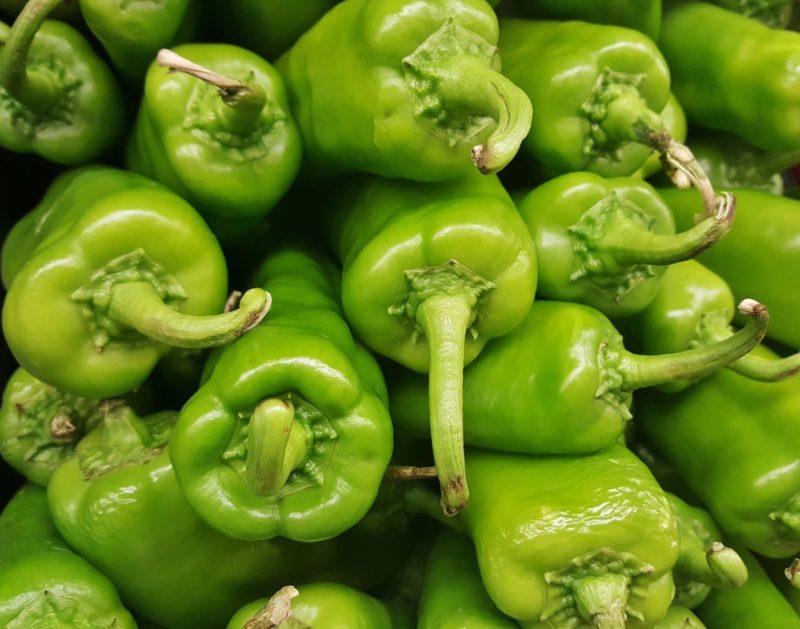
Sometimes called California green chili, this is a mild green or red pepper that includes a variety of peppers, like Sonora, Numex, and Baker’s Hot. Its mild flavor makes it a popular option in recipes. It has a Scoville rating of 500 to 1,000. It matures in 75-80 days.
Scotch Bonnet
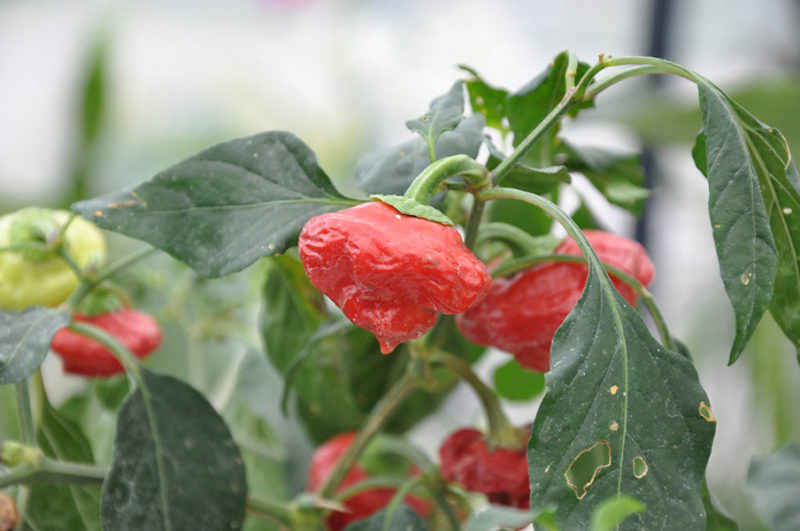
Scotch Bonnet is a habanero cultivar, and if you’re looking for heat and flavor, this is the chili for you. It has a Scoville rating of 100,000 to 350,000. It’s usually red or orange, but some can be chocolate brown, peach or yellow.
Paprika
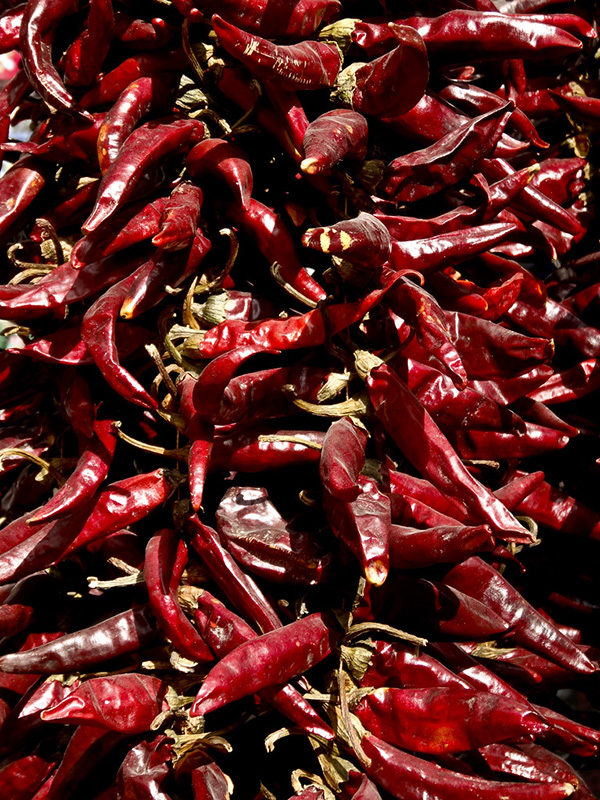
Paprika is a mild chili pepper that you can dry and grind to a powder. I add paprika to any meat or vegetable dish because it adds a pleasant flavor. It’s high in vitamin C, too. Look for Elephant’s Ear paprika, which is particularly tasty. Paprika Scoville ratings range from 250 – 1,000.
Carolina Reaper
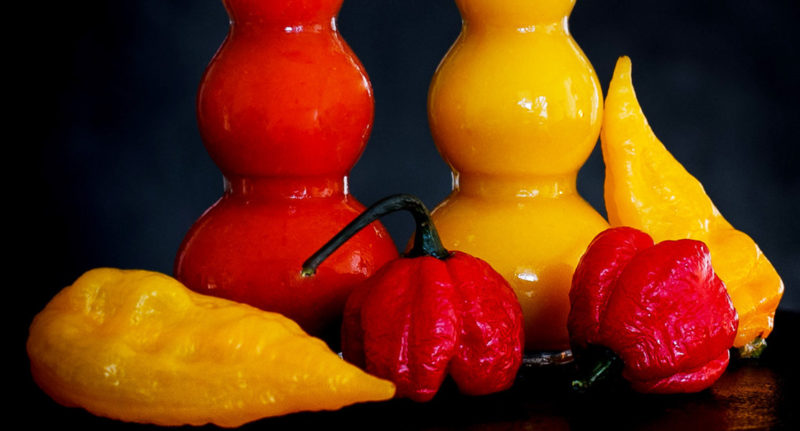
If you want a punch of heat that will knock you back, the Carolina Reaper comes in as the hottest pepper on the planet. It has a Scoville rating of an astonishing 1,400,000 to 2,200,000. Ed Currie developed this spicy pepper, which has a fruity, sweet flavor if you can get past the heat.
How to Grow Chilli Peppers
Zones
Peppers are tropical perennials, but they’re grown as annuals in most zones. I’ve had a little success in growing them as perennials and getting a second season out of them. If you want to try this out, note that I had to bring them inside over the winter, and the second season outside bore less fruit.
That said, they grow best in zones 5 through 10. If you’re in zone 11 or 12, grow them as a perennial.
Sun and Soil Requirements
Chili peppers love the sun, at least 6 to 8 hours per day. Give them full sun just like they’d have in their native tropics.
Soil should have a pH of 6.0 to 7.0 for best results. Chili peppers prefer sandy, well-drained, fertile earth.
Dig in plenty of well-rotted manure or compost a week before planting your chili plants. Fertile, nutrient-rich soil gives chilis a more intense flavor.
When to Plant Chili Peppers
Plant chili peppers indoors 8-10 weeks before the last frost. Harden them off for 7-10 days before transplanting. When I transplant mine, I always use a cloche to maintain a steady heat in the early stages of growth. Put them in the ground 2-3 weeks after the last frost when soil is 60°F.
Container Planting
Chilies grow well in tubs on a sunny, sheltered balcony. Ensure you have a good quality loamy soil and use a container-specific fertilizer before planting. You may also want to provide some support like a stake or cage as some chilies can get 3 feet tall.
Growing chili peppers in pots will give you a non-stop supply as you can move the pot around to follow the sun towards the end of the season.
Germinating Seeds
I save seeds from my chilies, and I’ve never had a problem with germination. If you struggle with diseases, presoak your seeds in a 15 percent bleach mixture.
Plant seed in pots using a quality seed raising mix. I like to plant two seeds in each pot so I can weed out the weaker one.
Germination is 14 to 21 days. Slowly bring the seedlings out into the sunshine. I place my seedlings out during the warm days and put them back at night when the weather is a little cool.
Spacing
Give plants 12-18 inches between plants and 24-30 inches between rows. Plant seeds at 1/2-inch deep.
Cross Pollination
Since peppers are closely related, they may cross-pollinate with each other. If that happens, it can make spicy peppers milder and mild peppers hotter. Keep plants apart if you want them to maintain their spice.
Caring for Chilli Peppers
Fertilizer
Dig in well-rotted manure a week before you plant your chilies. Once the plant is in flower, feed with tomato fertilizer, but be less generous than you would for tomatoes. Add potassium-rich fertilizer to each watering once the fruit begins to swell. Limit the amount of nitrogen you use if you want your peppers to get spicy. You can also add a bit of sulfur to increase the heat.
Watering
Don’t water young plants with cold water straight from the tap. Remember these are tropical plants. Water regularly but don’t allow the soil to become sodden. Give plants less water if you want them to grow hotter.
Mulching
Mulch in the warmer months because chili peppers appreciate the extra heat in the soil.
Common Problems and Solutions for Growing Chili Peppers
Aphids
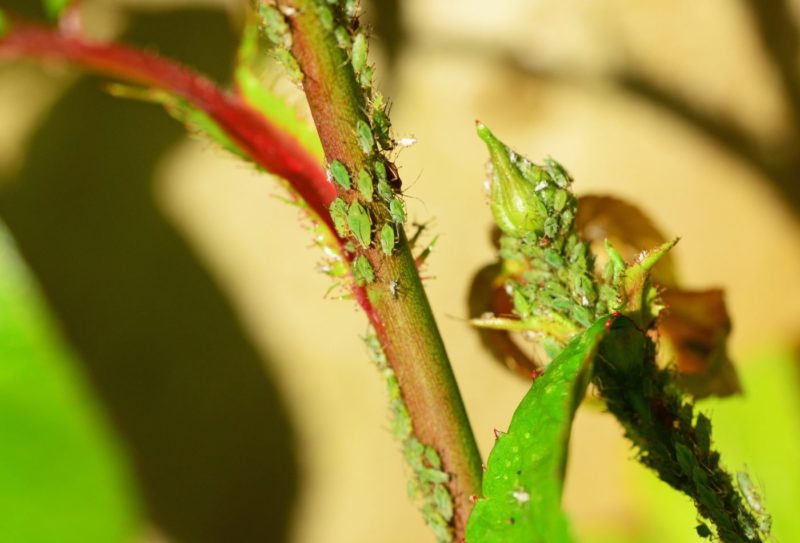
These sap-sucking insects will weaken the plant and reduce yields. If you don’t address the issue, aphids tend to keep growing in numbers until they become overwhelming. They also leave honeydew on the plants, creating a perfect environment for mold. Treat them by spraying them off plants with a blast of water and then applying neem oil.
Snails and Slugs
Snails will eat both the leaves and fruit and destroy the plant over time. Use snail pellets around the plants, or try your favorite snail or slug control method.
Whitefly
As the name suggests, this pest is a small white fly that sucks the sap out of your growing chili peppers. Use pyrethrum or neem oil to control them.
Beet Armyworm
Beet armyworms are common in warmer areas where they eat tomatoes and peppers. They nibble on leaves and fruit and can cause decay and leave behind feces that ruin your harvest. Encourage predators like parasitic wasps. You can also use spinosad spray to control them.
Tomato Fruit Worm
Despite its name, the tomato fruit worm attacks not only tomatoes, but peppers, corn, and cotton. In cooler areas, the pupae die off during the winter, but in warmer regions, you can have several generations each season.
You’ll usually notice a black hole at the base of the pepper. Dispose of infested peppers, encourage parasitic wasps, and dust around plants with diatomaceous earth. You can also use Sevin or pyrethrin.
Spider Mites
These tiny arachnids live on the underside of leaves, and they suck the life out of your growing chili peppers. This can cause the leaves to turn yellow and drop off. Prune any leaves that are covered in mites and blast the rest of the plant with a strong spray of water. Apply neem oil to keep them away.
Thrips
Thrips suck the juices out of plants, causing leaves to turn pale and then die. They feed in large groups and spread disease. Keep your garden free of weeds and use blue sticky traps to nab this pest. Encourage beneficial predators and apply an insecticidal soap if needed.
Powdery Mildew
Powdery mildew affects chilies in the flowering and fruiting stages. You’ll notice a white mold covering the leaves and stems of the plant. Avoid watering the plant overhead or in humid conditions. Water around the plant in the soil instead. Also, ensure adequate space between plants.
Blossom End Rot
This disease starts when the chili is green. It’s caused by a calcium deficiency or excessive nitrogen, which causes a decrease in uptake of calcium. Under or overwatering can also cause the plant to not take up enough calcium. Water the soil regularly, but be careful not to make the soil too wet. You can also spray plants with a calcium solution made to address blossom end rot.
Bacterial Spot
This bacteria causes leaves and chilies to form spots and can cause defoliation and reduced harvest. The best way to avoid the disease is to buy certified clean seed and to wash all your tools and seeds in a diluted bleach bath. Rotate your crops and keep your garden well weeded.
Damping Off
Damping off is caused by fungi that will either cause seeds not to emerge or, once they pop up, to wilt and die back at the soil line. The fungi that produce this disease love wet soil, so be careful about how much you water. Also, be sure to sterilize your tools and pots before planting seeds.
Fusarium Wilt
This soil-borne pathogen attacks the roots of plants, reducing the amount of water your chilis can get and eventually killing the plant. It can be spread by tools, water, and insects, and it can live in the soil for years. The best way to tackle fusarium wilt is with prevention. Clean your tools, keep insects like aphids and cucumber beetles away and avoid using too much nitrogen when feeding your peppers. Keep your garden clear of weeds. If all else fails, remove all of your plants, solarize the soil, and try again next year.
Mosaic Virus
Mosaic virus attacks all kinds of plants, including chili peppers. It causes wrinkled, stunted leaves and yellow stripes. Impacted fruit appears to have warts. You can’t cure it once you get it, so do your best to prevent it. Plant resistant varieties, keep insects away, clean tools between use, and don’t work in the garden on wet days because it spreads the virus. Destroy any infected plants.
Transplant Shock
Transplant shock can cause peppers to stop growing and to wilt. To avoid it, try to disturb the roots as little as possible and water the plant thoroughly. Also, be sure that you are hardening the seedling off before sticking it in the ground.
Companion Plants for Chilli Pepper
Peppers play nicely with a wide range of plants. Try growing chili peppers with the following:
- Basil
- Carrot
- Cucumber
- Eggplant
- Asparagus
- Chives
- Parsley
- Spinach
- Onion
- Leek
- Garlic
- Shallots
- Scallions
- Marjoram
- Oregano
Avoid growing chili peppers with beans or kohlrabi.
How to Harvest and use Chilli
Pick your chilies when they are plump, glossy, and the right color. It’s a good idea to give your garden a good soaking before picking. A mature green chili will change color in about three weeks from reaching its full size. Pick chilies often to encourage the plant to keep on fruiting. Let chilis stay on the vine a bit longer if you want them to get spicier.
Storage
Keep freshly picked chilies in a polythene bag in the fridge for up to two weeks.
I freeze chilies in bags in the right number for the recipe I want to use them for. For example, my Thai chili sauce recipe uses 36 chilis so I freeze 36 in one bag and clearly label it.
If you want to save seeds for next season, choose a healthy specimen and remove the seeds before freezing – dry well and store for next year in a paper envelope.
If you haven’t tried growing chili peppers yet, give it a go. Remember, they need good nutrition and warm, humid conditions to grow well. Follow our tips and you’ll get a bumper crop. We’d love to hear about your chili growing success.

