Are you ready to get started with worm composting? Composting is one of the best ways to reduce your trash output and create a rich soil amendment for your garden, and worm composting is a popular method that utilizes worms to recycle kitchen and food scraps. The result of worm composting is called vermicompost, and it’s an incredibly rich and nutritious product.
Composting often takes up a lot of space, but using worms to create vermicompost can be done under your kitchen sink – seriously! Apartment dwellers and urban homesteaders love worm composting for its compact size and ease. If you have a cabinet, a basement, or somewhere to keep your worm bin, you can get started.
Are you interested in learning more? Keep reading to find out everything you need to know to get started with worm composting.
What is Worm Composting?
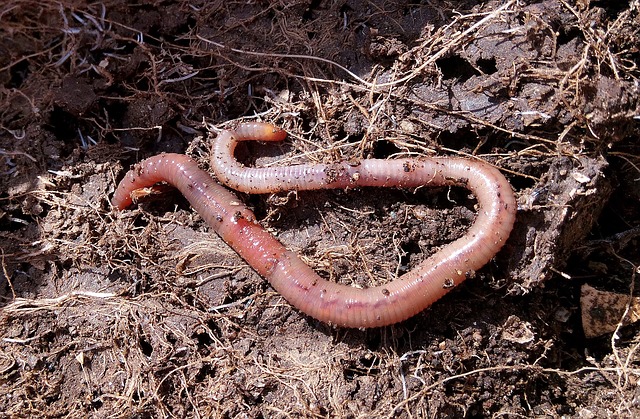
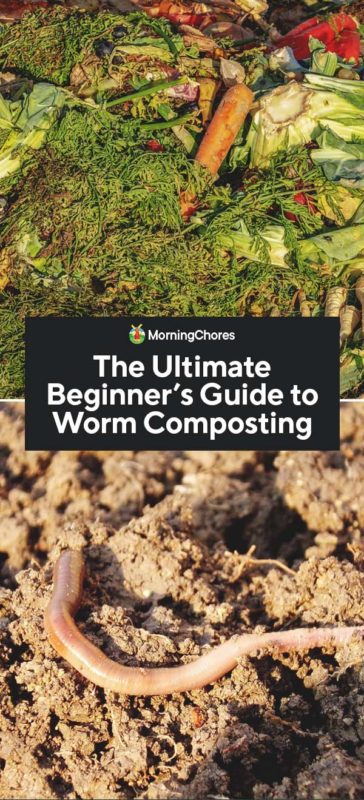
Worm composting is another word for vermiculture or vermicomposting, which is the process where worms recycle food scraps and other compostable items into compost. Vermicompost is rich with nutrients in the form of worm castings, which is a complete organic fertilizer and soil conditioner.
Worm composting starts with a compost bin that acts as a home for the worms. When you put food scraps, like leftover vegetables, or newspaper into the container, the worms get to work eating those scraps. The worms break down whatever you put into the compost. Then, in the end, it comes back out of the worm as a concentrated organic body waste that you can use to feed your plants.
Yes, vermicompost contains worm poop, but that shouldn’t surprise any gardener. Gardeners regularly rely on different sorts of manure to add nutrients and minerals to the soil.
What are the Benefits of Worm Composting?
We know that all forms of composting are good for the earth and good for the garden, but what makes worm composting so special? Here are a few benefits that come from using worms to create compost.
1. Reduces Trash Volume
All types of composting reduce trash volume. You might be surprised how many items that you toss away regularly that can be added to your worm compost.
2. Yields Faster Results
Standard composting processes take a long time. Depending on your climate and your particular compost, it can take up to a year to generate usable compost for your garden. Worm composting is the fastest composting method to gain yield. With the right worm to kitchen scrap ratio, your compost can be ready after two to four weeks – seriously!
3. Less Odor Than Normal Compost
Compost can be stinky. No matter what type of composting you do, all composting has some smell because it involves organic and decaying materials. Worm composting quickly breaks down whatever you add to the bin so that you won’t have as much odor. Also, it means fewer odors come out of your trash.
4. Creates a Nutrient-Rich Compost
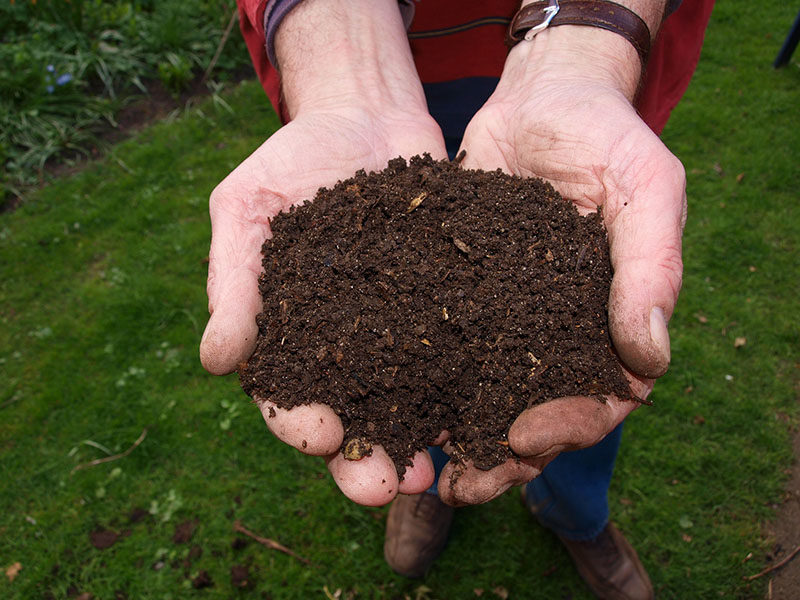
Of course, the main reason for worm composting is the finished compost. Vermicompost contains potassium, phosphorous, and nitrogen, the three most essential nutrients for plant growth. It also contains bare traces of micronutrients and minerals that cannot be found in commercial fertilizers.
5. Worm Composting Can Happen Indoors and Outdoors
Traditional compost must be done outside, but that’s limiting for those living in apartments or condos who either don’t have space or have limitations on composting. Some HOAs prohibit composting because it can emit foul odors, encourage pests, and lead to unsanitary conditions.
Worm composting, on the other hand, can be done inside or outside. It develops quickly and is low maintenance, so apartment dwellers and urban farmers can do it without a problem.
6. Helps to Reduce the Soil pH Level
Adding worm compost to your garden beds help to regulate the soil’s pH level. Vermicompost buffers the soil by absorbing salt ions, which reduce the risk of being washed away. The soil stays at a pH level that plants thrive and grow well.
What You Need for Worm Composting
If you’re ready to get started worm composting, there are a few things you’ll need to get started.
The Best Worms for Composting
Not all worms can be used for worm composting. The best types of worms for vermicomposting are:
- Red Wigglers – Eisenia fetida
- Redworms – Lumbricus rubellus
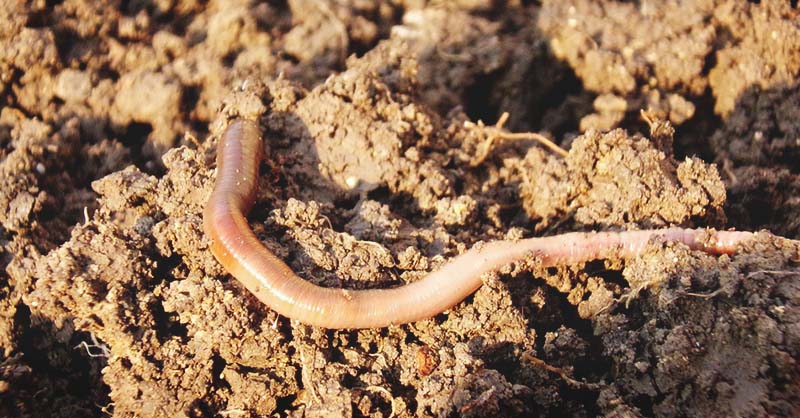
These two types of worms are preferred for the compost bin because they compost in plain soil and are easy to keep. Both types feed on vegetable waste, compost, and organic bedding.
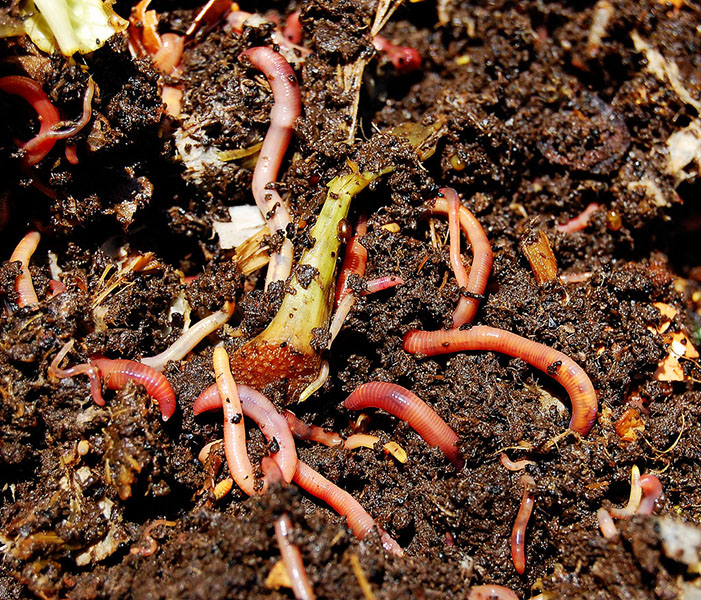
It’s often hard to tell worm types apart, so it’s best to purchase worms for your compost rather than trying to find them in nature. If you don’t have a local supplier, you can order worms online. It takes about a pound of worms, which is around 1,000 individual worms, to process a half pound of food a day.
Gather The Supplies
It takes four essential things to prepare for worm composting to be successful. We already know that the first item is the worms, which we discussed above. So, let’s look at the next three things on the list.
1. The Bin
The first thing you need after you order your worms is the bin, especially if it’s your first time vermicomposting. You can buy a premade bin from different compost stores line, or you can save money and make your bin out of plastic storage bins or wooden crates.
2. Food Waste
The size needs to be sufficient enough to cover as much of the food waste that your household generates. A half pound of food waste per day requires a worm bin that has at least four feet of surface area. So, you would need a 2′ x 2′ bin.
Trying to figure out what size bin you need?
| Number of People in House | Worms Needed | Bin Size |
| 1 to 2 People | 1 Pound | 2’ x 2’ x 1’ |
| 2 to 3 People | 2 Pounds | 2.5’ x 2’ x 1’ |
| 4 to 6 People | 3-4 Pounds | 3’ x 2’ x 1’ |
Make sure that the bin you pick has drainage holes on the bottom and air ventilation holes on the top and side. Drill 8-12 holes in the bottom of the container for drainage, and drill 7-10 holes in each side.
3. Bedding Materials
Newspapers are the most commonly used bedding material for worm composting. It’s a readily available material that you can find an abundant source of quickly. You can also use materials like cardboard, coir, and peat.
Set Up Your Compost Bin
Now that you have all of your materials ready, it’s time to set up your worm bin.
1. Prepare The Bin
The bin that you use for worm composting must be clean. Rinse it out to get rid of any residues that could harm your worms. If you’re using a wooden crate, line the bottom and sides with plastic. An old shower curtain or a clean garbage bag will work.
Worms are photophobic, meaning they don’t like bright lights. Pick a dark-colored bin, and make sure that you have a fitted lid for the container.
2. Prepare The Bedding Material
Shred your newspaper into 1-inch strips and try to avoid using color print because it might be toxic and harmful to worms. If you’re using cardboard, tear it in small pieces as well.
3. Moisten the Bedding and Put in the Bin
Before you add the bedding into the bin, it needs to be wet. Add water until the materials feel like a damp sponge. In other words, it needs to be moist but not dripping.
Put the moist bedding into the bin. You can add some strips of dry material to make sure the moisture level is correct. After that, fill the container with enough bedding materials until the bin is 3/4 full. Then, add 2-4 cups of soil into the bin.
Don’t pack down the bedding tightly. It should be loose because worms thrive in a well-ventilated area. Cramped environments suffocate worms.
4. Add the Worms to the Bin
Now, spread the worms out gently over the bedding and cover your bin. Leave the worms alone for a few days so that they can adjust to their new environment.
5. Store Your Worm Bin
Keep your worm bin in a cool, dark place. Worms live in areas that have temperatures between 41℉ and 86℉. Temperatures outside of this range can affect the production rate and mortality rate of your worms.
First of all, keep your bin away from washing machines, dishwashers, and clothes dryers because worms are sensitive to vibration. Ideal locations are kitchen cabinets, mudrooms, and basements.
Feed Your Worms
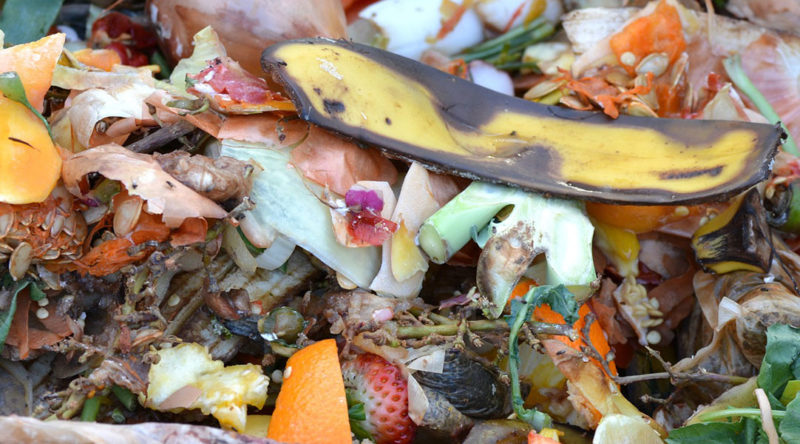
You feed your worms with your kitchen scraps. However, that doesn’t mean you can give your worms everything that comes out of your food. You should stick to organic leftovers such as fruits or veggie scraps, grass clippings, bread, beans, and more. Worms don’t have teeth, so chop these materials into chunks that are easier to process.
Put in the Worm Bin:
- Fruit Scraps
- Vegetable Scraps
- Paper
- Squash and Pumpkins
- Eggshells
- Coffee
- Tea Leaves
- Bread
- Pasta Grains
- Animal Manure
- Lawn Clippings
Don’t Put in the Worm Bin:
- Salty Foods
- Spicy foods
- Oils
- Foods with Preservatives
- Meat
- Dairy
Harvesting Vermicompost
Your worms have been hard at work, and now you have a pile of rich compost waiting to be used. There are several ways you can harvest your vermicompost.
First, you can always grab a handful of compost and toss it in your garden, worms and all.
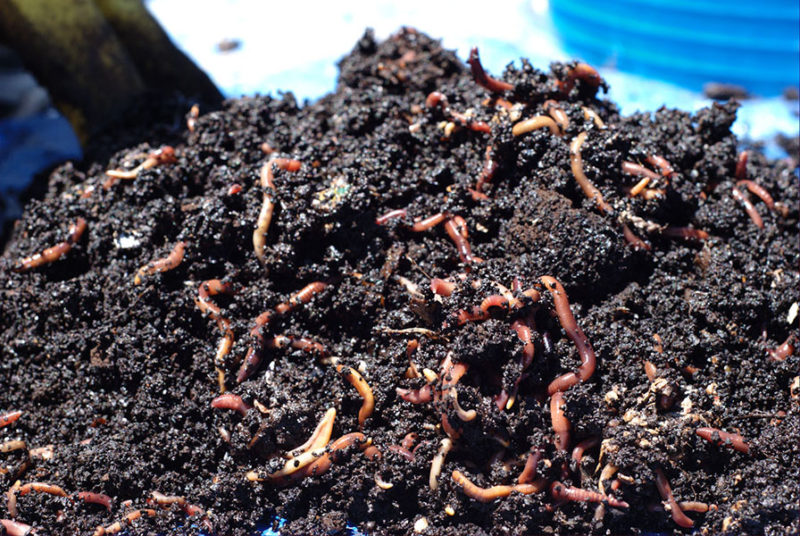
After 4-6 months, the worms will have decomposed the bedding and most of the soil in their bin, so you may want to replace everything and start fresh. If this is the case, the best way to harvest compost while keeping your worms is to dump everything onto a tarp outside on a sunny day.
Heap the compost into a pyramid and wait for the worms to move to the bottom of the pyramid. Brush the compost off the outside of the pyramid and wait for the worms to burrow deeper. Keep doing this until you are left with a ball of worms.
You can also use a screen or fine colander to sift the compost and retain the worms.
Give Worm Composting a Try
Worm composting is an easy and quick way to compost that anyone can do, no matter where you live. Urban and rural homesteaders can use worms to create nutrient-dense compost that you can use throughout your garden beds and containers. Even better, vermicompost is one of the best fertilizers out there, so it can benefit every gardener.
Let us know how your worm composting adventures go in the comments.
