
Garden mulch can be a complicated subject for new gardeners. I’ll admit that even as an experienced gardener, I have been tempted to skip it. That said, you can’t beat the benefits of mulching. If you haven’t done it before, make this your year to start.
Mulching is the process of spreading material over the earth in your garden to suppress weeds, retain moisture, and regulate the temperature of the soil. There are synthetic mulches and natural mulches, and each has its pros and cons.
Here I’ll explain the 3 types of mulch, and how to mulch your garden. Once you see how simple it is, you’ll be ready to tackle this project with no worries.

Synthetic Garden Mulch
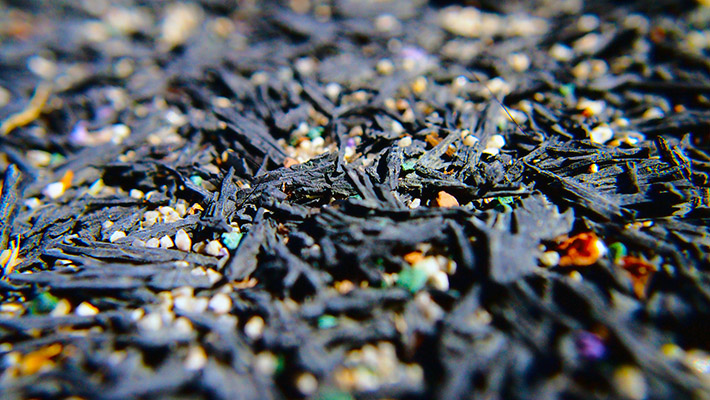
Synthetic mulch is typically made out of plastic, or rubber from recycled tires or the soles of old shoes. It can be pretty expensive, which is not a good fit for a self-sufficient lifestyle. These mulches can also release unsafe chemicals into your soil and aren’t great for the environment.
Still, there are benefits to using synthetic mulch. For one, it lasts much longer than natural mulch and won’t fade the way natural mulch can. It is also unattractive to pests, so you don’t have to worry about termites or small animals like you would with natural mulch.
If you’d prefer to use synthetic mulch, my recommendation is to save it for ornamental garden areas. That way, you get the benefits without the worry that chemicals will leach into your food.
Natural Mulches
Natural mulch is made up of organic materials that have not been sprayed with pesticides or other chemicals. The most significant benefit of natural mulches for the home gardener is that they are often available cheap or for free. I don’t know about you, but I garden because I want healthy food without the high price of store-bought organics.
Another perk of natural mulches is that they break down, which helps enrich the soil. Yes, you’ll need to reapply it more often, but working in the garden is cheaper and much more fun than going to the gym. There pretty much isn’t a down-side.
With natural mulches, you’ll still get the benefits of synthetic mulch. Plus you won’t have to worry about adding to landfill waste, toxic chemicals, or needing to take out a small loan to mulch your garden.
7 Types of Natural Mulch
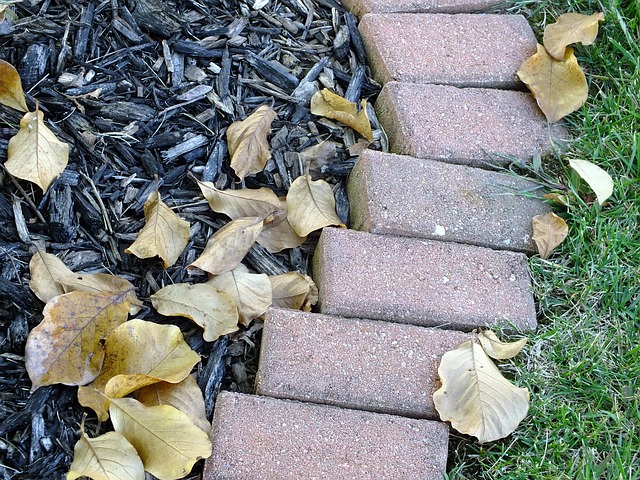
1. Wood chips are a popular natural mulch. If you have a lot of trees and access to a chipper, you can make your own pretty easily. Keep in mind that you may want to reserve it for ornamental mulching. Even though wood chips make your vegetable garden look tidy, when it comes time to dig in your garden you will quickly regret your decision.
2. Pine straw is a lighter option than wood chips, and if you have a lot of pine trees in your area, you may be able to gather it up for free. Free is great, but pine needles tend to make soil acidic, making it less than ideal for vegetables. However, if you also grow hydrangeas or rhododendrons, or other acid-loving plants this may be an ideal mulch for you.
3. Grass clippings are a good option because you can find them pretty easily. You can probably even collect them from your neighbors. Be sure they don’t spray their grass with chemicals that you don’t want around your vegetables. Grass will break down and add beneficial nitrogen to your soil.
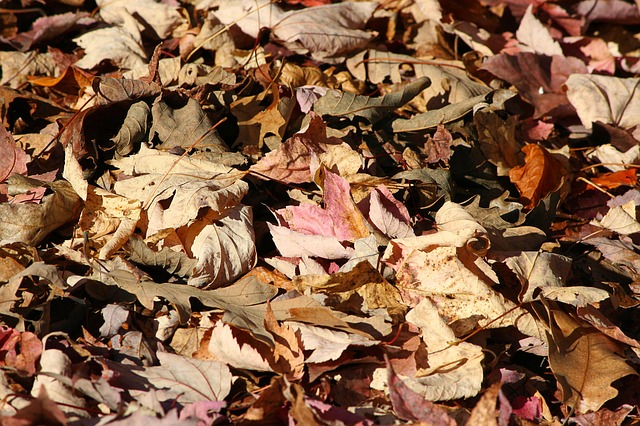
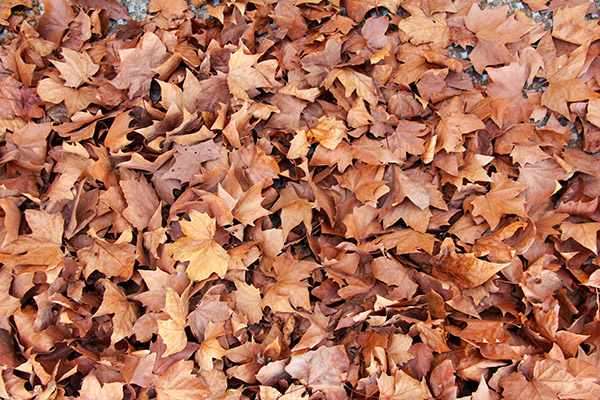
4. Shredded leaves are another one of those wonderful freebies that you can take to advantage of, and they are a good option in the vegetable garden. Before using leaves for garden mulch, chop them up in your mower. That way they can break down instead of forming wet, slippery clumps.
5. Compost is also a good mulch, but it works best in conjunction with another mulch, like the leaves mentioned above. You want the compost to stay moist and all the wonderful nutrients and microbes to remain active. To accomplish this, put down a light layer of about an inch. Cover over it with chopped leaves or another mulch.
6. Hay, like other natural mulches, will add organic nutrients to your soil when it breaks down. The trick here is to find seed-free hay because any seed that you haven’t planted in your garden will qualify as a weed as soon as it germinates.
One way around the problem of weeds is to layer it thick – as deep as a foot – so that weeds don’t stand a chance. When you do this, keep a one-inch space between the mulch and the stems of plants. Thick mulch too close to plants can contribute to mold and other fungal issues, and can attract insects.
7. My personal favorite mulch is straw. It’s typically weed free and offers all of the usual benefits of mulch. It’s often cheap and you can even get it on a budget if you don’t produce your own.
If you want a little extra weed barrier, you can always lay down a layer of newspaper. Put down a layer about 10 pages, avoiding the colored pages. Then put your mulch of choice over the top to keep it from blowing away. This will also make it look nicer, in addition to keeping weeds at bay.
Cardboard also works well for this. You can usually find both newspaper and cardboard for free if you don’t already have your own supply.
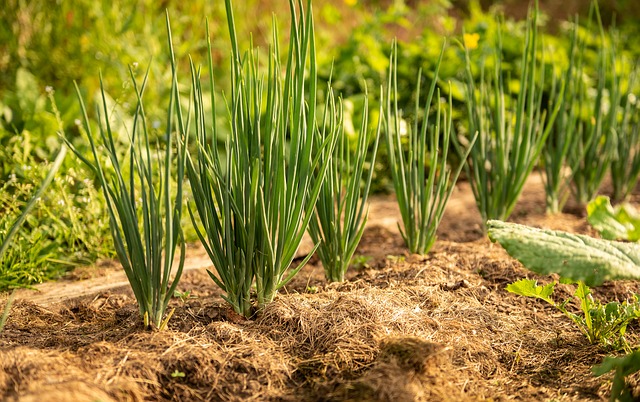
Living Mulch

A garden mulch option that you don’t often hear about is living mulch. A living mulch is similar to a cover crop, but instead of tilling it into the soil, it grows along with your food crops. Living mulch provides the same benefits of other types of mulch while also enriching the earth. It can also attract pollinators.
When choosing a living mulch, select a plant that is tolerant of foot traffic and also one low-growing that can choke out weeds without competing with your vegetables. Low-growing mulch won’t require much in the line of maintenance either, so it works for you instead of making you work harder.
Clovers are a popular choice, but you can even use grasses that don’t require much mowing to maintain. Other options include legumes, alfalfa, and vining crops like squash, gourds or sweet potatoes.
Using Living Mulch
You have a couple of options for planting living mulch.
To help them get established, you can plant seeds for your living mulch before you dig in vegetable plants. Then cut out spots to plant your seedlings. Or, you plant seeds around your established vegetable plants.
If your living mulch gets a bit out of hand, just mow it. Well chosen plants will bounce back fine, and you can leave the clippings to help enrich the soil.
How to Mulch
Now that you know what kind of garden mulch is going to work best for you, you need to know how to get the job done. Fortunately, that’s pretty simple too.
In the spring, natural mulch can be applied around your plants, or you can spread it over your prepared soil. Then dig holes to plant your seeds or plants. Your mulch layer should be three or four inches thick.
Keep in mind, you will want the soil to warm before you apply mulch, or it will be too cool for your vegetables.
In the fall, clean up the spent plants from your garden and cover it with a 3 or 4-inch layer of mulch. This will help re-nourish the soil after growing so much food all summer long. It will also help keep weeds at bay in the next growing season. Spring is busy enough without having to deal with weeds when you’re trying to get ready to plant.
Fall mulching also keeps the soil warmer, so all the little critters in the soil will thrive and be ready to go come spring. A little preparation goes a long way, and you’ll be happy to see fewer weeds and more earthworms in your garden.


