I started my orchard with little planning. I figured, “how hard can it be?” As various problems appeared over the years, I realized that many of the issues could have been avoided with a little planning and research right when I first started.
I eventually discovered that my lack of experience and the way I had set the orchard up had caused most of the problems I faced.
If I were to do it all again, there are many things I would do differently, but that’s the beauty of hindsight. If you’re considering planting an orchard, let my mistakes guide you to healthy trees and big harvests that will feed your family for generations.
The Benefits of Planning Ahead
You could plant an orchard with no advanced planning as I did and still get a good harvest, but planning before starting will make your future success come much easier.
By following these tips, you won’t have the problems I had. You won’t have to do jobs over and over until you get them right. Your trees will be happy and provide you and your family with their fruit for generations to come.
Also, you won’t have to use chemicals and sprays because the trees will be healthy and have the ability to fight most pests and diseases before they take hold.
Once you make sure you’ve got all these steps in place, check out our guide to starting an orchard for the basics.
1. Plant at the Right Time
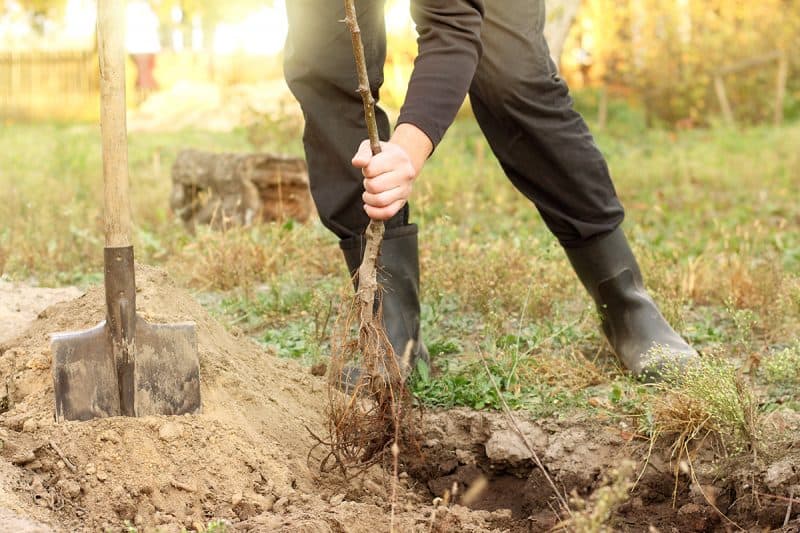
When I first moved to my homestead over a decade ago, I got right to planting an orchard. With very little planning, I started transforming a large area of land into my fruit-growing paradise. I dug holes, planted 35 young trees, and watered them diligently.
I moved into my homestead in summer when it was scorching, and the ground was hard, but being a keen beginner, I couldn’t wait to plant my fruit trees. Here’s why you shouldn’t make that mistake.
When you plant in the summer and the ground is hard and dry, the tree roots find it too difficult to get water and nutrients. Even established plants might go into a bit of shock in the summer. The difference, though, is that their roots have grown and managed to get deeper into the soil where there is still moisture.
Plant your trees in late winter, early spring, or fall. Depending on your zone, you may need to wait for the ground to soften from the winter freeze, but you must beat the summer heat and drought.
My trees took an age to begin to show growth, and it’s because of the strain they suffered when I planted them at the wrong time.
2. Plant Heritage Fruit Trees
This may be a view not shared by others, but I prefer to plant heirloom trees over grafted trees. There are several reasons why.
- The right tree for your area: Originally, trees grew in your area because they suited the environment and all the conditions of the land. Over time, convenience and the desire for perfect fruit took over and grafted varieties were introduced. Heritage trees that suit your environment will grow stronger and produce bigger, problem-free harvests.
- Fewer pests and diseases: Heritage fruit trees get fewer pests and diseases because they are suited to the area and don’t need to adapt to strange pests. After planting my orchard with grafted varieties that suffer from many ailments, I planted some heritage trees. They don’t suffer from any of the problems the grafted varieties do because they aren’t expending energy trying to constantly adapt to the conditions of my area. They are strong and healthy.
- Better flavor: Many grafted varieties have lost flavor over time as it was sacrificed for other benefits. Heritage fruits have sharp, distinct flavors that haven’t changed over time.
All the fruit trees I planted initially were grafted and they all suffer from multiple pests and diseases, meaning I have to have a spray program or the fruit suffers. I prefer non-spray growing, but with my grafted trees, it’s impossible. The few heritage I planted recently produce perfect fruit that doesn’t require sprays of any kind.
3. Dig Holes Twice the Size of the Rootball
This is advice you have probably read before, but it is a basic rule you should follow. When starting your orchard and plating trees, dig a hole twice the size of the root ball of the tree and twice as deep.
As I said, I planted my trees in the summer, and the ground was hard. This caused two problems. First, the trees were stressed, and second, the ground was so hard I only dug the holes the same size of the root ball or slightly bigger.
This meant I had to then cram the roots into the round which was hard and dry. All of those trees survived, but the growth was stunted for the first few years.
4. Think About Your Mower
You will always receive advice about spacing your trees for them to grow well, which is good advice. This enables airflow and gives the roots plenty of room to find nutrients.
I spaced my trees perfectly, but what I didn’t think about was my ride-on mower. The space between the trees is okay for them, but I have a heck of a lot of trouble maneuvering my mower due to the landscape.
You must also prune with your mower in mind. The easiest way to do this is to imagine yourself mowing under and around the tree. For the first three years, I didn’t do this, and when the trees were laden with fruit, they would hang down, and I couldn’t get under them with the mower. I also kept knocking green fruit off.
This leads into our next tip.
5. Learn to Prune
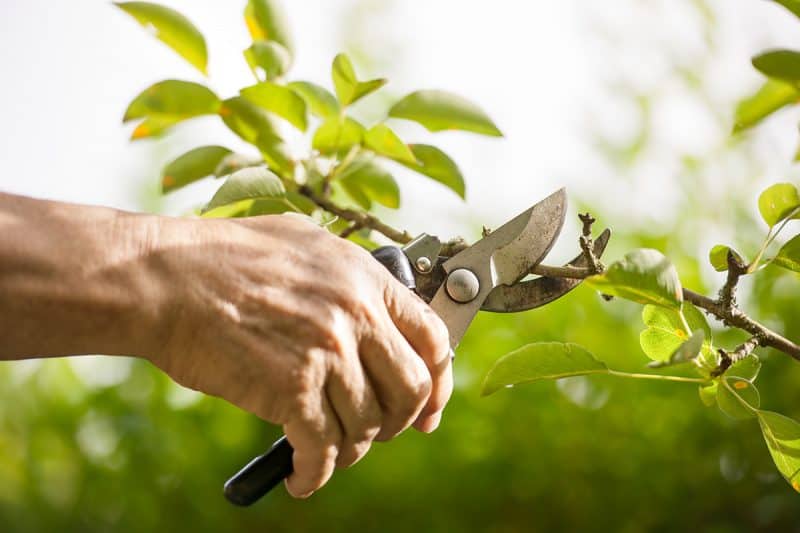
Before you need to prune, you should learn to do it. I tried to learn by reading and watching a few YouTube videos. As a consequence, I didn’t prune very well and it took me a few seasons to right my wrongs when I did finally learn. If I had learned beforehand, I would have not had wait to do it once the trees had overgrown.
Find a reputable source to learn to prune. For a comprehensive guide on the basics of pruning, read our article here.
Correct pruning ensures healthy and trees, good harvests.
6. Choose the Right Varieties
This may sound obvious, but often the places you buy fruit trees are chains that receive the same trees regardless of where they are. So why does that matter when starting an orchard?
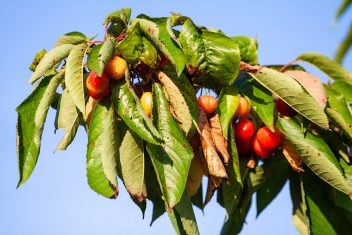
I went to a local big box retailer and bought a number of trees, only to find out the cherry, almond, and avocado trees would struggle in my zone.
The apples, feijoas, mandarins, grapefruit, plums and passionfruit would thrive. I have fruit trees that have grown to reasonable proportions, but don’t produce any fruit because they don’t like my environment.
Research what fruit grows well in your area and buy only those ones.
7. Know How Big Your Trees Will Grow
I went out and bought apple trees and planted them together. I did the same with pears, peaches, plums and citrus.
Now I have some trees that face the sun that are much taller than those behind. The front trees block the sun from the smaller trees behind so they have to work harder to produce fruit. They are all a little stunted and not as prolific as they should be.
Make sure you know how big your trees will get once mature and plan accordingly.
8. Get Bees
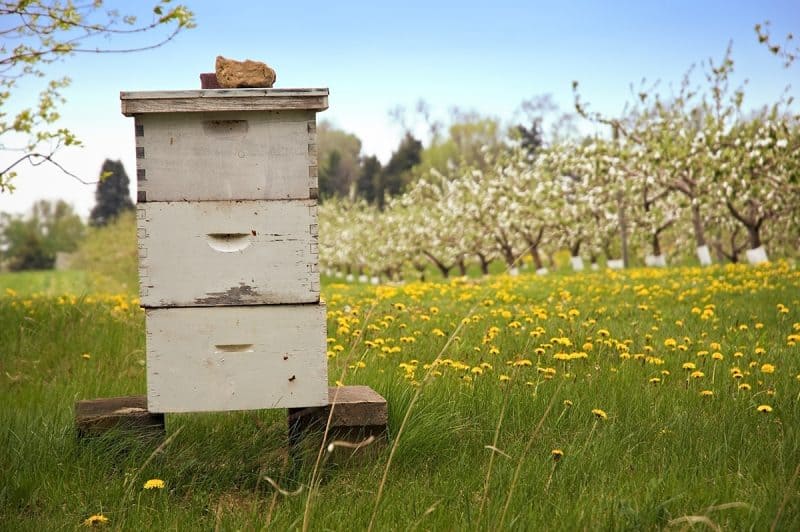
Once I worked through all of my mistakes to get my orchard as healthy and prolific as I could, I was getting good crops of fruit through all the seasons.
In year seven of my orchard, I started bee keeping. That’s when things took off more than I could ever have imagined. Having those hard working pollinators in the orchard saw my trees produce so many buds and flowers, I couldn’t keep up with the amount of fruit we were harvesting.
Having seen the difference bees make, I would have got hives first, and then planted my orchard. That way, the trees would have benefitted from all the pollination right from season one.
If you don’t have the space or desire to keep bees, do whatever you can to attract them. Our guide to flowers that attract bees can help.
9. Learn to Can Fruit
You don’t necessarily need to learn this before you plant an orchard, but it certainly helps. Even with all of the problems I created with my orchard, we had so much fruit in those first two years, much of it went to waste.
If you know how to can your surplus early on, you will be experienced by the time the trees are producing very big harvests.
Set up networks with friends, family and neighbors to share, swap and learn from each other.
10. Invest in an Orchard Ladder
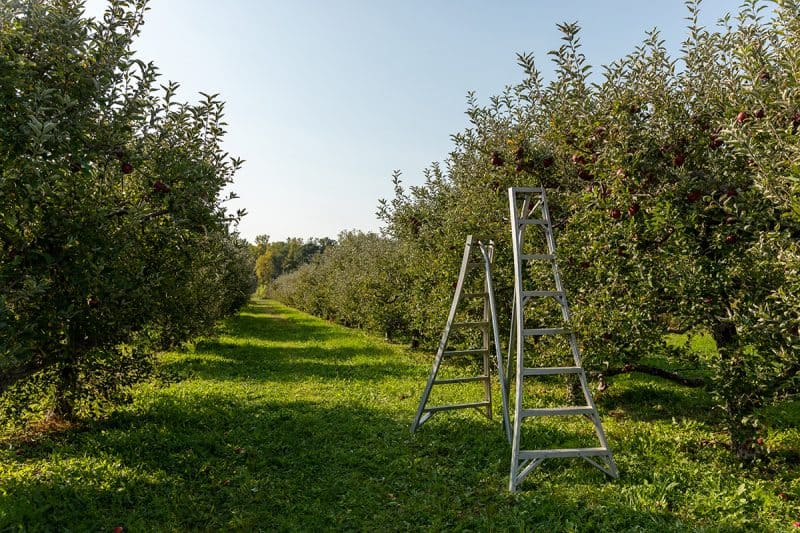
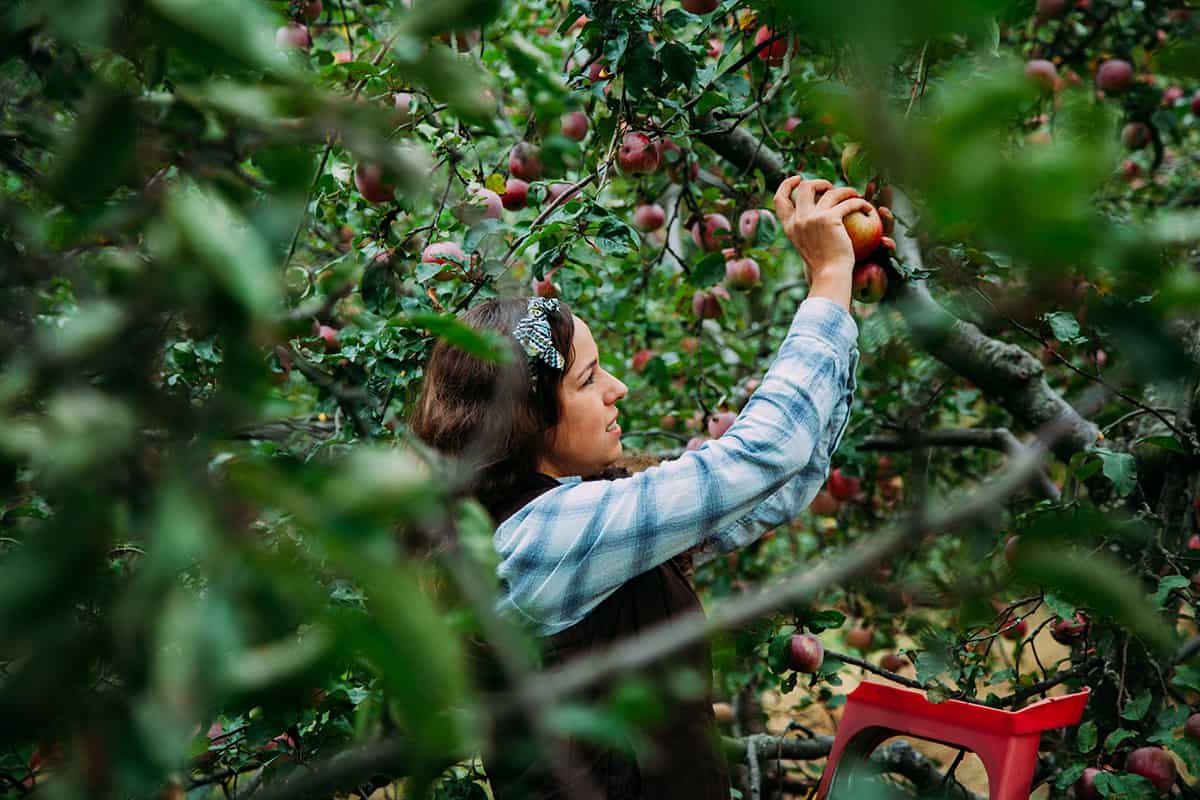
For the first few years, I took my life and mobility in my hands and used chairs or standard ladders to pick fruit and prune. I ended up leaving the high fruit to the birds and didn’t prune as effectively as I should have.
I’m amazed I didn’t fall off the ladders when I think back.
Orchard ladders are designed to be stable without having to lean on anything and usually have a very wide base and a tripod design to cope with the uneven and bumpy ground in orchards.
Most have a flat top so you can rest your basket or box on while you fill it with fruit.
