A sizzling steak on the grill – or a saucy cheeseburger made from homegrown ground beef, does this not make your mouth water?
Have you ever considered being self-sufficient by raising beef calves on your homestead? Maybe you’ve graduated from chickens to rabbits and now it’s time to upgrade from goats to beef cattle.
Raising your own beef can be an extremely rewarding and educational process, but there’s a lot to learn before adding a fragile calf to your farm.
To accommodate such a large animal, you need to know all about space requirements, fodder and what it takes to raise a calf to become a steer ready for butchering, before you take the big step.
This guide will take you from calf to processing and prepare you for the major milestones in raising beef.
How Much Space Do Your Calves Need?
Take a drive through the countryside, and you will see steers, dairy herds, and more, crammed into the smallest spaces imaginable. Many of these sad looking herds are full of mud, feces, and are fed a diet consisting of corn.
Now, I know you probably didn’t get into hobby farming and homesteading to introduce a feedlot to your neighborhood. You love the picturesque image of cattle chewing cud out on some acreage, right?
So, let’s review some of the basics of what you need to get started:
1. Acreage
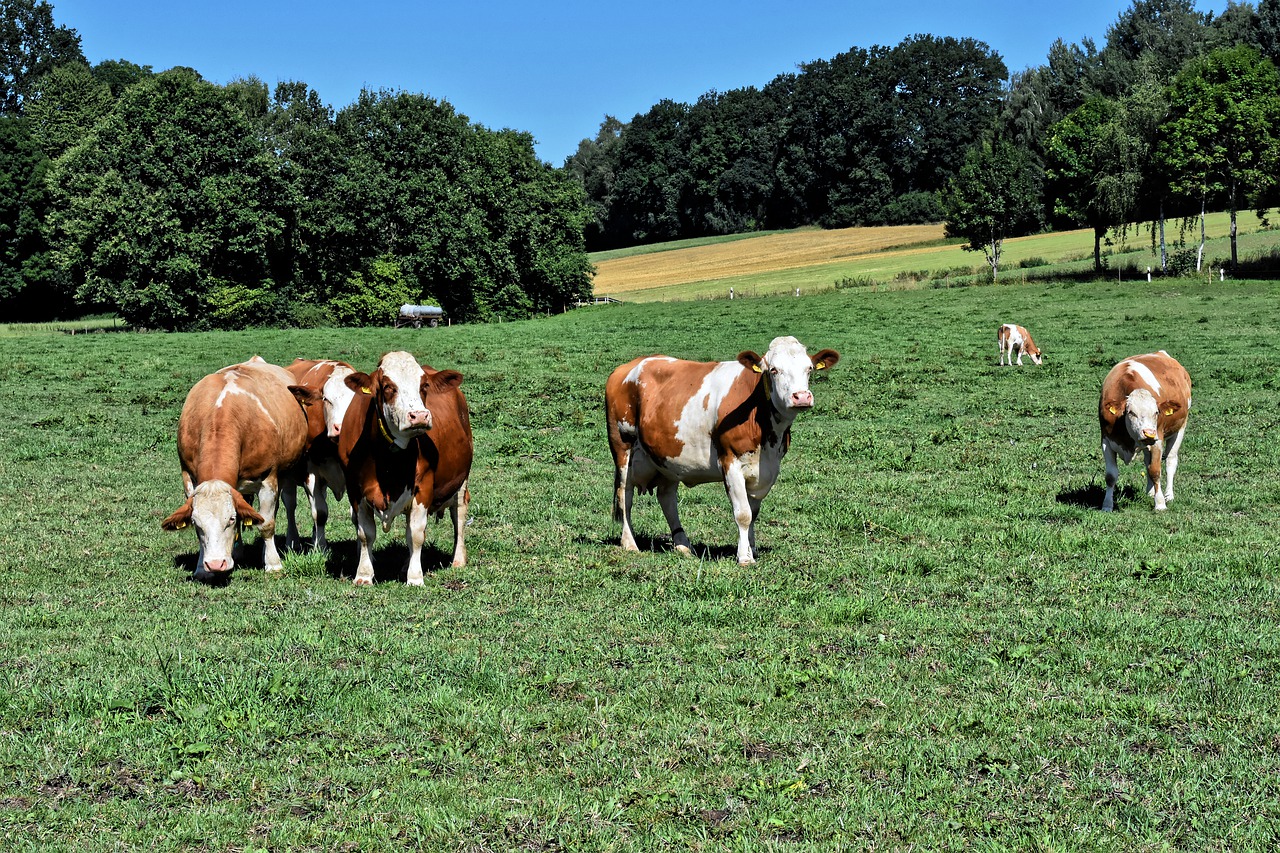
As a rule of thumb, you need about 2 acres per steer. However, if you are planning on grass-fed beef, you will need a lot more.
Now, the cattle raised in small lots can be raised well, and healthily, however, if you want to ensure the happiness of your cattle…give them some elbow room and keep ’em clean.
2. The Nursery
Young, day-old steers, need to be kept away from drafts, especially if you are unsure of their beginnings. Calves are fragile creatures and they can become ill VERY easily. If you have been keeping goats, chickens, or rabbits, you will be surprised at how frail calves are. They aren’t the hardy critters you would expect them to be.
3. Shelter
Your steers will need a place to go to escape the elements. They should have shade and at minimum a windbreak (especially if you have extremely cold temperatures in the winter).
Steers, like all mammals, use energy to keep warm in cold weather, and that is energy they need to keep meat on their bones–if you know what I mean.
So do your steer, and yourself, a favor and keep them out of the cold.
With that being said, mature steers enjoy cooler weather and can withstand some pretty extreme climates. So, don’t worry about blanketing them!
Adequate Fencing for Raising Beef Calves
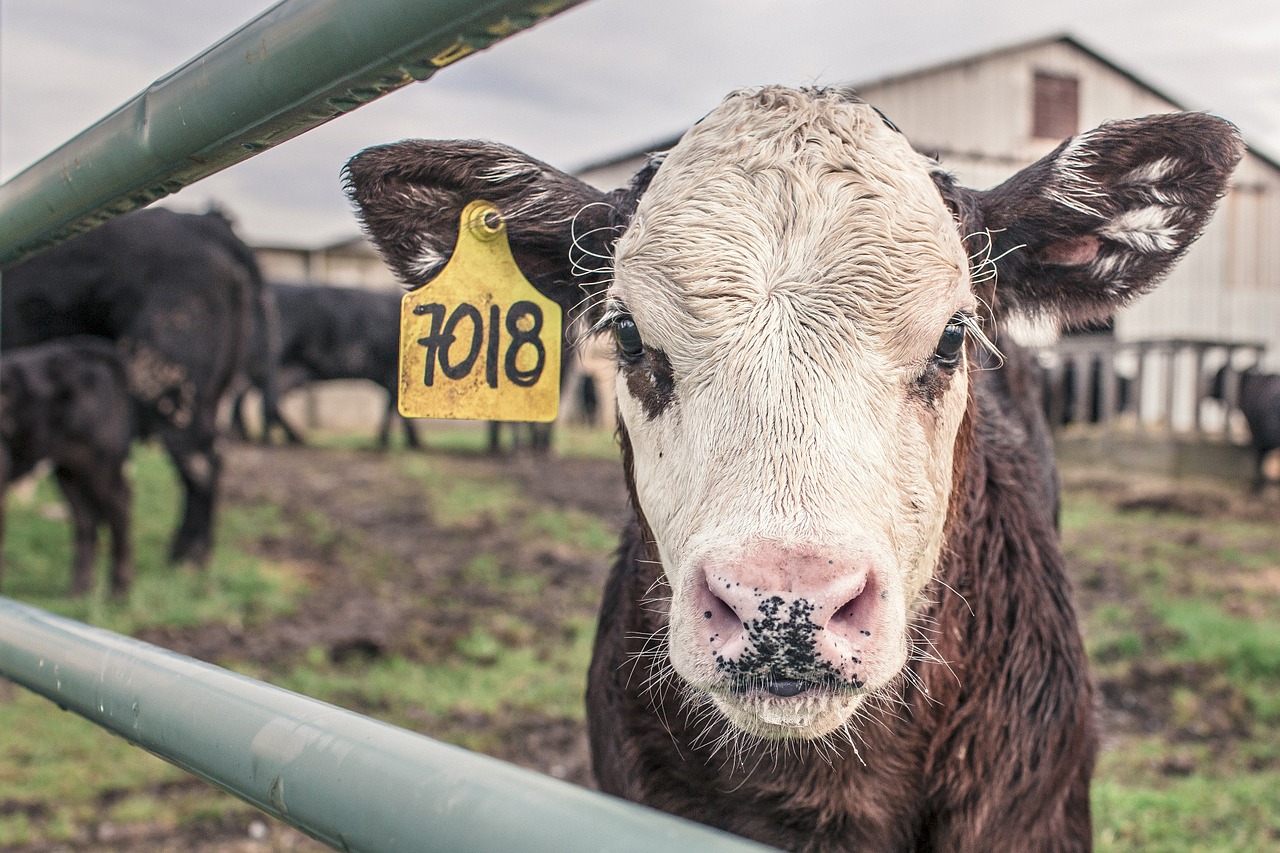
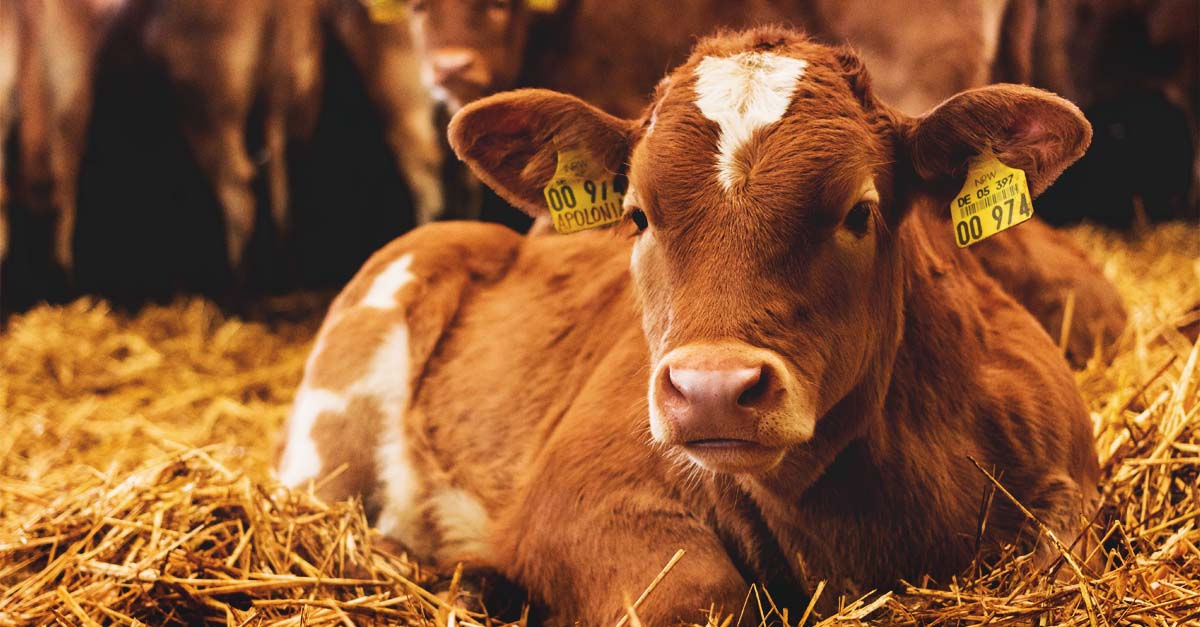
When raising beef calves, they should spend the first 6-8 weeks of their lives in a small, breeze-free area. However, calves also need good ventilation otherwise they end up with respiratory disorders early on.
If you have a small barn or shed you can create all kinds of little cubbies inside for your bull calves.
Another option is calf hutches, which can be pricey, but if you plan on raising beef calves yearly, you may find them useful. Often you can find used hutches for sale on Craigslist.
Hotwire and Panels
When your calves are ready to make the move to greener pastures, you have two options for containing them: hotwire, panels, or a mixture of both.
Yes, some still use barbed wire, but usually this kind of fencing is not necessary for castrated bull calves.
We love hotwire on our homestead, it’s always been reliable, and easy to introduce to young steers. All it takes is one or two pops from the electric fence and they won’t even look at what’s on the other side of the fence ever again.
Panels are a bit friendlier for steers, but they are much more costly, especially for a large area. If you can afford paneling or other types of fencing, go ahead and consider it!
Where to Find Inexpensive Calves
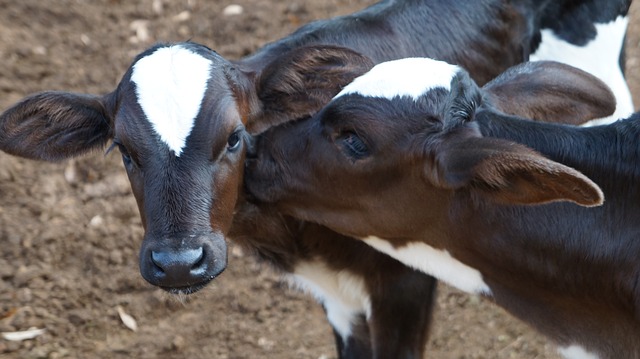
Making the decision to purchase day-old bull calves is a respectable choice. Dairies have little-to-no use for young bull calves and unfortunately, some even allow them to die on the farm.
Feeding young bulls expensive milk replacer is not something a dairy farmer wants to invest time or money into. So, in a way, you are saving the calf from an uncertain future (often the fur farm).
1. From the Neighbors
If you have a neighborhood farmer that sends his or her bull calves to auction (or worse) establish a relationship and ask to purchase a bull calf or two at market price.
Make the decision easy for the farmer: offer to pick up the calf after 24 hours and pay in cash.
I say 24 hours because the calf must have access to colostrum from the cow.
Colostrum is the first bit of milk from the mother that contains important antibodies that literally set the stage for the health of the calf.
This is non-negotiable.
It’s also one perk of having access to the farmer, rather than buying blindly from an auction.
2. Auction Houses
If you cannot establish a trusting relationship with a farmer, you may find yourself at the auction house.
You will find many bull calves in the auction house perfect for raising beef.
Why?
Well, for a cow to produce all the milk we consume, she needs to give birth…often.
Most heifers are kept and fed on the farm to become the next producers, while steers are often useless to the dairy farmer. So, imagine how many bull calves you might see monthly in a popular auction house…a lot!
Auctions are an easy way for the farmer to get rid of a bull calf, and still make a few bucks.
Now, the bad thing about auction houses is that you have no background information on the bull calves being presented. You get the chance to see them for a minute or two, and then the next calf is brought out.
You won’t know if they’ve been fed colostrum, or if they have scours or any other internal illness or injuries.
The good thing is, you can watch market prices and get bull calves on the cheap. One of our healthiest calves was purchased for $6….mhhhmmm.
But it’s a gamble because even if you luck out and get 2 seemingly healthy calves, you could have a sickly one that soon dies, and has passed its illness on to the others.
The good news is, you can learn to watch for illness, even in the few minutes you see the calf at the auction house–we’ll get to that, I promise.
Last bit about auctions: you may be competing with regular cattle jockeys. They always know what they are looking for and if they aren’t bidding on a calf, it’s probably too small or sickly–so pay attention to what they are buying, and when they get caught up in conversation and miss a healthy calf…SOLD!
3. Fairs
Fairs are a fun place to shop for cattle because you will see some of the healthiest, choicest, steers here. Some will be for sale, and some not…and depending on how they place, they could go for a small fortune as well.
In general, the fair is a good place to network and get leads on where you can purchase healthy beef cattle or dairy bull calves.
If you have children who might be interested in showing at the fair in the future, this could turn into a fun family affair.
4. Craigslist
You can search Craigslist for bull calves, but you are going to come across more flippers than farmers. There’s nothing wrong with buying a healthy, started, bull calf from someone who has done the heavy lifting (bottle feeding, bucket training, and weaning), but you can also do all of that yourself and pay less for raising beef cattle.
Know the market prices, and ask a lot of questions before going down this road.
How to Choose the Right Calves
1. Breeds
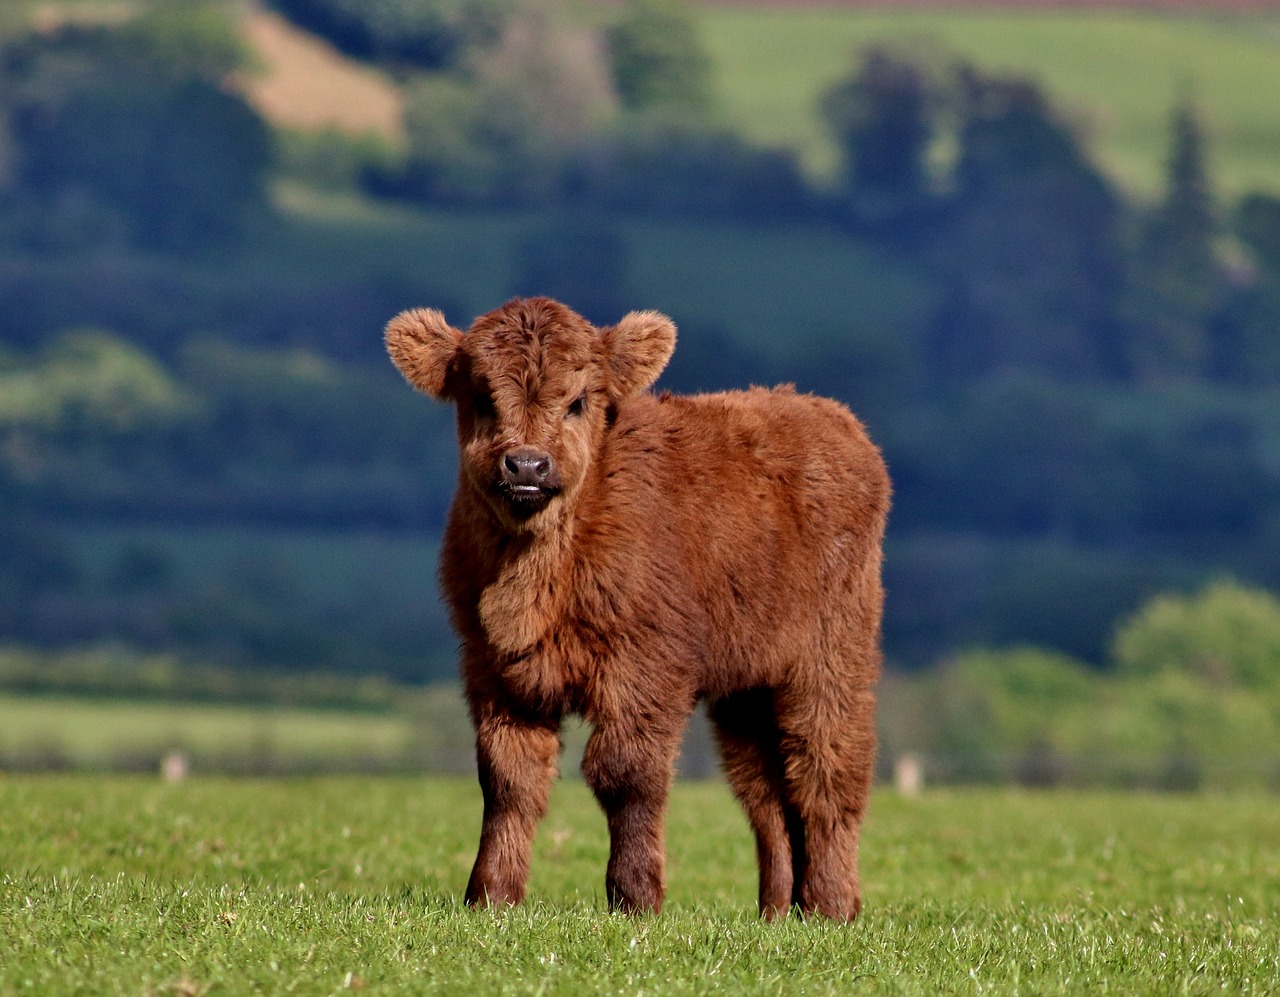
You may have caught on to the fact that this article is built around purchasing unwanted dairy bull calves. Holsteins are going to be the most commonly “discarded” bull calf, but you can often find Jerseys and Angus as well.
2. Freemartins
Freemartins are heifers that were born as a twin with a bull calf (a boy and a girl). Freemartins will often show up at auction houses as well, as they most likely have infertility problems and are often useless to a dairy farmer.
They grow nicely, and can be raised easily with steers for beef…plus you don’t have to worry about castrating them!
3. What to Look for Healthwise
Whether you are getting your calf from the farmer next door or the auction house, there are a few things you can look for to determine if the prospective calf is in poor health.
- Signs of diarrhea (scours)
- Limping
- Lethargy
- Droopy Ears
- Kicking at its stomach
- Bloat
- Goopy Eyes
- Runny Nose
- Coughing
If the calf you’re considering displays any of the above signs of illness, pass immediately.
I know you probably want to save them all, but some are not savable, and may only make the rest of your herd sick.
On that note, if you are adding calves over time, always quarantine new babies. Illness spreads like wildfire in a calf nursery.
Feeding Calves
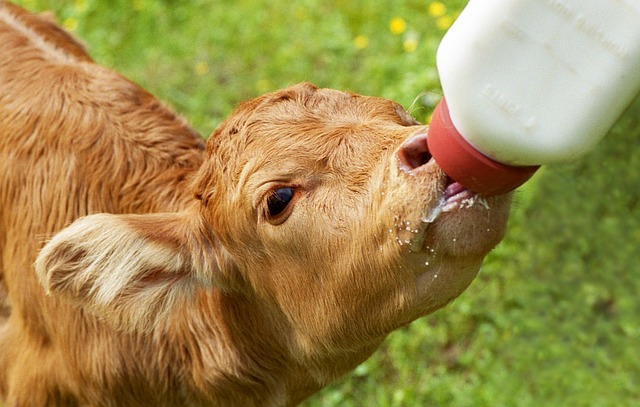
If you’ve purchased your calf from the auction house, you may have a calf that is a few days old and has already taken a bottle.
Yay, you!
This calf will latch right on. However, if you have a brand new baby, they have no idea why you are shoving a nipple into their mouths and some calves may even fight it.
1. Milk Replacer
Your new baby will need a nutritious substitute for momma’s milk. You can purchase milk replacers, bottles, and nipples from your local agriculture store. It comes in powdered form and directions for mixing will be included on the manufacturer’s packaging.
Always mix milk replacer with warm water, it is more pleasing to the calf and prevents the milk replacer from staying chunky, clogging the nipple, or creating a build-up for the calf internally.
2. Bottle Training
Bottle feeding calves takes a ton of patience in the beginning. They don’t understand what you are doing and it feels unnatural to them.
To bottle-feed, try the following tips (even for a stubborn calf)
- Squeeze some warm milk out of the tip of the nipple and drizzle it on the calf’s mouth.
- Let the calf lick and smell the milk.
- Offer the nipple to the calf gently…they won’t take it.
- Slide your clean finger into the side of the calf’s mouth, and allow him to suck on it if he wants.
- Slide the nipple into the calf’s mouth and watch them mess with it.
- This will be frustrating, they may moo in dismay and want to spit it out…be patient and keep trying.
- You may need to hold the calf still, as they may want to escape your annoying presence.
- Even though you are extremely frustrated, keep trying…eventually the calf will start to suckle.
- You may need to gently hold the calf’s mouth closed around the nipple until they realize it is food. Do this carefully, and do not close off their ability to breathe through their noses.
- If you are training more than one new calf at a time, have a clean bottle for each calf, and wash your hands thoroughly between training and feeding to prevent the spread of disease.
After the calf has learned that the bottle is yummy, it’s all they think about. You will become their favorite thing in the world. They will moo to you, nudge you, and try to suck on your clothing. It’s both adorable, and annoying all at the same time…but you will grow to love it.
Feed your calf twice a day, or according to the directions on the milk replacer label. Everything they need at this point is in that sweet-smelling bag of milk powder.
Oh, and keep your powdered milk replacer sealed tight, or kitties and collies will gorge on it and get sick.
3. Bucket Training
Ok, take a deep breath, because if you thought bottle training was impossible, bucket training is even worse.
Eventually, you’ll want your calf to learn how to drink milk from a bucket rather than a bottle. It’s easier for you to get on with your day, and it prepares them for drinking water, eating grain, and hay.
Once your calf is strong enough and drinking from the bottle regularly, you can start bucket training. We don’t like to keep them on bottles too long, or they become attached to them. On the other hand, weak calves will struggle through the stress of bucket training and may need more time with the bottle.
Just like us, we all learn differently and at a different pace. Some calves are more mentally mature than others and will pick up on bucket training quickly…others will take forever.
Follow these tried and true tips to bucket train your steer:
- Always anchor the bucket…babies will try to toss it and nudge it inevitably spilling milk.
- You can use the nipple (separated from the bottle) and lead the calf to the bucket to drink. They won’t understand and will probably just keep trying to grab the nipple. The point is to get them to start to lower their heads into the bucket because it feels very unnatural to them.
- Use your finger, instead of the nipple. Dip your finger into the milk, allow the calf to suck on your finger while lowering your hand into the bucket, submerging it in the liquid. Then, remove your finger and the calf just might stay in the bucket and suck some milk–until they realize your finger is gone.
- You will be frustrated…but keep this up a few times.
- Some calves are very stubborn about it and refuse to drink without a nipple, sometimes you need to just walk away. In some cases, the calf will give in and drink on its own.
Don’t stress too much if your calf snorts and inhales some of the milk from the bucket. They often plunge their entire nose into the warm milk at first but it won’t take long for them to get the hang of it.
The Process of Developing Steers
1. Introduce Grain
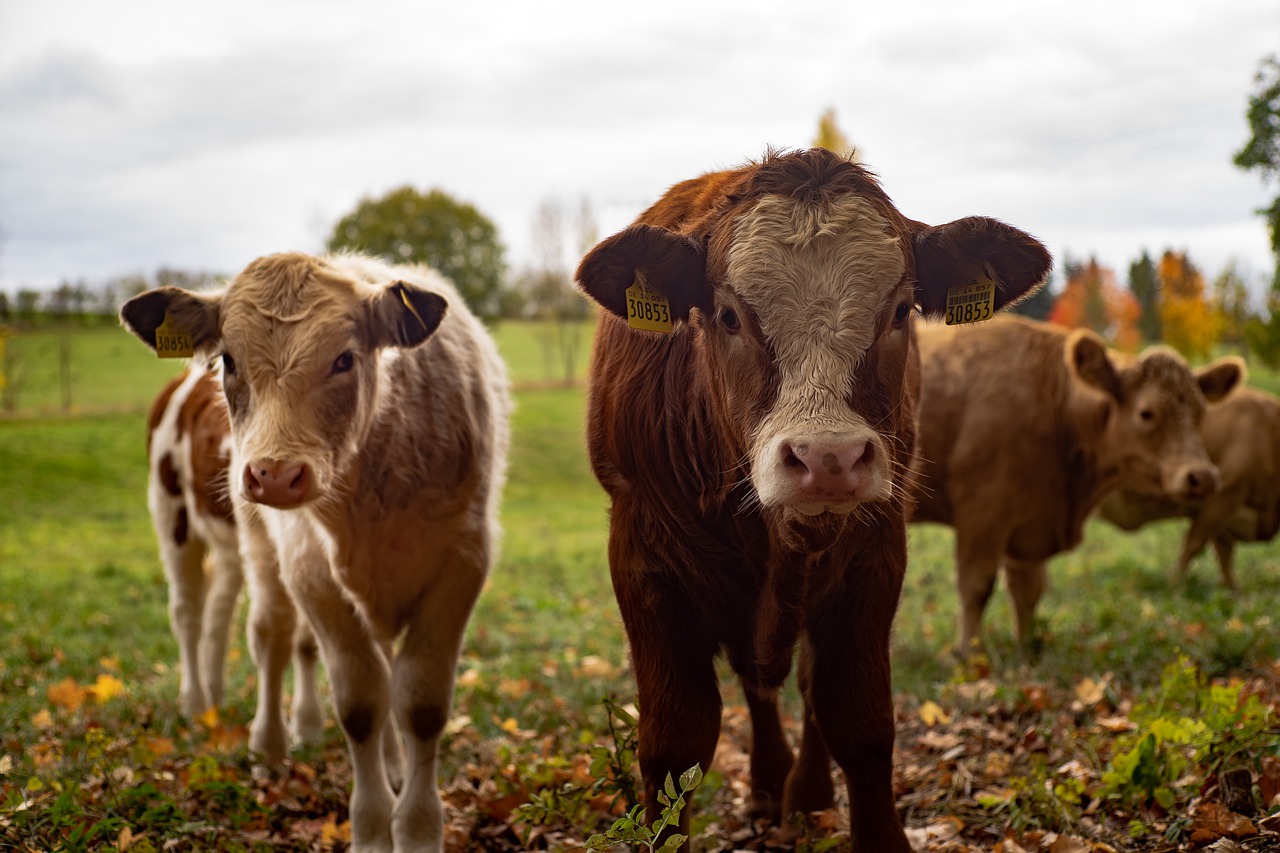
When your steers are finishing their milk from their buckets before you can leave the barn, it’s time to start giving them access to small amounts of hay and starter grain. The good news is, you don’t have to teach them to eat either. They naturally become interested in the grain and hay themselves and start nibbling out of curiosity.
Read the instructions on the starter grain for amounts to feed, because too much too fast can cause digestive issues.
Usually, at 6 to 8 weeks of age, calves are ready to start eating roughage and solids. Try not to judge the calves based on age, or even weight, rather observe their readiness.
Once you are confident your calves are eating their grain fully, and you are following the manufacturer’s directions to ensure they are getting the proper nutrition, you can take the milk away at your own discretion.
2. Castration
As your calves grow, they become mature little steers. But before you can call them a steer, you must castrate them. You can either have a vet do this, or you can do it yourself by banding them. Some experienced cattle owners will remove the testicles surgically…on their own!
You can castrate your calf at any point, but I recommend waiting until they are settled or around 2 months of age. Just remember, the larger your calf gets, the stronger they become…so don’t wait too long!
You can purchase banding equipment from your local agriculture store or online.
3. Dehorning
Whether you decide to dehorn your steers or not is up to you. There are pros and cons to either way of doing things.
For example, dehorning with irons is painful for the calf, and difficult to do on your own. But leaving the horns can create a risk of injury to yourself, other cattle, or the steer himself as he grows.
There are chemicals that “burn” horns off as soon as they start showing, but this is not always fool-proof and if not careful, it can be quite painful as well.
We leave the horns on our steers and have had no problems so far– maybe we’ve been lucky. But after attempting to remove the horns with an iron a few times we decided it was not worth it for the steer or ourselves to go through the stress of it.
We even tried the chemical, but my husband got it on his skin and it began eating his flesh…so that was also a no-go.
Horns it is!
4. Pasturing for The First Time
When your calves are about 12 weeks old, they can be slowly introduced to pasture. I say slowly because too much green pasture at once can be a punch to the gut for calves. They will bloat on the rich greens and can easily die.
If you have supplemented their grain with enough quality hay, the impact of green grass will not be as intense.
When you first let your calves into their new pasture, some will be elated, and others will be afraid. Eventually, all will be kicking up their hooves and taking hot-laps around the pasture.
If you decided to use hotwire, ensure that it is visible to the steers by tying flags, ripped clothing, old socks, and other items on the fencing. Doing so may slow them down enough to prevent them from running through the fence.
Monitor your steers for a few hours, watch to ensure they have learned to respect the fence and continue to check on them periodically over the next few days. Always test your fencer regularly.
Processing
Most wait to butcher their steers until they are around 1200 pounds. Depending on what you have decided to feed your steers (grass-fed, cornfed, grain-fed) and what breed of steer you raise, it may take anywhere from 12 months to 36 months.
Where to Butcher
If you plan on feeding your family with the meat from the steer, and you know what you are doing, you can process the beef on your homestead. But if you need someone else to do it, or you are selling your beef to consumers, then you should have it processed at a USDA licensed facility.
Conclusion to Raising Beef Calves
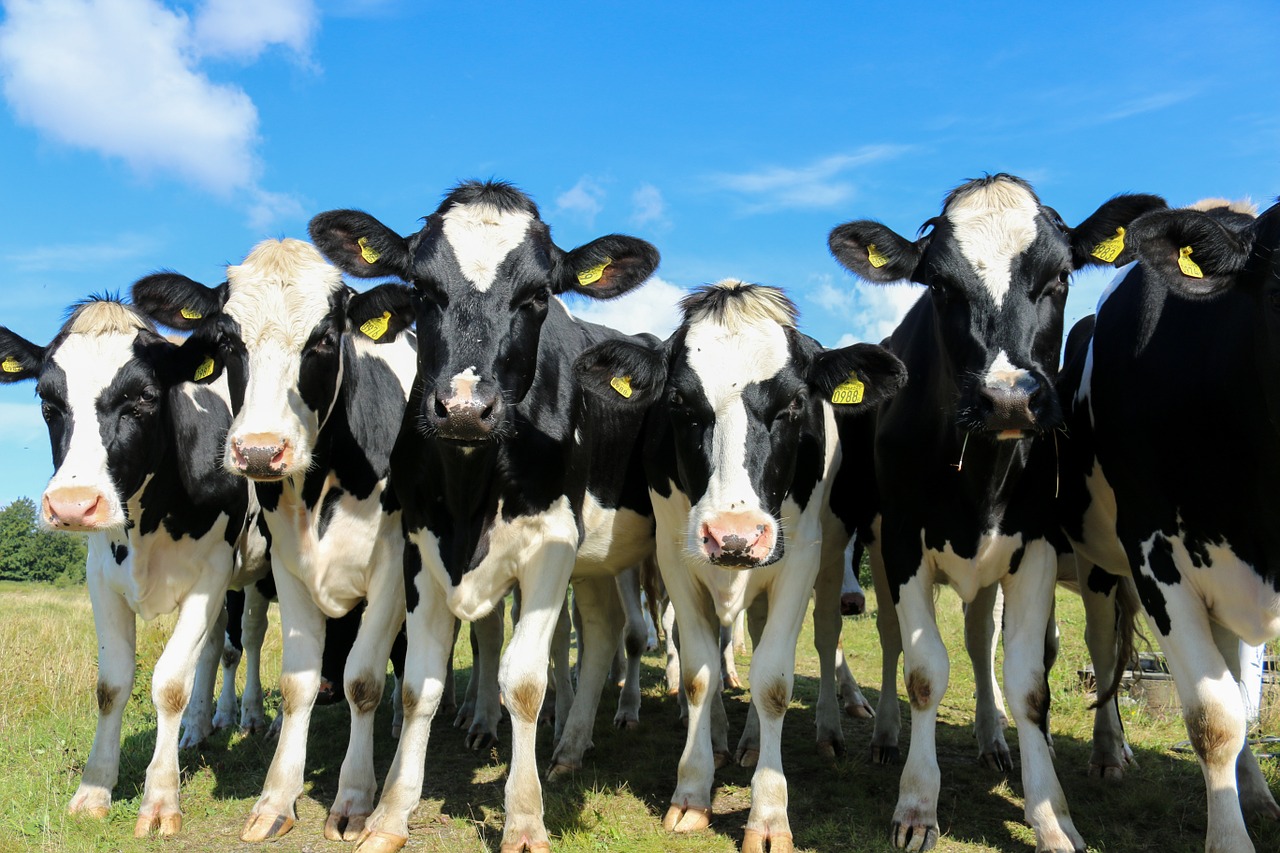
Until it’s time to butcher, enjoy raising beef calves and take it all in. Watching them grow into stoic, happy, healthy steers is a rewarding experience for the whole family.
Since we know it can be easy to grow too attached to any farm animal, read our tips on preventing attachment to your future meat source. Keep a homesteading journal where you keep track of the costs, ensuring your homegrown steak does not cost an arm and a leg.
Doing this and following our the guidelines above, will help you successfully raise beef on your homestead.
