Arrows break—a lot. Whether you’re doing archery practice or actually hunting for food, you’re likely to break the heads off them regularly. Fortunately, replacement arrowheads are really easy to make. All you need are a few basic items and equipment you probably already have around the house.
What You’ll Need
You don’t need much to DIY new arrowheads. In fact, they’re some of the simplest hunting tools to make, as they require little equipment. You’ll need the following:
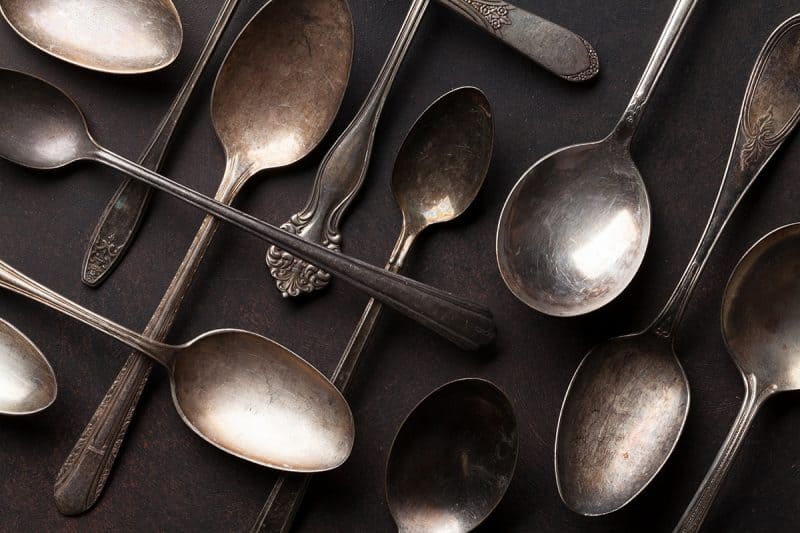
- Metal spoons
- Hammer
- A permanent marker
- Metal snips (not absolutely necessary, but helpful)
- Heavy metal file or concrete masonry block
- Whetstone
- Sharp knife
- Sinew (recently hunted animal sinew, or artificial sinew that you can buy here)
- Glue or pine pitch glue
Granted, you’ll also need some extra stuff for when it’s time to attach the heads onto the shafts, but we’ll get to that later.
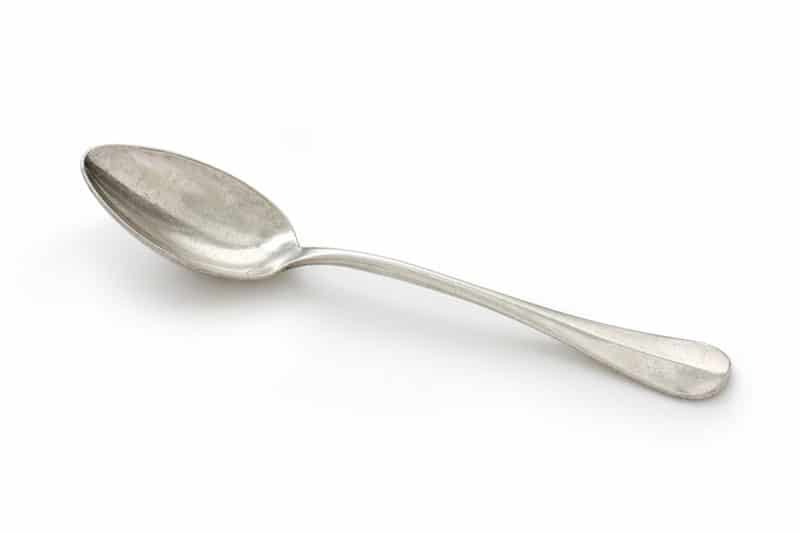
Try to get really sturdy metal spoons rather than flimsy ones. You need the metal to be strong enough to pierce whatever it is you’re trying to hunt. You can tell a higher-density metal spoon by how it feels in your hand. Basically, if it feels heavy, you’re good. The light spoons are nice and all, but they might bend on impact rather than piercing.
Remember that when it comes to hunting, we’re aiming for quick, clean kills. We don’t want our prey to suffer needlessly.
Bash the Spoons Flat with a Hammer
The first part happens to be the most fun. This is where you get to bash spoons with your hammer to flatten them out.
Find a hard, flat surface, and place your spoon hollow-side down. Bash the head a few times with the hammer to flatten it a bit, then flip it around and bash it some more. Keep flipping it back and forth, smacking it with the hammer until it’s properly flat. Don’t worry about flattening the handle. We aren’t using it.
This pounding is immensely cathartic, so consider it an exercise that’s as stress-relieving as it is productive.
I recommend flattening a dozen or so in a single batch, so you have a pile to work with. It’s a lot more effective than stopping and starting every time you want to make a new one.
In fact, every time you swing by a thrift shop or dollar store, stock up on metal spoons. Then, whenever you’re frustrated with something, bash them flat with your hammer and store them with the rest of your archery equipment.
Shape the Arrowhead
As you can imagine, you’re not going to take down any prey with the spoon looking like it is now. I’m reminded of the exchange from the old Robin Hood: Prince of Thieves film in which the Sherriff threatens to cut someone’s heart out with a spoon. Because it’s dull, and it’ll hurt more.
No, what we need to do now is shape and sharpen our little bashed spoon into a proper arrowhead with a sharp tip.
The first step is to remove the excess metal from around the edges. Grab your marker and draw an upside-down “V” shape on the flattened head. Yes, with the pointy side facing away from you. Then, if you have metal snips, use them to cut off the bits that you don’t need until you have a rough arrowhead shape.
Cut off two-thirds of the handle, leaving a third.
Keep in mind that you don’t need cutters to do this part. You can use a heavy file and shave off the excess metal. Alternatively, you can go the prison shiv route and shape the metal on a rock or masonry block.
Hey, whatever works! If you’re in a survival-type scenario, no one’s going to bat an eyelash at you sharpening arrowheads on a rock. They’ll just be happy about the wild turkeys and geese you bring back to the camp.
Sharpening Time!
Now that you’ve shaped the arrowhead into an awesome triangle shape, you need to sharpen it. You can use a finer-grade outdoor stone for this part, or you can use a whetstone.
Honestly, if you don’t own a whetstone yet, I’d recommend getting one. They’re astonishingly handy for sharpening all kinds of blades, and they can last you a lifetime. If possible, get yourself one with a coarser grain on one side and a fine grain on the other.
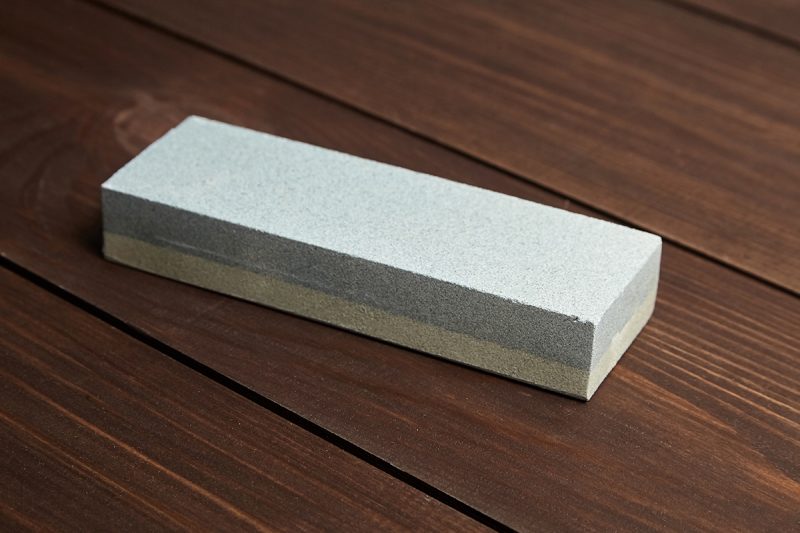
Anyhow, carrying on…
Soak your whetstone for a good five to ten minutes. Then, sharpen each side of your arrowhead on the coarse grain side by moving them gently, but firmly, back and forth along the stone. Once those sides have sharpened up nicely, flip the whetstone over. Repeat this process with the fine grain side until the arrowhead is razor-sharp.
Check out this video tutorial for a good whetstone sharpening technique.
As you can imagine, these arrowheads can be pretty brutal if they cut you. Some people like to use heavy leather gloves during the sharpening process so they don’t get cut. If you’re prone to being a bit clumsy, you might want to go this route, just in case. Oh, and keep the first aid kit handy too.
Attach the Arrowhead to the Shaft (Hafting)
Just so you know, the long bit that’s going to be shoved into the arrow shaft is called a “tang” or “stem,” depending on where you’re from. I’m going to call it a stem, but if you come across either term in your Googling, you’ll know what they mean. Similarly, the process of attaching the head to the shaft is called “hafting.”
There are a few different options for attaching the head, depending on what kind of arrow shaft you’ll be using.
For example, if you’re sticking a shiny new metal head into a fiberglass or wooden shaft, you can repurpose an old (or broken) practice head. These consist of two parts: the head itself and the cup-like part you removed from it. If you measure out that cup, you can cut the spoon handle to fit snugly into it.
If the stem fits snugly into either the aforementioned cup, then that’s awesome. You can just glue it into place, and then wind sinew around it to hold it in place once set.
On the other hand, if you’re using a handmade arrow shaft, such as one made from a sapling stem, cattail stem, or bamboo cane, the process is a bit trickier. You’ll have to cut a notch across the shaft opening for the arrowhead to sit into comfortably. You’ll also have to carve grooves around the outside of the shaft for the sinew to grab into when you wrap it.
Once these are cut, use glue (regular or homemade) to fix the arrowhead into place. As soon as it starts to dry, rub some glue around the shaft, and wind slightly moistened sinew tightly around your work. This will tighten up even more as it dries, holding the arrowhead firmly in place.
Keep Your Arrows in Good Shape

As you’ll be able to tell after making a few of these, creating your own arrows takes a lot of time, patience, and skill. Needless to say, you’ll want to keep your arrows in good shape so they’ll last.
The shafts can warp every time you use them, so be sure to take care of them well. Examine them after each use, and use a knife or sandpaper to shape them straight again if they’ve bent. Similarly, be sure to re-sharpen the arrowheads after every use. These can dull really quickly, especially if you shoot them through bone.
Clean them well, make yourself a strong cup of tea or coffee, and sit yourself down by the fire. Then soak the whetstone and sharpen each of them with care. In fact, oil your bow(s) while you’re at it. When you treat your tools and weapons with care and respect, this type of maintenance becomes a labor of love rather than a chore.
Good hunting!
