Those of us who live in colder climates champ at the bit to start gardening every year. Fortunately, there’s a way to start gardening early, without waiting for the snow to disappear in the spring: cold frame gardening.
Those of us in cold regions monitor snow levels daily to anticipate when we’ll be able to get growing again, and are patently unimpressed when temperatures stay low instead of warming.
But with a cold frame, we can’t start gardening before it’s technically even spring. Here’s how:
What’s the Difference Between a Spring or Fall Cold Frame?
The easiest way to describe a cold frame is that it’s basically a mini greenhouse. They absorb heat from sunlight over the course of the day and then retain it throughout the night.
These cold frames can be constructed from either plastic or glass, and are perfect for extending your growing season. Using cold frames in the fall allows you to continue growing things that might have died as the cool weather approaches.
On the other hand, spring cold frames can be used to give you more growing time in the early spring. It’s the same structure, but what differs is how you use them.
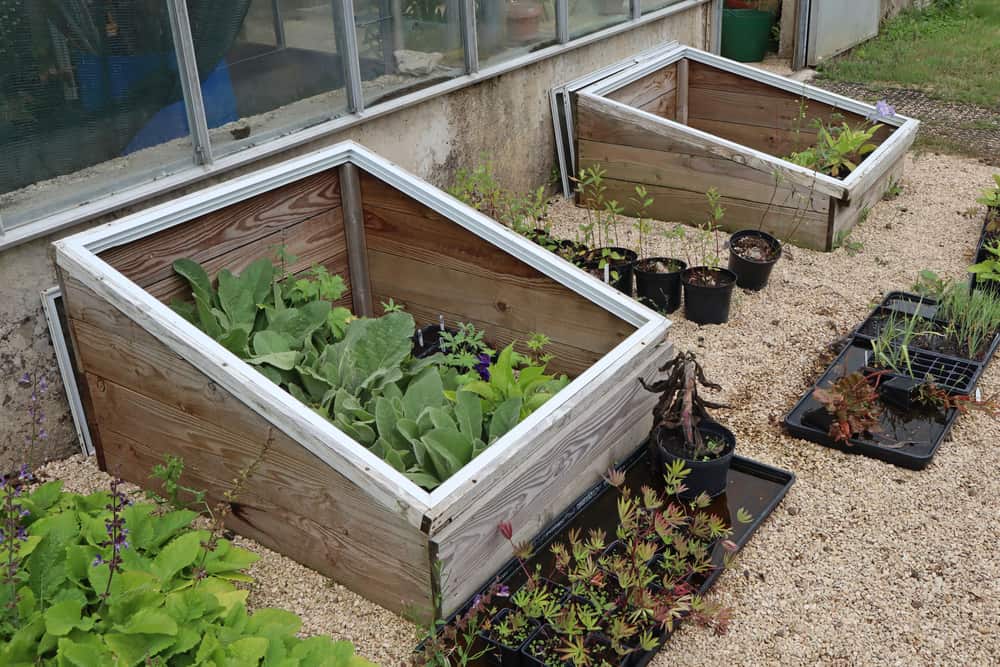
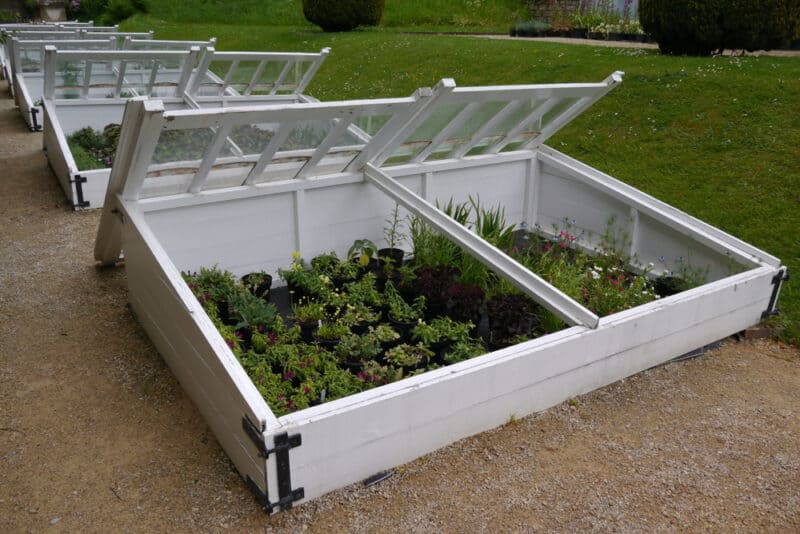
You may have seen cold frames in your neighbors’ yards before and didn’t recognize them for what they were. Usually, they look like raised beds with lids on them. In fact, many people mistake them for compost or storage bins.
In my case, my cold frames are upcycled IKEA bookcases with glass doors. I found them on the side of the road years ago and have been using them in my garden ever since. You can buy pre-made frames from a garden center, or DIY them with materials you already have at home. Whichever way you go, they’re great for getting your garden started early.
You can either grow cold-hardy crops in these frames or use them to harden off seedlings. I’ve done both, and can’t recommend the process highly enough.
Not only does this allow you to grow more food almost year-round, but it will help you jumpstart the growing season. Generally, using a cold frame will allow you to grow and harden off seedlings at least a month earlier than usual.
How to Set Up a Spring Cold Frame
Two factors will determine the type or types of cold frames that are best for you. One is space, and the other is orientation.
Location Is So Important!
For example, the best location for a cold frame is south-facing. This is because it’ll get the most light exposure over the course of the day.
Additionally, you’ll need to take drainage, wind, and other factors into consideration. Look around for large tree branches that may fall in high winds. The last thing you need is to have to pick shattered glass out of your lettuce after a storm.
What about water runoff? If you have a lot of snow around, it will melt. Try to avoid placing your cold frame in a low area that’ll collect meltwater. This could damage your plants and bloat your frame.
Size and Shape
Size-wise, you’ll need to create a frame that’s large enough to grow food, but not so big as to dwarf your yard. It should be small enough to reach into comfortably, but not too cumbersome for one person to handle solo.
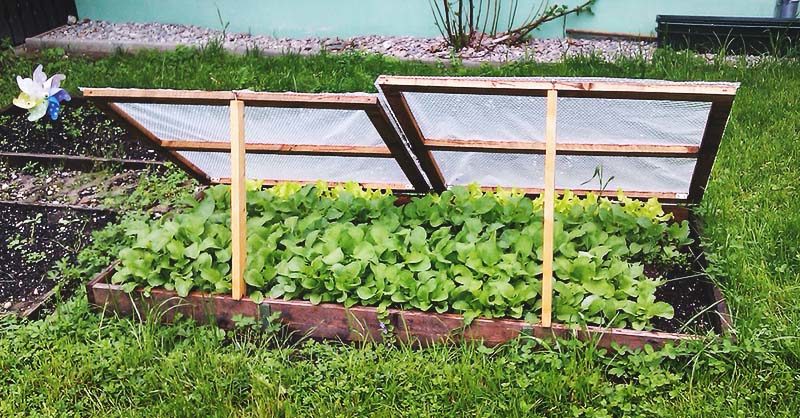
My favorite size for a cold frame is around 2 feet wide by 2 feet deep, and about 6 feet long. If my frame is longer than 3 feet, I create at least two hinged glass tops for them. These smaller doors are significantly easier to lift and prop open than longer ones.
The top can be sloped to help guide water and snow off. If you do slope the structure, make the lower side the one that faces the sun the longest. That way, you increase the amount of sun the plants will receive.
Materials
The materials will depend on what you have available, and how much you want to spend on your frame.
For example, I mentioned my hacked IKEA bookcase earlier, but I’ve also built cold frames from salvaged materials. Our porch was redone last summer, and the 2×4-inch planks were ideal for repurposing into cold frames, raised beds, and more.
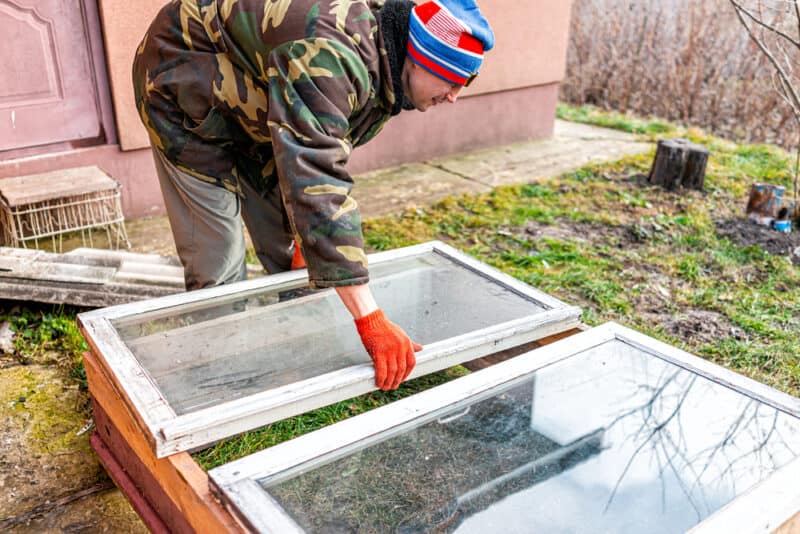
Now, remember that you need something transparent or translucent to let light in. We’re lucky enough to have a lot of abandoned homesteads in the area. As a result, we’ve been able to salvage old windows from the woods at zero cost.
You can also find these at thrift shops or on buy/trade websites. Alternatively, you can use plexiglass or greenhouse-quality plastic sheeting.
Drainage and Ventilation
I know many people who have accidentally drowned, smothered, or cooked plants in their cold frames. Best to avoid doing any of the above.
If you’re using a pre-made box frame, be sure to drill drainage holes in the bottom. Otherwise, leave the bottom open. In terms of ventilation, you can either drill some 1/2-inch holes into the sides, up near the top, or open the frames regularly. This will allow trapped moisture to evaporate, while also increasing airflow.
Soil
The type of soil used for a cold frame is the same for any raised bed. Your best option is potting soil with extra drainage and water retention amendments. I like to use organic potting soil, and then I work in extra perlite, vermiculite, and coconut coir.
Lay down a 2-inch layer of gravel or pebbles for draining. Then add a few handfuls of twigs and straw to a depth of about 4 inches, followed by your potting soil. The twigs will add extra aeration and drainage, while the straw will help to insulate the roots from surrounding chill.
Best Plants for Cold Frame Gardening
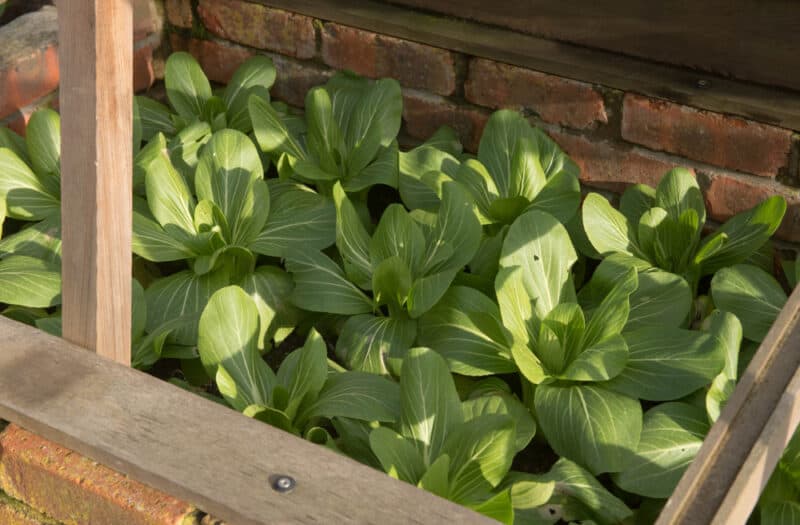
Since springtime temperatures will fluctuate a bit (and may stay chilly for a while yet), your best options are short-season and cold-hardy species. These can handle the cold better than tropical varieties.
Some of the best options for your cold frame will include:
- Beets
- Carrots
- Radishes
- Kale
- Broccoli
- Cauliflower
- Kohlrabi
- Turnips
- Rutabagas
- Brussels sprouts
- Cabbage
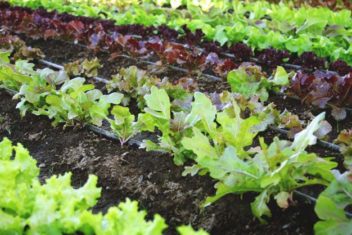
- Lettuce
- Leeks
- Peas – dwarf cultivars like ‘Tom Thumb’ only grow about 8 inches tall! Perfect for cold frame growing. Grab some at Amazon.
Potential Problems
Just because a cold frame regains heat doesn’t mean it won’t freeze. Depending on where you live, springtime temperatures may still plummet regularly. For instance, here in Quebec, it can snow right into June. As a result, your early gardening endeavors might end up kiboshed.
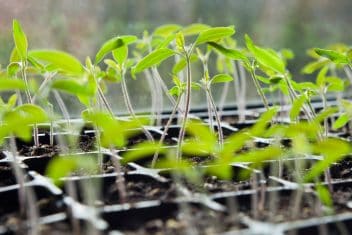
If you’ve started seedlings indoors and are hardening them up in your cold frame, wait until they’re at least 5 inches tall. This should make them a bit more resilient in case there’s a sudden cold snap.
Watch out for overhanging icicles or anything else that may damage your frame. Additionally, try to keep large pets or livestock away from them. The plants inside will be tender and won’t deal well with being trampled by your Great Pyrenees. Furthermore, your animals may get severely hurt if they cut themselves by jumping through the glass coverings.
If you do have boisterous animals (looking at you, goats), consider plexiglass in lieu of regular glass. It’ll be less likely to shatter if they leap around on the frames.
Multi-Purpose Structures
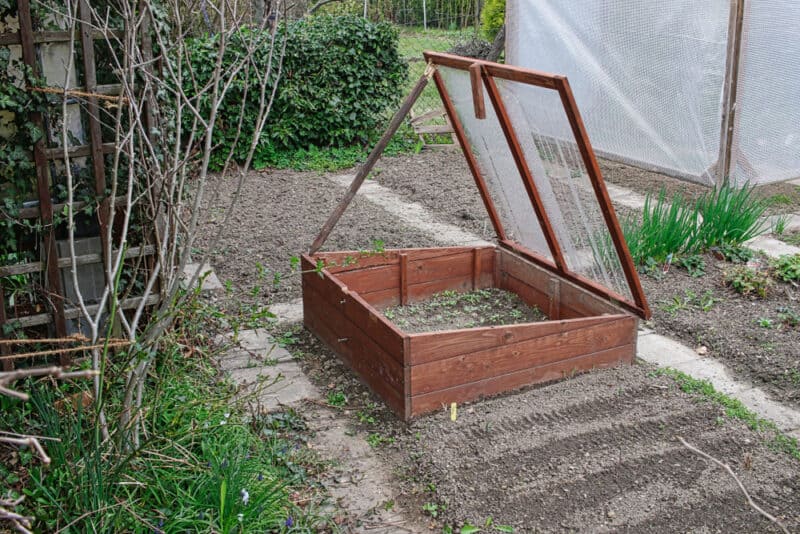
You honestly can’t go wrong with a spring cold frame. In fact, having several around for various purposes is absolutely ideal. While one of them is incubating early peas and greens, another might be hardening off early tomato or pepper plants.
You can propagate medicinal herb cuttings to get a head start on this year’s medicine, or protect young berry bushes until they’re large enough to transplant elsewhere.
Considering how easy these are to throw together, there’s really no downside to having several of them around at once. They’re perfect for utilizing space that would otherwise go to waste, and you’ll have more abundant, healthier plants as a result. You can’t lose, here.
