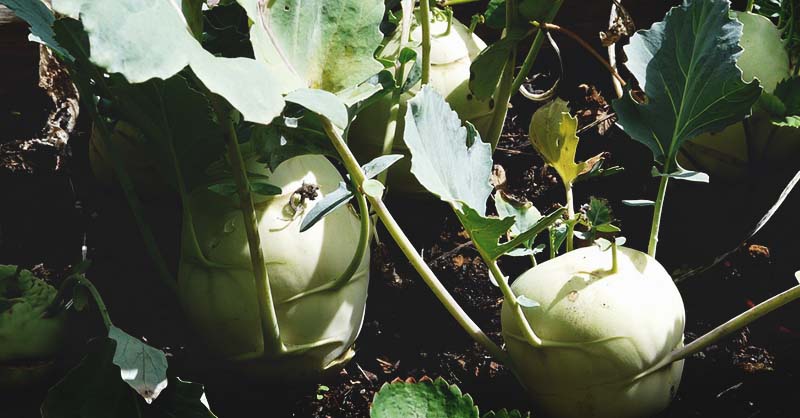
Rutabagas don’t get the love they deserve. The lumpy veggies are fall treat that is endlessly versatile in the kitchen. No really. You can grill them, roast them, steam them, sous vide them, smoke them, fry them, and mash them up. You can even eat them raw. I’m telling you, they should get a more prominent spot in the garden. Growing rutabagas seems complicated because its a root crop, but they’re surprisingly easy.
One of the reasons I love rutabagas so much – beyond the incredible taste – is because they give you a fresh veggie option even as the winter comes rolling in. After the first fall frost, rutabaga stays in the ground for a later harvest, taking on a richer flavor as it ages in the cold.
People often call rutabagas by other names, such as Russian turnip, Swedish turnip, Canadian turnip, and yellow turnip. As you can tell, rutabagas are related to turnips. They’re actually a cross between wild cabbage and turnip. Compared to their cousin, rutabagas are larger with a sweeter, starchier flavor thanks to their cabbage heritage, and they take weeks longer to mature.
Rutabaga Plant Info
- Hardiness Zones: 2, 3, 4, 5, 6, 7, 8, 9, 10
- Soil: Loamy, PH between 5.5 to 7.0, fertile, loose, well drained
- Sun Exposure: Full sun, partial shade
- Planting: 4 to 6 weeks before the average date of the last frost in spring
- Spacing: 4 to 6 inches between plants and 18 to 24 inches between rows
- Depth: ¼ to ½ inch seed depth
- Best Companions: Beets, carrots, turnips, peas, onions
- Worst Companions: Potatoes
- Watering: Copiously during hot weather, at least 1 inch per week
- Fertilizing: Side dress with compost at midseason
- Common Problems: Alternaria leaf spot, anthracnose, black rot, cercospora leaf spot, downy mildew, cabbage aphid, flea beetles, root maggots, wireworms,
- Harvest: 90 to 120 days after planting, when rutabagas are 3 to 4 inches in diameter
Rutabaga Varieties
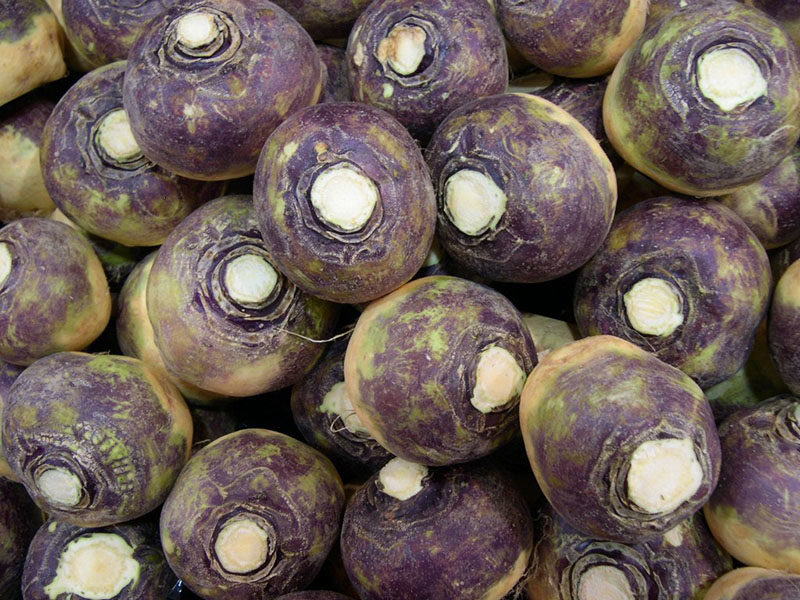
You can find several rutabaga varieties to grow in your garden. Here are a few of the most popular picks.
American Purple Top Rutabaga
This variety is a tasty, mild, and sweet rutabaga that tastes excellent cooked or raw and looks pretty on the plate thanks to its bright yellow flesh. It’s a pre-1920 heirloom seed perfect for your fall garden.
Champion Purple Top Rutabaga
Champion rutabagas mature in 80 days, growing large, smooth roots that are pale ivory with purple tops. The flesh is fine-textured, mild, and sweet. This variety is more common in Europe.
Laurentian Rutabaga
It takes 90 days for this variety to mature. When it does, it produces a purple crown that’s light yellow below the top. The roots are about 5 inches in diameter.
Navone Yellow Cabbage Turnip
Often called Swedish turnip, this rutabaga variety is a delicious winter crop that produces deep golden-yellow colored roots with a rich and sweet taste. They taste delicious roasted, baked, mashed, and more.
How to Plant Rutabaga
Did you know that rutabagas are part of the brassica family? It makes sense because they’re a blend of cabbage and turnips. That doesn’t mean you grow them just like cabbages, but they do prefer similar temperatures and conditions.
Growing Zones
Rutabagas grow well in zones 2-10.
Soil Requirements
Growing rutabagas are happy in average soil without much preparation, which is great for beginner gardeners (or lazy ones). You’ll get a bigger harvest if you work in a few layers of compost or composted manure into the existing ground to add nutrients, increase water retention, and add more air circulation.
Poor soil leads to a woody texture that you might not like. You should also look at the soil pH level; ideally, you should aim for 5.5 to 7.0. If you need to increase the acid in the soil, mix in lime.
The most important thing to do when preparing the soil is to remove any large rocks and make sure the soil is loose. Rocks interfere with root growth, so you’ll end up with strangely shaped or stunted rutabagas. Hard soil will restrict the size of your veggies.
Sun Requirements
The ideal location to plant rutabagas is in full sun, but if you do plant them in the spring, having a bit of shade helps to mitigate the heat as spring gets warmer.
When to Plant Rutabaga
When you plant rutabaga, sow seeds directly into the soil. The biggest challenge to growing rutabagas is appropriately timing your planting. Rutabagas are a root crop that ripens best when in cold weather, so they have to be planted in time for the mature before the hot weather or hard freeze. That’s why they’re a perfect fall crop in colder regions or winter crops in warmer zones.
Take a look at your calendar. Rutabagas need around 80-100 days to mature. So, if you live in a cooler region, count back 90 days from your average first frost date. For those in warmer areas, plant when night temperatures are 50-60℉.
You can also plant as an early spring crop when the ground isn’t frozen. However, the problem with spring planting is that warmer weather will arrive, which takes away from the sweetness of the crop.
Spacing
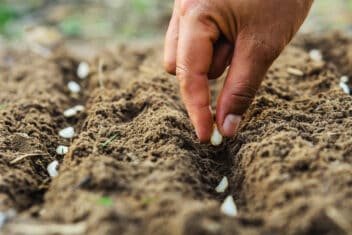
Sow the seeds half an inch deep and 4 inches apart. The rows need to be 7-inches apart for maximum growth, with 24-inches between rows. Then, as the seedlings pop up through the ground, thin them to 8 inches apart when they’re 3-4 weeks old.
How to Care for Rutabagas
Once planted, caring for rutabagas centers around keeping the ground moist and weed-free. You can fertilize throughout the season for maximum growth. Caring for these crops is almost as easy as learning how to grow rutabaga.
Watering
Rutabagas prefer cooler temperatures and consistent moisture throughout their growing season. When in doubt, water your rutabaga. Spotty watering that causes alternating wet and dry soil leads to the roots splitting open. Many gardeners lay a soaker hose or drip irrigation to keep the soil moist at all times without getting soggy.
Fertilizing
Like many root crops, rutabagas benefit from having a steady source of nutrition. Feeding your plants a continuous-release fertilizer, such as all-purpose plant granules, will provide all of the nutrients needed for a steady growth pattern.
Rutabagas are known for having boron deficiencies, which can lead to a condition called brown heart. Brown heart leads to a discolored hollow in the middle of the rutabaga. You can sprinkle household borax into the roots during planting for supplemental boron, or mix borax with water and spray the young rutabaga seedlings.
Common Pests & Diseases
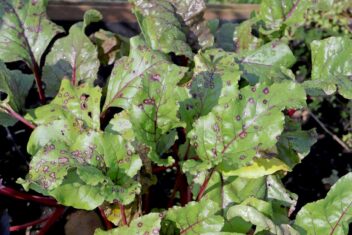
Alternaria Leaf Spot
This fungal disease destroys a wide variety of plants. It usually shows up as spots on a plant that turns from yellow to black with yellow halos. These lesions can turn necrotic and can kill off the entire plant.
You can use liquid copper fungicides or sulfur fungicides to control it. Help prevent it by keeping away pests, since they can spread the disease.
Black Rot
Black spot pops up as yellow lesions that eventually turn black and necrotic. Practice good sterilization techniques, maintain good crop rotation, water at the base of plants in the morning, and give plants plenty of space when planting to help avoid it.
Downy Mildew
Downy mildew looks like yellow or white fuzzy patches on leaves. It can cause leaves to turn brown and fall off the plant. It tends to impact rutabaga more than other plants because it attacks during cool, wet weather – just kind of conditions rutabaga prefer.
The best defense is a good offense. Keep plants well spaced and trimmed back if necessary. Water in the morning at the base of plants. Both of these techniques help keep moisture from accumulating. Destroy any impacted plants. If you’ve struggled with downy mildew in your area, use a copper spray preventatively two weeks before the disease normally starts to show up in your garden.
Cabbage Aphids
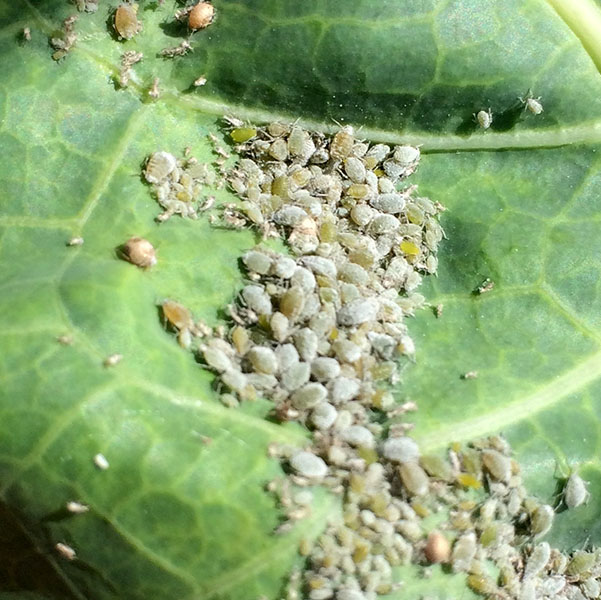
Large populations of cabbage aphids can stunt growing rutabagas and even make your plant die. Aphids are tiny and hard to spot. They’re small, grey-green and are covered with a white waxy coating. Once you spot where the cabbage aphids are located, knock them off with a strong jet of water. Insecticides are only needed for large infestations. Another trick is to plant nasturtiums throughout the rutabaga patch as a trap crop for aphids.
Root Maggots
Root maggots create feeding tunnels on the surface of the rutabaga, and root damage can be extensive. The larvae are white or white-yellow, reaching 1 cm in length. Adult root maggots look like a small housefly.
Prevention is vital with root maggots. Never plant root crops in the same area the following year. If the vegetables are severely damaged, harvest and remove the roots, destroying all crop debris. The use of floating row covers can help hep to reduce damage to crops by preventing the female adult flies from laying eggs. Unfortunately, there are no pesticides for use on root maggots.
Flea Beetles
If you notice small holes or pits in the leaves, you might have flea beetles. Young plants and seedlings are the most vulnerable to flea beetles, and they cause reduced plant growth. If infestations are too large, it can kill the plant.
Flea beetles are small, dark-colored beetles that are shiny in appearance. You can use floating row covers before the emergence of beetles to protect the young plants. For mature plants, you can use trap crops as a measure of control as well as applications of neem oil.
Clubroot
This disease occurs when soil is poorly draining and acidic, and clubroot can linger in the ground for up to 20 years. Clubroot leads to distorted roots, stunted growth, wilting, and ruined crops. Never plant rutabaga in a bed that had clubroot in the past.
Companions for Growing Rutabagas
Rutabagas grow best with:
- Beet
- Carrot
- Turnip
- Peas
- Onion
Don’t plant rutabagas with potatoes.
Harvesting and Storing Rutabagas

Rutabagas are primarily grown for their roots, but the leaves of the rutabaga plants are edible as well. You can add them to salads and soups for a bit of zest. You can remove a few leaves from each growing rutabaga, but make sure you leave more than a few leaves left per root. Once you harvest, don’t toss all the greens. Keep some wrapped in a cotton cloth in the refrigerator.
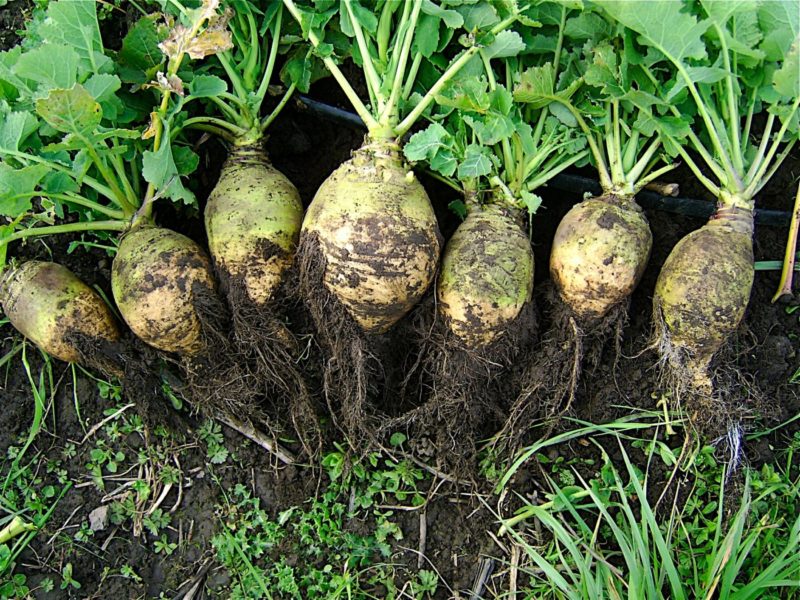
Harvest rutabaga roots when they’re 3-5 inches in diameter, roughly the size of a grapefruit. Early, small roots have a tender flavor, but leaving the roots to mature creates a delicious sweetness.
You can harvest rutabagas as you need them, leaving the rest of the crop in the ground. To harvest them, carefully hand-pull them up or dig the roots up. If you live in the coldest zones, you can prolong the harvest by snipping the leaves back to a few inches tall and heavily mulch the beds with straw. Once the winter freeze arrives, you need to pick them.
Rutabagas store well for months. After harvest, cut the tops off and store them in a cold, moist root cellar that is as close to 32℉ as possible.
You can also store them in the refrigerator by keeping the roots in storage bags and keeping them in the crisper. Larger harvests should be stored somewhere cool in moist peat moss, sand, or sawdust.
Cooking With Rutabagas

Rutabagas are endlessly versatile in the kitchen. You can treat them like potatoes and french fry them, roast them or mash them.
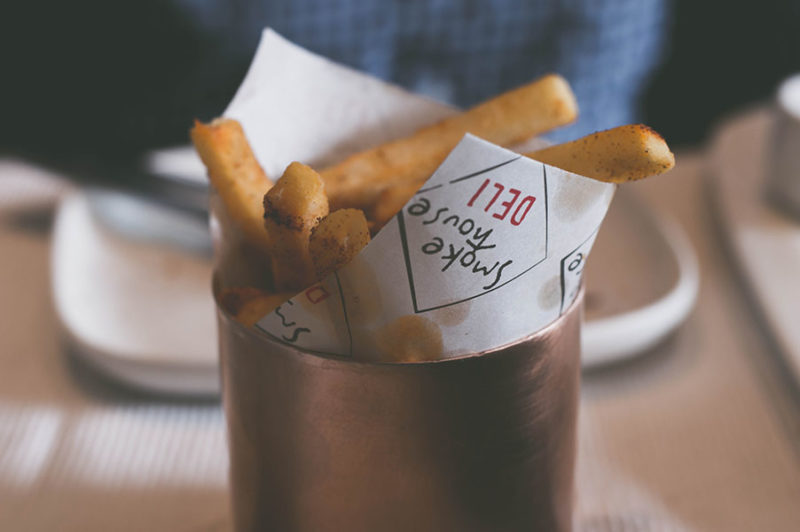
They also make a tasty meat substitute. You can sous vide them or chop one up and serve it ceviche style. Try treating a thickly sliced rutabaga like steak, marinating it in barbecue sauce and grilling it.
Rutabaga makes a nice soup, is delicious shredded raw in a salad, and fried into chips.
The Last Word
Rutabagas aren’t a popular root crop in the United States, and that’s a shame. Gardener in Europe have grown them for decades in their vegetable gardens, and their popularity is finally moving over to the United States.
Rutabagas are a tasty fall crop that can be stored for months at a time. You can use them to make soups, stews, casseroles, and more. Try growing rutabagas in your fall garden this year.

