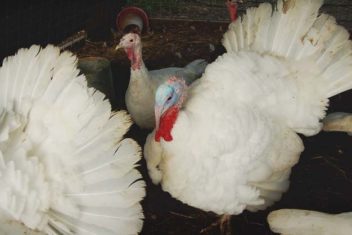
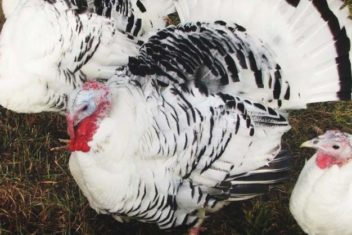
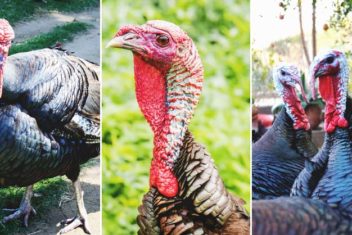
If you’ve already mastered the art of raising your own meat chickens, you might be wondering whether it’s time to branch out to a new species of poultry.
Ducks are fun to raise (particularly for their tasty eggs and the entertainment value alone!). However, the sad reality is that you aren’t going to get a huge yield of meat from a flock of backyard ducks.
So what’s next?
Turkeys are not only easy to raise, but they can be easy to slaughter and process for the freezer, too. The turkey is the perfect homestead bird since it puts on weight quickly – and luckily, if you’re already used to raising and butchering other kinds of poultry, you likely won’t find the process all that much different.
In this step by step guide to butchering a turkey, I will tell you everything you need to know to process these magnificent creatures for the freezer or for Thanksgiving Day.
Reasons to Raise and Butcher Your Own Turkeys
Before I continue, I’ll get this right out of the way – raising turkeys isn’t for everyone.
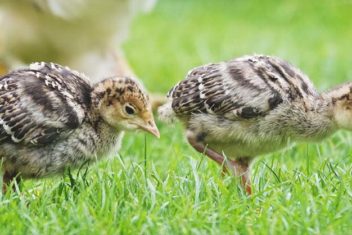
Turkey poults cost twice or three times as much as baby chicks and the feed will probably end up costing you more, too. However, when you consider the money saved compared to buying turkeys from the supermarket, you’ll find you might save more money.
That’s doubly true if you decide to raise a few extra turkeys to sell to other people so that you can offset some of your expenses.
A homegrown heritage turkey is some of the best-tasting meat you’ll ever enjoy – it’s nothing like a store-bought turkey! Turkeys grow quickly (in only 16-20 weeks, in many cases). You can butcher your own turkeys at home without having to rely on an outside processing facility, too.
Many people view turkeys as actually being easier to slaughter and eviscerate than chickens, too. A turkey carcass will give you much more meat but has fewer feathers to pluck and a larger body cavity that makes it easier to gut your birds.
Best Breeds of Turkeys to Raise for Meat
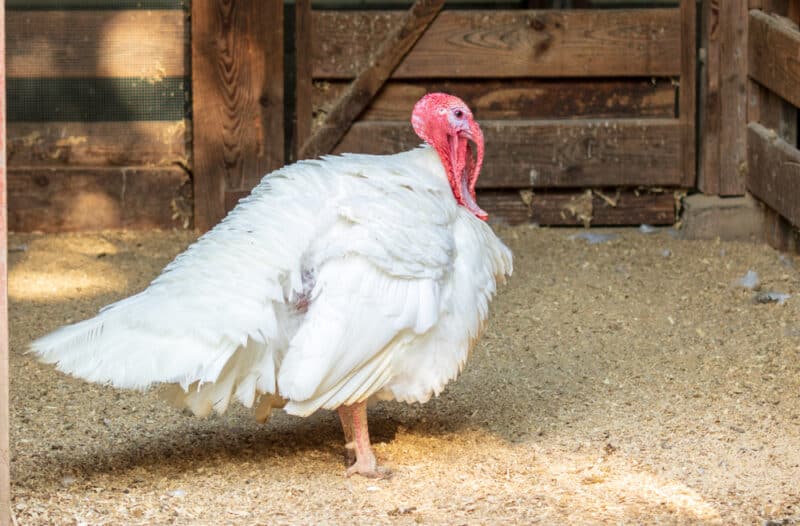
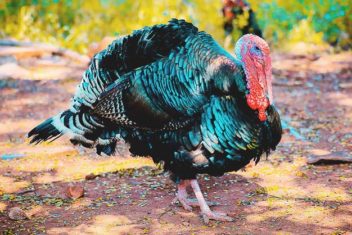
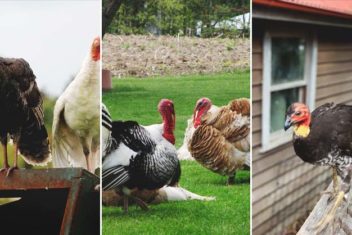
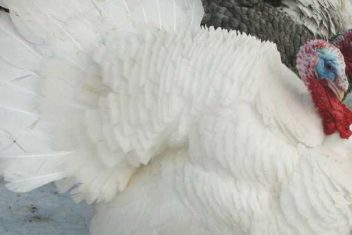
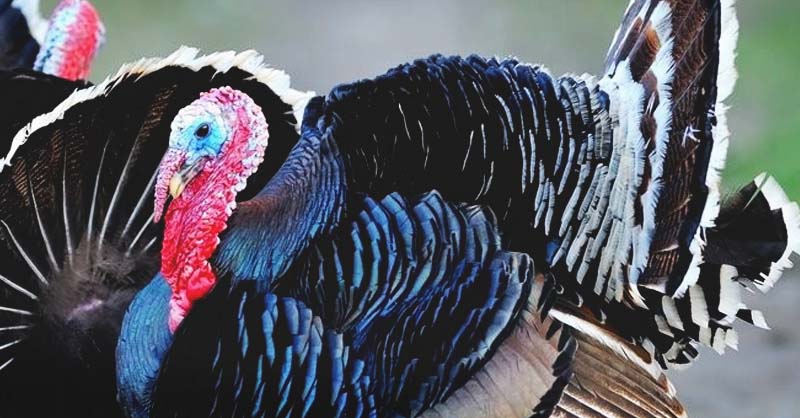
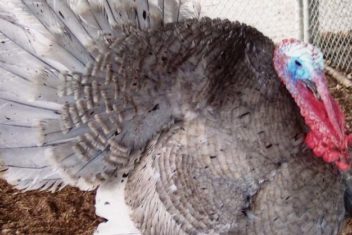
Some of the most common meat turkey breeds include:
- White Holland
- Bourbon Red
- Chocolate
- Midget White
- Royal Palm
- Black Spanish
- Blue Slate
- Narragansett
- Broad Breasted Bronze
- Broad Breasted White
Of these, the Broad Breasted White (or Giant White) is probably the most popular. This is a typical commercial breed of turkey and is ready for the dinner table in just 4 months.
How Long Before a Turkey is Ready for Butchering?
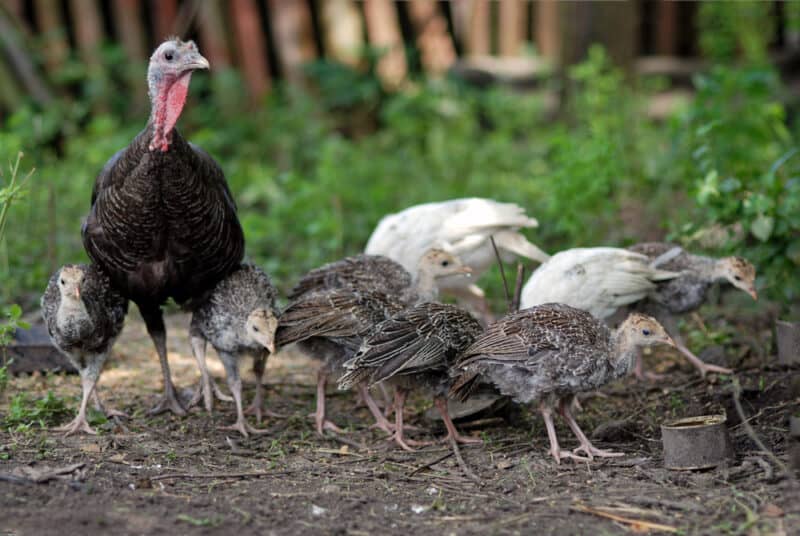
If you’re trying to figure out when to buy your poults for your Thanksgiving Day turkey, you might find it helpful to learn that the timeline for poult to dinner table varies depending on what turkey breed you decide to raise.
The fastest-growing turkey breed, the Broad-Breasted White, reaches butchering time the quickest, usually in around 16 weeks. Traditional heritage breeds take much longer, sometimes requiring 24 weeks or more to reach maturity.
Of course, these numbers are just estimates. You may find that it takes less or more time to raise your turkeys to maturity depending on the conditions and what you are feeding your birds.
What to Feed a Turkey Before Butchering

Turkeys are similar to chickens and other kinds of poultry in that they need a high-protein diet when they are young. Adult birds thrive in outdoor conditions not only because they will have more space to roam but also because they can eat foods they might normally eat in the wild, like plants and bugs.
When your turkeys are young, provide them with a complete feed containing about 30% protein. Once they reach 8 weeks old, you can switch to a feed containing around 20% protein (but more calories) to help them grow and increase their body size.
Most people do not raise turkeys for their eggs. If, however, you want to do so (hens will lay about 2 eggs per week), provide extra calcium to the females separately from the feed.
Equipment Needed to Butcher a Turkey
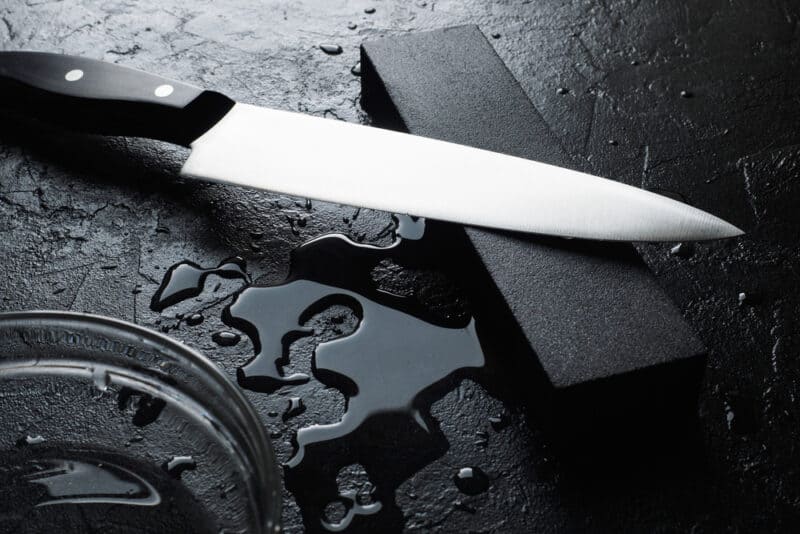
You don’t need much in the way of equipment when it’s time to butcher your turkey. Usually, all you need is:
- A set of sharp knives
- A killing cone to restrain your turkey
- Buckets and pails to collect blood, feathers, and organs
- Water, both cold and hot
- A cooler
- A table
- A scalding tank or large stockpot
- Some rags or paper towels
- A plucker (optional)
How to Kill a Turkey
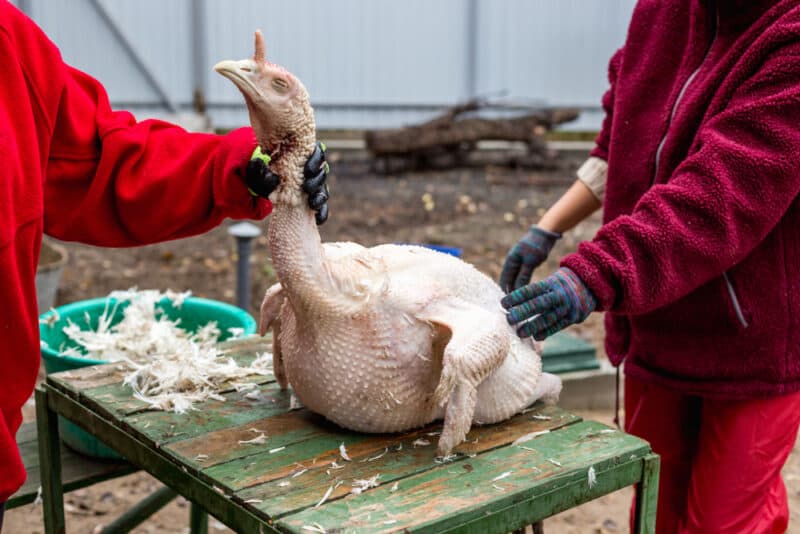
Knowing how to butcher and eviscerate your own turkeys can save you a lot of money. Plus, you’ll have the peace of mind in knowing that your turkeys were raised in the most humane conditions. It’s easier than you might think.
The first thing you need to do is kill the turkey. If your turkey weighs more than 20lbs (which it likely does) and you don’t think you can lift this much on your own, enlist some help. The day before killing your turkeys, remove food and provide just clean water. This will ensure that the carcass is easier to clean.
There are several methods you can use to kill a turkey, including cutting its head off with an ax or slicing through the main artery. Because turkeys are so much larger than chickens, you may not have much luck wringing its neck if this is what you’re used to doing with chickens (the jury’s out on whether this is the most humane slaughter method, anyway).
You may find it helpful to put your turkey in an old feed bag or a kill cone (they make special ones for turkeys or you can build your own) to restrict its movement while you kill it. When you cut the main artery or sever the spinal column, death should be instantaneous. You may notice your turkey struggling for a few minutes afterward, but this is a reflex.
1. Cleaning a Carcass
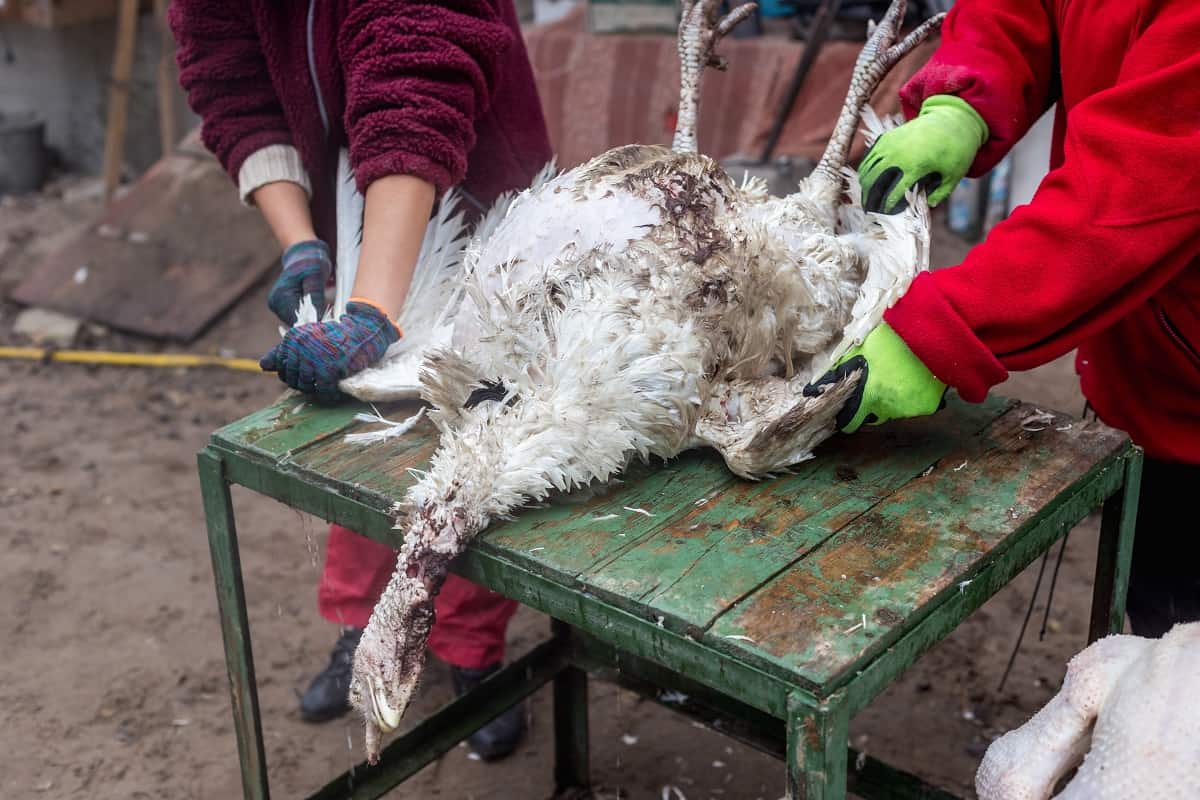
After your turkey has been killed, you should wash the carcass to remove any feces, dirt, or debris. Press lightly on the stomach to force out any remaining feces from the vent.
Then, remove the head if you did not sever it completely with the axe.
2. Scalding and Plucking Your Turkey
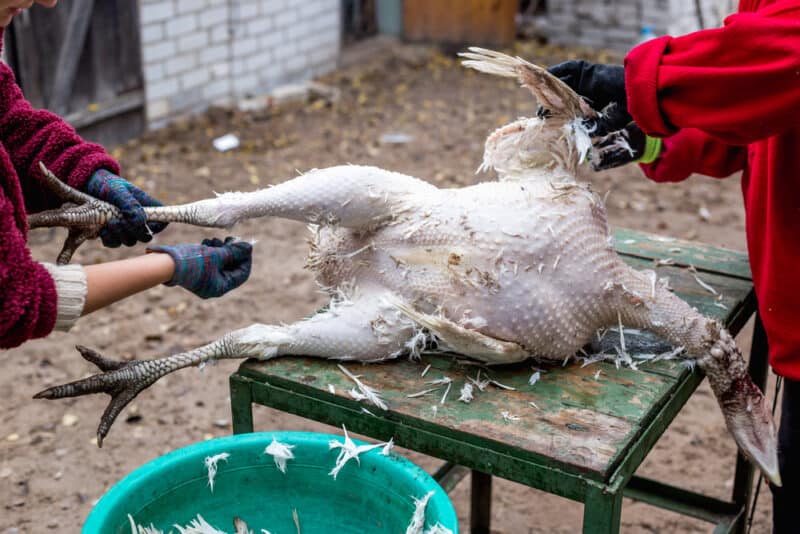
Before you even start the process of butchering your turkeys, you should have a pot of water ready to go for the scalding process. The temperature should be between 140-150°F. Add a few drops of dish soap to help the water get into all of the feather shafts.
Dunk the turkey in the hot water for around 30-60 seconds. Swish the carcass around to make sure the hot water gets to every inch of the turkey.
Test the turkey. You will know the turkey is ready to be plucked if the feathers have loosened. They should come off easily when you run your hand over them. You can scald the feet, too, if you want to use them for stock (it will get them a bit cleaner than just rinsing).
Remove your turkey from the scalder and let some of the water drip off. If you are plucking by hand, hang the turkey where you will be able to reach all nooks and crannies. If you’re using a mechanical plucker, go ahead and put your turkey inside (most can only hold one bird at a time).
3. Eviscerating Your Turkey
Once your turkey is scalded and plucked, you need to remove the oil gland. The oil gland is found at the base of the tail. It’s essential to remove it because if you don’t, it can impart an odd flavor to the meat.
Next, cut all the way around the vent, being careful not to dig into the intestines. Cut through the skin on the abdomen, just a few inches below the vent. If you happen to puncture any of the digestive organs or if there are any feces, make sure you wash the carcass immediately.
Remove the intestines so you don’t rupture them, pulling them out slowly before you remove the liver and the gizzard. You may also have to remove the bile sack (it’s small, green, and attached to the liver) so you don’t get bile on the liver. For the gizzard, your next step will be to peel back the yellow lining and rinse thoroughly. It will be filled with food and stones.
Next, you can remove the heart and the lungs. If you’re used to processing chickens, you’re probably already aware of how difficult it can be to get the lungs out. They are nestled in the rib cage and you’ll need to use your fingers to pry them out.
Rinse all of the organs and either discard them or set them aside (if you plan on using them).
You can then remove the windpipe and esophagus from the neck. To do this, cut a slit up the neck and reach inside.
Finally, remove the crop from the chest, using your fingers to work between the crop and the chest skin.
Wash the entire carcass again with cold water. You must use cold water so it can stop bacteria from multiplying on the turkey’s warm body.
4. Cutting and Freezing Your Turkey
Your next step is to remove the feet, cutting through both ligaments and skins where the scaly bit of the leg and the drumstick meet. You can use the feet for stock or you can discard them.
If there are any remaining feathers on your turkey, pick them off and rinse again. You can then either breast out your turkey for individual cuts or you can freeze it whole for your Thanksgiving-day roaster.
There are specific turkey shrink bags that are designed for larger birds like these, or you can put your bird in shrink-wrap or a vacuum sealer bag. Turkey roasting bags work, too, although they aren’t as good at preventing freezer burn.
The Best Part: Brining and Cooking the Turkey
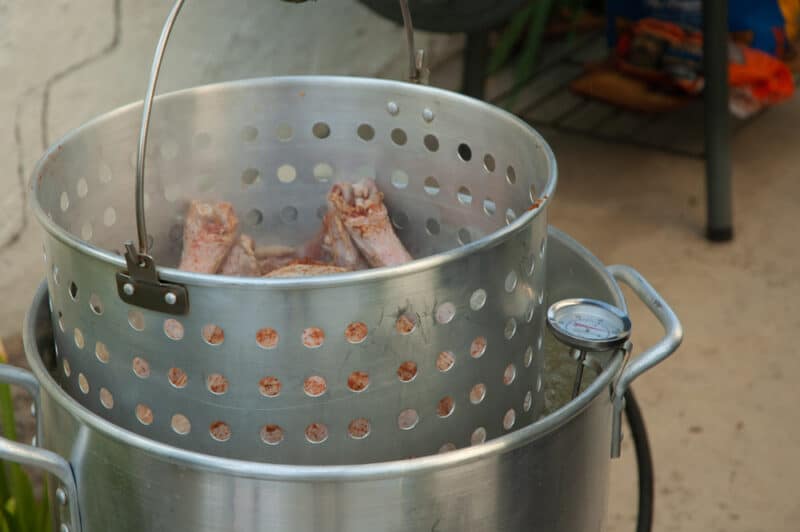
Of course, you don’t have to freeze your turkey right away – you can always cook it right up! If you’re going to do this, try to butcher your turkey about 2 days in advance of when you want to cook it. This will give the carcass time to “age” in the refrigerator so it’s not tough.
You can use your favorite brine solution to prepare your turkey, or if you don’t have one, just use a cup of salt to 2-gallons of water. You can add additional herbs and spices for flavoring (I like a bit of rosemary and sage myself). Soak the turkey overnight in a brine for a tastier overall flavor.
Cook your turkey at 325° for 15-20 minutes per pound.
The meat thermometer should read 180° when it is fully cooked and the drumsticks should move easily in the sockets. Let it rest for 20 minutes before you carve.
That’s all there is to it – besides cooking up a batch of mashed potatoes and a saucepot of gravy to go along with your delicious bird. Now that you know how to butcher a turkey, you’ll be able to do it every fall on your farm.
For more options, have a look at these 27 Thanksgiving Turkey Recipes.
