My goats enjoy making a mess of their hay. They’re usually on pasture, but this winter, they’ve required more hay.
We’re in the middle of finishing our new barn, and I needed a new way to feed my goats without wasting precious hay.
My husband and I looked around our property, developed a simple idea, and put it into action. It’s working great for us, and I wanted to share with you how you too can make a simple, practically free hay feeder.
Here’s what you need and how to go about making your own hay feeder:
What You’ll Need:
Note: This hay feeder may need to be adapted to work efficiently in your barn. We attached it to the walls of our stalls which open into our goats’ sleeping quarters.
Therefore, the walls are slats. If you have a solid wall, you may have to create a way to attach the hay feeder differently than how I’m showing here.
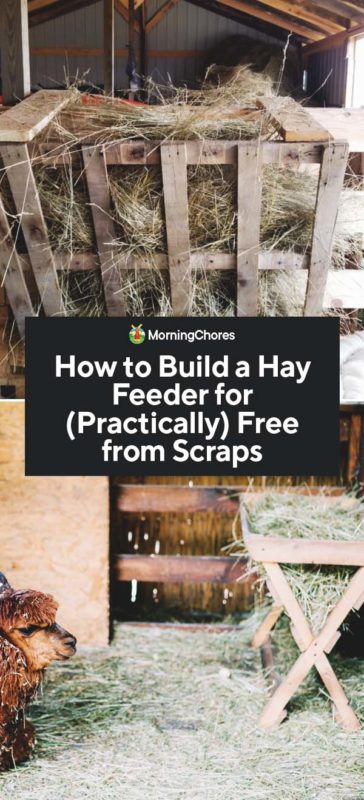
1. Choose Your Pallet
If you’ve browsed the internet, you know there are a million things (it seems like) you can do with pallets.
When my husband asked me to bring a pallet to the barn, I wasn’t surprised. Yet, I had to make multiple trips because I was bringing the wrong ‘kind’ of pallet.
I didn’t know there was such a thing until we built this hay feeder. Some pallets have more opened sides to them, while others have closed sides.
We needed the pallet with the open sides. It made it easier for us to add the stabilizers to the top of the pallet when doing this build.
Be careful when choosing your pallets for this reason.
You’ll also find the pallets with the proper sides for this project are also the style of pallet which has the slats closer to each other.
If you choose the pallets with slats that are farther apart, the hay won’t be held in place.
What if all you have is the wrong style of pallet? Don’t toss the idea out. Instead, use other materials around your property to modify the pallet until it works.
2. Check Pallet Spacing
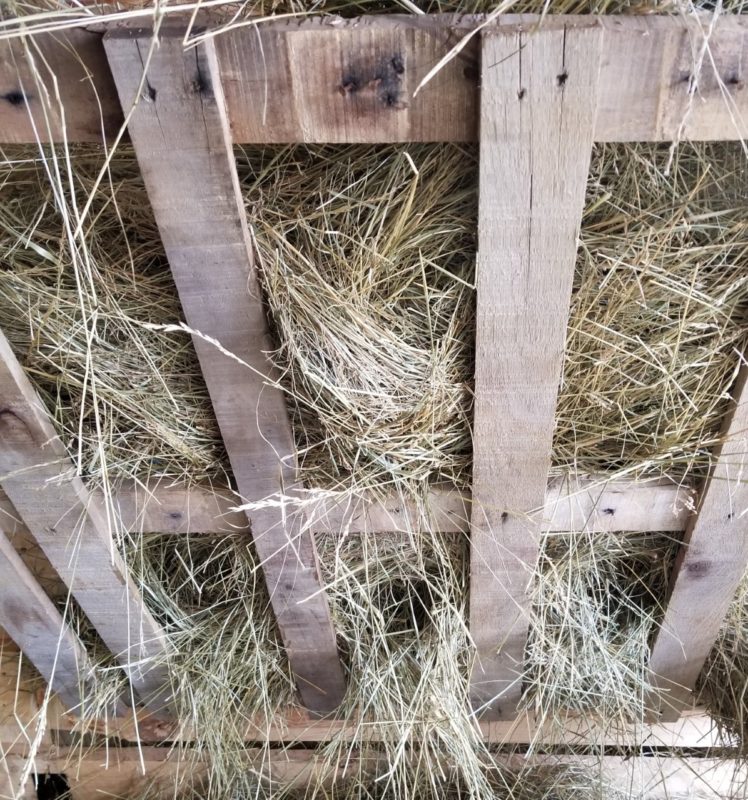
As I mentioned above, if possible, choose a pallet where the wooden slats are closer together. This will make it easier for the hay to be held in place.
What I found is when we chose the proper pallet, the spacing was too close. I used a hammer to knock out every other slat.
Doing this gave enough room for the hay to be held, but also provided the goats the ability to pull it out between the slats.
If the slats are too far apart, the hay will fall out of the feeder. If they’re too close, the animal won’t be able to pull the hay loose which makes the idea ineffective.
When you feel confident the spacing of the pallet is appropriate, your pallet is ready to become a hay feeder.
3. Attach the Scrap Wood
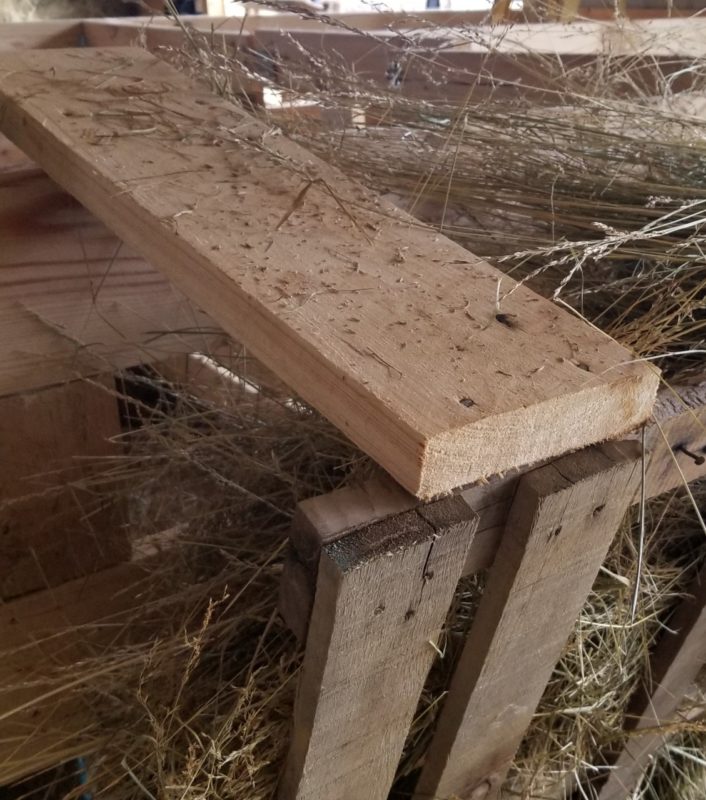
You’ve successfully modified your pallet, and you’re ready to build your hay feeder. Well, you’re almost ready to start construction, but you have one more stop before throwing the pallet on the wall.
You must attach the scrap pieces of wood to the top side of your hay feeder. The feeder will hang at an approximate 45° angle.
Therefore, you must have pieces of wood that will extend from the top of the pallet to the wall. It will ensure the hay feeder hangs correctly.
Depending upon how much of an angle you feel is appropriate in your barn, you may need a shorter or longer piece of scrap wood.
We had wood left over from our barn build and chose 2 pieces of 2×4 which were approximately 6-inches long to serve as our stabilizer.
When you’re confident you’ve chosen the correct length, use a hammer and nails to drive through the wood and attach it to the top section of the pallet.
You’ll drive it into the top portion of the pallet to make sure it won’t move when hung in place.
4. Add the Pallet to the Barn Wall
As mentioned above, we chose to attach our hay feeder to the divider in between our goats’ sleeping quarters, and the wall of one of the stalls.
These walls are slats instead of solid. If your barn layout is different, you may have to modify this build to where it’ll function on a solid wall.
If you’re working with a solid wall, attach a 2×4 to the barn wall which will run the length of the pallet. It can be used to connect the bottom part of the hay feeder and to stabilize the feeder.
If you’re working with a slatted wall (like we were), the slat will serve as the stabilizer for the bottom of the hay feeder.
When we attached the hay feeder to the wall, we chose the proper height. I have smaller goats which meant I had to choose a space lower to the ground.
If you have larger animals or a larger breed of goat, you could hang your feeder higher. In fact, you’d hang it higher to make it easier for the animal to eat.
Once the proper height is determined, use a hammer to drive long wood nails through the pallet and into the stabilizing piece of wood. Drive as many as needed to make sure the bottom is secured at both corners of the pallet.
After the bottom has been attached, it’s time to attach the top of the pallet. You may need an extra set of hands while trying to nail the pallet in place.
Drive a long nail through the scrap piece of wood meant to stabilize the pallet and allow it to hang at an angle.
Use as many nails as you must to feel confident the pallet won’t fall when the animals are trying to feed on it.
5. Fill It Up
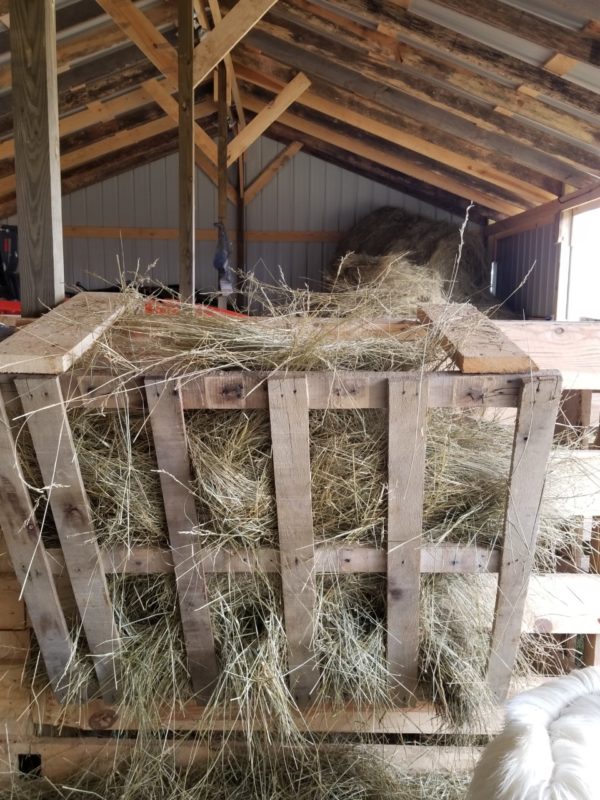
When the pallet is stabilized, and permanently in place, it’s time to fill it up. The large size of the pallet allows me to place approximately half of a square bale in it.
This is great because I only have to fill it up every few days. It cuts down on my feeding time, and my goats have an adequate supply of food at all times.
Be sure to fill the feeder from the top. It should have a large opening where you’re able to push the hay down inside of it one large handful at a time.
Push the hay all the way to the bottom and add more until filled to the top. Once this is done, you should have a fully functional hay feeder your livestock will love.
6. What About the Back of the Feeder?
One question I raised during the build was, “What about the back of the hay feeder?” If you have a solid wall, you are not concerned with hay falling out of the back.
If you have a wall made of slats as I do, this may seem like a valid question. In our case, we haven’t had an issue with hay falling out of the back.
By hanging it at the proper angle, it made it to where the hay was compacted at the bottom which doesn’t allow it to fall out.
The top also seems to be compacted which avoids any hay from falling out.
If you do find hay falls out of the back, use the slats you knocked out of the front of the pallet and attach it to the backside.
This should help keep the hay in place and is a simple fix without needing additional materials.
Hopefully, this hay feeder will help you to keep your livestock’s hay clean, dry, and stop the waste from taking place.
If you have the materials on hand, this feeder should be free for you to construct. If you don’t, hammer and nails are inexpensive.
Plus, you should be able to find pallets for free by asking local small businesses. They usually must pay someone to discard the pallets for them.
Be sure to ask around before you purchase any pallets. I’ve had great luck with finding them at local commercial greenhouses and nurseries.
When you’re able to use the materials you have on hand, it feels good and makes your homestead function better.
