Technically, you can’t make homemade champagne on your homestead unless you make it in the Champagne region in France. That’s because “champagne” is a legally protected term reserved for sparkling wine made from grapes grown in the Champagne district in France.
So, when you make the bubbly stuff in Spain it’s called cava, spumante in Italy, and sparkling wine in California.
Regardless of what you call it, though, you can make something very much like French champagne on your homestead for just a few cents per bottle. You can even make it with things other than grapes… in case you don’t have your own vineyard.
Legality Regarding Making Sparkling Wine
Before you get hooked on crafting your own bubbly, you should know that the US federal government limits you to 100-gallons per adult living alone. If you share a dwelling with multiple adults, then you can make 200-gallons per household.
The law also says that wine must be for personal consumption, not for selling. Thankfully, since a gallon equals roughly 5 standard-size wine bottles, those 500 or 1000 bottles you can make per year are probably plenty to meet your personal needs.
Also, note that some states set their own regulations on alcohol making. So, double-check your state laws before you stock the cellar with homemade adult beverages.
Now, with the legal notice behind us, let’s go through an overview of how official champagne is made. Then, we’ll get into some easy ways to duplicate that process for much less at home.
Grape Varieties for Making Champagne
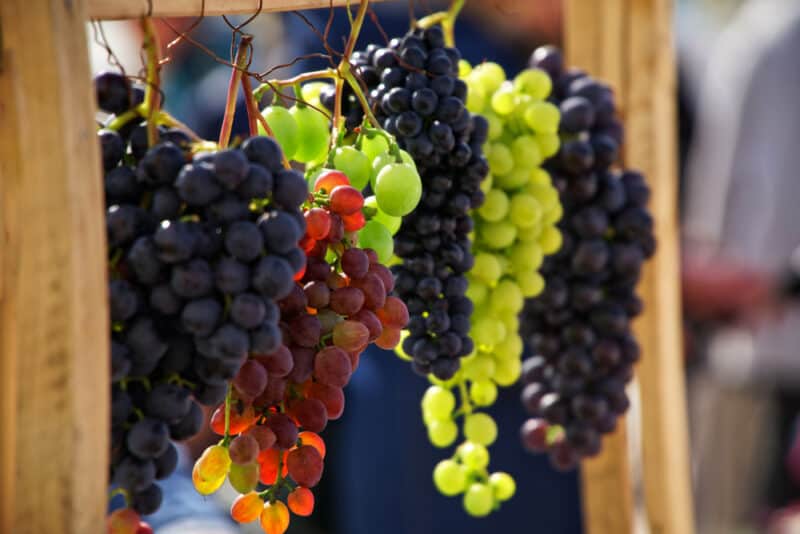
Generally, in France, champagne is made with grapes like Pinot Noir, Meunier, and Chardonnay. Other less common grapes that might be blended in are Pinot Gris, Pinot Blanc, Arbanne, and Petit Meslier.
In other countries, different grape varieties are common for making bubbly. For example, prosecco from Italy is made using the prosecco grape.
Lambrusco, meanwhile, is a wine made from red grape varieties from the Lambrusco family of grape cultivars. These grapes can also be used to make still red wine or be carbonated to become a sparkling red wine.
How to Make Homemade Champagne
1. Harvest & Juicing
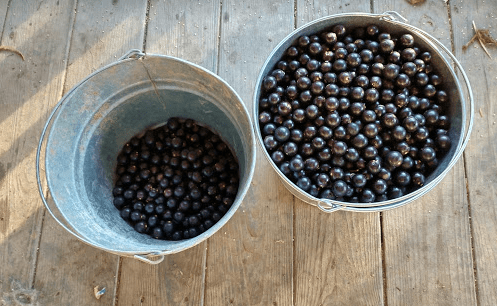
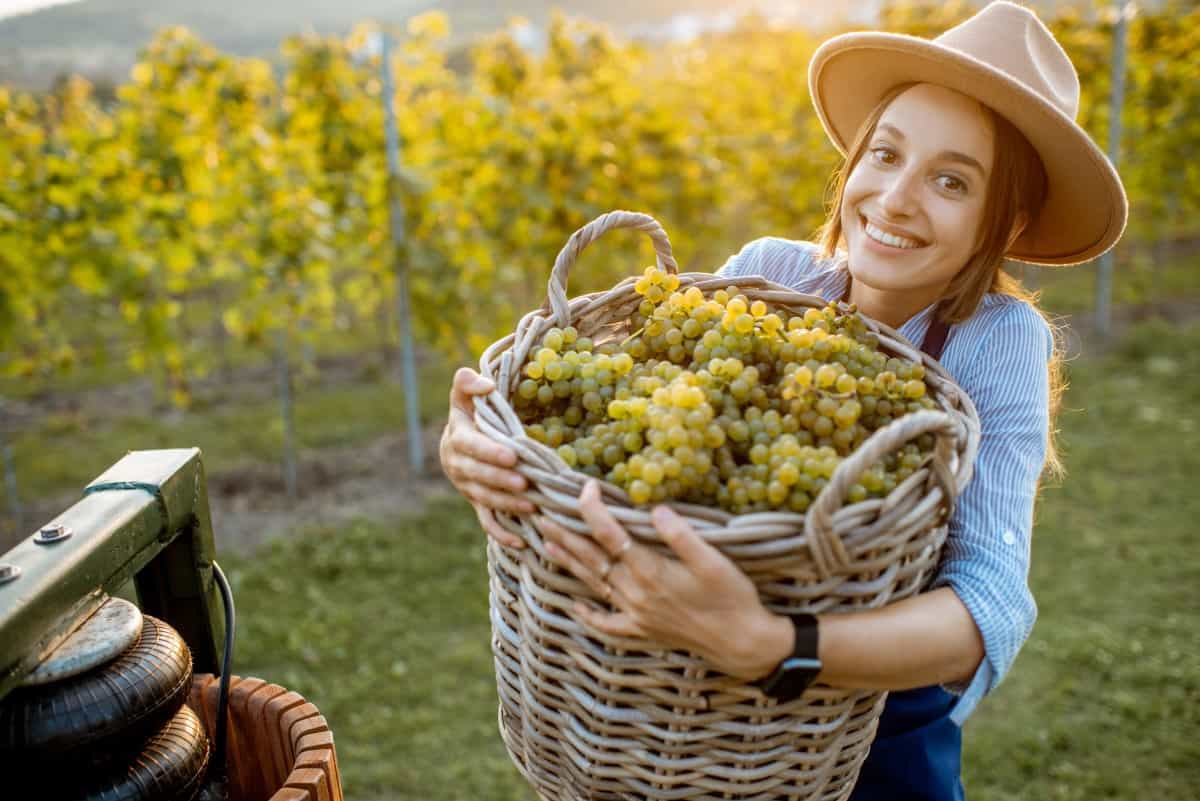
Whichever type of bubbly you prefer, the grape varieties are picked by hand at the peak sugar content. That’s because the more sugar content, the more alcohol can be produced during fermentation.
The fruit is crushed. Then, the juice is pressed out of the fruit.
For red variations, the skins are left in the juice during fermentation, so they leach out their color into the liquid. For white variations, the skins are removed immediately after pressing so no color stains the juice.
2. Fermentation
Next, the grape juice is left to ferment. For white wine, this is typically done in airtight vats that have carbon dioxide (CO2) release valves.
For red wines, the fermentation is usually done in open vats because the skins float to the top and form a crust over the container creating nearly airtight conditions. Then, periodically, the winemaker punches the wineskins down into the juice to release CO2 and allow more color to saturate the juice.
In either case, fermentation takes case at about 65-68°F. It also typically lasts for about 2 weeks.
– Yeast
During fermentation, yeast converts the sugars in the grape juice to alcohol. In some regions the yeasts that live on the fruit, and in the air, are naturally ideal for high alcohol production. So, some wineries use natural yeasts for this primary fermentation.
In many places though, natural yeasts are not ideal for converting all the sugars to alcohol. In that case, commercial yeasts are often added to make sure more sugar is converted to alcohol. Custom yeasts also help reduce off-flavors that can be created during a less than ideal fermentation process.
There are yeasts made specifically for making homemade champagne, as well as for making different styles of wine and various levels of alcohol.
– Wine
Whether you use natural or commercial yeasts, when your wine stops producing noticeable amounts of CO2, that means the yeasts have done the best they can to convert the available sugars into alcohol. With the job done, in that now high in alcohol liquid, the yeast starts to die off.
With champagne grapes, that primary fermentation process typically produces wine with about 11-12% alcohol. You could bottle that finished product and skip the carbonation if you wanted it. It wouldn’t be champagne, but it would be a drinkable wine.
3. Secondary Fermentation
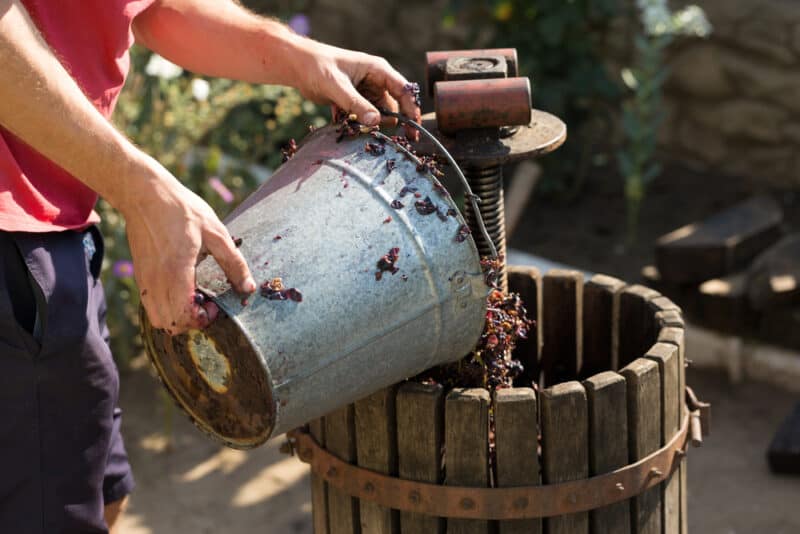
To make bubbles though, you need to restart fermentation and trap carbon dioxide in the wine. This is done by bottling the wine with added sugar and some additional yeast.
Here are the basic steps used to make wine into homemade champagne.
- Since the yeast from primary fermentation is exhausted or dead after primary fermentation, the first step is to filter the wine to strain out old yeast and sediment.
- Optional: Some champagne makers will blend various batches of wine together to perfect the taste and aroma profile before moving on to the next step.
- Then, some form of sugar and new yeast is mixed into the wine.
- Finally, the wine is sealed in an airtight container (that does not have a release valve to let out CO2).
By restarting fermentation with additional sugar and yeast, and then trapping the CO2 in the container, you create the carbonation that transforms still wine into sparkling wine.
In Champagne, this secondary fermentation is done inside a special champagne bottle. In other sparkling wine-making regions, the wine is sometimes carbonated in airtight vats then bottled later.
Vat carbonation is considered to be a non-traditional method. However, it’s often less expensive because you don’t have to manage the carbonation process in each bottle. You just have to get it right in one large vat.
– Safety Warning!
Champagne, or any sparkling beverage, contains CO2 under intense pressure. As such, makers must use special bottles to keep that CO2 from bursting the container.
In champagne, the airtight container is a heavy-duty glass bottle, capable of holding CO2 without exploding. It’s sealed with a tight-fitting wide-bottomed cork and covered with a metal cage for safety.
– What About Plastic?
In other sparkling wine-making regions, less traditional methods are being explored. Some makers have moved to use special pressure containing plastic screw top lids instead of corks.
There are even rumors that someone might be using plastic bottles. However, I have personally never seen any.
The problem with plastic is that the carbonation is lost more quickly than in glass. That means plastic is a terrible option if you plan to store your sparkling wine in it for more than a couple of months.
4. Aging Your Champagne
The final stage of homemade champagne making is aging. The length of aging required depends on the quality of the wine used.
Some champagnes develop buttery, creamy, almost caramel qualities with aging. While others will just go flat. Still, even for lower quality champagnes, a little time in the bottle is necessary to complete the fermentation that creates the CO2 and then to allow that carbonation to infuse the wine.
Generally, a few weeks is the minimum time to age. Aging for 2-6 months is common. Longer aging is generally reserved for the best quality grapes and can last decades.
Homemade Champagne-ish
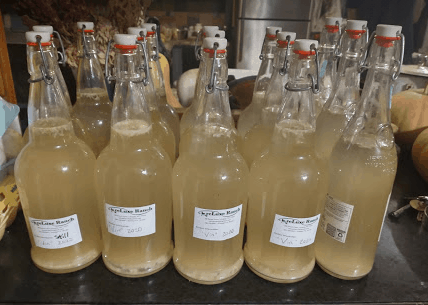
Now that you know the basic process for making champagne, the next thing you need to know is that you can make your own champagne-ish sparkling alcoholic beverage at home using the same basic process.
In fact, if you’ve ever made Kombucha, fruit wines, or old-fashioned sodas then you already know how to do it.
Additionally, though you can use grapes, they aren’t even required. Homestead bubbly can be made with all sorts of different fruits and flavoring components.
You just need to make any kind of homestead wine then add carbonation. Here’s how to do it.
Step 1: Make Wine
There are endless ways to make wine. Grapes are perfect for wine because they have naturally high sugar content and plenty of pectin and acid to balance the wine. Grapes also tend to attract natural yeasts that work well for making wine.
Yet, you don’t have to stick to grapes. You can easily use other fruits and even flowers and herbs just by adding pectin, acidity, sugar, and yeast as necessary to convert those sugars into a balanced finished wine.
You also don’t need fancy wine recipes. Your standard homestead type wine with simple ingredients works great.
Personally, I love to carbonate my elderberry wine to make it sparkling. However, I also like to make elderflower wine to carbonate too.
– Elderflower Sparkling Wine
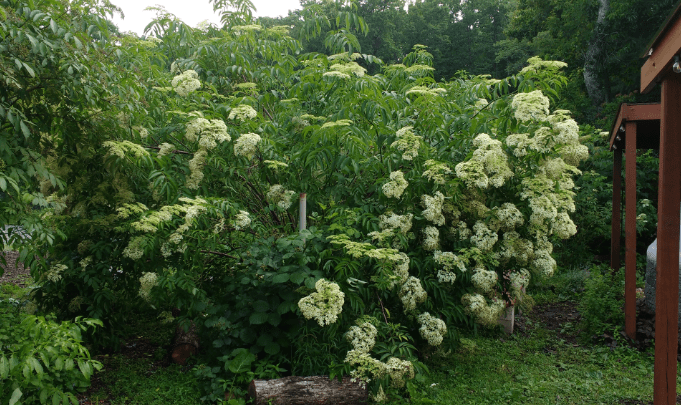
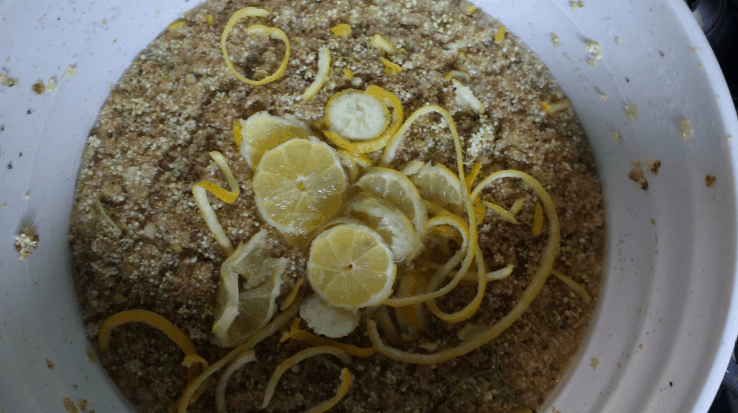
To make elderflower wine, put the following ingredients into a 5-gallon bucket and cover with an airlock lid. (This recipe is adapted from The Wildcrafting Brewer).
- 80 elderflower heads
- 3.5-gallons of water
- 10 cups white sugar
- 10 Meyer lemons (zest, juice, and pulp)
- 8 Tablespoons Apple Cider Vinegar
- Champagne yeast (per instructions on package)
Allow this to ferment at room temperature until air bubbles stop coming out through the airlock. Then strain out the liquid wine.
Step 2: Bottle and Carbonate
Once you have your wine ready, you can use one of the following methods to restart fermentation and trap that CO2 in your bottle.
Safety Note: Your bottles should be designed to withstand at least 90 pounds of pressure per square inch. Also, allow 1-inch of headroom in the collar of the bottle.
– Option 1
Mix a teaspoon of sugar for every 750ml of liquid and yeast (according to packet instructions) into your wine. Stir until fully dissolved. Then pour into explosion-proof bottles.
This option is less work and requires less precision than the next one. Even so, the sugar and yeast don’t always get dispersed equally in the bottles. So, some bottles can end up bubblier than others.
– Option 2
Bottle your wine in explosion-proof bottles, then use a funnel to add yeast and a teaspoon of sugar into each bottle of your soon to be a champagne-like beverage.
Close the bottles then swirl gently to disperse the sugar and yeast through the wine. You may have to swirl again a few hours later once the sugar dissolves fully.
This option requires more measuring and fiddling with the funnel. However, the bottles tend to be equally fizzy at the end.
Step 3: Store and Age
Now you just need to store your bottles between 65-68°F for a few days to allow them to carbonate. After that move them to a place that’s even cooler like 50-55°F, if possible, until drinking.
We usually drink our first bottle after about 2 weeks of aging. Then we keep on drinking bottles periodically for the next few months.
We’ve never aged our homemade champagne longer than a few months since it’s so delicious already. However, I’ve been told that homestead champagne gets better up until about the 1-year point before it loses carbonation and tastes like old wine.
More Tips When Making Sparkling Wine
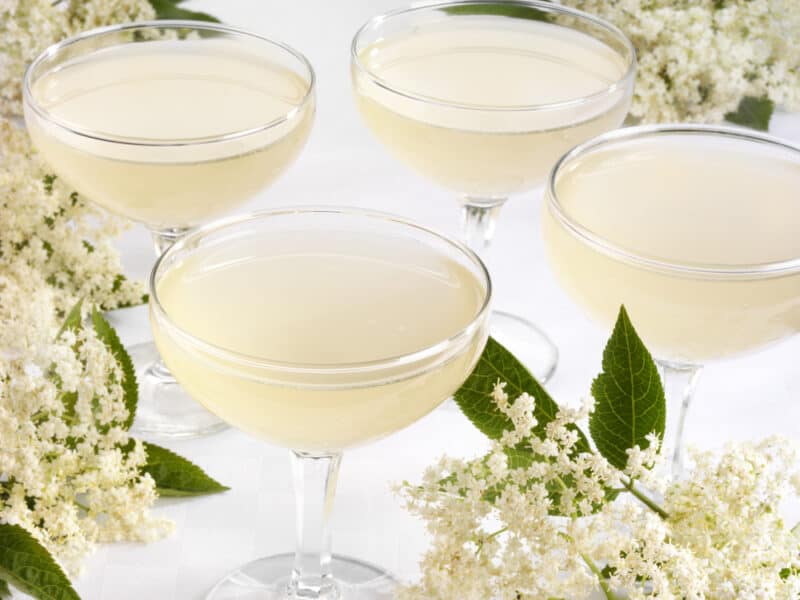
Now that you know the basic process, and are ready to turn your favorite wine into something like homemade champagne, let me share just a few more tips we’ve learned over the years.
1. Bottles
We like to use flip-top glass beer bottles for our champagne-ish because they don’t require any special equipment to insert the cork. Plus, you can also use them over and over again. A bottle brush and powdered sanitizer also make cleaning easier.
I’m not a fan of plastic in general. However, in a pinch, if you don’t plan to age your wine, you can also use soda bottles with screw top lids. They are built to capture carbonation, so if they are in good shape and relatively, they should work fine.
Do not use regular wine bottles. The glass isn’t thick enough and the corks won’t hold well-carbonated bubbly.
2. Storage
Heat plus trapped CO2 equals explosion risk! If you store your champagne-ish in warm temperatures after carbonation, expect those bottles to blow. Go colder, down to just above freezing, rather than warmer if you can’t keep them at around 55°F.
For extra safety, put your bottles in a sealed box for storage. That way if they do accidentally blow the glass stays in the box rather than becoming a projectile missile.
3. Residual Sugar
Some people like sweet sparkling wine. I’m not one of them. Even so, if you are, then to get sweet sparkling wine, you need to add extra sugar beyond what’s needed for carbonation at the bottling stage.
The problem is that the extra sugar is liable to continue fermenting in the bottle if temperatures are warm enough for the yeasts to be active. That, of course, can lead to more CO2 being trapped and greater explosion potential.
Keeping your sparkling wine cold can reduce this risk. So, after a day or so of secondary fermentation, you may have to put those sugar-filled bottles in the fridge or cold room for safe-keeping.
4. Alcohol
Everybody knows that alcohol comes with risks and responsibilities. You have to be 21 years old to drink it. There are legal limits for drinking and driving or operating machinery. Too much alcohol can pose serious, and potentially life-threatening, health risks, etc.
Still, there’s an added risk with homestead alcohol. The imprecision of our homestead methods means we never really know how much alcohol content is in each glass of the stuff we make ourselves. It could be more or less alcohol than the average glass of wine from the store.
Since these are so inexpensive and easy to make, and so delicious to drink, it’s easy to get carried away. So, when drinking your own homemade wines and sparkling wines, make sure to exercise extra caution to avoid consuming more alcohol than you intend.
Cheers! Or as they say in Champagne…Santé!
