Do some crops remind you of certain people? For me, it’s growing watermelon. The time of year rolls around to begin planting and harvesting my melons, and I instantly think of my mother-in-law.
It was her favorite time of year. Some of my fondest memories of her include shucking corn on my back porch, and her constant craving for watermelon all summer long.
Considering how many watermelons she ate throughout our many hot summers gardening together, I’ve become somewhat good at growing them.
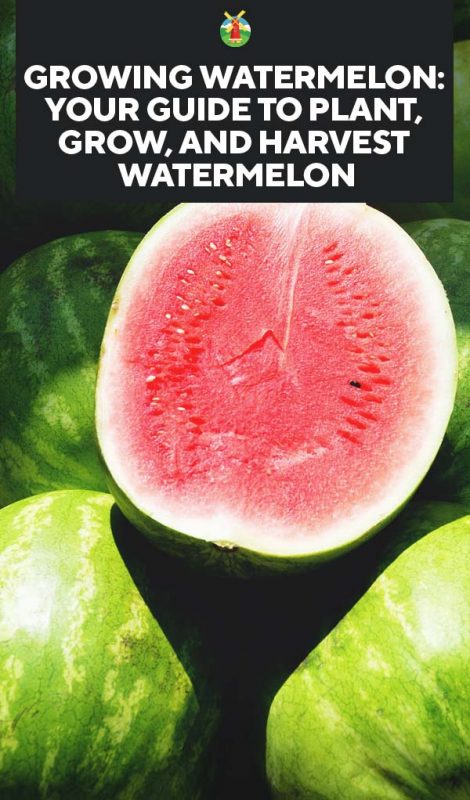
With this in mind, I want to share everything you need to grow, care for, and harvest these delicious icons of summer.
Quick Gardening Info for Watermelons:
- Hardiness Zones: 3, 4, 5, 6, 7, 8, 9, 10, 11
- Soil: Loamy, PH between 6.0 to 7.0, well-drained, rich in organic matter, work the soil with compost or well-rotted manure before planting
- Sun Exposure: Full sun, at least 6 hours of sunlight per day
- Planting:
- Start Indoors: 3 to 4 weeks before the last frost date
- Start Indoors (in fall): 112 to 151 days before the first frost date
- Hardening Off: 7 to 10 days before transplanting
- Transplant Outdoors: 2 weeks after the last frost date
- Spacing: 3 to 4 feet between plants and 5 to 6 feet between rows
- Depth: ½ to 1-inch seed depth, transplant slightly deeper
- Best Companions: Radish, corn, nasturtium, pumpkin, squash, citrus
- Worst Companions: Potato
- Watering: Give 1 to 2 inches of water per week while the plants are growing, blooming, and setting fruit
- Fertilizing: Apply high nitrogen fertilizer, fish emulsion or liquid manure 3 weeks after planting, and again after flowering
- Common Problems: Thrips, cutworms, flea beetles, cabbage looper, aphids, aster yellows, angular leaf spot, verticillium wilt, anthracnose, Alternaria leaf blight, Alternaria leaf spot, Cercospora leaf spot, downy mildew, fusarium wilt, gummy stem blight, powdery mildew, bacterial fruit blotch, blossom-end rot, mosaic
- Harvest: Harvest when the tendrils closest to the fruit are beginning to dry out and turn brown
Best Watermelon Varieties
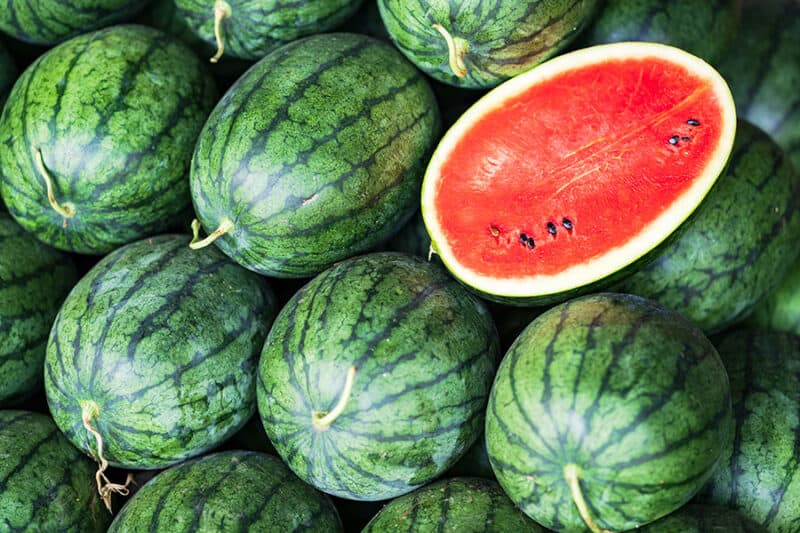
There are different categories of watermelon, each with its own unique characteristics and requirements.
Picnic Watermelons
These watermelons are the perfect size to take on a picnic where you’ll have plenty of people gathering. They usually range anywhere from 16 pounds to 45 pounds and take 80 or more days to reach full maturity.
A few varieties of picnic watermelons are:
- Charleston gray
- Black diamond
- Jubilee
- Allsweet
- Crimson sweet
Orange Watermelons
The name gives this category away. You’ll know you’ve found a watermelon which fits into the ‘orange’ category by its orange-toned flesh.
These varieties can have seeds or no seeds. Some good varieties of orange watermelons to check out are:
- Desert king
- Tendergold
- Yellow baby
- Yellow doll
Seedless Watermelons
Seedless watermelons are a great option if you’re someone who hates spitting out those pesky seeds. They aren’t technically seedless – they do have tiny seeds, but they’re difficult to notice.
These watermelons usually weigh between 10 and 20 pounds and take 80 or more days to mature. Varieties of seedless watermelon are:
- Queen of Hearts
- King of Hearts
- Jack of Hearts
- Millionaire
- Nova
Fridge Watermelons
This type of watermelon is usually referred to as an ‘icebox watermelon’ because you can keep them in the icebox and is enough for one to two people. Watermelons from this category usually only reach 5 to 15 pounds.
The most common variety of this type of watermelon is the ‘sugar baby.’ It’s petite and a great option if you want a taste of watermelon but aren’t planning on feeding a crowd. This variety will fit easily in your fridge, as well.
How to Plant Watermelon
You should plant watermelons when the soil has reached at least 70°F. If you live where you have a shorter growing season, it’s a good idea to start your seeds indoors. However, directly sowing them is recommended as it will give you the best watermelon harvest.
Cover the Ground with Plastic
To begin, you’ll need to cover the area you’re planning on planting your watermelons with black plastic a month before you’re ready to start digging. This will intensify the sunlight and warm the soil.
Starting Seeds Indoors
If you live where the climate remains colder for more extended periods of time, you’ll have to start your seeds indoors. Here’s what you need to do.
Plant seeds 1/2 inch deep in a seedless starting medium. Water well and keep moist. You should place three seeds per larger cell pack.
Once your seeds are sown, you’ll need to place them on a heat mat, under grow lights, and near a south-facing the window. The goal is to keep the seeds at 80°F.
Thin out your cells after plants have reached 3 inches tall so there’s only one remaining for transplant per cell pack. Leave the strongest, tallest seedling and pull the rest.
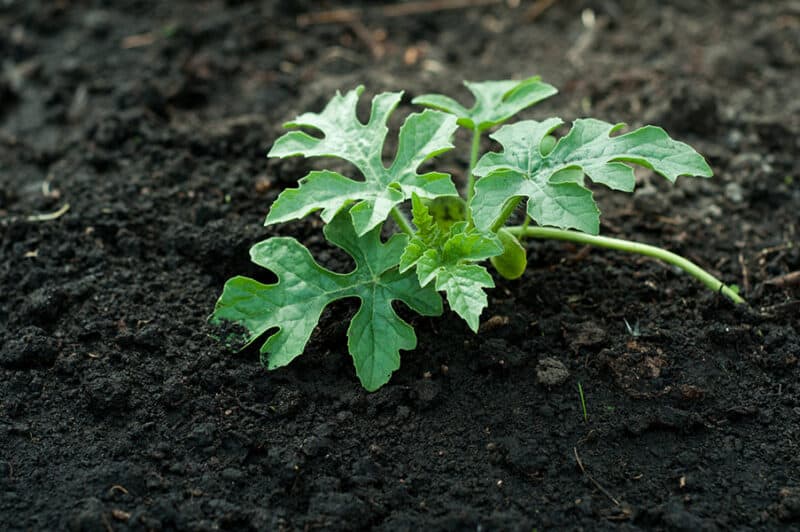
When it’s time to plant, harden seeds off for a week and then place the transplants into prepared dirt mounds.
Direct-Sowing Seeds
Create mounds of dirt, referred to as hills, for your plants. Be sure to amend your soil as needed with compost and other organic matter to give your watermelons the best possible grow space.
Keep in mind; watermelons prefer soil with a pH of 6-6.8, so test your soil for adequate conditions. Each watermelon can spread up to 20 feet, so make sure your mound is at least 5 feet square.
Inside the hills, you should plant 8 to 10 watermelon seeds. Plant each seed one inch deep in the hill. Be sure to place each hill four feet apart and keep a distance of eight feet between rows.
Once you’ve planted your seeds, it’s a good idea to fertilize. Use a fertilizer that is high in nitrogen for the best results.
As the seeds begin to pop up, thin the plants down by picking the best three seedlings in each hill.
Growing Watermelons as Lawn Cover
If you have a large lawn, you may be looking for ways to get away from mowing it all the time. Watermelons could be your solution. Here’s what you need to know:
If you have several plants to get in the ground, you’ll begin by dumping 40 pounds of manure or compost and 40 pounds of inexpensive topsoil. You can make multiple piles if you have a larger area to cover.
Keep in mind; watermelon vines can reach out to 20 feet from their growing location.
Next, you’ll mix the manure and potting soil and spread it out over the sod where you want your new plants. Plant eight seeds in the mound you’ve created with the soil and manure.
When the seeds begin to sprout, you’ll thin the mound down to only three seedlings. They should be the best of all of the seedlings that popped up.
As the vines grow, you’ll have to mow around them, but they should slow the growth of the grass beneath them which equates to less mowing in the area where the watermelons grow.
Caring for Your Watermelon Plants
Watermelons are low maintenance – they require little care and seemingly produce better flavor the less care you provide. Here are the few things you need to do to care for your watermelons properly:
Mulch
Add a thin layer of mulch around the hills of watermelon seeds and under where the vines will run. This will help to keep grass and weeds to a minimum.
Also, consider mulching with a sheet of black plastic. This will kill any grass or weeds which try to grow up, keep the soil warm, and also keep your fruit clean.
Fertilize
You should fertilize watermelon plants three times during their growing season. Once when planting, the second time when the vines are beginning to run, and the third time is when the fruit is forming.
Withhold Water
Finally, you shouldn’t need to water your watermelons at all unless you’re in the midst of a drought. As the fruit begins to mature, withhold water because it helps the fruit to become sweeter.
Add Straw or Cardboard
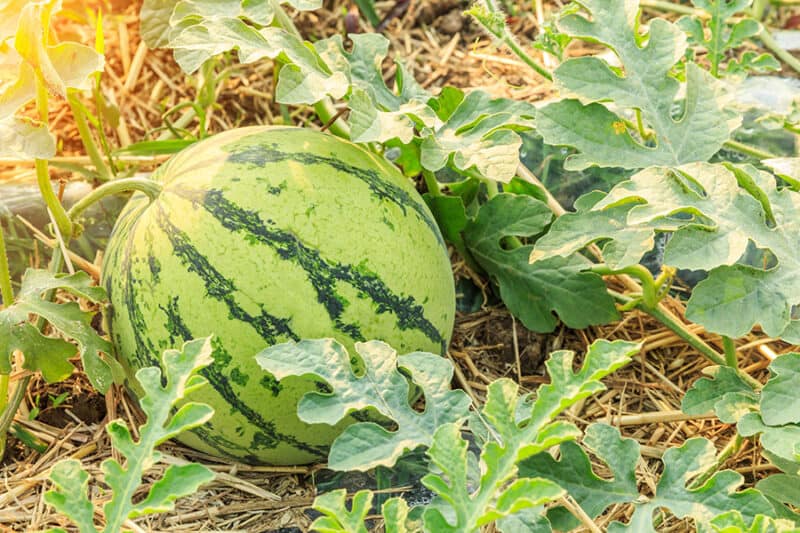
As your fruit begins to ripen, it’s a good idea to place straw or cardboard beneath it. This will put a layer of protection between your fruit and the moisture from the ground.
It should also help deter any rot from taking place and spoiling your harvest.
Common Problems and Solutions to Watermelon
Watermelons don’t have many issues, but you need to be aware of the few pests and diseases which can destroy your crop. Here is what you should look out for:
Aphids
Aphids are in practically every garden. They cause your plants to become deformed and misshapen. Getting rid of them requires only a few simple solutions:
- Spray with cold water
- Spray plants with neem oil
- Add beneficial insects to your garden
- Companion planting (such as planting catnip to deter aphids)
- Sprinkle plants with flour
Fusarium Wilt
Fusarium wilt is a fungal disease that causes your plants to wilt and die. With most funguses, the best way to beat them is to apply a fungicide to the plant. To prevent wilt, keep plants well-spaced at water at the soil, not on the foliage.
Cucumber Beetles
Cucumber beetles are another common problem in most gardens. You’ll know you have them by your plants wilting, having holes in them, and stems being munched on.
The easiest way to deter these pests is to apply an insecticide and add row covers.
However, keep in mind, watermelons need to be pollinated. Be sure to remove the row covers when the plants begin to bloom.
Vine Borers
Vine borers are another common insect to watch out for. If you notice your plants are suddenly beginning to wilt, but you don’t see any above-ground pests, this usually means the pest is below the ground.
In this case, the larvae of eggs that were laid in the ground before the growing season, have come alive and are eating your vines from within.
Again, you’ll need to apply an insecticide and row covers to rid your garden of these pests.
Best and Worst Companion Plants for Watermelons
Watermelons have certain plants that help them to grow better and some which hinder their growth. Here are the best companion plants for watermelons:
- Potatoes mulched with straw
- Pole beans
Potatoes and pole beans are excellent sources of added nitrogen to the soil, which watermelons love. The worst companion plants for watermelons are:
- Black walnut trees
- Cucumbers
- Squash
- Zucchini
Black walnut trees produce a toxin in their nuts which is poisonous to watermelons. Cucumbers, squash, and zucchinis all attract the cucumber beetle. This is one of the biggest pests to watermelons.
Harvesting and Storing Watermelon
Finally, you’ll finish the year out by picking your delicious watermelon. When they’re done producing, you’ll cut up the vines and clean up the area.
If you used watermelons as a grass replacement, you should spread out the soil and manure and water deeply. In a few weeks, you’ll have lush and green grass where the watermelons once grew.
Harvesting and storing watermelon is simple. You’ll know watermelon is ripe by its underbelly. When you pick up a melon and check where it’s been lying on the ground, if the melon is white – it’s not ready.
However, if the melon is off-white or yellow, you’ll know the melon is ripe and ready to pick.
When you want to harvest a watermelon, cut the stem close to the fruit. You can store the watermelon uncut for ten days. However, if you cut open a watermelon, you’ll need to wrap it tightly in plastic and store it in the fridge for four days.


