Growing cannabis can be a great endeavor for a number of reasons. For one, it’s a highly medicinal plant that’s an invaluable addition to your medicine cabinet. Another is that you may be able to sell or trade the dried herb or products made with it.
Let’s take a look at what you need to grow some big, healthy plants of your own this year.
Make Sure You can Grow Cannabis Legally
First things first: before you get any seeds or plants, find out whether it’s legal to grow cannabis (and/or hemp) where you are. The last thing you want is to get fined or arrested for having a couple of plants in your yard.
Do your research to determine the following:
- Is it legal to grow cannabis in your area?
- If so, how many plants are you allowed?
- Are you going to be growing a few plants for yourself, or for selling cannabis products?
- If it’s the latter, do you need a grower’s license?
Search all these topics to make sure you’re absolutely set for growing weed on your land. Also, make sure you have the resources to fence off the growing area securely, but we’ll get into that more later on.
Seeds or Clones?
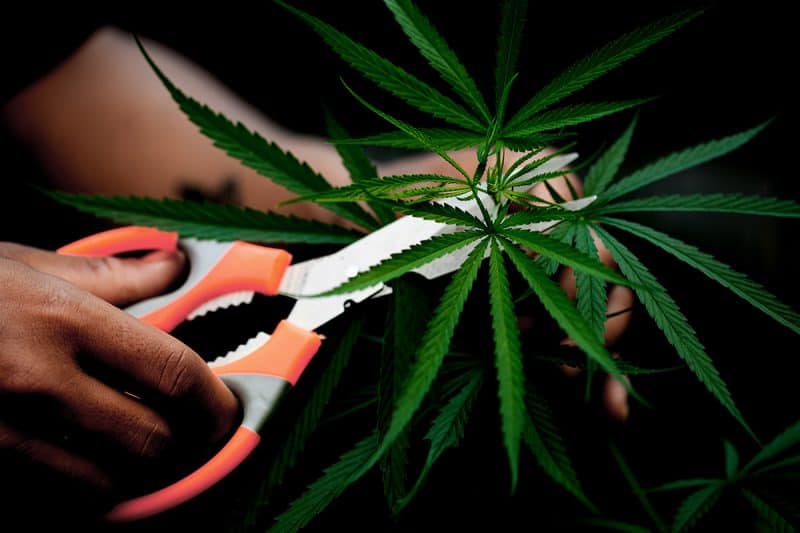
There are two different ways to start cannabis plants: from seed and by cloning. The former is rather self-explanatory, as it’s the way most plants are grown. Seed, soil, water, sunshine, you know the drill.
With the latter, you’re taking clippings from mature plants. You’ll root these, plant them in soil, and basically have carbon copies of the mother plant.
There are pros and cons to both methods. Some people are die-hard seed growers; others only grow from clones. If you have the patience and resources available to get experimental, I’d suggest trying both methods. That way, you can determine which you like better.
Growing from Seed
This method is a bit hit or miss. It’s usually easier to grow cannabis from seeds because you can order a ton of different varieties online. Purveyors like Sensi Seeds and Crop King carry a wide range of strains for you to choose from. That said, there’s still no guarantee that the seeds will germinate or that you’ll get the exact plants you want.
Unless you’ve been growing a long time and are using your own seeds, you won’t know the plant’s genetics. This means that you won’t know if the seeds are male or female or which DNA traits will express themselves.
Think about it in the same way as you’d view a large family: if they have 10 kids, those kids are all going to look a bit different, depending on which genes they inherited from which parent.
The same goes for seeds. Whatever strain(s) you get will all be just a little bit different. If you want to ensure that you don’t end up throwing away half your investment, buy feminized seeds. These are guaranteed to be female.
This is ideal since you don’t want any male plants sowing their seeds around your ladies. Not until you want to start breeding your own plants, that is.
One pro to growing from seeds is that the plants are going to be 90% stronger and healthier than clones.
Growing from Clones
With clones, if you’re getting them from someone reputable, you’ll know the clones are female and you’ll be certain of the genetics. After all, you’re literally making copies of that plant. As a result, if you’re taking cuttings from a strong, healthy mother plant you’ll likely get strong, healthy babies.
That said, clones have their downsides. For example, they tend to need a lot more TLC than seeds do. They’re often weaker than seed-grown plants and not as hardy. Many people find that they’re often more susceptible to insect and pathogen damage.
Some people have better luck with clones in clean, indoor environments rather than outdoors. Of course, if you read 100 articles on this topic, you’ll get 100 different opinions. That’s why it’s often a good idea to try both methods and see which one you prefer.
How to Start Cannabis Seeds
Take a few seeds and soak them overnight in a mixture of water, rooting solution, and 3% hydrogen peroxide. Mix the rooting solution in first, following the directions for soft cuttings. Alternatively, use a spoonful of compost tea. You’re basically aiming to coat the seed in active microbes to kick start the germination process.
Next, add the peroxide in a ratio of 1:100 peroxide to water. This helps to kill off any infectious pathogens that might be lurking around.
After you’ve soaked them for at least 12 hours, rinse them thoroughly. Then, spread a double layer of paper towel over a clean plate. Wet it thoroughly.
Next, place the seeds on this dampened towel, spaced out well. Cover them with another double layer of paper towel, and moisten that one as well. Cover lightly with a piece of plastic wrap, or insert the entire plate into a plastic bag. Leave the bag open for airflow.
Keep this in an area that gets indirect light, and make sure the paper doesn’t dry out. Your seeds should start to sprout roots within a few days.
Once the stringy little roots are visible, pop your seeds into little planters filled with a sterile seed-starting mixture. Cover them lightly with a bit of this mixture, and water them well. Move the pots to a sunny location, and keep the soil moist.
How to Grow Cannabis from a Clone
If you know someone who’s growing an amazing strain, ask them if you can work together to get some cuttings. It’s important to communicate with them about cloning, either to make sure they know what they’re doing or so they can follow instructions for optimal clone production.
You shouldn’t fertilize the mother plant in the week before being clipped for clones. Basically, if she’s getting too much nitrogen, the clones you cut will leap into vegetative mode instead of producing roots.
When you’re trying to figure out which cuttings to take, aim for branches close to the plant’s base. They should be sturdy and already have a few leaves on them.
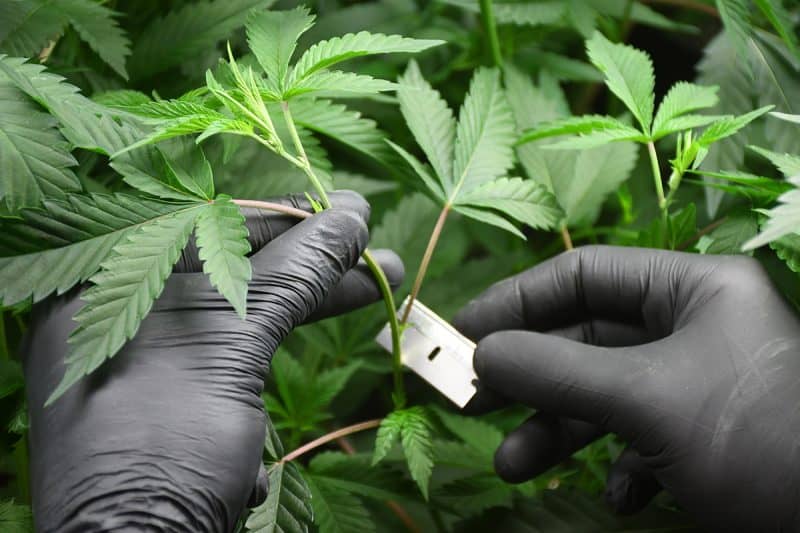
Use a clean razor to cut the branch off as close to the stem as you can get. Aim to cut at a 45-degree angle, which will offer your cutting more rooting space. Pop your cutting into a bottle of water immediately. Repeat with other cuttings as needed.
Moving Time!
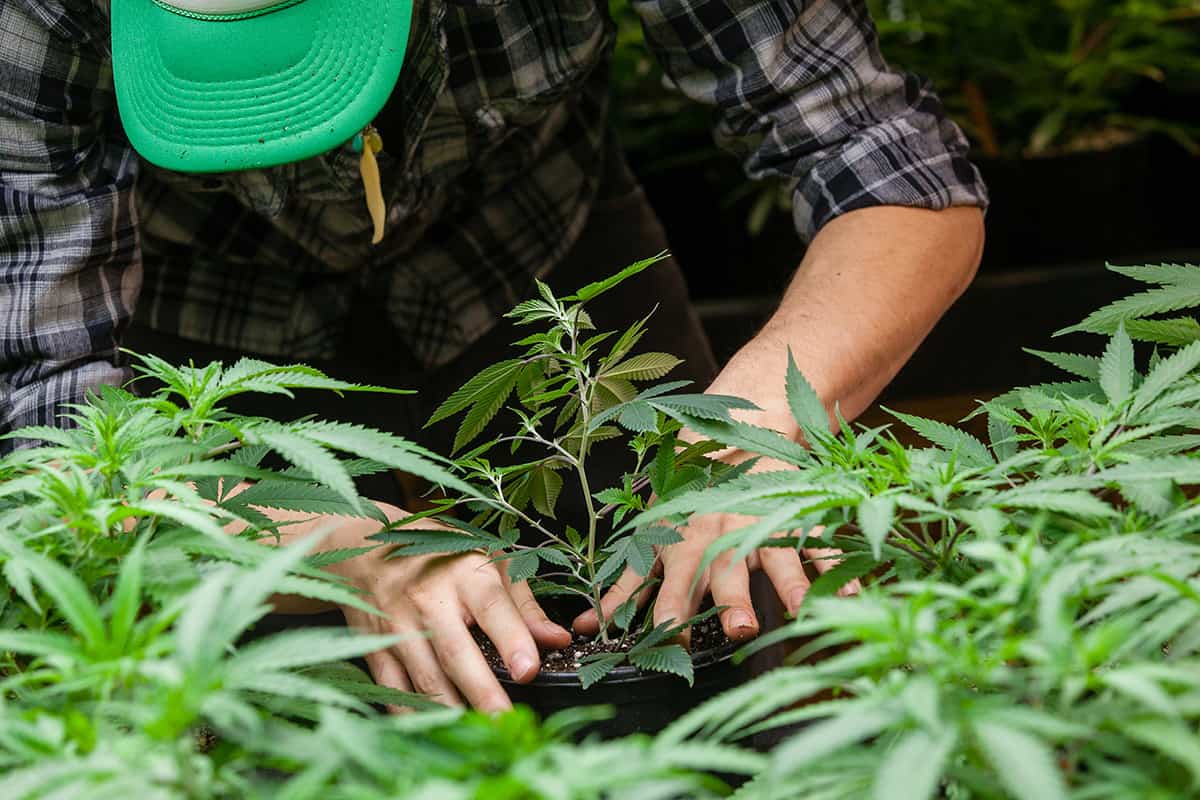
Transfer these clones into a rooting medium as you get your clones back to your space. Rock wool is a great choice, but you can use well-draining potting soil as well. Some people find that their cuttings do better if they’ve been dipped in a rooting hormone before planting.
If you have this at home, great! Otherwise, you can coat the root in a bit of honey to stimulate rooting. Additionally, honey is antifungal and antibacterial, so it’ll prevent any infection.
You’ll know that your plant has rooted when (and if) it starts to produce new leaf growth. Once it’s grown a bit more, you can transfer it to its permanent home. Those grown in rock wool need to be taken out and moved into a large, soil-filled container instead. In contrast, those that have been started in a soil medium can be scooped out with some soil intact, and transferred to their grow bed.
Caring for Cannabis
As far as sunshine goes, the more, the better. These plants need a lot of light! Ideally, they’d get over eight hours of direct sunlight per day, but they can squeak by on five to six.
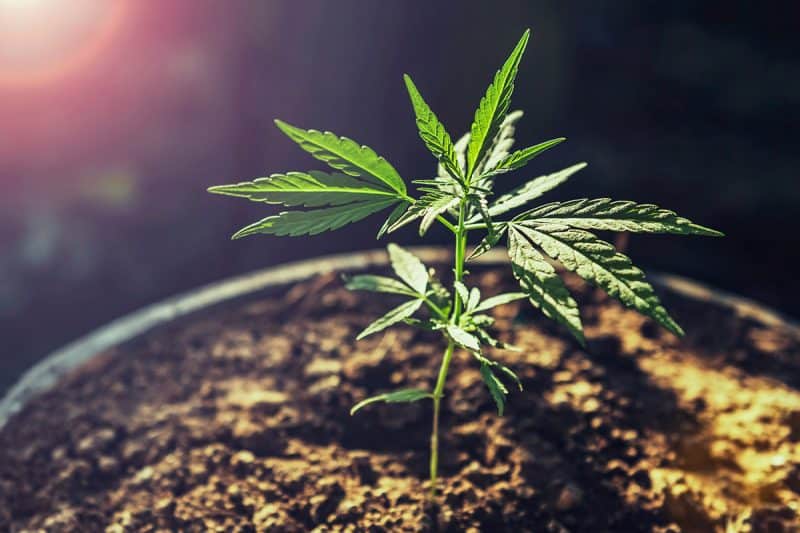
Now, the soil that you use needs to be very nutrient-rich but also well-draining. These plants are heavy feeders. Look for soil that’s enriched with lots of tasty things that cannabis plants love, like bat guano and/or worm castings. If you can’t find one that already contains this stuff, you can work it into a high-quality potting soil mix.
Your soil mixture should have a hearty mix of draining medium (like lava rock and perlite), with well-aged compost, the aforementioned guano, and something that holds water. Peat moss is ideal, but vermiculite can be helpful too. Check out Fox Farm Happy Frog soil, or Bio Terra Plus mix from BioCanna.
Teaming with Microbes and Teaming with Nutrients are invaluable books for your reference library. They can help you learn about balancing soil’s nutrients and mycorrhizae for optimal health and plant growth.
Cannabis Nutrients and Timing
For example, you’ll need to feed your plants different nutrients at different times. When your plants are in their vegetative growth cycle, they’ll need lots of nitrogen (N). In contrast, when they start flowering, you’ll need to dial back the N and increase phosphorous (P). You’ll also have to make sure that your plants have enough calcium as they’re growing. Just like in humans, a lack of calcium can stunt plant growth and cause flowering issues.
Use a fertilizer with higher nitrogen until the buds on your plants are the size of small grapes. This is when you switch to a fertilizer that has high phosphorous, moderate potassium (K), and low nitrogen. Continue with this until your plants are about 10–12 weeks old. Reduce fertilizer by half at this point or the leaves will curl at the tips from nutrient “burn”.
After the plants are 13+ weeks old, they’ll be in their “late-flowering” period. The bottom-most leaves will start to turn brownish yellow and fall off. This means that your plants are drawing from their own nutrient stores to boost their bud development. Once this starts to happen, reduce your feeding to about a quarter of what you started with.
Water
Aim to soak your soil thoroughly every two to three days. These deep drinks are better than little shallow sips, as they’ll offer your plants a lot of liquid while allowing a tiny bit of stress in between drinks. This is actually good for plant growth. Furthermore, only watering every couple of days will lessen the chance of fungal growth.
Of course, if you’re in an incredibly dry environment, you may need to water more often so the soil doesn’t dry out.
Possible Deficiencies and Problems
Okay, so there are a number of different issues that you may come across when growing cannabis plants. This is a great visual guide to various problems that may occur, but we’ll give you a brief synopsis too.
- Nitrogen issues: if there’s nitrogen excess, the leaves will be really dark green, with weak, droopy stems. In contrast, nitrogen deficiencies will result in curled, yellow leaves that drop off.
- Phosphorous deficiency will give you blue-green leaves with purple petioles. You don’t want this. Alternatively, too much P will make new leaf growth overcrowded, thin, and spindly.
- Too much potassium (K) will burn your leaf tips, while not enough will make those tips brown and spotted.
- If there isn’t enough calcium, the plant may fail to thrive. Its growth will be stunted, and the leaves may be weak and spotted.
- Too much sulfur will result in lime green leaves and poorly formed buds. If they don’t get enough, however, the leaves may be small, and dark green with discolored tips.
Cannabis Plant Hygiene
In order to lower the risk of contaminating your plants with various pests and pathogens into your garden, here are some protocols you might find useful:
- If it’s an outdoor garden, have a perimeter fence. This is necessary for a number of different reasons. This isn’t just to keep out deer and other wildlife, but to prevent pets (or children) from accessing the plants.
- Never, ever let anyone’s dog, cat, or other animal near your plants. Their fur can carry all manner of problems, which may cost you hundreds of dollars. You might even lose an entire crop if they carry the wrong disease.
- If you know someone else who gardens and wants to look at your plants, take a photo and show them. Don’t let them in. They’ll bring all manner of detritus into your space with their boots, clothes, and skin. They may assure you that their boots and clothes are clean, but the surefire way to keep your friends blame-free is to keep them away.
- Only have one clean pair of boots and set of clothing that you ONLY use in that garden. Zip protective overalls are ideal. Keep these items in a shed or plastic locker bin close to your enclosed garden, and change into them before entering. Don’t keep your other clothes in the same locker, or they’ll cross-contaminate. Be sure to wash these items thoroughly regularly, including pouring boiling water over the soles of your boots.
Treat your plants as though they were vulnerable bubble babies with no immune systems or self-protection methods.
Harvest Time!
Keep an eye on your flower buds to see what color the pistils and trichomes are. You want to wait until the trichomes start looking frosted/milky, and the pistils turn the color of pumpkin pie.
Hopefully, you’ve kept track of which strains you’re growing. This is because different strains take different amounts of time to mature properly. Sativas are ready to be harvested about 8-12 weeks after they start flowering, for example. In contrast, fast-maturing Indicas can be harvested 6-8 weeks after buds start developing.
Check the buds constantly after week 5 so you find the perfect time to harvest your buds.
At this point, stop feeding the plants and offer them plenty of clean water. This will flush out excess nutrients in the soil and encourage the plants to use up their own stores for optimal flower power.
When it comes to the harvest itself, people have a wide range of different techniques. Some prefer to harvest the entire plant at once, while others prefer to pick buds as they reach maturity and dry them individually. Do some research to figure out which technique makes the most sense to you.
However, when you’re ready to harvest, make sure you use gloves (because the resin gets really sticky). Additionally, use good, sharp snips that you regularly clean with rubbing alcohol. This will keep them from getting gunked up.
Drying
The harvest method you’ve used will inform the drying method. When you harvest the entire plant, you can hang it upside-down in a warm, dry location until it dries out completely. Alternatively, if you’re harvesting individual branches, you’ll have to hang them on clotheslines or in a spaced mesh drying rack.
The drying and curing process is really quite complicated. Learn more about it in our detailed article (coming soon)! Until then, be sure to do lots of research to determine the best technique for you.
A Few Words of Caution
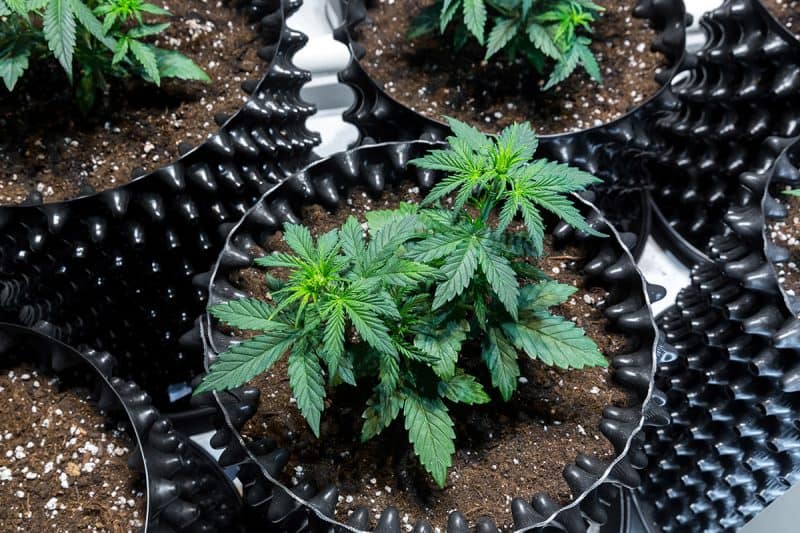
What other people don’t know won’t hurt you. Keeping your cannabis garden secret is generally a good idea, as people can get really weird when it comes to weed.
Of course, there’s a very natural, pure desire to “show and tell” to show off your brilliant buds. Furthermore, you might and want to share great, successful genetics with others. However, the possible ramifications of others knowing that you grow can be very damaging in the long term, especially if they know where you live.
Basically, just because growing it is legal in your area doesn’t mean that other people won’t try to take it illegally. Additionally, it’s unlikely that the police will help defend that part of your garden vigorously because of weed’s history with the law.
As a final note, if you live in the States and legally own any firearms, make sure to familiarize yourself with laws regarding ownership. For example, you can’t have cannabis on your property (either dried or growing) if there’s a gun present as well. Possessing any cannabis basically forfeits second amendment gun ownership rights.
Do your research on all of these topics, and you’ll be much more likely to succeed at growing successfully.
