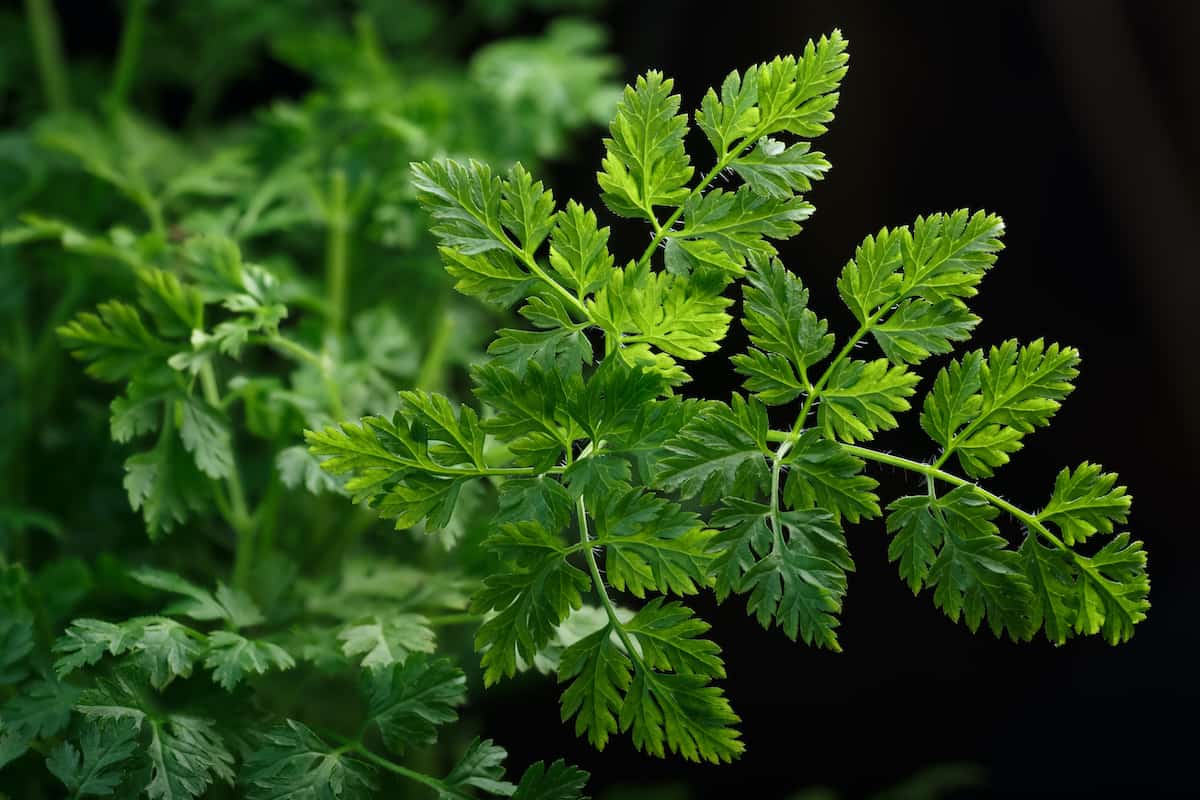
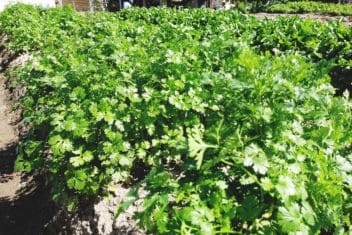
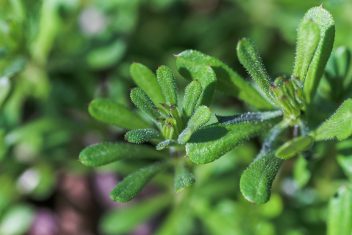
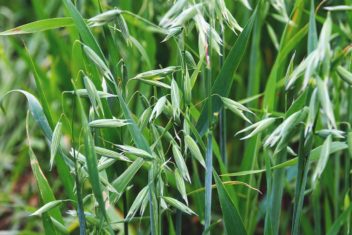
Chervil is one of those wonderful herbs you hardly ever see in the store because once it’s harvested, it perishes quickly. That’s why growing chervil in the home garden is the best way to get your fix.
Chervil enhances the flavor of other herbs and has a mild, parsley and aniseed taste. It’s perfect on egg and potato dishes, salads, chicken, and fish. It’s also an element of the French fines herbes, a mixture of chervil, tarragon, parsley, and chives.
This is one herb you’ll love having around fresh, so let’s get you started.
Varieties of Chervil
There are several types of chervil available. You may also see this plant under the label French parsley.
Curly Chervil
This is usually the most readily available from most seed sellers. As the name suggests, the leaves are slightly curled, though not as much as curly parsley. You’ll also see it called ‘Crispum.’
‘Brussel’s Winter’ is one variety of curled chervil that is a bit hardier and can handle a brief frost.
Flat Chervil
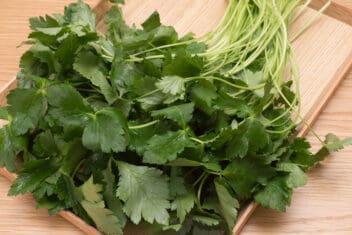
Common or flat chervil has flatter leaves and isn’t as common as curly. It looks a little similar to Italian parsley.
‘Vertissimo’ is a flat leaf type that has dark leaves and grows more compact than common varieties.
How to Grow Chervil
Chervil can be fussy about heat, but if you get the timing right, you can have successive planting year-round. It’s a hardy cool-season biennial that will just keep coming back.
Chervil grows best in USDA Zones 3 to 7. In zones 8-10, try growing it in the winter, instead. Whenever you plant it, daytime temps should be somewhere around 65°F.
It’s grown as an annual in many areas, though I find it self seeds readily and grows as a self-seeding perennial.
Chervil will bolt to seed easily in full sun in summer, which makes it ideal for cooler weather. Plant in a sheltered area, preferably with dappled sunlight or partial shade in summer.
Full shade when it’s cool isn’t good for growing chervil. A balance of sun and shade is best.
Chervil prefers a pH of 6 to 6.7. Plant in loamy soil, that is well-draining and rich in organic matter.
When to Plant
If you’re going to start seeds inside, get started about 6 weeks before the average date of your last frost. Seeds will germinate at 70°F.
If you grow in the garden, plant at various times depending on the environment.
- In cooler areas prone to frost, sow the seeds early spring right up to late fall.
- If you live in a mild area where it’s not too hot, try sowing all year round.
- In hot areas, plant in the early spring, late summer and right through fall for winter and spring harvests.
Container Planting
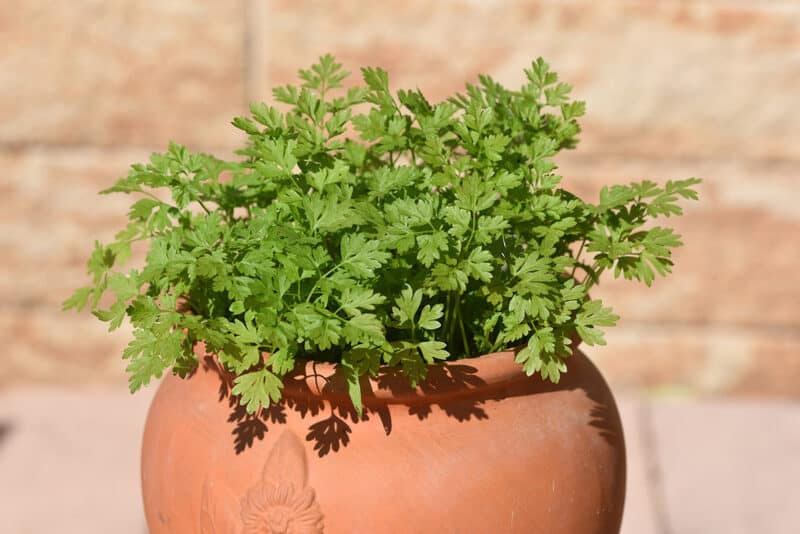
Chervil has a sensitive tap root, so sowing in containers is fine, but you need to sow seeds where the plant will remain. Don’t plan on starting it in a container and moving it into a larger pot later.
You can also plant in a biodegradable seed pot and plant the whole thing in your container.
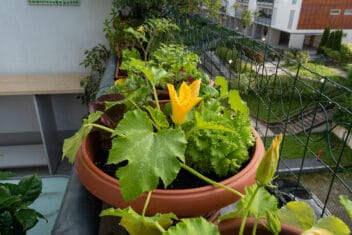
Use a large container that is at least a foot deep and plant two or three seeds about four inches apart. You could also plant other herbs in the container as a herb garden. Keep the container watered at all times.
Manage the sun exposure in the winter and the cooler areas in the summer by moving the pot to suit.
You can also grow it indoors in a sunny window or as a microgreen year round.
Planting Seed
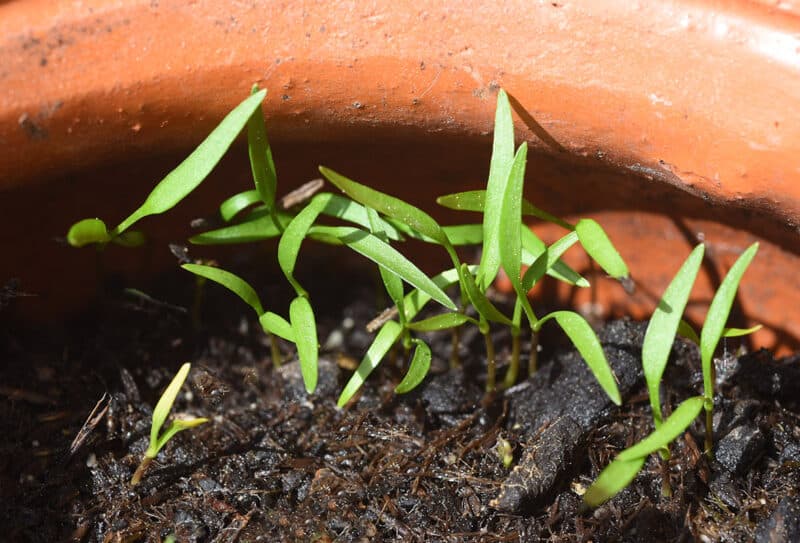
The viability of chervil seeds diminishes quickly, so plant new seeds one year old or less.
Dust seeds lightly over the top of the soil. They need light to germinate, so don’t cover them. Simply press them into the soil gently. Water well and don’t allow the soil to dry out.
Remember, chervil doesn’t transplant well, so sow seeds directly into the garden or use biodegradable seed pots.
Spacing
I’ve found the best spacing for chervil is both plants and rows should be 6-8 inches apart. This gives them room to spread and allows for sufficient airflow between them.
Caring for Chervil
Chervil doesn’t take much upkeep, but here’s what you should know.
Fertilizer
Dig in a good quality compost before planting seeds. Wait until the seedlings are about four inches tall and use a liquid fertilizer every 6 weeks or so. I use a fish emulsion.
Don’t feed too much or too often, especially at the early seedling stage. If the seedlings are healthy and growing well, they may not need feeding yet.
Water
Keep the soil around chervil seedlings moist, but not soaking. As the plant grows, increase the watering levels, but don’t allow the taproot to sit in saturated soil. The soil should never dry out.
Avoid overhead watering to prevent disease.
Pruning
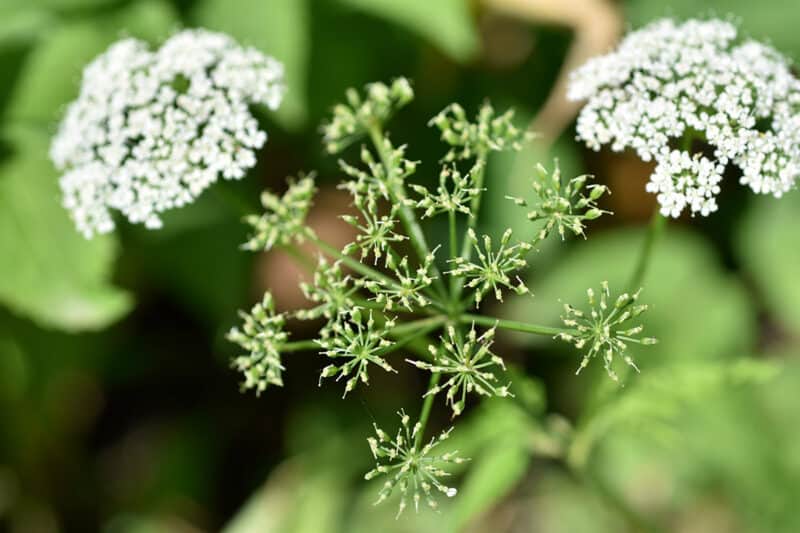
Pinch back any flower heads that start to form. This encourages bushier and more leaf growth. Eventually, you can let the plant develop seed heads if you want it to reproduce itself for the following year.
Companion Planting for Chervil
Team chervil up with other herbs and similar plants.
- Cabbage
- Kale
- Radish
- Lettuce
- Collard Greens
- Turnips
- Parsley
- Sage
- Cilantro
Avoid planting with other Umbelliferae like carrots and dill.
Common Problems and Solutions for Growing Chervil
With a bit of care, attention, and preplanning, chervil should be free of too many issues, but keep an eye out for the following:
Damping Off
If you’ve ever had healthy looking seedlings suddenly wilt and die, damping off was probably the cause. It’s usually a list of things combined that cause this issue.
When the soil is too wet and the air and soil temperature exceeds 68°F, the fungus that causes damping off thrives. Having too much nitrogen in the soil can also exacerbate the problem.
Don’t over-fertilize or over-water the seedlings. Make sure you clean all used pots with soap and water before planting your chervil in them.
Powdery Mildew
Powdery mildew looks like a white powder on the upper surface of the leaves. Humidity and lack of airflow are usually the cause for this fungus to move in.
To start with, make sure you plant with enough space in between for good airflow and avoid overhead watering. Then, check out our other tips for dealing with this common garden scourge.
Downy Mildew
This fungus starts on the undersides of leaves. Over time it migrates to both sides. Initially, it looks like oily spots. Eventually, it begins to look cottony and can turn brown or black.
As with powdery mildew, avoiding it as best you can is the solution. Since it’s spread by water, you want to make sure you’re watering at the base of plants. Add mulch to prevent water from splashing onto leaves.
Check out our guide to spotting, preventing, and erradicating this disease.
Rust
There are a lot of different fungi that cause rust. Once the plant is infected, remove and destroy the infected leaves. Remove the entire plant if more than a handful of leaves are covered in spots.
Don’t put any foliage infected with any disease in the compost. Seal it in your garbage and throw it away, or burn it if you’re able to.
Sclerotinia
Otherwise known as white mold, sclerotinia looks like a spider has spun a web on your soil or container medium. Eventually, this fungus will grow onto your plant and weaken it.
Avoid overcrowding seedlings and ensure you space plants with airflow in mind. Thoroughly wash all your gardening equipment and seed raising tools before use.
Aphids
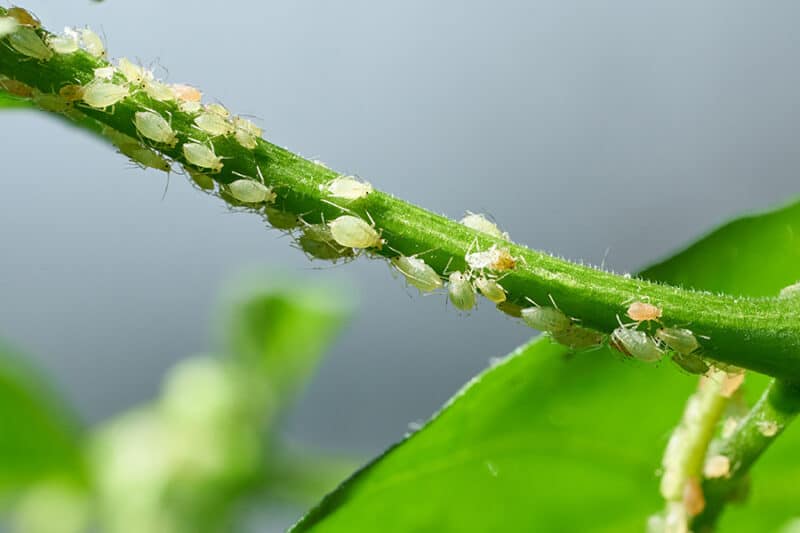
Aphids are sap-sucking, destructive pests that excrete honeydew. This attracts ants and wasps and causes sooty mold.
Use an insecticidal soap, neem oil and/or attract insects like ladybugs and predatory wasps, which hunt aphids.
Deer, Rabbits and Groundhogs
All kinds of mammals will take a bite out of chervil, including deer, rabbits, and groundhogs. They can destroy a plant completely, eating it to the ground.
Check what is permissible in your area to combat these pests, as all areas have different bylaws and rules. Fencing and cages are both highly effective against many mammals.
Slugs
Slugs love chervil and will eat leaves in their entirety. They leave slime all over the plant and defecate on the foliage.
Handpick them off at night, use traps, pellets, diatomaceous earth, or any of our other handy methods for getting rid of them.
Harvesting and Using Chervil
- Pick the leaves when they are young and tender. As chervil leaves grow, they turn dark in color and lose a lot of flavor.
- Harvest only as you need it. Chervil doesn’t last long once picked and left.
- Dry, using a dehydrator, oven or hang a tied bunch upside down in a dry room. Store in glass jars that seal well.
- Chop and freeze in water in ice cube trays. Melt later for use.
- Traditionally chervil is preserved in white vinegar.
- The flowers are edible and make a wonderful garnish.
- Add to salads, egg, chicken and fish dishes.
A word of warning. Chervil looks like deadly hemlock, which grows in the wild. Never harvest chervil from the wild unless you are confident you know the difference between both plants.
If you’re lucky, chervil will keep growing year after year and you won’t have to replant it.
In some areas and environments, it will grow like a weed and spring up all over your garden.
