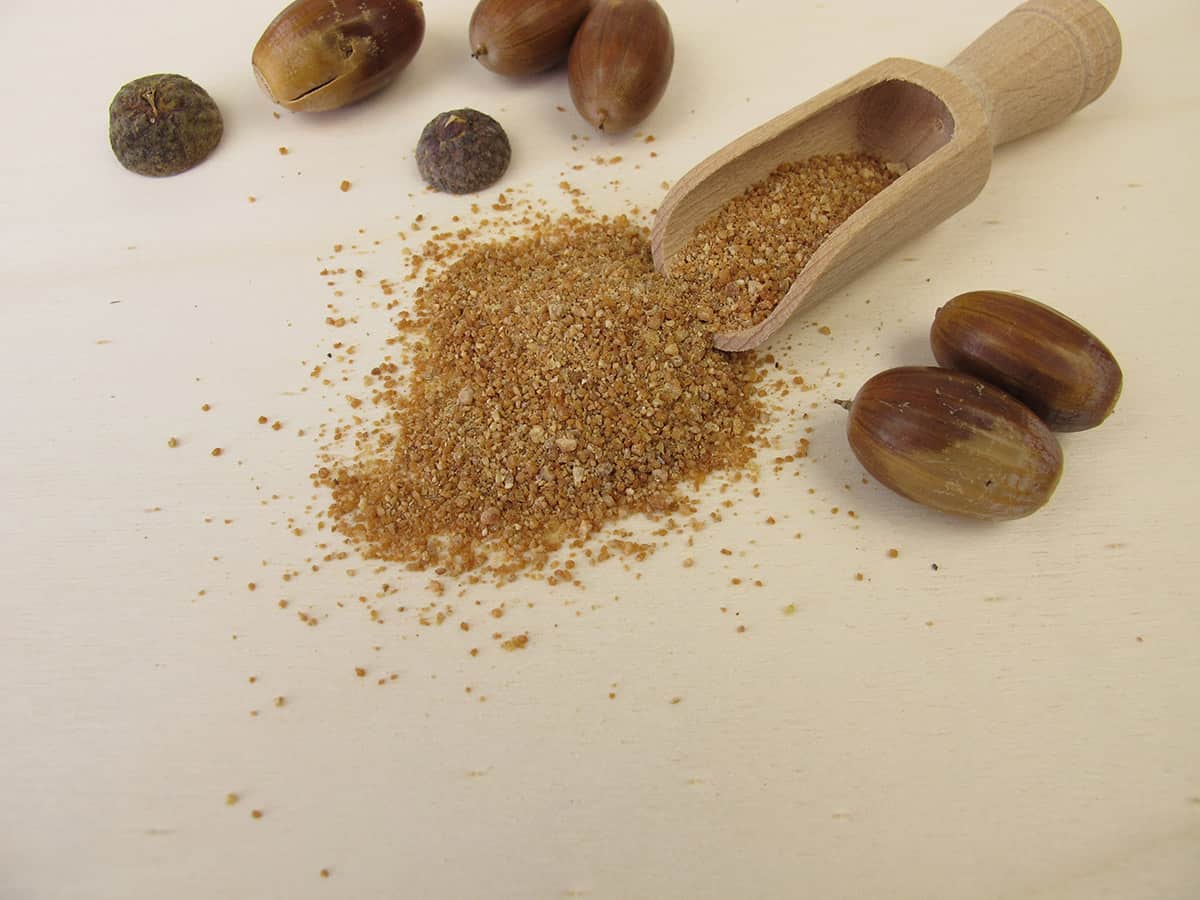
As someone who follows a gluten-free diet for health reasons, I’m always excited to find new options to add to my diet. Imagine my delight when I discovered a couple of huge oak trees on my property! My effervescent glee came from the fact that oaks create acorns, which are delicious. You can even transform these gems into acorn flour!
People have been making acorn flour for centuries, and while it takes some work, the results are worth it. Acorn flour is nutritious, tasty, and doesn’t cost a thing if you have access to oak trees! Want to learn more?
What is Acorn Flour? That’s a Thing?
YES. Yes, it is. In fact, acorn flour has been a staple among Indigenous peoples for thousands of years. It’s only fallen out of popularity in the past couple of centuries or so as wheat, rye, and other common grains have taken over the market. After all, acorn flour takes a lot of time and energy to create, and most people don’t have the time to dedicate to making it.
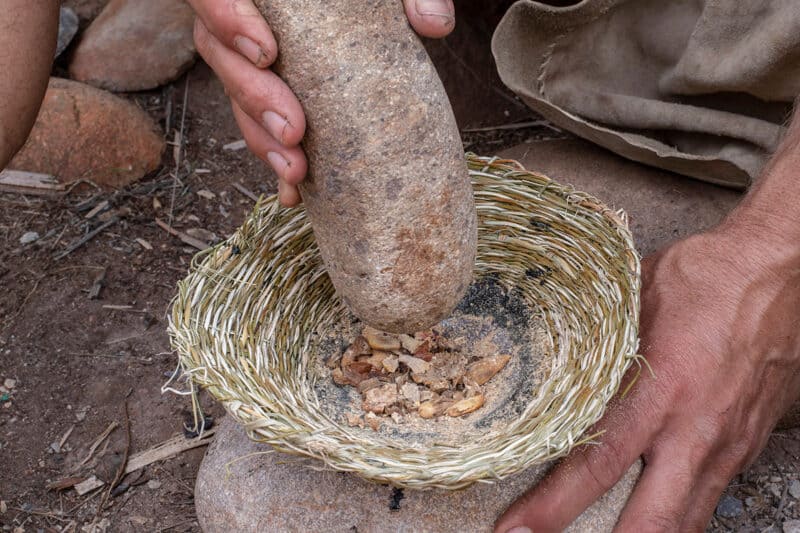
It’s a lot easier to shell out a few dollars at the grocery store for all-purpose flour than to go through this painstaking process, right?
Fortunately for us Luddite homesteader types, making different flours from wild plants isn’t just fun, it’s immensely satisfying. In fact, when you discover how nutritious they can be, you’ll get even more excited about incorporating them into your diet.
Acorn flour is pretty much exactly what it sounds like: ground-up dried acorns. Preparing this flour so that it’s actually edible takes a fair bit of effort, though. This is because you can’t just grind them and eat them—you need to leach the tannins out before they’re edible.
We’re getting ahead of ourselves, though. Let’s first touch upon what types of acorns to gather before we go charging into leachville.
Which Acorns to Use
All acorns are edible, but they take an effort to make them palatable – some more than others.
Some are significantly sweet while others are distinctly bitter, but all require leaching to get their bitter tannins out. These tannins are considered “antinutrients”, in that they prevent the body from being able to absorb nutrients from other foods. They may also cause liver or kidney damage in large quantities.
I have eastern white oak (Quercus alba) on my property, and they’re absolute treasures. In contrast, the interior live oak (Q. wislizeni) acorns I worked with in California required more elbow grease, but were still worth it. Red oak (Q. agrifolia) acorns have a high amount of tannins, so avoid those unless you’re prepared to do a lot of leaching.
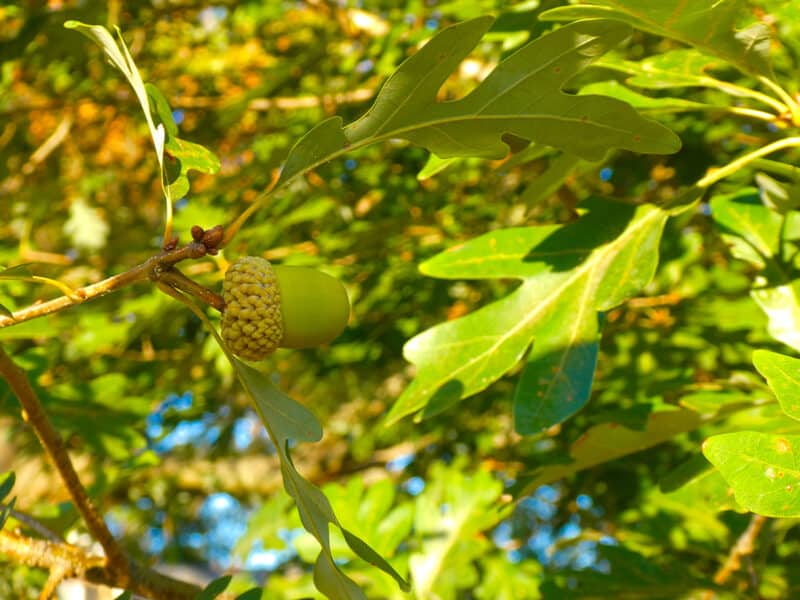
It’s easiest to harvest fallen acorns. Look for ones that are brown and shiny, either with or without caps. You’ll remove these caps later anyway, as they’re inedible.
Green acorns are unripe and have higher tannin levels, so don’t bother with them. As you’re foraging, discard any acorns that have little holes in them. This is because those holes have been created by worms, and you probably don’t want to add those into your flour mixture.
Larger acorns give you more bang for your buck, so take the biggest ones you can find. Once you’ve accumulated a fair number, you’re ready to start prepping them.
How to Prepare Your Acorns
As mentioned, preparing acorns for flour takes a few steps.
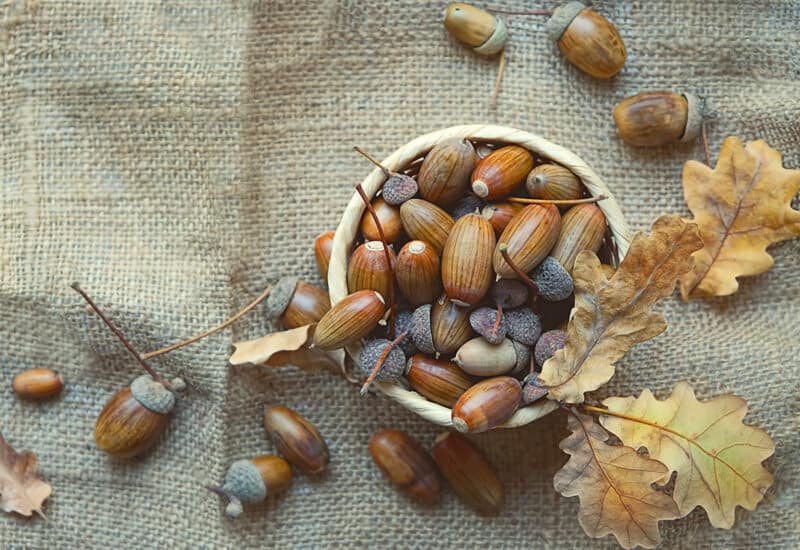
Step 1: Rinse and Float Them
Rinse off the acorns thoroughly to eliminate any detritus, dead insects, etc. Then transfer them into a large pot and cover them completely with water. There should be about 4 inches of water above them.
Some of the acorns will float, while the rest will sink to the bottom. Remove the floaters and toss them into the woods for squirrels and other herbivores to enjoy. These are old and will either be flavorless or unpleasant to eat.
Step 2: Dry Them Out
One of the easiest ways to dry out acorns for shelling is to put them in a dehydrator. Set them to the lowest setting you’ve got and let them dry for a full 24 hours. Alternatively, you can put them in the lowest setting in your oven for 12-16 hours.
Let these cool completely before you move onto the next step.
Step 3: Crack Your Nuts
Use a nutcracker or a pair of sturdy pliers to crack the acorn shells. These should be fairly easy if the acorns have dried sufficiently. Just put on some music or Netflix and go nuts.
Don’t ever try to crack green acorns. They’re tight and slippery and you’ll maim yourself even trying.
Step 4: Dig the Meat Out
This is the tricky part.
There’s a layer of skin (known as the testa) wrapped around the acorn’s inner flesh. It’s in this layer that most of those pesky tannins like to hang out, and it can be difficult to remove.
For example, white oak acorns tend to be fairly smooth inside, and the testa can be rubbed off easily. In contrast, red oak acorn flesh can be wrinkled like chestnut meat. As you can imagine, it’s more difficult to remove.
If you can’t eliminate all of this skin from the acorns’ flesh, don’t worry about it. You’ll simply need to leach them a few more times to get all the bitter tannins out. The acorn flour you’ll make will be a bit darker as well, but it’ll just be like using whole wheat flour instead of bleached white.
I’ve found that wearing cotton gloves while doing this helps to remove the testas more efficiently. Keep a paring knife and a small square of sandpaper at hand for some of the more difficult ones.
Additionally, I’ve found that putting these acorn meats into the freezer for about 20 minutes helps with testa removal. It gets a bit brittle and flaky, thus making your life a bit easier.
Now it’s leaching time.
5. Leach Those Tannins!
There are two different ways to leach the tannins out of your acorns: hot and cold leaching. As you can imagine, this involves using hot and cold water, respectively.
According to a famous forager named Meredith O’Donnell, the leaching method to use will depend on which acorns you’ve collected. Red and black oak acorns are high in oil, while white oak acorns aren’t. As a result, she recommends cold leaching the former and hot leaching the latter.
Cold leaching can be done either in running water or through multiple water changes over the course of a few days. This method preserves the acorns’ starches, which is ideal for making various baked goods. In contrast, hot leaching will cook those starches in situ. This means that anything you bake with this flour will crumble to pieces.
Fortunately, you can use this meal for grits, soups, stews, and porridge.
Hot leaching is easy, but time-consuming. Add the acorns to a large pot and cover with a few inches of water. I like to use a large two-part pasta pot that has an inner, removable colander.
Bring the water to a boil, and let this roll for 5–8 minutes. You’ll notice the water turn a rather alarming shade of dark brown. Strain the acorns through a colander and give them a good rinse, then put them back into the pot, fill them back up with water, and repeat the process.
You’ll likely have to do this several times before the water runs clear.
While cold leaching is also time-consuming, there are a few ways to make it easier. If you have a river or other moving body of clean water on your property, you’re in luck! Just pop the acorns into a mesh bag (like one of those reusable produce bags). Tie it shut, secure it to a piece of rope, and toss it into the river.
The moving water will rinse the tannins out of the acorns after a couple of days. I recommend tasting one of them after 48 hours. If it still tastes quite bitter to you, toss the bag in for another couple of days.
Just make sure that you’ve tied and secured the bag well. It’s horrible to put so much effort into a project only to watch mournfully from the shore as your acorns float unapologetically downstream.
I’ve also heard of people putting these mesh bags in to their toilet tanks so the acorns get rinsed every time the tank refills. While I’ve never tried this method myself, it sounds good in theory!
Another easy way to cold-leach acorns is to grind them into a meal. Toss about a cup’s worth of shelled acorn meats into a blender, then cover with at least 4 inches of water. Grind that until it makes a sludgy meal, and let it sit in the fridge for 24 hours. Then drain all the water out through cheesecloth, scrape the meal back into the jar, add water, and repeat this process.
The water should get lighter and lighter every time you change it out. Keep repeating this process until the meal doesn’t taste bitter when you taste it.
6. Dry Everything Out
Once all that is sorted, you’ll need to dry all of this out.
If you’ve leached large acorn pieces, spread them out onto dehydrator trays and dry them at 135°F for at least 10 hours. Check them after this time to see if they feel dry enough for you. You’ll know they’re ready when they feel quite brittle, and you can snap them in half with little effort.
Alternatively, you can dry them in an oven on low heat for as long as needed. Just make sure to keep the temperature below 150°F or you’ll cook all the good starches out of them.
If you’ve made and leached acorn meal, cover some baking trays in parchment paper and slop it onto that before placing it in the oven or dehydrator. Spread it out thinly so it dries evenly, and you’ll know it’s done when it crumbles easily between your fingertips.
7. Grinder Time!
If you’re going to use your acorn flour for grits or porridge, you can just use the meal as is. For baking, however, you’re going to need a finer flour to work with.
A grain mill likely works best for this, but since I don’t have one, I grind everything I need in small batches with a coffee grinder. Pulse the acorn bits a few times to break them into smaller pieces, then pulverize them into powder. You can refine dried meal into a finer grind with this method too.
How to Cook or Bake with Your Acorn Flour
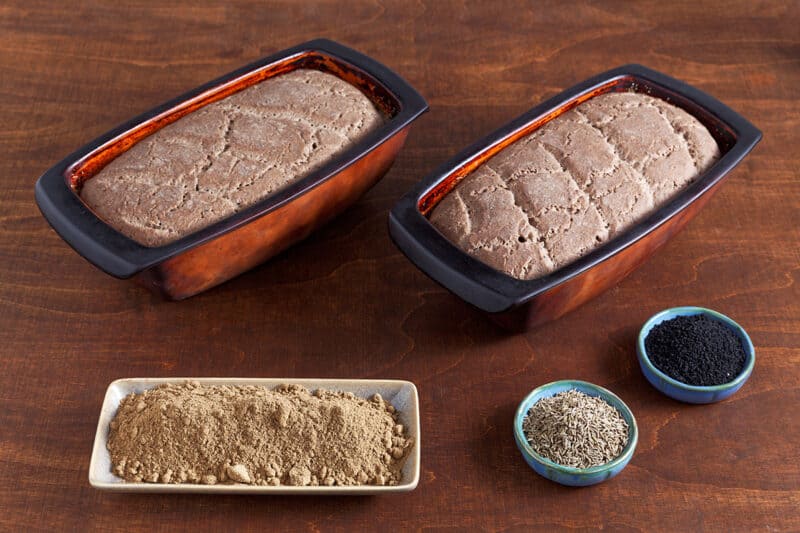
Generally, acorn flour is combined with other flours to suit the recipe on hand. For baked goods, you can use up to 50% acorn flour mixed with whatever others you like. I’ve found that it blends well with quinoa, rice, and sorghum flour with a bit of tapioca starch and xanthan gum for gluten-free baking. If you can eat gluten, then try it with wheat, spelt, or einkorn.
Just use the flour as you would any other dry ingredient. The one thing I’d recommend is to try some established recipes before getting experimental on your own. Here are a few for you to try out:
- Northern Californian Indigenous acorn griddle cakes
- Simple acorn porridge (I love this with our local wild blackberries and a splash of fresh cream)
- Acorn grits, which taste delicious alongside braised wild greens
- A rather basic acorn bread that you can adapt with your own ingredients
- Acorn flour tortillas
- Roasted acorn coffee
Storage
I store whole or halved dried acorns in plastic bags in the freezer, but there are other methods for long-term storage. For example, if you vacuum seal either acorn meats or meal, those bags will last in the freezer for years.
Properly dried acorn flour will keep at room temperature in a sealed glass jar for a few months. This can be even longer if the jar is in a cold cellar. Just taste it before cooking or baking with it to check whether it has gone rancid or not.
Potential Allergy Awareness
Are you allergic to other tree nuts like walnuts, beech, chestnuts, pecans, etc? If so, then talk to your healthcare practitioner before eating them. Foraging is a lot of fun, but anaphylactic reactions are less so. While acorn allergies are quite rare, it’s better to err on the side of caution.
