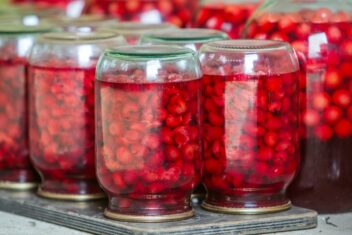
Do you have an abundance of blueberries but am running out of ideas about what you should be doing with them all?
Have you considered turning those juicy blueberries into a tasty syrup? It’s a great way to start your day during those cold winter months when you want a stack of hotcakes.
I’m going to share with you how you can make blueberry syrup from your harvest. I’m also going to include how to preserve the syrup for later use.
But before we get started I admit I’m not the genius who concocted this delicious recipe. The recipe I use comes from Ball Blue Book: Guide to Preserving. This book has proven itself invaluable in my years of canning.
Here’s how you can create blueberry syrup from your harvest:

You’ll need:
- 2 quarts of blueberries
- 6 cups of water
- 3 cups of sugar
- 2 tablespoons of lemon juice
1. Prep the Blueberries
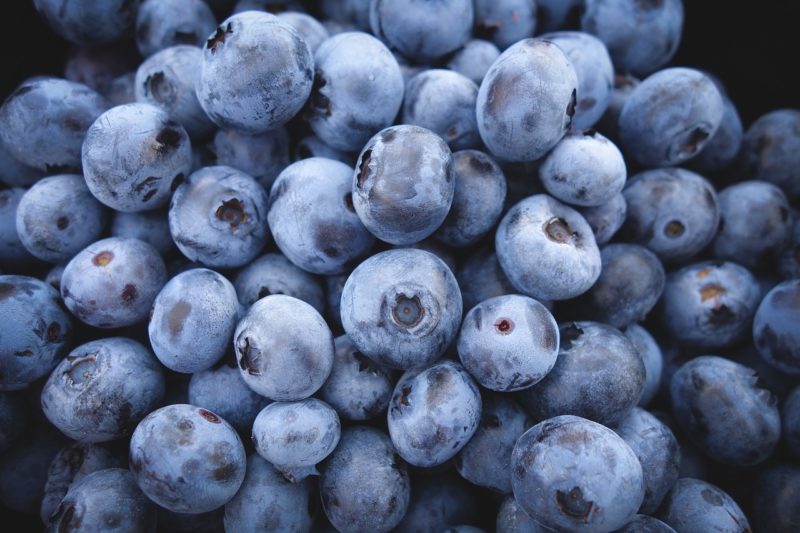
To begin making blueberry syrup, it’s important to wash the blueberries in cold water. I have a double sink I fill with cold water. I place the fresh blueberries in one side and stir them around with my hands.
When I begin seeing the stems loosen from the blueberries and the dirt coming loose, I transfer the blueberries to the fresh cold water in the other part of the sink.
As I’m moving the blueberries around in the fresh water, I’ll drain the water from the other side of the sink and refill. This process continues until I feel confident the blueberries are clean.
Pay close attention during this process because you’ll notice the blueberries which are too ripe or aren’t ripe enough will rise to the top.
Be sure to remove those berries. Also, if you see berries with stubborn stems, try your best to remove as many as you can.
When you feel happy about the cleanliness of your blueberries, move on with the process.
2. Squash Them
This next step is fun, in my opinion. If you’ve had a rough morning or have aggression you’d like to take out, you’re going to love this part of the process.
Place the clean blueberries in a large pot. Pull out your trusty potato masher and get to work. Use the potato masher to press down on the blueberries.
As you press down, you’ll notice the blueberries will pop and become mush. That is what you’re going for. When all of the blueberries are crushed, you can move forward with the process.
3. Simmer and Strain
When the blueberries are fully crushed, put the pot on the stove over medium heat. Add 2 cups of water to the pot and simmer the berries for approximately five minutes.
However, be sure to stir the berries to keep them from sticking to the bottom of the pot. I also recommend using a wooden spoon for this part of the process because it won’t scratch the bottom of your pan as you’re trying to keep the blueberries from sticking to the pot.
When five minutes have passed, remove the berries from the heat, turn off the stove, and strain the blueberries.
Straining blueberries is a simple process. Place a large pot in your kitchen sink. Put a colander inside the pot where it rests on the rim. The liquid will drain into this pot.
Place a cheesecloth over the colander. If you don’t have cheesecloth on hand you can use an old pillowcase. We make our own hams, and I had ham socks on hand which is what I used the last time I made blueberry syrup.
When you have the material over the colander, pour the simmered blueberries into the colander. Give them ample time to drain. You can help them along by pushing them down into the colander.
As the straining process slows, you can remove the cloth from the colander, wrap the top to seal it, and begin squeezing the blueberries inside the cloth to remove any remaining liquid.
Just note that when you squeeze the cheesecloth, you may want to use a glove because blueberries can stain your hands.
4. Make the Base
Blueberries don’t magically turn into syrup. They need a base syrup for this recipe to come together. This step of the process is where you’ll make the base syrup.
Begin making the base by placing four cups of water and three cups of sugar in a pot. Bring the mixture to a boil and stir until it begins to thicken. Boil for approximately five minutes.
Once the mixture has boiled, add two tablespoons of lemon juice. Lemon juice will help your berries keep their color.
5. Don’t Forget the Juice
Now it’s time to add the blueberry juice to the syrup. Pour the juice into the pot and boil for approximately five minutes.
It’s important to note here, the syrup will not be as thick as a maple syrup because it’s fruit based. It should be thick enough to resemble a runny syrup.
When you reach this consistency, you’re ready to move on.
6. Prep Your Jars
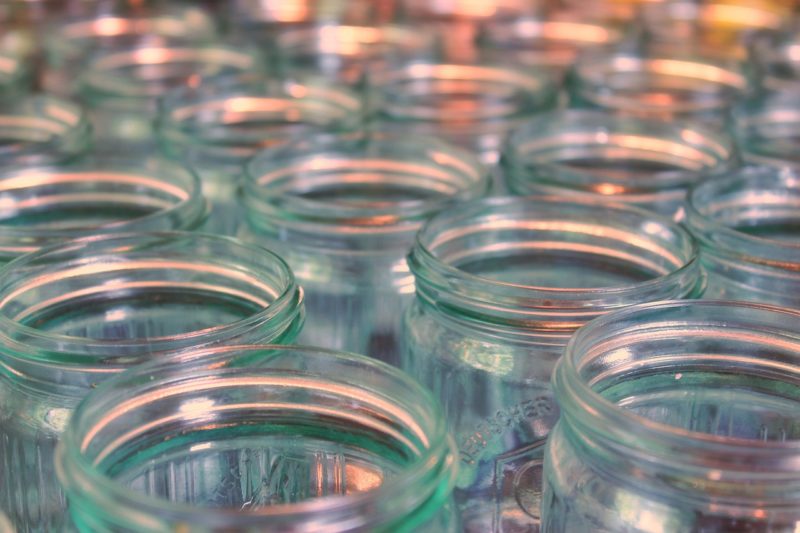
Before canning, it’s important to make sure you clean and sanitize your jars. You’ll also use this time to boil the canning lids to ensure you’ve done as much as you can to cut down on bacteria in the jars.
This is also a great time to inspect your canner to make sure everything is functioning as it should be. When everything is sanitized and checked, you’re ready to begin preserving your blueberry syrup.
7. Give the Syrup a Home
I use a soup ladle to place hot syrup into the clean, hot, and sanitized jars. Be sure to leave ¼ inch of headspace at the top of the jar. This allows the jar to seal properly.
Once the jars are filled, slide a butter knife down the side of the jar to release any trapped air. After this step is complete, place your lid and ring on the jar and seal securely.
8. Process the Syrup
Blueberry syrup is a great item to preserve if you’re new to canning. It can be done in a boiling water canner, which is less intimidating to some as they learn how to navigate the canning process.
Place the jars of blueberry syrup in your water canner. Fill the canner with water until the top of the jars are covered.
Put the canner on the stove over high heat. When the water begins to boil, start timing the canning process. The jars should be processed for 10 minutes.
When the 10 minutes is up, turn off the stove and finish the process. You’re almost done!
9. Wait and Store
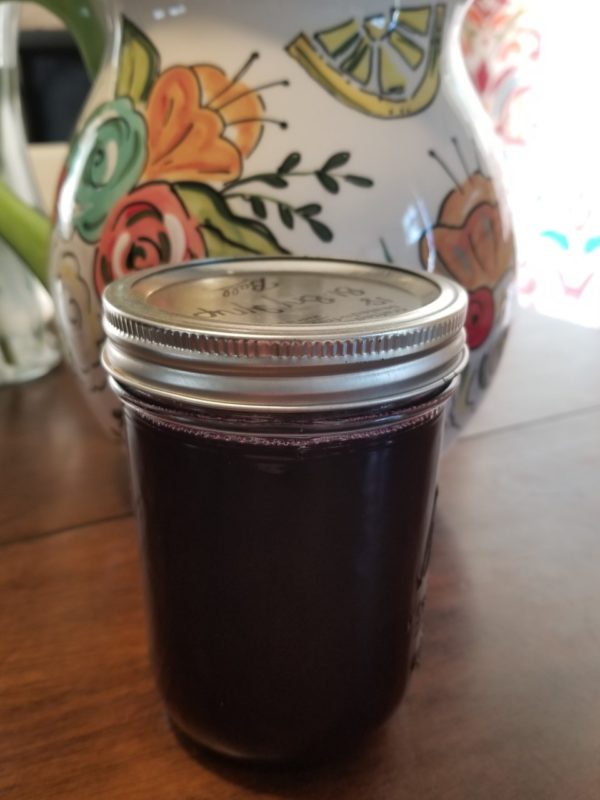
After jars have been processed, use your jar grabbers to remove them from the hot water bath safely. Be sure to place the jars on a hard surface which either won’t scorch or has been covered with a few layers of towels.
Allow the jars to rest for 24 hours. During this time, you should hear your jars make a ‘ping’ sound. This is letting you know the jars have sealed.
However, before you store the jars, run your finger over the lids. In the center, there’s a button which goes down when the jar seals.
If the button is down and the top of the jar feels smooth, the jar has sealed properly. If the button is still up or you accidentally push it down with your finger when you run it over the top to check the jar, know the jar didn’t seal properly.
In those cases, the jars should be stored in the refrigerator to be used first or you. Otherwise, reprocess them with a fresh lid.
The sealed jars should be labeled and stored in a cool, dry location until you’re ready to use throughout the year.
10. Tips for Use

Blueberry syrup is an excellent addition to crepes, French toast, or pancakes. However, it isn’t a typical syrup consistency.
If you’re okay with a thinner syrup, you can open the jar and put it to use with some of your favorite breakfast foods.
However, if you prefer a thicker syrup, it’ll take an extra step. Open the jar and put the contents in a saucepan on the stove.
Add a tablespoon of cornstarch to the mixture and bring it to a boil. You can add more cornstarch until you reach the desired consistency.
Be sure to do this at the time of use because if you try to add the cornstarch before preserving the syrup, it won’t keep well.
Now know how to use your blueberry harvest to make delicious blueberry syrup. Plus, you know how to preserve your syrup for later use and also how to get to the consistency you desire.
We trust this will help you put your harvest to good use and make for quite a few enjoyable breakfasts throughout the year.

