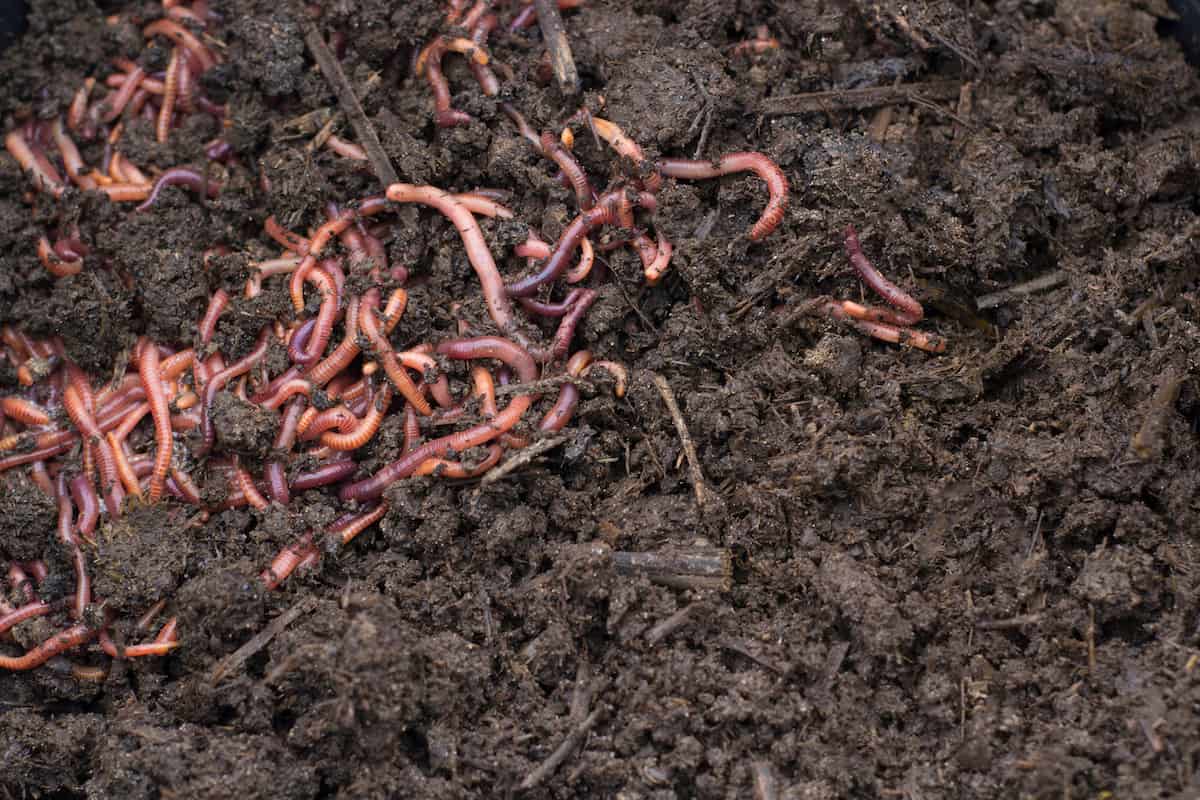
Vermicomposting, or composting with worms, is one of the best ways to boost the health of your garden without having to maintain an outdoor compost bin.
Worms might be a little creepy crawly for some people’s liking, but I adore working with worms in a vermicomposting bin. Not only will they break down food waste a lot faster than your regular garden compost pile can, but they’ll enjoy doing it, too!
You can easily start a composting bin with worms in your own home – all you need is a basement, closet, or another dark, undisturbed location. You just need a bin, some worms, and scraps of food.
You could start with a worm farm kit to make starting easier, and read our post explaining how to build a worm farm.
It sounds easy enough – but what happens when your vermicomposting worms suddenly start to die? Often, the cause is simple, but sometimes, it will take some tough investigative work to figure out why your worms aren’t making it.
Here are some tips on why your composting worms might be dying – and what you can do about it.
Brief Overview of Vermicomposting
Vermicomposting, as I mentioned, is a simple method of composting that involves using a special kind of worm (usually red wigglers) to break down kitchen and food waste.
To get started, all you need is a container (we use a plastic tote), a dark, cool environment, and some food scraps. Of course, you’ll have to buy a starter colony of worms, too. Once your worm bin gets going, it will reproduce on its own. This allows for a more or less self-sustaining system – just add food!
You can feed your vermicomposting worms just about any kind of food scrap that would ordinarily go in your compost pile. Some examples include:
- Coffee grounds
- Teabags
- Vegetable and fruit scraps
- Some grains, in moderation
You’ll also add things like shredded paper to keep the moisture content where it needs to be.
The basics of vermicomposting, as you can see, are incredibly simple. However, what happens when your worms start dying for no reason? Unfortunately, some worm deaths are unpreventable. After all, just like the rest of us, worms are living things that will ultimately die.
If there is large scale dieback of worms happening in your bin, though, you need to figure out why that might be.
Here are some of the most common causes of vermicomposting worm death – and what you can do about it.
Common Causes of Worm Death
1. Lack of Oxygen
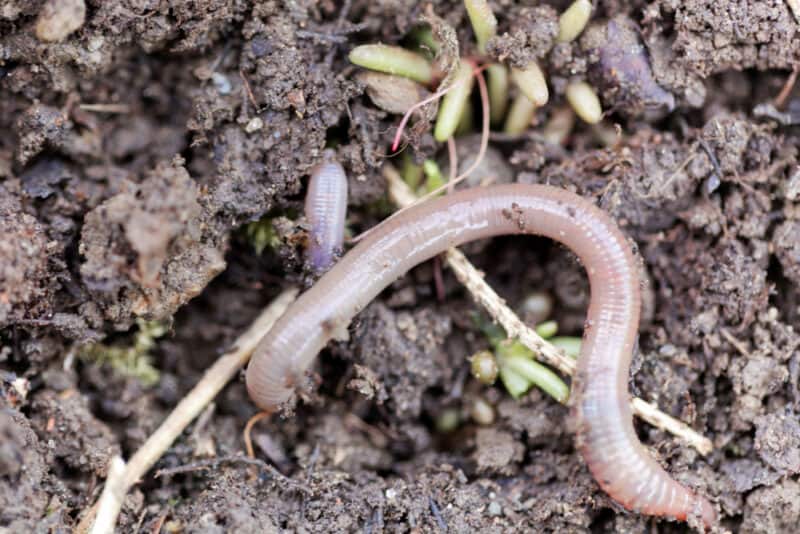
One of the most common causes of worm death is a lack of oxygen. Worms breathe through their skin, making them more vulnerable to fluctuations.
If your worm bin does not have enough air holes, there’s a good chance that a lack of oxygen is to blame for your worms dying.
Some people resist poking holes in their worm bins because they are afraid that the worms will crawl out and escape. Don’t worry – that’s not going to happen. If your worms are escaping, it’s not because they just randomly feel like it. It means they are in some sort of distress. As long as conditions are maintained inside your vermicomposting bin, the air holes should pose no problem.
2. Poor or Toxic Bedding Materials
Worms will feed on their bedding so it is important to consider what kinds of materials you are using.
For instance, most people use shredded paper or cardboard in their worm bins. That’s great – but not any paper or cardboard will do. Avoid using glossy paper as this can contain harmful dyes and chemicals. The same goes for glossy cardboard, such as cereal boxes.
Instead, stick to more natural materials as your bedding.
3. Too Much Protein
Worms are frequently killed by too much protein in the compost bin. Also known as a sour crop, this illness is caused by an accumulation of protein in a compost bin.
You will know that this is the culprit behind your sudden worm death when you see them missing sections of their bodies. Usually, this can be prevented by not overfeeding your worms, which causes protein to accumulate in the bedding.
If protein poisoning has already occurred, remove the worms that are affected. Then, consider what kinds of foods you have been adding to your vermicomposting bin. Aim for a lower-protein diet. You might want to stop feeding the worms for a few days to let the bin adjust back to normal.
4. Poor Food/Water Quality
The whole point of having a worm composting bin is to get rid of food scraps you don’t want to eat, right?
Partially.
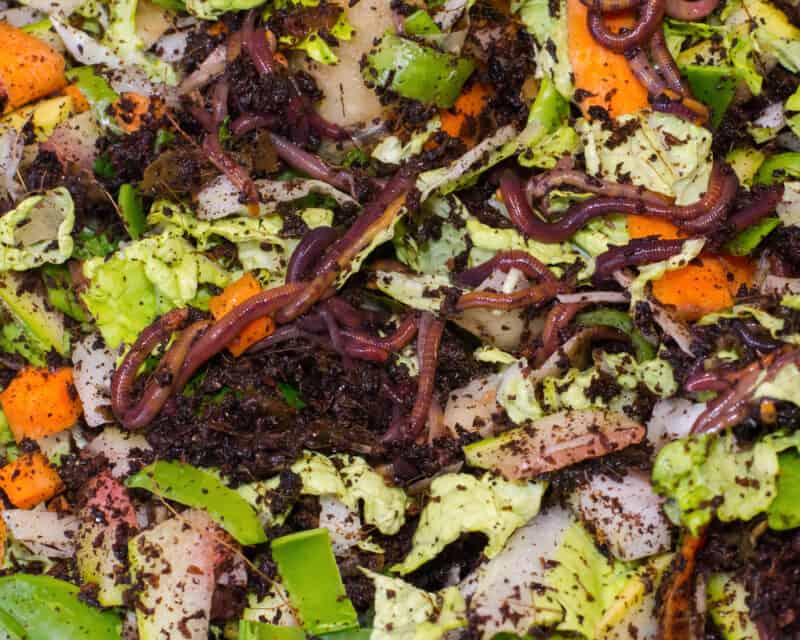
You do still need to mind the quality of the food and water you put inside your worm composting bin. Worms can eat food that is somewhat moldy or rotted, but you shouldn’t make that the core component of their diets. Instead, add fresh food scraps and avoid overfeeding your worms. As a side note, this can also prevent your bin from smelling!
You’ll know that this is what’s killing your worms if you also notice that they aren’t eating and breaking down the materials you add to the compost bin.
Another consideration to pay attention to is that of water. Rainwater is one of the best sources of water you can add to your worm bin. It does not have any chemicals (like chlorine) that you might get in your tap water.
5. Temperature Fluctuations
If exposed to extreme fluctuations in temperature, it won’t take long for your worms to die. Their bodies just aren’t designed to handle extremely hot or extremely cold temperatures. Ideally, the conditions in your worm bin should be more moderate.
This is one of the reasons why indoor composting with worms is so popular, after all. Worms love the moderate temperatures inside your home!
However, you’ll have to pay attention to the temperatures inside your home. If it gets very warm on occasion – like if you have your bin in the kitchen – your worms are going to suffer. Instead, keep your worm bin where it will stay protected from temperature extremes.
This is particularly important in the heat of the summer and the cold of winter. Put your bin in the shade during the summer and make sure they don’t freeze in the winter.
6. Poor Moisture Moderation
Worms are quite sensitive to fluctuations in moisture. Usually, most problems will arise when the bedding is either too dry or too wet.
If it’s too wet – something that is usually caused by adding a lot of foods that are rich in water, like fruits and vegetables – you will need to get rid of some of the excess moisture. Simply changing up what kinds of foods you add to the bin can help.
Sometimes the bin might not be draining well. You can tell that this is the case if you never see liquid draining from the holes in the bottom of the bin. It’s easy for the drainage holes to get clogged with food particles and other debris. As a result, water will pool at the bottom of the vermicomposting bin and create an unsuitable environment for your worms.
Too little moisture can be equally troubling. Worms are primarily water and a limited supply of moisture can kill them in a hurry. Luckily, this problem is an easy one to fix.
If the bedding is dry, spray some water onto it. You might want to mix the bedding around a bit to ensure that there is moisture distributed throughout the entire bin. Add a few more water-rich foods (like celery and cucumbers).
Could It Be a Disease?
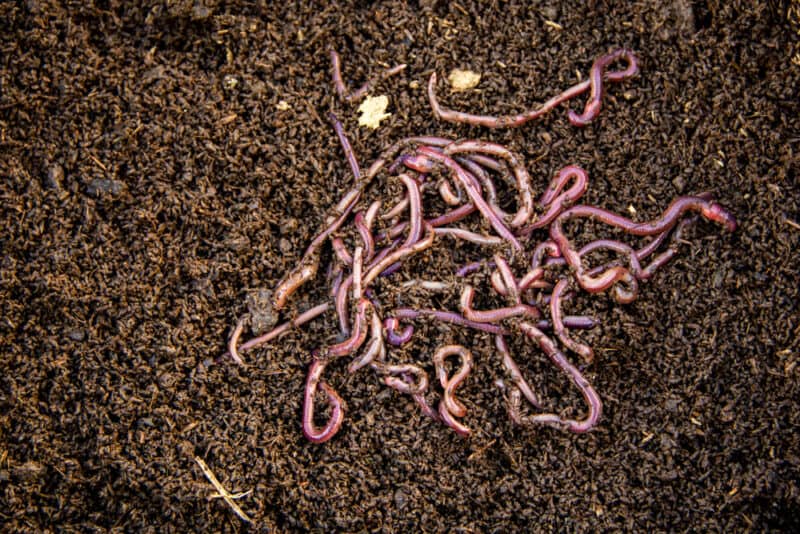
Disease isn’t common in vermicomposting bins. They naturally create an environment that isn’t terribly conducive to disease – the process of consuming food and leaving behind castings creates an oxygen-rich environment. This can kill many kinds of bacteria that require anaerobic conditions.
The internal digestive system of a worm is also not exactly friendly to bad bacteria. The likelihood of disease, as a result of these natural conditions in the worm bin, is very low.
What Actions To Take
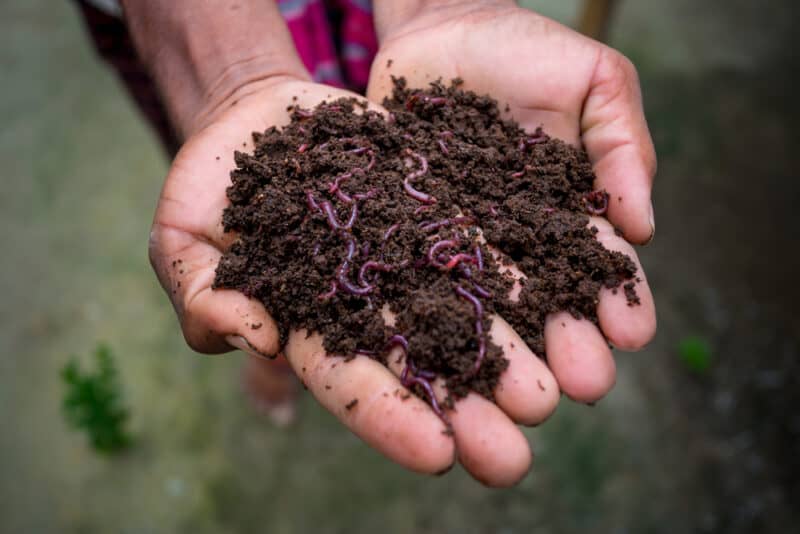
If your vermicomposting worms are dying, the first thing you need to do is identify the cause – and then rectify it. You will have to let the surviving worms breed after they’ve recovered or consider buying new ones if your colony can’t recover from the losses.
As long as you provide an environment for your worms that meets their basic needs, you should find that they live for many years before dying out slowly of natural causes. If you notice large scale worm die-offs, however, you may need to take some of the above steps to figure out why.
By identifying and treating the problem early enough, you should be able to maintain a healthy, productive colony of wigglers!
