Mushrooms can be delicious crops to cultivate, provided that you have the right environment for them. If you’re lucky enough to have wild ones growing on your land, awesome! But if you have an ideal location with no mushies yet, it’s possible to transplant mushrooms onto your property.
This is a delicate process, and its success rate can be a crapshoot. For instance, I’ve transplanted wild chanterelles successfully but haven’t managed to get morels going yet.
Like all gardening endeavors, we learn with each experience. Just keep an open mind and a willingness to experiment!
Four Steps To Mushroom Transplanting
If you want to transplant mushrooms, here are the things you need to know.
1. Location is Everything
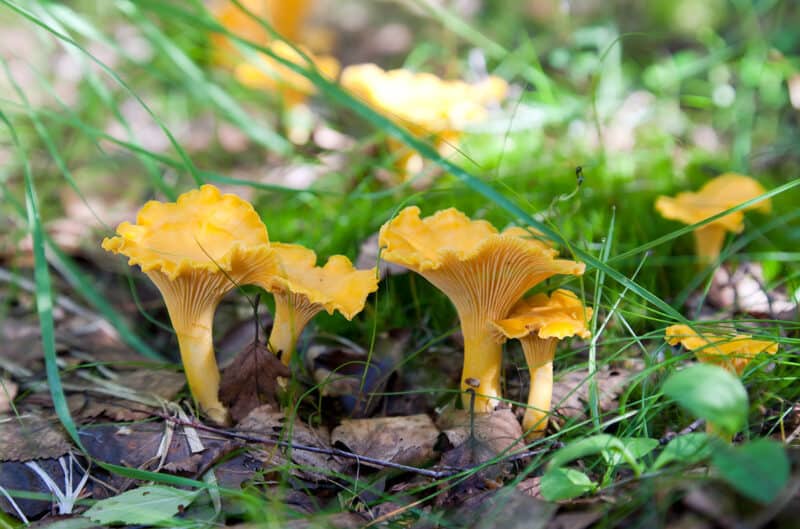
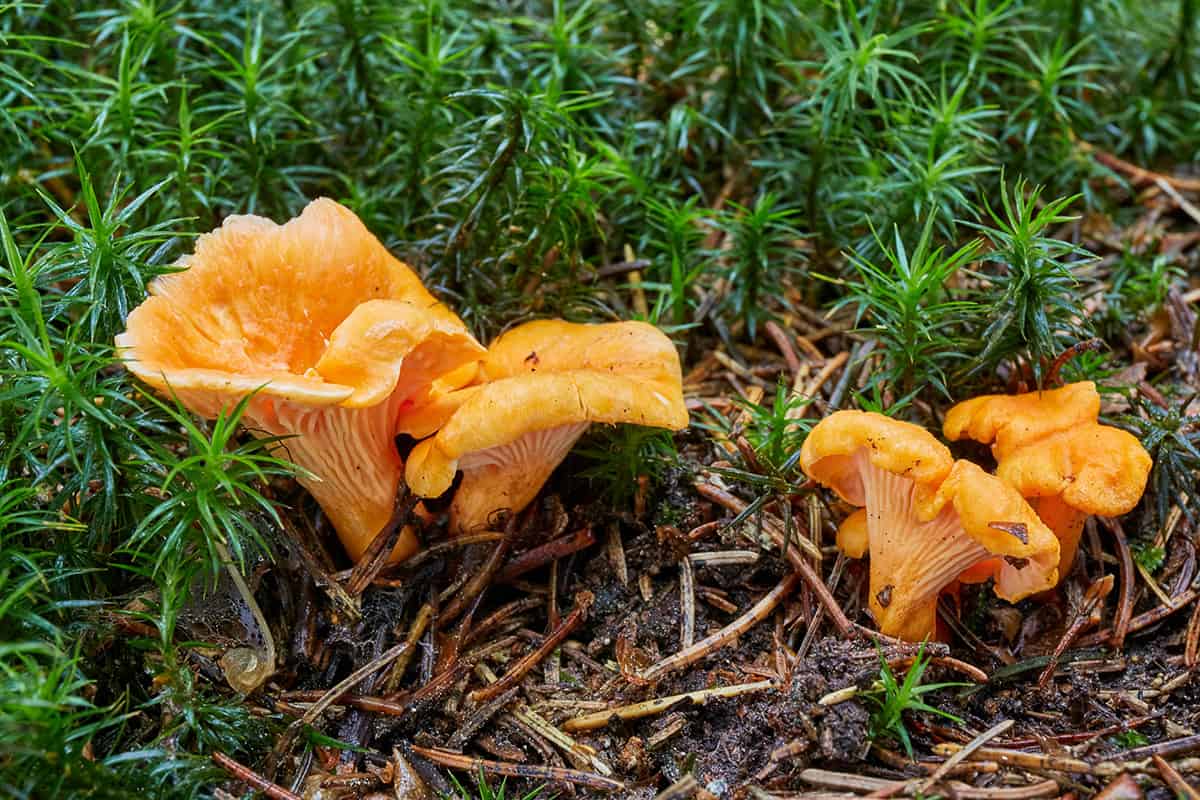
If you’re transplanting wild mushrooms, the absolute key to success is to mimic the conditions in which they’re already thriving. I’m going to use golden chanterelles (Cantharellus cibarius senu lato)* as my example here because they’re the ones I’ve had success with.
Feel free to adapt this to any type of mushroom you want to transplant, however.
Chanterelle mushrooms thrive amongst the roots of mixed hardwood and coniferous forests. I happen to live in a sub-boreal region of rural Quebec, which is ideal for these beauties.
The biggest patch I’ve found so far was thriving in an area full of paper birch (Betula papyrifera), white oak (Quercus alba), and white pine (Pinus strobus) trees.
Like most other fungi, these beauties thrive in specific conditions. They need low pH soil, which is pretty acidic.
In fact, the ideal pH for chanterelle mushrooms is between 4 and 5.5, though they can handle neutral up to 6.5 or 7. They also need a lot of moisture (such as a damp, loamy forest floor) and a ton of shade.
Since I happen to have that exact combination on my own land, I thought it would be a great idea to try transplanting them.
*Note: If you’re transplanting chanterelles, first ensure that they’re not false chanterelles (Hygrophoropsis aurantiaca). While these aren’t likely to kill you if you eat them, they’ll wreak havoc on your guts for at least a few days.
2. Prepare the Site First
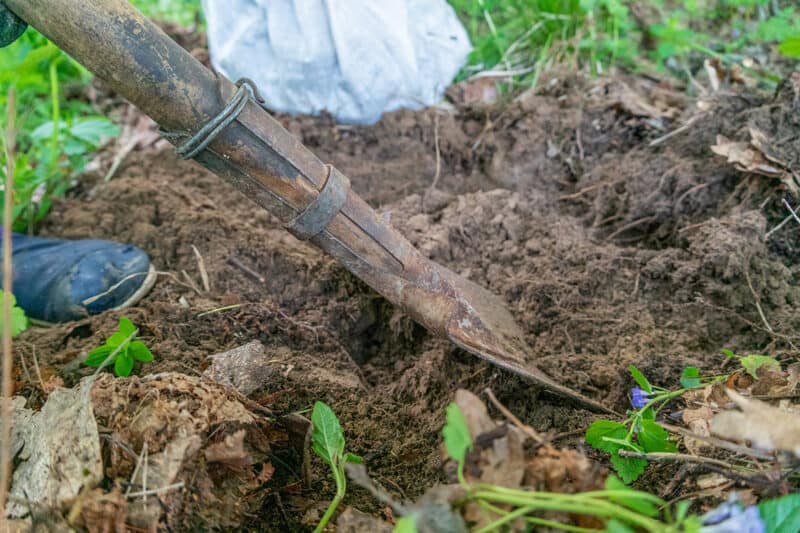
This is a delicate operation, so prep the site ahead of time. Consider this like gathering ingredients and setting up your workspace before crafting a recipe.
It’s stressful and chaotic if you’re scrambling for tools during the transplanting process, and it could lessen your chances of success.
First and foremost, make absolutely sure that the area you’re transplanting to mimics the one you’re harvesting from. Do soil pH tests in both locations beforehand. Check those soils to check tilth condition, and be sure to identify the surrounding trees properly.
There is some wiggle room when it comes to compatible mycelial species. For example, although the chanterelles I grew do well with that magical birch + white pine combination, they would also do okay with birch + spruce or oak + pine.
No harm in trying out different combos to see which works best, right? Just go into it knowing that things could go either way, depending on weather, etc.
Use a spade or trowel to dig out an area that’s roughly two feet square by six to eight inches deep. Do this within an hour or so of the planned transplant, and cover the area with a tarp while you go get your mushrooms.
This will keep the soil from drying out and will minimize damage to the mycelial network.
3. Dig ‘Em Up
Now, you’re going to head over to the place where you found a lovely little deposit of tasty mushies. The best time to gather this soil is once the mushrooms you treasure have started to deteriorate.
At this point, they will have released a bunch of spores into the earth below them. This means you’ll have a greater chance of a good harvest the following year.
Here, you’ll do the opposite of how you prepped the site. Spread out a clean tarp, and use a spade or shovel to cut around and lift out some of the mushroom-rich soil. Get a bit more than the area you dug out, so aim for just over two feet by two feet, and eight to 10 inches deep.
Lay this chunk of earth onto your tarp, fold it up gently, and get it back to your prepped site as soon as possible. Then use your shovel to transfer the spore-filled soil to its new home. Water it in well, and leave it alone.
Cordon off the area so neither you nor any family members (or pets) trample this area. It takes time for the spores to establish their hyphae beneath the soil’s surface, so it’s important that you don’t interrupt this process.
If things go well, you should have a lovely little mushroom harvest to enjoy the following summer or early fall.
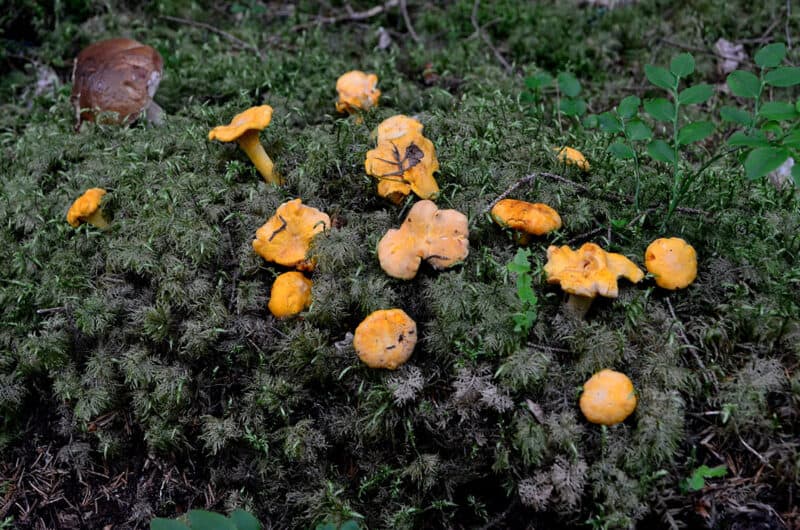
Please don’t get discouraged if they don’t show up; however, some mushroom species need a few years to establish themselves. You may discover a huge edible fungi bloom if and when ideal conditions unfold in a couple of years.
4. Be Gentle, and Try to Be Patient
When transplanting any species from one location to another, please remember to tread lightly. Be sure to do thorough research first: not only to determine whether you’re harvesting edible species, but to determine whether they’re at risk or not.
Humans have over-harvested wild edibles to the point that some spots are now food deserts. If you find such a mother lode of edible fungi that harvesting a couple of feet of them won’t cause any damage, then you can transplant mushrooms in good conscience.
In contrast, if you only find one or two in a given area, consider leaving them alone. Let them reproduce in their chosen environment for a few more years, and see if they get more abundant.
Enjoy the growing process, have fun, and revel in the deliciousness that fabulous fungi can offer you!
Propagation by End Cuttings
Now, there’s one other way that you can transplant mushrooms (or rather, propagate them), and that’s by stem cuttings. There aren’t many fungi species that can be cultivated in this manner, but you might be able to do so with a few tasty types.
The general rule when preparing mushrooms is to cut off their stem butts. This is the bulbous part at the bottom. Store-bought mushrooms generally already have this section removed, but if you’re dealing with wild mushrooms or those from a farmer’s market, these bulbous ends may still be intact.
You can take these stem butts and plant them in compost-rich soil. If you’ve managed to mimic their ideal growing conditions, they just might take. Alternatively, you can fill a cardboard box with multiple layers of corrugated cardboard, soak that really well, and pop the stem butts into it.
Give the butts and board another soak, then close up the box, place it in a shady spot (like under your shed or beneath a pile of old leaves), and leave it alone for several weeks. If they manage to establish their hyphae into the cardboard, you’ll be able to transfer that into wherever you’d like your mushrooms to grow.
As mentioned, only a few mushroom species can be propagated from stem butts. These include:
- Prince mushrooms (Agaricus augustus)
- Morels (Morchella spp.)
- Oyster mushrooms (Pleurotus ostreatus)
Be sure to do a ton of research before growing any of these, just as you would any other plant. Each species has different substrate requirements, so the conditions that oyster mushies will thrive in best will differ from morels, etc.
If Transplanting Doesn’t Work, Use Spores Instead
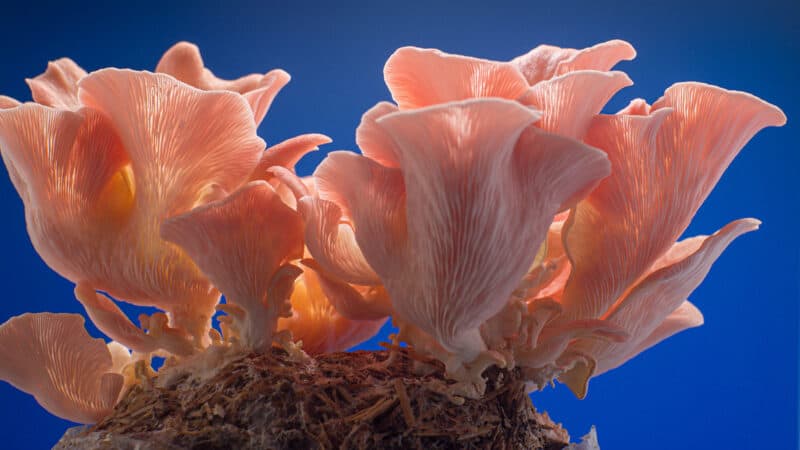
Most edible mushrooms are cultivated using spores (aka spawn). These can be purchased from various mushroom supply companies, and grown in the conditions that are best for them.
These mushroom-growing kits are ideal for growing species like oyster mushrooms, since you don’t need to worry about accidentally transplanting and eating toxic species.
For example, Death Cap mushrooms (Amanita phalloides) can resemble tasty Paddy Straw fungi (Volvariella volvacea). If you eat the former, however, you’ll be dead in about 72 hours.
Aim for sawdust spawn from a reputable supply place if you’re growing outdoors. This will allow you to broadcast the spores across a greater surface area, while providing the mushrooms with a compatible growing medium.
Alternatively, if you manage to find some delicious, mature mushrooms, you can always create spawn of your own. Making grain spawn is a complicated process, but once you’ve done it a few times, you’ll basically be an expert.
There is one other method you can use, but once again, this is a crapshoot. You can take a mature mushroom that’s at the height of its fruiting/spore cycle, chop it up, and scatter the bits onto moist, humus-rich soil.
Once again, you’d have to mimic the conditions in which you found it. Furthermore, you may only get a few viable spores out of this method. That said, it’s a quick and dirty way to try transplanting them if you’re short on time and/or patience.
You can always go halvsies on a growing kit with a friend or neighbor to save some cash.
Recommended Reading:
E. Bone, Mycophilia: Revelations from the Weird World of Mushrooms, Rodale Books; Illustrated edition (February 26, 2013)
P. Stamets, Mycelium Running: How Mushrooms Can Help Save the World, Ten Speed Press; Illustrated edition (October 1, 2005)
