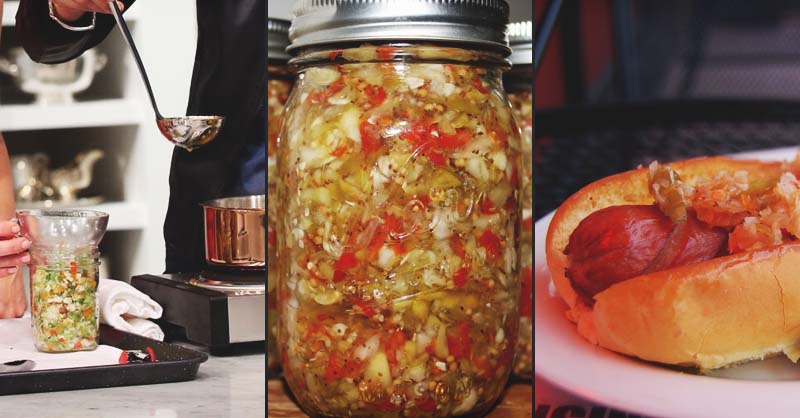
Chow-Chow.
This might be a new concept to anyone, like myself. Until I had been married to my husband for a few years, I hadn’t heard of it.
One day, his aunt came over and brought this gorgeous homemade canned good into our home. Needless to say, they all laughed when I clearly hadn’t heard of it.
However, after one taste, I was hooked. Not to mention, my husband loves chow-chow with his beans during the winter months.
For this reason, I quickly became acquainted with chow-chow and also hunted my own recipe to preserve it each year.
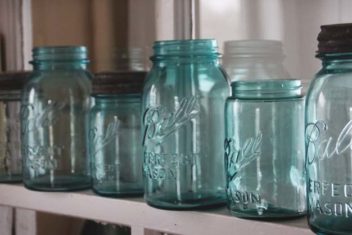
The recipe I use comes from the Ball Blue Book Guide to Preserving. This is the process I use to make this recipe:

You’ll Need:
- 1 small cabbage head
- 4 medium green tomatoes
- 2 medium onions
- 4 small bell peppers
- 2 small sweet colored peppers
- 3 tablespoons of salt
- 1½ cups of sugar
- 2 teaspoons of celery seed
- 2 teaspoons of dry mustard
- 1 teaspoon of mustard seed
- 1 teaspoon of turmeric
- ½ teaspoon of ginger
- 2½ cups of vinegar
Before we get started, a little note of caution: Home canning has been done for many years. There are a variety of ways to preserve certain foods. Realize, there are food-borne illnesses that can develop if your food isn’t preserved correctly.
This is a risk you take when preserving foods. We aren’t liable for your experiences when preparing recipes or preserving the fruits of those recipes. In most cases, you’ll notice if something has gone awry with home-canned goods (i.e., smells or bad appearance) but not at all times. Proceed at your own risk.
1. Pull Out the Food Processor
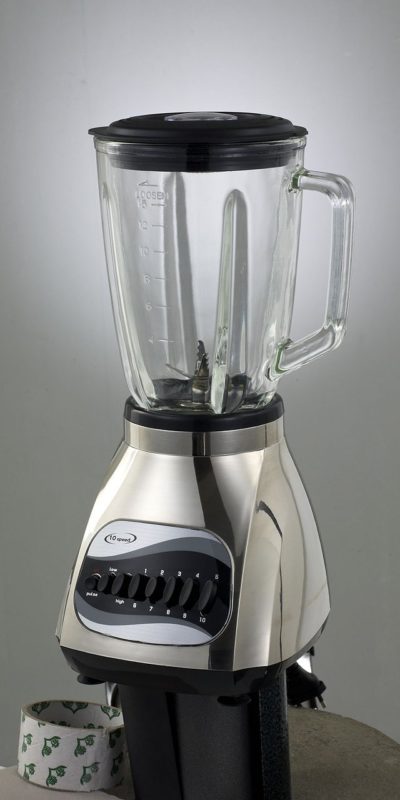
When you look at the ingredients list, it’s easy to become overwhelmed. Don’t be. The food processor makes this recipe a lot easier.
Begin by washing your peppers, green tomatoes, bell peppers, and colored peppers under cold water. Dry them each with a towel and set aside.
Next, peel the skins from your onions and roughly chop them before placing them in the food processor. Roughly chop the rest of the veggies before putting them in the food processor as well.
When everything is in the food processor, begin to pulse the vegetables. You want them to be chopped finely but not turned to mush.
After the veggies have reached the consistency you desire, place them in a bowl, and move on to the next step of the process.
2. Add a Little Flavor and Let Marry
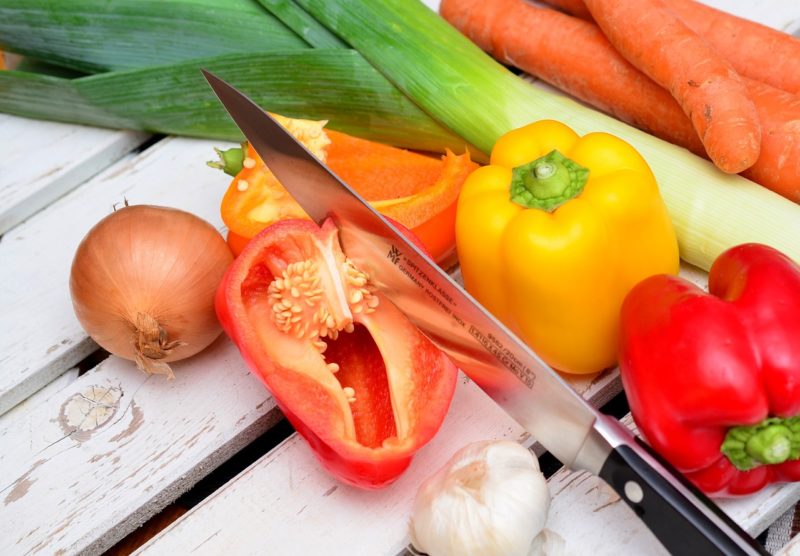
When your vegetables have all been chopped and placed in a bowl, it’s time to add the salt. Be sure to lightly sprinkle the salt over the entire top of the chopped vegetables.
They’re going to be sitting in the salt overnight. It’s important to distribute the salt evenly for proper flavoring.
When the salt has been equally distributed over the vegetables, put a lid on the bowl or cover with aluminum foil. Leave the mixture to sit in a cool location overnight.
3. Give it a Rinse
The next morning, pour the mixture into a colander and allow the juice to drain from the vegetables. When all of the fluid has drained, run the vegetables under cold water to rinse thoroughly.
After rinsing, drain the vegetables over the sink until as much moisture as possible has been removed from them.
What I prefer to do is place the colander over a bowl. While I move on in the process, I leave the veggies to drain.
4. Create the Juice
While the chopped vegetable drain, combine the spices, sugar, and vinegar in a saucepot. Bring the combination to a low boil and allow to simmer for approximately 10 minutes.
When the 10 minutes is up, add the chopped vegetable mixture to the sauce. Let the vegetables simmer in the sauce for 10 more minutes.
After simmering, bring everything to a boil. Be sure to stir consistently throughout the simmering and boiling process to keep the vegetables from sticking to the pot or the sauce from boiling over.
5. Put it All Together
After the vegetables have boiled in the vinegar mixture, it’s time to pack them into jars. This recipe is designed to make approximately 4 pints. You can double or triple the ingredients to make more if desired.
Be sure to clean and sanitize your jars, lids, and rings before beginning this step. When your equipment is ready to go, add the chow-chow to the jars. Use a funnel to help get the chow-chow in the jars without making a mess.
When the jars are filled, secure the lids and rings to the top of the jars and move forward with the canning process.
6. Give it a Bath
Place the jars in a water bath canner. Fill the canner with water over the tops of the jars. When the jars are fully immersed in water, place the canner on the stove.
Turn the canner on high heat and bring the water to a boil. This will take time. Once the canner has reached a boil, begin timing the jars. They should be processed for 10 minutes.
When the 10 minutes is over, turn the stove off, and use your jar grabbers to remove the hot jars from the canner.
Be sure to place the hot jars on a thick towel on a hard surface such as a countertop or a table. It’s important to use a thick towel to keep from burning the surface beneath it.
When the jars are in place, allow them to sit for 24 hours.
7. Label and Store
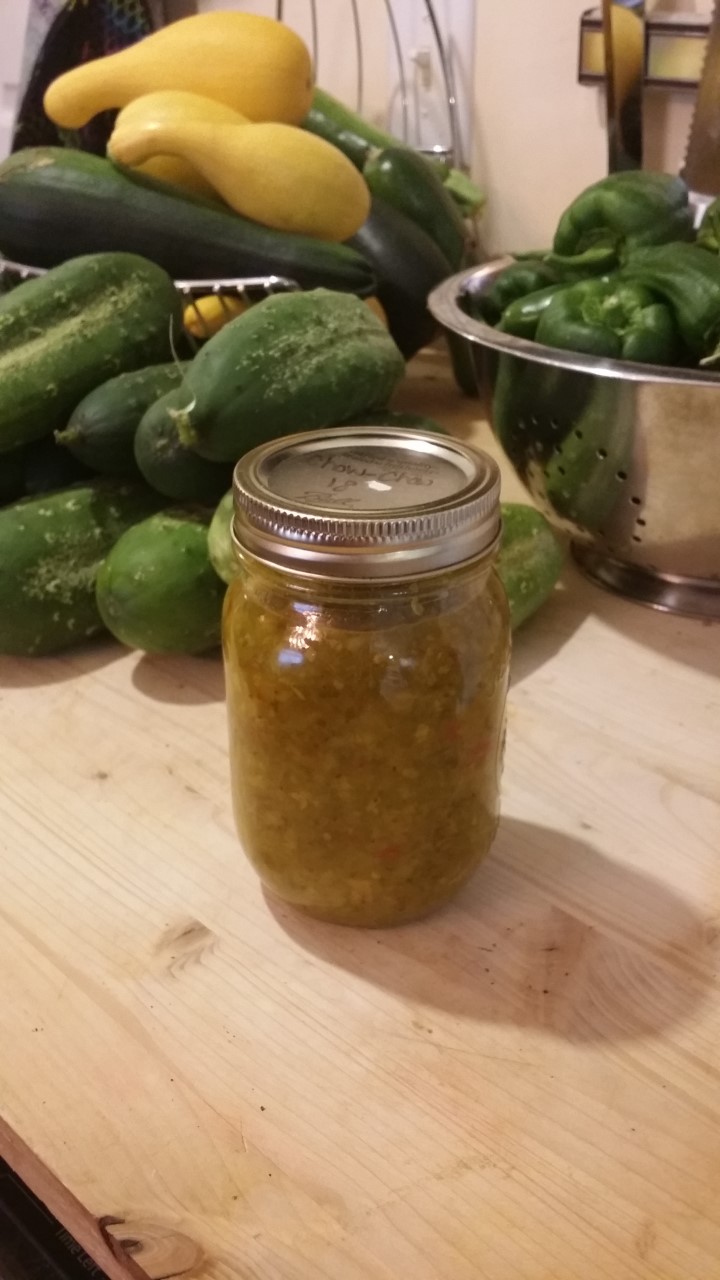
After the 24-hour waiting period, it’s time to check the jars. Each lid has a bubble in the center. When you run your finger over the top, you’re looking for a smooth surface.
Over the last 24 hours, you may have heard a ‘ping’ sound. This ‘ping’ is the button in the middle of the lid being suctioned down by the pressure in the jar. This lets you know the jar has sealed.
If while running your finger over the lid, you feel the button in the center is still up, or you accidentally push it down with your finger while running it over the top of the jar, the jar didn’t seal.
In this case, you have multiple options. The first option is to toss the chow-chow because you’re fearful of food-borne illness. If this is the case, add to your compost to keep from totally wasting your effort.
The second option is to place the chow-chow in the fridge. If you feel the food is still safe to eat, you can use the chow-chow which didn’t seal first and save the ones which did for later use.
The third option is to put a new lid on the chow-chow and reprocess it. Again, if you feel the food is still safe, this will allow you to hopefully get a good seal on the jar and store the chow-chow for later use.
As for the jars which sealed, label them and place them on a shelf in a cool location to enjoy later on in the year.
How Do I Use Chow-Chow?
Chow-chow is a relish. The difference between it and other relishes is it has a tomato base instead of a cucumber base.
This gives it a little different flavor but can still be used in many of the same ways as pickle relish can. I prefer to use chow-chow in these ways:
- On a hot dog
- In soup beans
- In egg salad
- In chicken salad
- In tuna salad
- It’s great for potato salad too
- On top of eggs
- Add to your deviled eggs
- Mix it in with your rice
- Top off any meat entrée with it
- Add to sour cream and make a dip
- Add it to a barbeque sandwich
- Top off a sloppy joe with it
- Add it to your macaroni salad
- Goes great with black-eyed peas
- And much more….
If you’re trying to make more homemade items, consider making your own condiments. Chow-chow relish can be used in many ways and is easy to make too.
Not to mention, at the end of the growing season, green tomatoes may have to be harvested before ripening because of the threat of frost.
Chow-chow is a great way to put the green tomatoes to work for you and your family. Hopefully, this will help you enjoy your green tomatoes a little more and make many tasty meals in your future.
