What is your family’s favorite snack?
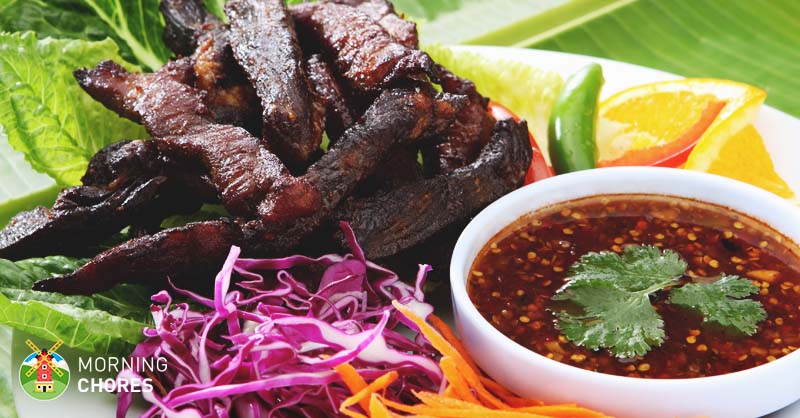
Around my house, it is our homemade deer jerky. It may sound like a complicated snack to make, but in reality, we enjoy it.
Actually, it has become a family tradition that each year during deer season that we all cram into our kitchen and participate in the process.
Then we sit around the kitchen table and play board games while we wait on the jerky to finish. Once it is completed we spend the next few nights playing card games and eating jerky like it’s going out of style.
However, we always try to save some for the rest of the year. Yet, it never seems to make it more than a few days at my house.
So if you think your family would enjoy the same snack, then follow along because I’m going to share with you how we make ours.
Plus, I’m going to share some of the best recipes for jerky on the internet.
How To Make Deer Jerky:
1. Hunt and Process
I know some people pay top dollar for venison, but I don’t. My family and I eat it because it is the cheapest form of meat. It is actually cheaper than raising meat yourself because you don’t have to feed what you hunt for.
If you are a hunter, then you’ll need to obviously hunt your deer first. Then you process the deer meat. If you aren’t sure how to process a deer, here is a resource I wrote to help you through this part of the process.
Once you get the hang of processing meat, it is kind of like riding a bike. You never forget how to do it.
In all seriousness, I really enjoy the fact that our red meat for the year usually is venison because it is lean and a natural, healthy source of meat for my family.
So once you have your deer butchered, then you are ready to move on.
2. Pick Your Cut
This is the easy part. You can choose to make jerky out of any cut of the deer that you choose. We use any and all parts to make our jerky.
Once you have the deer meat chosen, you’ll need to finish the processing steps. I always rinse the meat and make sure that there is no lingering hair or excess blood. I also always soak out deer meat for at least 5 days. It gets rid of the gamey flavor because all of the blood drains out.
However, be sure to read my resource listed above because I share safe handling practices. You certainly don’t want your meat to go bad in this process.
3. Super Thin is Key
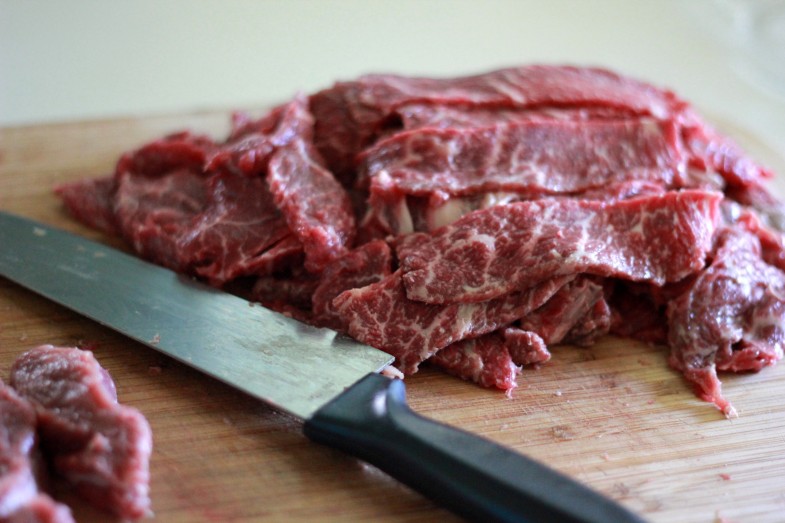
This is where making deer jerky gets particular. Our first year making jerky we tried to cut the meat by hand. We had super sharp knives and tried really hard, but our jerky still was too thick.
What this meant was it had to spend a long time in the dehydrator, and we still got a few pieces that were dried on the outside and chewy (gross!) on the inside.
Needless to say, I don’t recommend this method because the outcomes are not consistent.
However, what I do recommend is purchasing a meat slicer. It is an investment, but you’ll be so glad you made it because it can be used for many different things.
In this instance, a meat slicer is a great way to get your meat sliced super thin. It needs to be so thin that it is almost shaved.
Plus, I love how the meat slicer keeps you from cutting your own fingers when you are trying to slice meat that thin. I know there are people in delis all around the world that can slice meat that thin, but I’m not one of them.
4. Mix the Spices
While one person is slicing the meat, another person will begin mixing the spices for your jerky recipe. I’m going to share some recipes at the end of this post so you will have some options to choose from. We always follow a recipe so I don’t have a homemade recipe to share with you that is my own.
Even so, I can tell you that every recipe we try has to have soy sauce in it, teriyaki sauce, crushed red pepper, lots of sugar, and anything else that we think sounds good. We are spice people and don’t want our deer jerky to be boring.
Anyway, you’ll go about mixing the recipe up for your deer. Once this recipe is mixed hopefully, your meat will be sliced.
Now, if you are working solo on this deer jerky process, then be sure that your recipe is mixed up prior to you cutting your meat. That way you don’t have to worry about storing your meat in the fridge so it won’t get hot while you are mixing up this recipe.
5. Take a Spice Bath
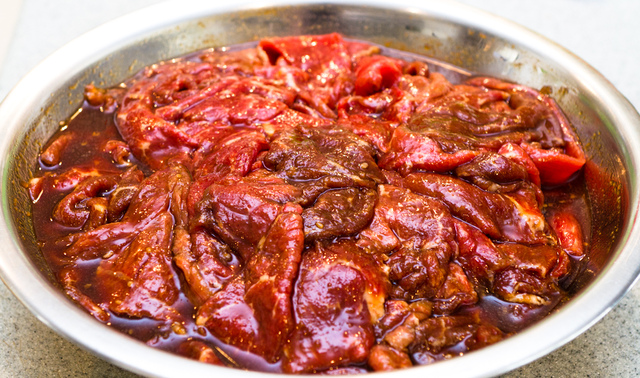
Once your spices are all mixed up and your meat is sliced, it is time to combine the two. You’ll fill the bowl of the marinade as full of meat as you can.
In case your recipe doesn’t tell you it is always a good idea to mix the marinade in a really big bowl. You’ll need a bowl similar to this. That way you have plenty of room for lots of meat to soak in it.
Then you’ll place the meat in your fridge and allow it to marinate overnight. When you wake up the next morning, you’ll be ready to begin the drying process.
6. Dry It Out
Okay, so you slept on it and your meat bathed in the marinade all night long. Now you are ready to begin the drying process.
You’ll place the meat on the trays in your dehydrator. We actually have a large homemade dehydrator that we use for this process because we are able to dry more jerky at a time.
And when I make jerky, I try to make it to last for months to come.
However, if you have a smaller dehydrator (and again, you may not be making jerky to last for months as I do) then you may have to do multiple smaller batches. Don’t have a dehydrator, but would like one? Then check out our buying guide to help you figure out which one to buy.
Once your meat is dehydrating, follow the instructions for your particular machine. The times may vary.
However, I’ve found that usually in 12-24 hours the meat has been dried out and is ready for consumption.
Again, your results could be different. You’ll keep an eye on the jerky by feeling it to see if the outer skin is dry. You can take a few pieces and break them every so often to see if the inside of the meat is drying.
When you feel confident that all of the meat has dried, and you have let it dry for the appropriate amount of time that your dehydrator’s manual directs, then you can remove the jerky from the dehydrator.
7. Eat or Store
Now that your meat has dried completely it is time to eat it (if you desire) or store it. We usually buy large plastic storage baggies and place the jerky in each bag until it is full.
Then we press the air out and seal the bag. It is a super simple snack that is healthy and great on the go too.
Now that I’ve shared with you how to make deer jerky, I’m going to share some of the popular recipes for deer jerky that I’ve found on the web.
Popular Deer Jerky Recipes:
1. Kentucky Bourbon Jerky
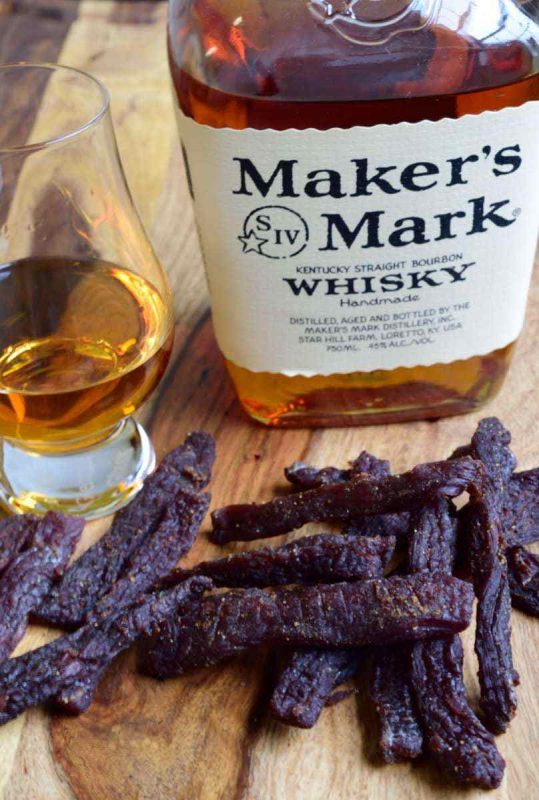
This recipe is actually using beef, but you can substitute any meat that you’d like. Kentucky is famous for its bourbon.
Naturally, that is a big ingredient in this recipe. However, it looks very flavorful with all of the different flavor combinations.
Make this jerky recipe2. Teriyaki Deer Jerky
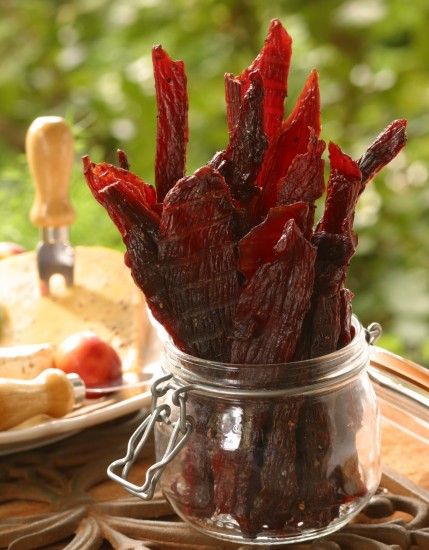
We usually make a spicy deer jerky that calls for teriyaki sauce. I think this recipe would be pretty similar to our usual favorite.
So if you like the taste of teriyaki, then you will definitely want to check out this recipe. It could become your new favorite too.
Make this jerky recipe3. Sweet and Spicy Deer Jerky
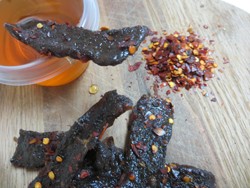
Do you like a little sweetness and little spice when it comes to your jerky? If so, then this could be the recipe you’ve been waiting for.
If you’d like to try your hand at making homemade deer jerky, this recipe might be the perfect place to start. Give it a try and see what you think.
Make this jerky recipe4. The ‘Foodie’ Jerky
This recipe is by Alton Brown. He is a popular chef on The Food Network. If I’m not mistaken this is the recipe we actually used for our own jerky this past year.
As you will see when you check the ingredients, they are all basic and flavorful. If you’d like a tasty and simple recipe to make your own jerky, then you should consider starting here.
Make this jerky recipeWell, now you are familiar with how to make your own deer jerky. As you can tell it is a super simple process that doesn’t take a lot of effort. The main thing is to have the proper equipment to help you along with the process.
However, it is also important to have patience as it is a slow process. Allowing the meat to marinade for the right amount of time will give you the optimal flavor.
Yet, it is also important to make sure that you allow the meat to dehydrate per the directions of your recipe or dehydrator manual. You don’t want ‘squooshy meat’ like we did that one year. (That was so gross. I can’t even begin to tell you.)
