Whether the power has gone down, or you want to conserve energy, knowing how to cook on a woodstove is an essential skill that can come in extremely handy.
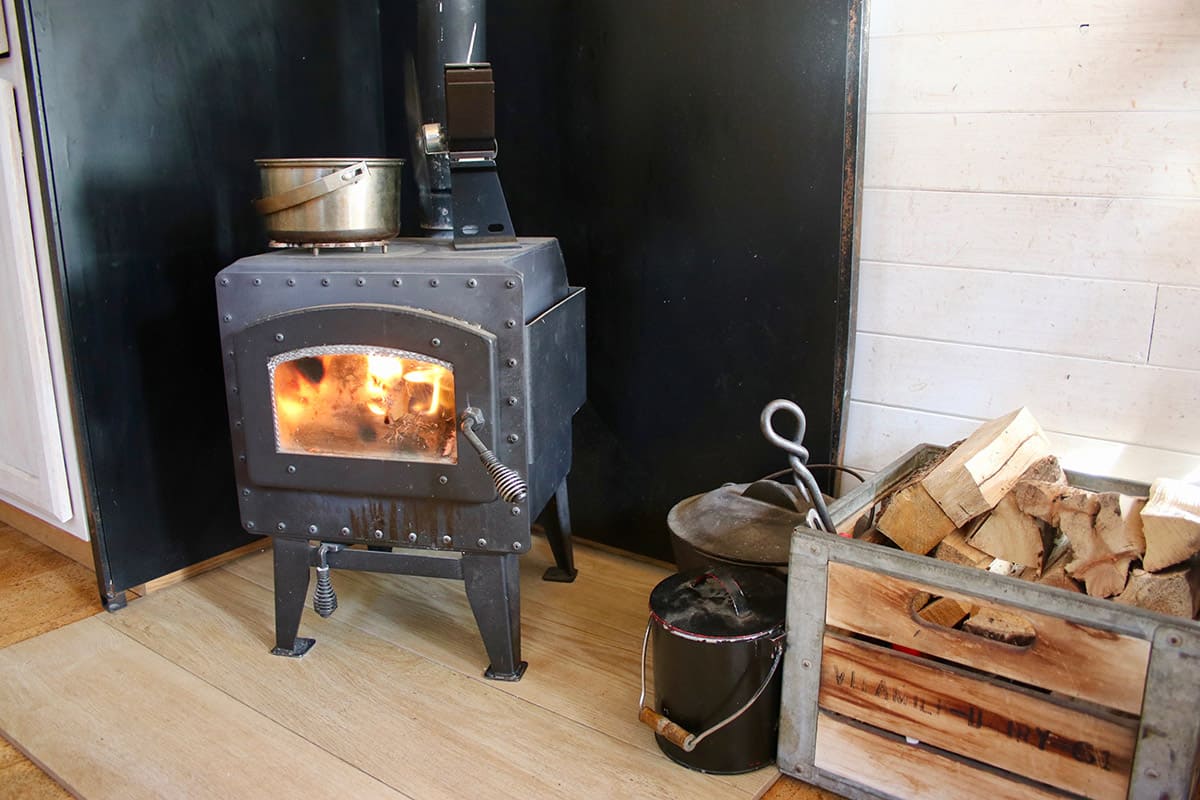
When we’re talking about a woodstove here, we’re not talking about a wood-fueled cookstove like your grandmother (or great-gran, depending on your age) might have had. We’re talking about the type of burner stove you may have in the corner of your cottage, cabin, or suburban living room.
These normally aren’t designed for cooking but can pull double duty in a pinch. Here are my top tips for cooking on a woodstove:
1. Get Yourself Some Cast Iron Cookware
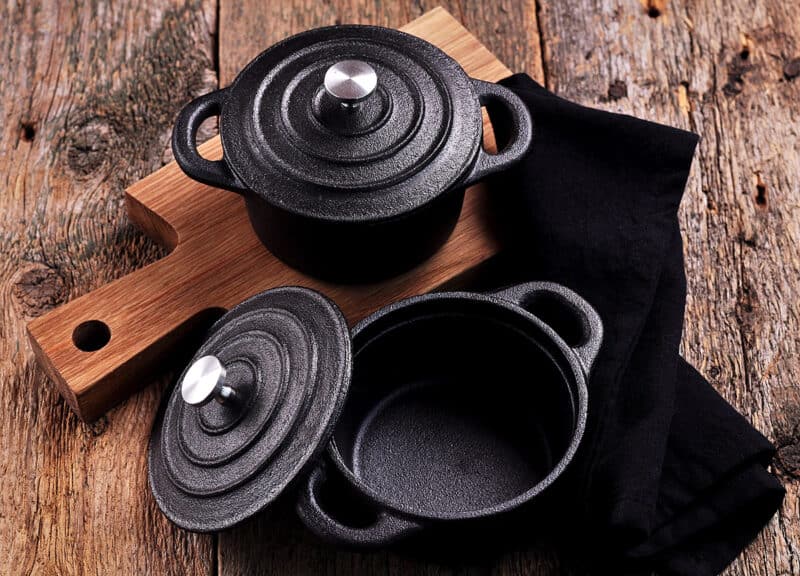
Whether you’ll be cooking on the woodstove or inside it, you’ll need to have some pots and pans that can withstand a more rustic surface. The ideal items to use are those made of cast iron. Sturdy enamelware like Le Creuset can hold up pretty well too. I’ve been using these to cook on my burner for a decade now, and they’re holding up just fine.
If you have the budget for a few new pieces, I’d suggest investing in at least two of the following:
- All-purpose shallow frying pan
- Deep skillet with lid
- Saucepan or small cooking pot
- Dutch oven
Each of these serves a different purpose, so you can decide what kind of cookware best suits your needs. Additionally, you’ll need to choose pieces that’ll work with your woodstove. Does your burner have a large, wide, flat top? Then you can use just about any skillet or cooking pot on top of it.
In contrast, if it’s a split-level surface (like mine), you’ll be relegated to smaller items. A 5 or 6-inch diameter saucepan can fit on top of just about any burner and is large enough to heat soup. In a case like this, a dutch oven that fits inside the stove might be a good complementary choice.
2. Buy Items You’ll Actually Use
You should also choose pieces that will help you to create the foods you like best. For example, do you and your family prefer items like pancakes, fried fish, eggs, or bannock? If so, then a shallow fry pan will be your new best friend.
In contrast, fry bread, chicken, and other items that need to be sauteed should be in a deeper skillet. Around here, soups, stews, and casseroles are must-haves, so our go-to items are a saucepan and dutch oven.
Buy items that suit your needs and that you’re going to use. This is pretty much a given when it comes to self-sufficiency, but it applies across the board. Once you have a solid couple of cast iron pieces, be sure to season them well and take good care of them. If you do, they’ll last at least one lifetime, if not more. We’re still using items that belonged to our great-grandparents. This is simply because everyone has taken good care of them.
3. Find the Hottest Surface Spot
There’s always a “sweet spot” on every woodstove. This is the area that heats up fastest and tends to stay hot for long periods of time. However, every burner is different, so you’ll need to learn your equipment’s unique personality to find this out.
One way to find it is to create a good, hot fire and place a few different pots on different areas. Check them regularly to see which one starts to boil first. That one will be on the sweet spot!
4. Build a Hot, Lasting Fire
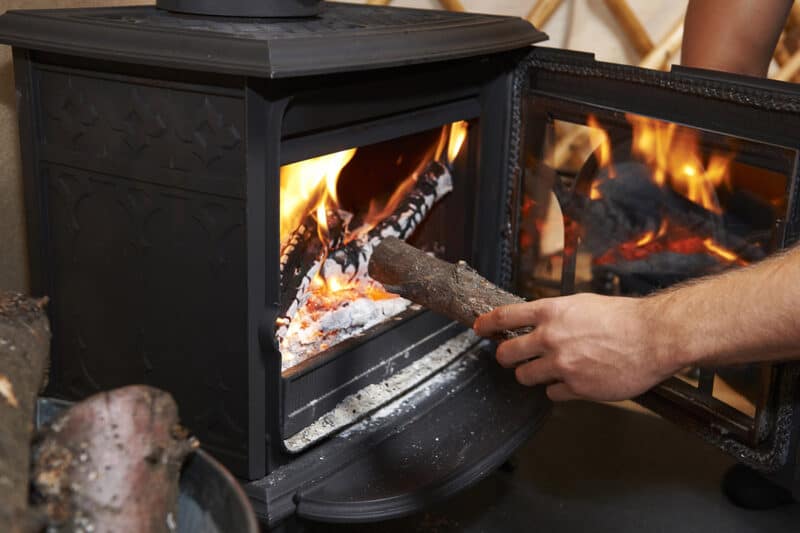
People accustomed to tending a woodstove know that some fires burn hotter (and longer) than others. For example, a slightly unseasoned, thick piece of pine or spruce will burn slowly. This makes it ideal for keeping the stove burning through the night.
In contrast, you want a really hot, dancing fire if you’re cooking on top of the stove. To make this happen, choose thinner hardwood logs instead. Several pieces that are about 3 inches in diameter will burn hotter and brighter than a massive log.
Needless to say, make sure you have a big pile of wood handy to keep this fire going as you cook.
5. Be Adaptive
What you’re cooking on top of the stove won’t necessarily cook evenly. As a result, you may need to turn it regularly or move it around to different surface areas to keep the heat even. Alternatively, it might take much longer to cook than you anticipated.
Cooking on a woodstove is entirely different from a regular stovetop or oven. Those have a constant, even temperature that you can adjust with a dial. With a burner stove, your adjustments have to be manual. For instance, you may need to remove a pot from the stove and put it on a nearby, heat-safe surface to cool for a few minutes.
I recommend experimenting with woodstove cooking a lot to determine what works and what doesn’t. Do this for fun on a regular basis. This way, when you really need to do serious cooking, you’ll have a solid idea of what you’re doing. There are few things as frustrating (and demoralizing) as trying to prepare a whole meal on a burner without practice. Some items will burn, some will be raw, and everyone will be miserable.
6. Keep Your Implements Handy
If you have a mantelpiece or shelves nearby, keep all your cooking tools there within easy reach. As an example, I have hooks and nails driven into mine so I can hang spoons, spatulas, and ladles from it. Herbs, spices, and cooking oils are on top of the mantel, along with some stoneware mugs and bowls.
Keeping everything in reach means that you don’t need to go tearing into the other room to get seasonings or serving items.
Treat your burner area as though it were a second kitchen. If you have space nearby, I highly recommend a movable kitchen cart. You can move it around as needed, and it provides you with a bit of extra surface area to work on.
Also, make sure you have proper hand and body protection while working on this oven. Since you’re dealing with a lot of direct heat, you’ll need oven mitts that are more insulated than standard kitchen versions. Those silicone ones won’t do the trick. Aim for woolen oven mitts, whether you make your own with wool batting, or buy some well-made ones online.
This is because wool doesn’t ignite when exposed to flame until the heat gets to 570°F. In contrast, cotton will burst into flame at 255°F, while polyester melts at 150°F and ignites at 420°F. Which do you want to have on your hands while cooking? Exactly.
7. Make Use of the Woodstove Embers
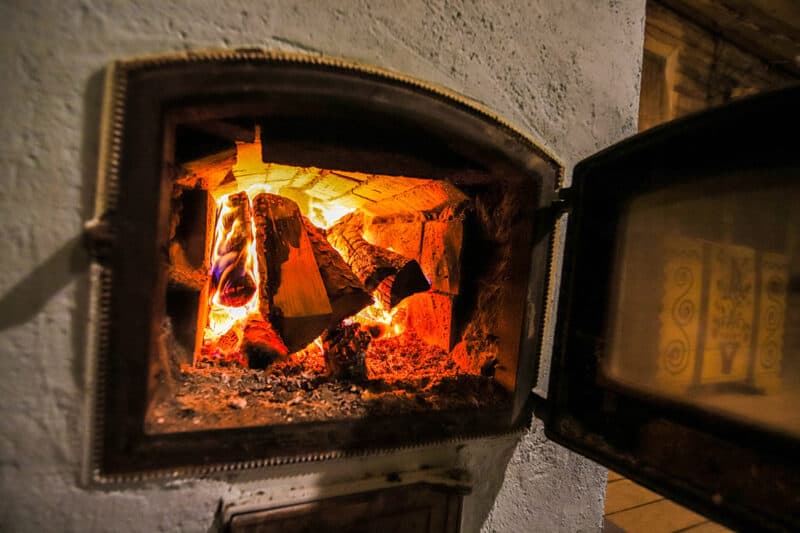
When you’ve finished cooking on top of your woodstove, you might as well make good use of what’s been going on inside it too. This is known as cooking in the “firebox,” as opposed to the stovetop.
Once the cooking flames have died down, you’ll be left with some nice, hot, glowing embers. These are ideal for baking in, as they help maintain a steady oven heat for quite a while. You can either settle that dutch oven of yours in there to bake something tasty or nestle items into the embers themselves.
For example, I wrap Hasselback potatoes in aluminum foil, shove them into the embers, and cover them. After an hour, they’re cooked through and ready to eat. You can use this foil technique with corn on the cob, stuffed vegetables like peppers, eggplant, and tomatoes. If you have some tried-and-true campfire coal recipes, they’ll work just as well in your woodstove.
8. Use Up That Residual Heat
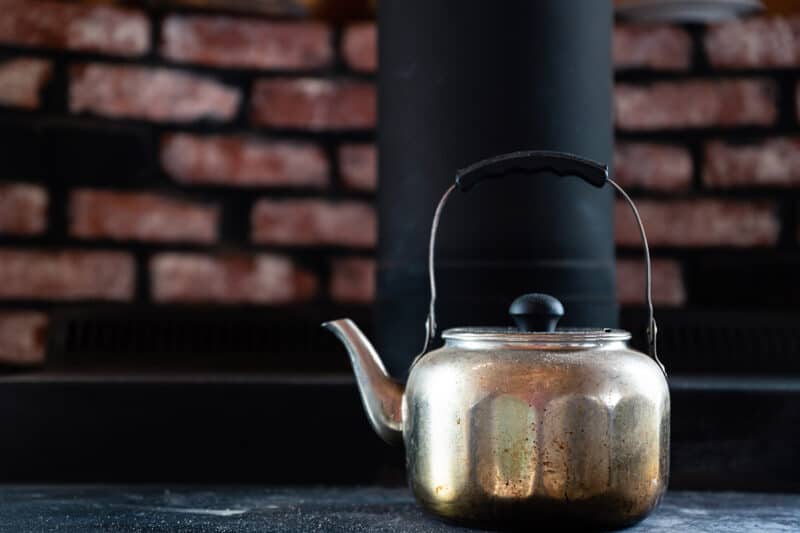
Get yourself a good enamel or metal teapot and keep it filled with water, and placed on the burner whenever you’re not cooking on it. If you place it on there after you’ve finished cooking a meal, it’ll make use of the residual heat. You’ll have nice, hot water for tea or coffee without having to reheat the stove.
If you’re not cooking on the stove but still have a fire going, take the teapot’s lid off. The evaporated water mist will help to keep your home’s humidity levels up. A woodstove is amazing for keeping a house warm, but it can dry out everyone living there. Just keep an eye on the water level and top it up whenever needed.
You can even fill this teapot with snow in wintertime and it’ll melt it into drinking water for you.
Play with various techniques until you find the ones that suit you best. Oh, and be sure to check out various resources on pioneer cooking tips! You may discover some great recipes to try out, and you’ll become a proper woodstove chef in no time.
