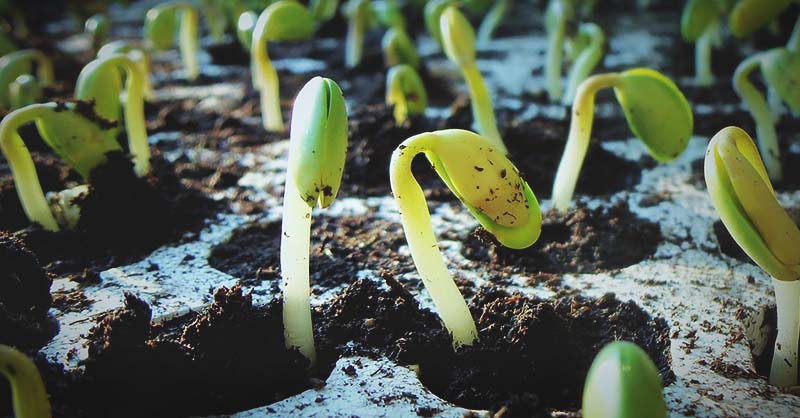
Figuring out how to germinate seeds is one of the most useful gardening skills that I’ve learned, but it also seems to be one of the hardest to master. I would be lying if I told you that it’s always easy. In some cases, germinating seeds is one of the simplest gardening tasks, but at other times, it can be challenging.
While germinating seeds might be a fundamental task in gardening, plenty can go wrong. You’ll quickly realize this if you plant a few seeds only for them to fail miserably. If you’ve ever planted a container full of seeds, only to have them fail to thrive, you know how frustrating it can be.
One problem is that many gardeners don’t realize that not all seeds can be germinated the same way. The steps can be different depending on the type of seeds you’re planting. For instance, nasturtium needs to be scarred, while lavender needs cold stratification.
If you’re ready to learn all there is about germination, let’s get started.
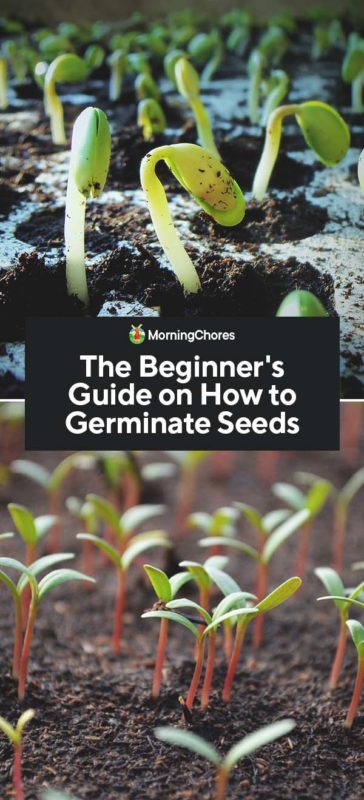
Seed Germinating Terminology
Before learning how to germinate seeds, there are a few terms that you should know. Understanding these makes it easier to follow germinating directions, and you’ll better know how to get your seeds to sprout.
- Dormancy: When it comes to germination, dormancy means that the seeds need to have some rest time before they’ll germinate. Often, it coincides with a stratification process.
- Stratification: Some gardeners use stratification to refer to cold treating a seed, but the broad term refers to any process used to help seeds germinate. Stratification includes exposure to acid, scratching the seed coat, or cold treatment.
- Viability: This term refers to the chance that the seed will be able to germinate. Depending on the seed, some can sit for years with high viability, and others lose viability within hours of leaving the fruit.
- Cold Treatment: This term means that the seeds have to be exposed to periods of cold to break their dormancy. The temperature and length of the cold treatment varies depending on the seed variety.
- Scarification: If you see this term, it means the seed coat has to be damaged to sprout. These seeds are so well-protected by their coat that the seedlings cannot break the skin on their own. You can use sandpaper, knives, and other tools to nick the coating to give the seedling a place to breakthrough.
- Soaking: Pre-soaking seeds helps to soften the seed coat, speeding up germination and increasing the viability of the plant. A lot of seeds benefit from soaking.
Conditions Needed to Germinate Seeds
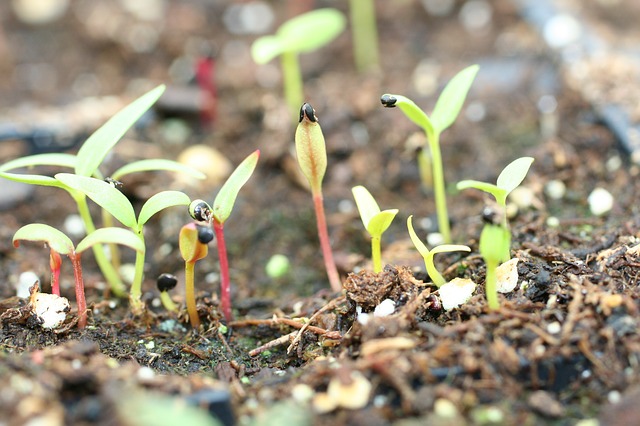
Germinating seeds requires a combination of elements, including warmth, light, oxygen, and moisture.
- Water: No matter what method you use, germination can’t take place without water. Seeds absorb water, softening the seed coat, and activate the protoplasm of the seed cells.
- Light: How much light seeds need in order to germinate differs widely. Some seeds are light indifferent, so they don’t care about the presence or absence of light. Other seeds need a precise amount.
- Oxygen: Another essential condition is the aeration of the soil. Oxygen is needed for aerobic respiration, which is how seeds get energy for the growth of the embryo.
- Temperature: Seeds germinate in a range of temperatures. The ideal temperature for one plant may be different than what another seed needs. But if you don’t have the right temps, your seeds may never sprout.
How to Germinate Seeds: 4 Methods
Here are four ways to germinate seeds. You can be creative when it comes to the containers that you select. People use plastic containers, seed trays, eggshells, or other mediums to hold the seeds during germinating.
Give whatever method you want a try, but try to think about how many seeds you need to germinate. Methods like paper towels and sponges are fun, but if you need to germinate hundreds of seeds, using soil or water may be the easiest and fastest choice.
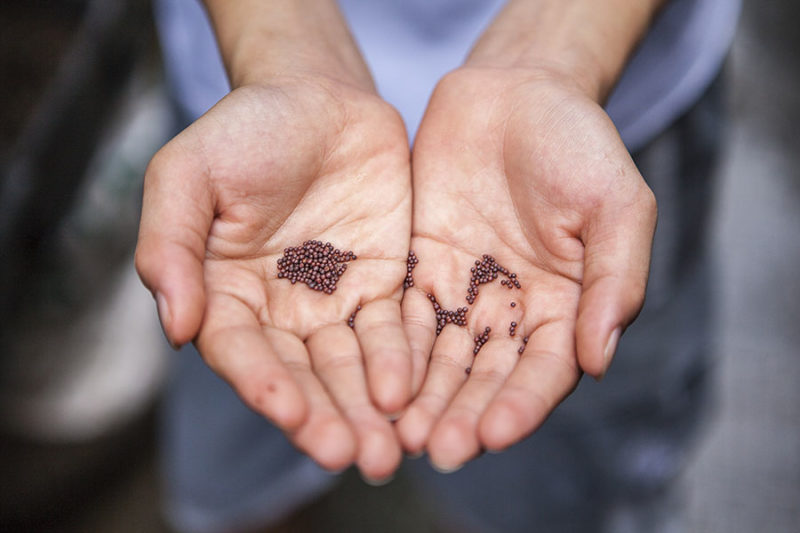
1. Germinating in Soil
Unless you have a hydroponic garden, your plants are going to live in soil anyway, so it makes sense to start them there. The drawback is that soil can be contaminated and cause issues like damping off. Be sure to use sterile earth to avoid trouble.
- Start your seeds by filling up small pots or seedling trays with good quality potting soil. The soil should be sterilized, light, and loamy, to create the right environment.
- Put the seeds into the soil and cover with the dirt. Look at the instructions for each type of seed to see how deep you need to plant the seeds.
- Water the soil. This can be tricky because you don’t want to disrupt the seed. If possible, it’s best to water the soil from underneath. Porous pots or pots with holes in the base are ideal for this. You can also use a spray bottle.
- Put the seeds in the right environment to encourage them to sprout. Some need sunlight to germinate, but some don’t. Some need heat and some prefer cool temps. Do your research to make sure you’re getting it right.
2. Submersion Method
The submersion method is one you’ll need to play around with. Some people find that it’s the best way to go, while others say it has a high failure rate. Fortunately, it’s relatively easy to try.
To get going, fill a dish with an inch of distilled water. Add seeds until it forms a thin, single layer on the bottom of the dish. Place the container on a heat mat. You can skip the heat, but it might take a long time for seeds to germinate. Once seeds begin to sprout, plant them right away.
3. Sprouting Seeds in Paper Towels
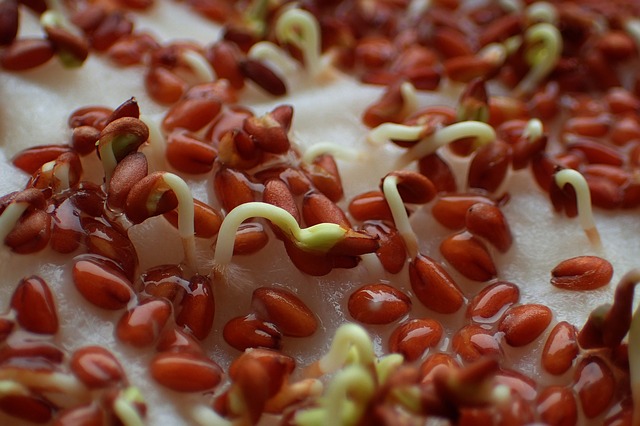
Paper towels, filter paper, and newspapers all work for germinating seeds. These mediums are pathogen-free and give gardeners control over the moisture content, leading to ideal germination conditions.
If you have hundreds of seeds to germinate, paper towels might not be the wisest choice. For a handful of seeds, it gives you the freedom to see if the seeds have germinated and how long it took. Perfect for experimenting.
- Tear a paper towel in half and moisten the two halves. Put 4-5 seeds on half of the paper, and fold the other half over the seeds.
- Open a sandwich-sized zipper-closed bag. Put the paper towel with the seeds inside of the bag and reseal it.
- Place the bag somewhere out of direct sunlight that has a steady room temperature. Essentially, you’re creating an environment inside of the plastic bag that is similar to a greenhouse, with heat and moisture.
- Once they sprout, it’s time to transplant the seeds, which is the main drawback of this method. Germinated seeds need to be manually transplanted into soil or moisture-holding mediums, like vermiculite. Don’t touch the root!
- To transplant, use your finger to make a hole in the soil for the entire root. Put it in place and gently cover it with soil.
4. Germinating Seeds on a Sponge
If you can germinate in a paper towel, why not a sponge? Sponges don’t have a lot of surface space, so you can only germinate a few seeds at a time.
The sponge method of germination is ideal for fast-growing seeds. All you need is a clean, dry sponge; a kitchen sponge works. Then, run it under clean water until it is saturated.
Put the seeds inside of the sponge and place the sponge on a clean dish or a bowl. Make sure to keep the sponge moist and check the seeds regularly for sprouting. Transfer the sprouted seeds to the soil to grow.
Germinating Techniques
Cold Stratification
Cold stratification may seem strange to some, but it’s necessary for certain plants. In nature, seeds need the right conditions to germinate. Many need warm, moist conditions as we discussed for soil germination, but some need cool and wet instead.
Cold stratification is necessary for plants and trees that require time in the ground over winter in order to germinate. This includes butterfly bushes, evening primrose, sweet peas, fuschia, rudbeckia, lavender, phlox, violas, and coral bells.
If you left the seeds outside in the ground, nature would take its course, but saved seeds need to be woken up. That can be done in a few ways.
1. Refrigerate Seeds
You can use your refrigerator during winter to break dormancy. In a plastic bag, put equal amounts of vermiculite and seeds, and spray the mixture with water until thoroughly wet.
Stir together until they make good contact; the vermiculite helps to break seed dormancy. Close the bag and put on the top shelf of a refrigerator between 35-40°F.
Check the mixture every 1-2 weeks and stir the mixture to aerate. Once the time has passed, remove the from refrigerator and plant seeds into plug trays.
2. Stratify in Pots Outdoors
In areas with cold winters, stratify seeds outdoors by sowing them in pots filled with sand or seed-starting mix. Sow the seeds at the right depth and put the pots in an area with full shade throughout the winter.
Doing this puts the seeds through the normal freeze and thaw process. Then, in the spring, put the pots in a sunny location, forcing the seeds to germinate.
3. Let Nature Take Over
In areas that have frigid winters, you can cold-stratify seeds in place. The plants will emerge from the ground after the process.
Make sure the seeds have the needed amount of sunlight. You don’t have to worry about water because the natural freezing and thawing cycle provides the right water and temps to break seed dormancy.
Scarification
For seeds that have a tough outer shell, like nasturtium, sweet pea, milkweed, and lupine, you’ll have to scar them to make them grow.
Using a knife for larger seeds or sandpaper for smaller seeds, break or nick the tough outer shell so that the tender, lighter colored interior shows. For small seeds, you can rub them between two sheets of sandpaper.
Soak the seeds in room temperature water overnight until they begin to swell. Now it’s time to get your seeds in the ground. Do this right away.
Time to Germinate Your Seeds
Germinating seeds takes some time to perfect. It helps to keep notes year over year so you know where you are struggling and what conditions provide the most success. Then be sure to share any tips you learn in the process in the comments.

