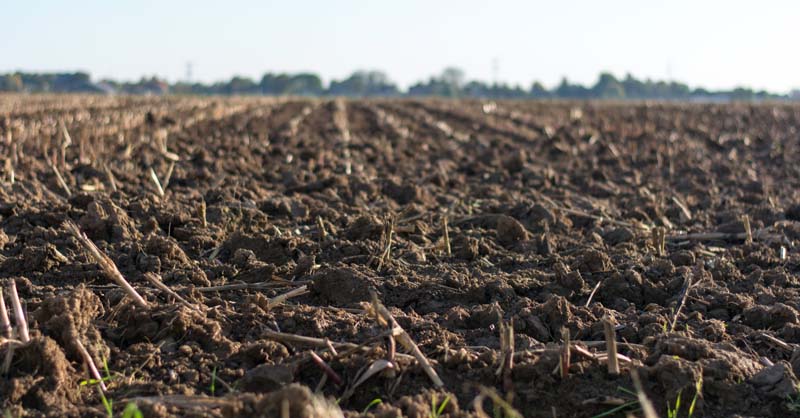
Whether you’re starting seeds indoors to get prepped for spring planting or getting your outdoor beds ready for the season, you might worry about the potential diseases lurking in your soil. If so, learning how to sterilize soil may be the thing you need to make your garden thrive this year.
A gardener has to deal with many unknowns, from unpredictable weather to different pests, viruses, and fungi that can decimate plants. Some things you have no control over, but others you do.
Soil sterilization helps you kill off the pests and fungi that can wreak havoc on your garden. It’s especially useful if you’ve struggled with a disease in the past.
If you’ve ever dealt with a crop-killing infestation or disease, you know that coming back from that sort of loss is difficult. I’ve been left disappointed after losing all my squash plants to vine borers. Last season, I wondered what the point was as I threw my wilting plants in the trash.
The reality is that it happens. Gardening requires some resilience. You can do everything you can to stop pests from killing your plants, but sometimes you lose the battle. Having a tool like soil sterilization can tip the scales in your favor.
Why Should I Learn How to Sterilize Soil?
The intent behind sterilizing soil is to reduce the risk of potential harm and help get rid of fungi, viruses, diseases, weeds, and pests so that there’s less unpredictability to deal with during the gardening season.
You probably don’t need to sterilize your soil if you don’t have any pests or diseases. Nor should you sterilize fresh potting soil. But if you’re re-using soil for container gardens, or if you’ve had trouble in your garden in the past, you may want to consider it.
Sterilization is effective against:
- Bacteria like those that cause Verticillium wilt, Fusarium wilt, damping off, root rot, tomato canker, Southern blight, and more
- Nematodes
- Viruses
- Weeds
Below, we’ll explore methods of sterilization in addition to the potential negatives of this approach, so you’ll have a well-rounded understanding of whether sterilization makes sense for you and your garden.
How to Sterilize Soil
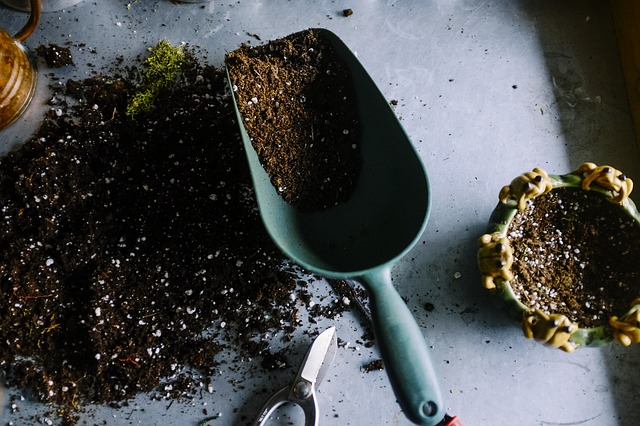
The primary way to sterilize soil involves high temperatures, and there are several ways you can go about heating things up. For small quantities of dirt, it’s possible to use a microwave or oven to do the job, but that’s impractical for outdoor beds. For large areas, you’ll want to use solarization.
No matter what method you use, be sure not to add fertilizers to your soil before you sterilize it.
Solarization
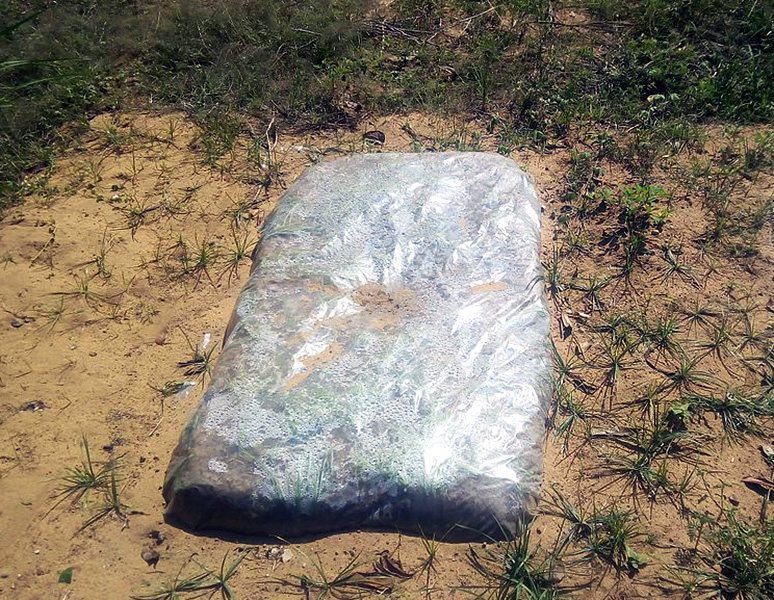
A popular method of sterilizing soil is called solarization. Solarization harnesses the power of the sun to heat up and sterilize the soil. Typically, this is done using black or clear plastic.
How to Solarize:
Prepare your soil by raking away debris and dirt clods. You don’t want air pockets between the plastic and the earth. Irrigate well before covering. Use a transparent or clear plastic to allow the sun’s rays to pass through the plastic and get trapped underneath. In cooler areas, use black plastic because it holds heat better and discourages weeds.
Anchor the plastic down tightly. It can be helpful to dig a trench around the garden you’re covering to help eliminate air pockets. You can purchase anchors or use rocks from around your yard to hold the covering in place.
This method of sterilization requires an extended amount of time, around 4-6 weeks, of full sun exposure to do its job. The process raises soil temperatures and helps break down plant matter, which eventually increases nutrient availability for your plants.
Covering beds with plastic helps to increase the soil temperature and suffocates weeds and pathogens in the earth. It’s a sterilization method that’s less likely to harm beneficial microbes, but certain heat-tolerant diseases may be able to survive the baking period.
Solarization is a popular method for killing weeds, though some aggressive plants may have no trouble surviving the prolonged exposure to hot temperatures, particularly perennial weed varieties.
Oven
For smaller batches, you can sterilize your soil in an oven. Place soil in an oven-safe container and bake until it reaches an internal temperature of 180°F. Don’t go higher than that because it can release toxins into your air. Allow the soil to cool, and it’s ready to go.
Microwave
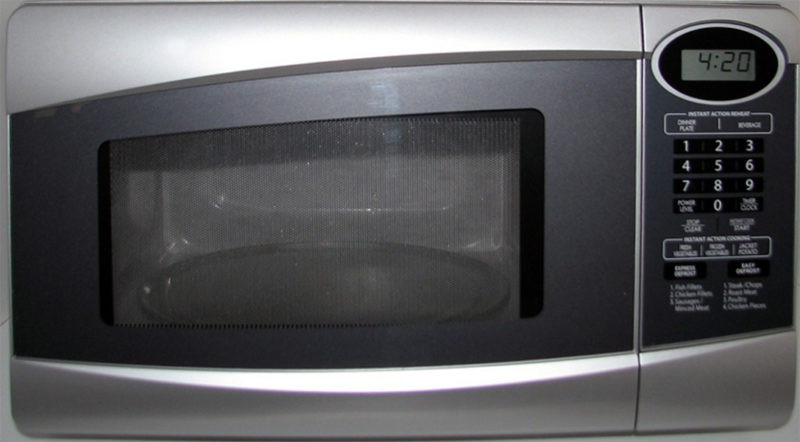
Fill a microwave-safe dish with soil and cover. Poke a few holes into the covering to ventilate, or leave the lid partially off. Microwave for 90 seconds or so until the soil reaches 180°F.
Steam

Steam is another excellent way to sterilize your soil. You can steam soil using a pressure cooker, in the oven or on the stove.
In a pressure cooker, add several cups of water and place a filled container of soil over it. Cover the pressure cooker and close the lid but leave the steam valve open a bit. Heat at 10 pounds of pressure for 15 minutes.
To steam using the oven, place soil in an oven-proof container, cover it with foil, and place it on a rack in the top third of the oven. Place a container filled with water on a rack in the bottom third of the oven. Place a lid on the water container, leaving a small section open so the steam can escape. Heat until the water starts boiling and steam comes out. Do this for 30 minutes.
On the stove fill a saucepan with 1″ of water and bring to a boil. Add enough soil to come just below the rim of the pan. Simmer for 15 minutes.
Sterilization and Seed Starting
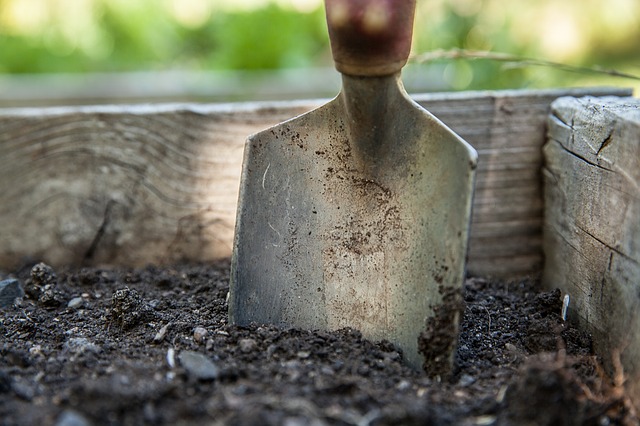
Don’t worry about sterilizing soil for seeds if you purchased a seed-starting mix. A good quality soil mix will arrive sterile. You’re better off investing time in sterilizing your seed starting equipment, accessories, and tools. The same applies to potted indoor plants. Potting mixes should be free of disease.
You can encounter a bad batch of soil mix, however. It’s happened to me in the past. The result? I no longer purchase that particular mix for fear that I’ll lose all my seedlings like the last time.
Take careful stock of your steps before ruling out a supplier completely. Did you sterilize your seed flats from the year prior? Those may be the culprit. Using an old garden spade to transfer dirt from bags to flats? If you didn’t wash it, it might be harboring disease. Consider, too, those sneaky plastic markers that you may have forgotten to sterilize with everything else.
The Downside to Sterilization
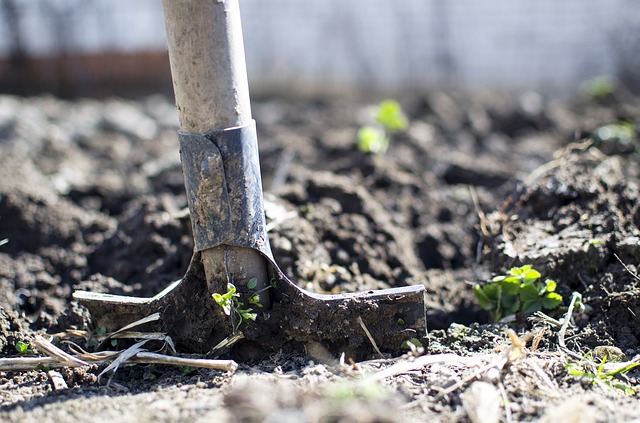
Sterilization sounds like the ideal way to minimize pest and disease problems. But are there any drawbacks? Absolutely. Sterilization has the potential for harming beneficial microbes and insects.
Solarization has the additional drawback of the cost of purchasing plastic, plus the process takes time. In my area, once the snow has fully melted and I’m able to access my beds, there’s little time to waste. I need to begin prepping and planting quickly to get a jump on the season. I can’t imagine covering my beds for 4-6 weeks! One option for home gardeners is to cover single beds instead of their entire garden. You could also plan on using the garden for a fall crop.
If you don’t need to use sterilization, work towards building healthy soil instead. The more you tamper with your earth, the less healthy it becomes over time.
How to Avoid the Need for Sterilization in the Garden
- Practice proper crop rotation. Rotating crops on a cycle helps to prevent pest infestations and thus disease transmission to your plants.
- Implement healthy soil management practices, like testing the soil before fertilizing, improving soil consistency and nutrient content by adding compost, and limiting how much you disrupt the ground.
- Stick to a regular weeding schedule. If weeds are a problem in your garden, an alternative to sterilization is to dig out and remove problem weeds.
- Sterilize your equipment to prevent a transfer of pathogens. Avoid transferring diseases by doing the same with garden implements and tools. Sterilize by soaking them in diluted bleach at the end or start of the season.
When it the Right Time to Sterilize Soil?
Soil sterilization may be the best option for large scale growers who require an efficient and quick method for dealing with weeds, disease, and pests. For home gardeners, methods like solarization are a solid option if your garden is plagued with disease and pests that continue to return each year.
That said, once you’ve learned how to sterilize your soil and you’ve got yourself a fresh weed and disease-free bed, work on building soil health each year so you don’t have to keep sterilizing the soil.
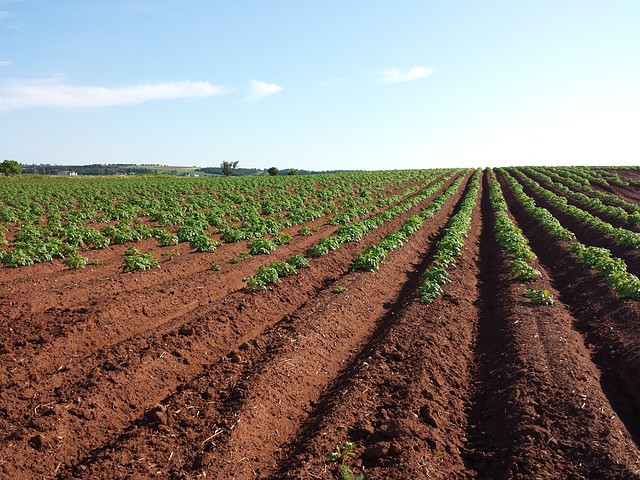
If you’re starting a brand new gardening space, sterilizing the soil is the perfect way to get yourself a clean slate. It’s also ideal if you’re planting containers using recycled earth from the garden.
Now you’re ready to hit the garden. Are you planning to sterilize your soil this year? Let us know what method you prefer in the comments section below!

