When you start seedlings indoors, you can’t just set them outside one day and expect them to survive. As much as that seems simple and convenient, you’ll kill your delicate seedlings. What you have to do instead is the process of hardening off plants.
One time, I thought I could get away without hardening off my plants. I live in Ohio, so we aren’t in some super sunny location. It seemed like it was some extra step that I didn’t need to take, but I was wrong.
I brought my cabbage plants outside and put them right into the garden bed. In hindsight, I wish I could’ve told my gardening self to calm down and have some patience. My plants could barely stand up to the wind, which they were not accustomed to handling. Then, the sun burned my plants.
Needless to say, I didn’t have a great cabbage harvest that year. Ever since that time, I’ve been a stickler about hardening off plants. It’s a necessary step that might be a bit annoying and take extra time, but it’s vital if you want your plants to survive.
Why Hardening Off Plants is So Important
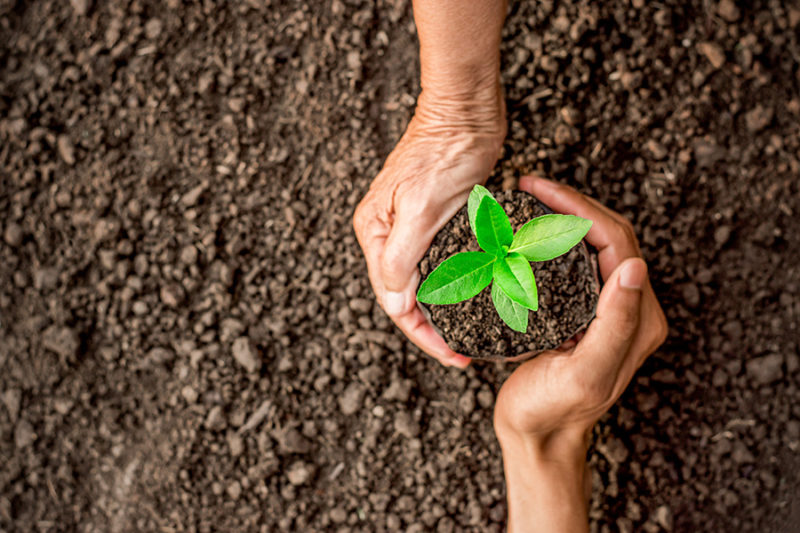
Hardening off plants is a process of getting your tender seedlings ready to go outside. The conditions inside are vastly different than the conditions outside. We have consistent temperatures, no wind, and no direct sunlight in our homes. Your plants have to acclimate to different conditions to survive outside.
Hardening off is a vital step that helps your plants to live outside in the big world. If you fail to complete the process, you can lose your plants or watch them wilt as they struggle to withstand the sudden change in conditions.
One minute, your plants are sitting on a nice, warm windowsill, and then they’re stuck outside in a chilly, windy garden bed. Even if your plants do survive being tossed outside, they’ll likely be stunted and won’t produce as well as they could have.
Your plants have to adjust to a lot of things, which is why it’s a process. It doesn’t happen overnight. These tender seedlings have to adjust to:
- A wider range of temperatures
- Chill factor
- Moisture loss
- Moving air
- More significant variation of water supply due to evaporation
- Direct, strong sunlight
How to Harden Off Plants
Seedlings need to be gradually introduced to life outside in the garden beds. Ideally, this process takes one to two weeks, and it involves taking your plants outside for a few hours each day. Over time, you gradually lengthen the time that you leave them out. Finally, you leave them outside for the whole day, and eventually, nights outside as well too. You can’t rush the process.
The length of time a seedling needs to harden off depends on the type of plants you grow, as well as the ambient temperature and fluctuations. Be flexible when it comes to hardening off the seedlings, and be ready to bring them inside or cover them if you have a late freeze.
Using Season Extenders for Hardening Off Plants
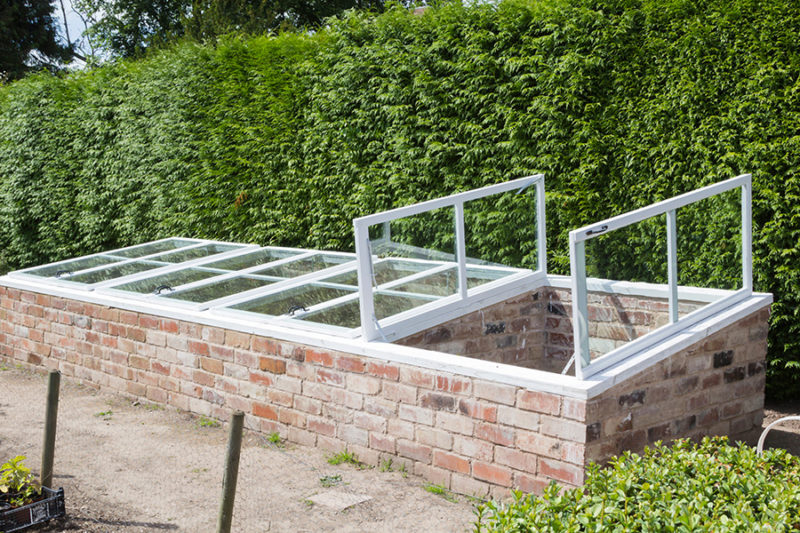
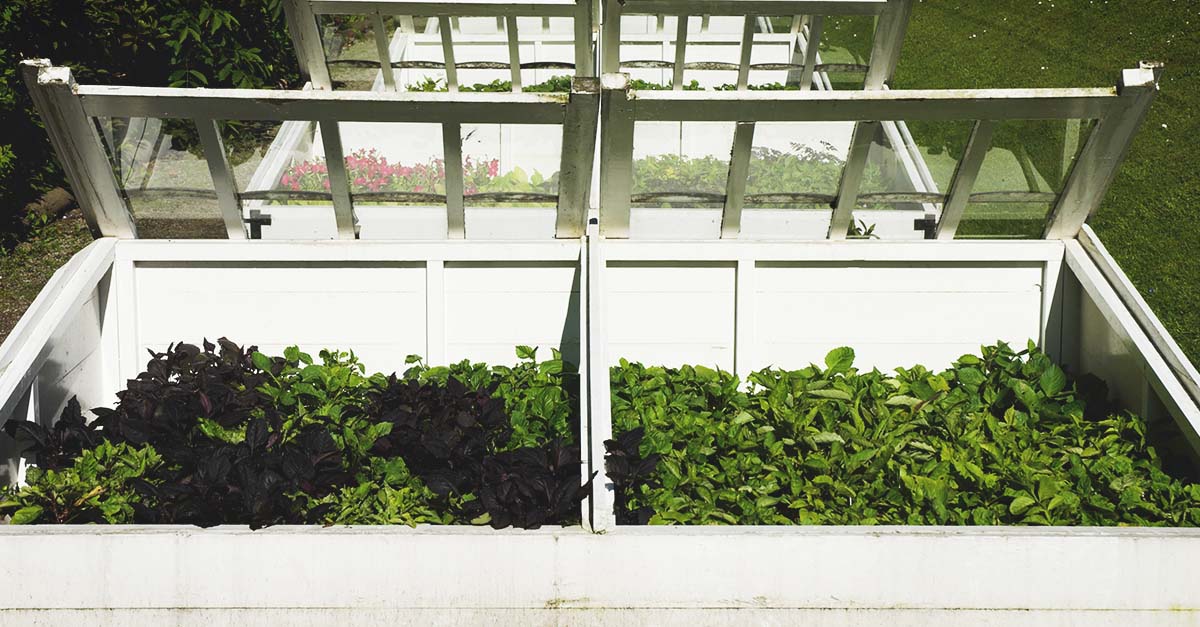
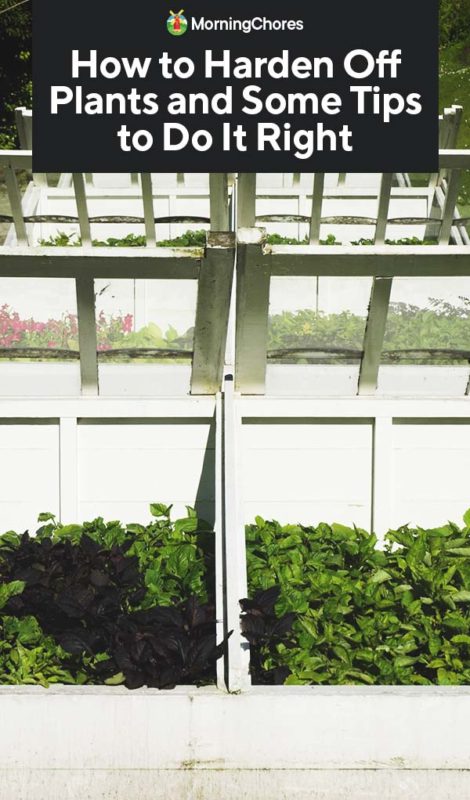
Some gardeners use an intermediate stage during this process. You can use a greenhouse, a cold frame, or a row cover to give plants a little extra help to adjust. Cold frames and greenhouses give you lots of flexibility on how much air and light you can let in, giving you more control.
You can move your plants into a cold frame 7-10 days before you plan to transplant them into your garden bed. Make sure, before you move the plants, that the temperature in the cold frame doesn’t go below 50℉. When they’re in this environment, you have to check the soil daily to decide if the plants need water and if they’re getting too much or too little heat.
Turn off any heating cables or open the cold frame cover for gradually more prolonged periods each day. Start with 3-4 hours and increase the exposure to outside temperatures 1-2 hours per day.
Continue to close the cover and resume heating during the night if the temperatures dip too low.
A Schedule for Hardening Off Plants
Here is an example of how long you can set your seedlings outside during this process. You need to plan your hardening time to match your transplanting dates. If you want to transplant on April 20th, you need to start hardening off the seedlings around April 6th. It takes planning and plotting to harden and transfer plants.
| Day | Hours Outside | Amount of Sunlight |
| Day One | 1-2 Hours | Shaded Location |
| Day Two | 2-3 Hours | Shaded to Partial Shaded Location |
| Day Three | 3-4 Hours | Partial Shade to Little Sunlight |
| Day Four | 4-5 Hours | 30 Minutes to 1 Hour of Sunlight |
| Day Five | 5-6 Hours | 1-2 Hours of Sunlight |
| Day Six | 6-7 Hours | 2-3 Hours of Sunlight |
| Day Seven | 7-8 Hours | 3-5 Hours of Sunlight |
| Day Eight | 8-9 Hours | 4-6 Hours of Sunlight |
| Day Nine | 9-10 Hours | 6-8 Hours of Sunlight |
| Day Ten | 10-12 Hours | 10-12 Hours of Sunlight |
| Day 11 | 12 Hours | 12 Hours of Sunlight |
| Day 12 | 24 Hours | Full Sunlight |
| Day 13 | 24 Hours | Full Sunlight |
| Day 14 | 24 Hours | Planting Time |
This is an extended version of a schedule. You can simplify the process and make it only a week, leaving the plants outside double the session times each day. Keep a close eye on them to make sure they can handle the transition.
Leaving The Seedlings Outside Overnight
When you reach the time that you leave the plants outside overnight, you have to pay attention and make sure that the temperatures don’t drop below freezing. If the temperatures are going to freeze, don’t leave them outside. Move the plants indoors. Then, resume the hardening process once the temperatures are above freezing.
To make things easier, take a look at tip number five to find a chart with the recommended minimum temperatures. You should group plants together with similar temperature requirements. If the temperatures are at 45℉, you can leave the cool-season crops outside overnight but bring in the warm-season vegetables. It doesn’t have to be all or nothing.
8 Tips for Hardening Off Plants
Over the years, I’ve found some tips that make the hardening off process a bit easier.
1. Watch the Weather Closely
The best time to start this process is on a wet or overcast day. If you have a cold frame or greenhouse, it’s an even better time to start. Cloudy days are better because the high afternoon temperatures will be lower.
2. Pick a Sheltered Spot
Some wind is okay, but you don’t want too much strong wind during the first few days. A gentle breeze is more than enough. A sheltered spot is best for hardening off in the first steps. You can put all of the seedling pots in crates, tubs, or buckets. That stops them from blowing over and acts as a windbreak around the foliage.
3. Start in the Shade First
Put the plants in the shade at first. Before sticking them in the direct sunlight for the first day or two, stick the seedlings in a shady or partially shady area. Doing so helps your plants adjust to the movement of the air and moisture loss before handling strong sunlight.
4. Keep Track of Your Schedule
Keep track of how long you leave the plants outside each day and where you put them. You need a piece of paper and a pencil to do this. Each day, you need to leave the plants outside for longer, and you want to give them more and more direct sunlight gradually.
5. Know the Hardiness of Your Crops
Understand the relative hardiness of your crops. You will need to cover the crops or bring them inside during this process if the temperatures dip below what your veggies can handle.
For example, while onions are hardy and can handle temperatures around 40°F, eggplants and cucumbers are warm-season crops that can’t handle temperatures much lower than 60℉. They can’t withstand low temperatures, even once they’re hardened off.
Let’s take a look at the recommended minimum temperatures for a couple of common crops.
- Hardy Plants (down to 40°F): Broccoli, Brussel sprouts, kohlrabi, cabbage, onions
- Half-Hardy Plants (down to 45°F): Celery, lettuce, endives, kale
- Tender Plants (down to 50-65°F): Squash, pumpkin, corn, cucumbers, tomatoes, eggplants, peppers
6. Bring Them Inside
When you bring your plants inside each day, make sure you take them somewhere heated. Try a heated garage or a porch. They need to go somewhere warm to recover a bit until the next day.
7. Reduce Watering
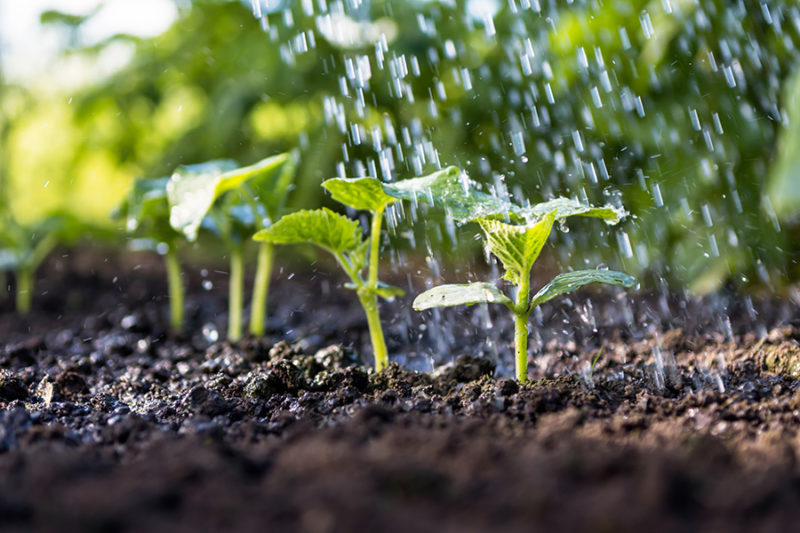
During the hardening off process, gradually reduce the frequency of watering, but don’t allow the seedlings to wilt. It’s recommended that you start reducing watering a week or so before your seedlings will go outside. You also want to avoid fertilizing during this period.
8. Protect Delicate Plants
Once planted outside, it doesn’t mean your job is finished. Those plants are still delicate and need protection during the late frosts. Try tossing a fleece blanket over the planted seedlings if frost is forecasted for that night.
Final Thoughts
While the process might seem a bit tedious and repetitious, you spent months planting and tending to these seedlings. You grew them from seeds, helped them germinate, thinned them out, and diligently watered them. Now, hardening off plants is the final step in the process before they get to go out into the garden beds. It’s worth the time so that you don’t kill your seedlings.
