When it comes time to put plants in the ground, are you sure your soil is ready for planting? It may seem like a matter of tossing in a few amendments and putting your plants in the earth, but carefully preparing your garden soil is key to having a healthy garden down the road.
Your earth is literally the foundation of your property. Healthy garden soil leads to healthy plants, and healthy plants lead to healthy humans. It’s all part of the circle of life and one of the many things I love about gardening. If your soil isn’t strong, the circle falls apart.
There are a few things you need to do to ensure that your soil is as good as it can be before you stick your spade into the ground. Once you’ve laid out the groundwork, you can get to the fun of planting.
One of the overall garden goals is to build your topsoil. This is the uppermost level of your garden where most of your plant’s roots will be growing and where the majority of nutrients live.
Below, we’ll show you how to make your garden soil as nourishing as possible with 7 easy steps. Keep in mind that you’ll want to start the process at least a month before planting so that you can make all the necessary adjustments in time.
1. Test the Soil
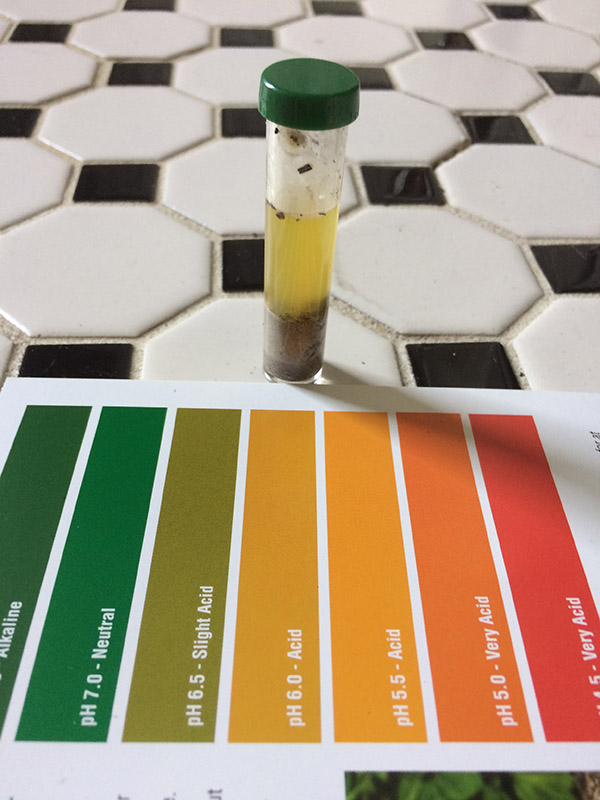
First things first: do a soil test. Knowing more about your soil will help you to determine what your soil is lacking or has too much of so you can adjust accordingly.
You can purchase an inexpensive soil testing kit from a garden store which will give you some general information. Keep in mind that these tests are not as accurate and don’t include as much info as ones done in a lab.
You can also contact your county extension office. Most extension offices provide low-cost soil testing. These soil tests will let you know your soil’s pH, nitrogen, phosphorus, and potash levels as well as the level of organic matter.
2. Add Compost
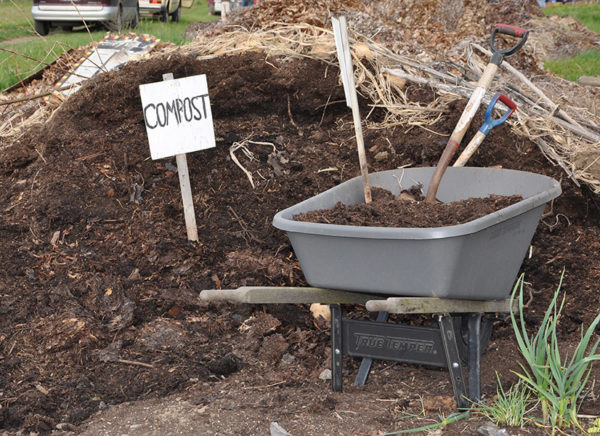
Healthy soil is rich in compost. Composting is an ongoing investment in your garden. It’s like a savings account. You add money – or in this case livestock manure, straw, grass clippings, and weeds. As a result, your compost grows and builds interest and pays dividends. Your dividend is that dark, rich soil conditioner we call compost.
If you haven’t started a composting area, it’s never too late.
But what if you are starting out with gardening and you don’t have the time or materials to develop a compost pile? You can purchase compost from your local garden store. I recommend a mix of compost and peat moss because the peat moss adds texture to the soil.
Once you have your compost, spread 2 inches of it over the area where you intend to plant.
3. Amend Problem Soils
Depending on the texture of the soil that you have, you may want to amend it to make it friendlier to plant life.
Clay soil tends to clump together when wet. This reduces airflow in the soil and can make it hard for roots to grow. For clay earth, add coarse contractors sand (not beach sand), compost, and peat moss until you have an airier, lighter texture.
Sandy soil lets water drain too fast, and nutrients leech out. To fix sandy earth, add several inches of compost and peat moss. If things are really bad, add some sawdust and nitrogen. Sawdust will absorb some of the existing nitrogen in your soil, so you need to boost it a little.
If you have silt soil, add coarse contractor’s sand or pea gravel and lots of compost. Silt doesn’t hold nutrients as well, and it drains poorly.
If you don’t know what kind of soil you have, put some earth in a mason jar and shake it up. The next day, check the jar and you’ll see layers with sand at the bottom, clay on top and silt in the middle. If you have a lot of one type and not another, that’s the type of soil you have.
4. Adjust pH
Now it’s time to put that soil test to work. The soil’s pH tells you the level of acidity and alkalinity in your earth. Why is pH important? Your pH level tells you how available the nutrients in the soil are for your plants. Some plants are particular to what the soil pH is.
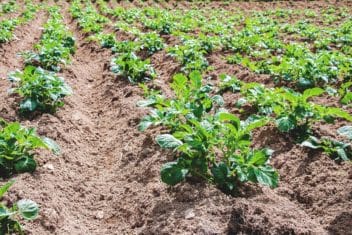
For example, say I want to grow potatoes. Potatoes need a lower pH than many other vegetables. They do best in slightly acidic soil of 5.2 – 6.0.
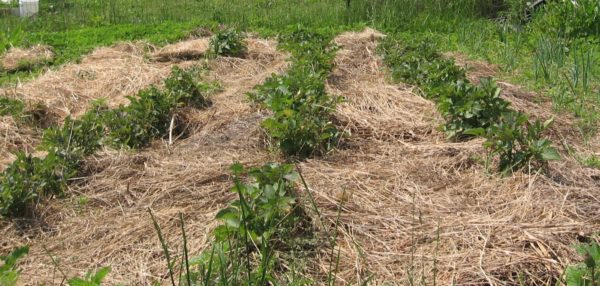
Image via Fox Run
Potatoes that are grown in higher pH levels are more susceptible to scab and other diseases. Knowing this, I could add organic sulfur to the area of the garden where I plan to put potatoes.
If your soil is acid, increase its pH by adding limestone or wood ashes. Oyster shell lime will also work.
If your soil is alkaline, add organic sulfur over a few months before you plan to plant.
You can use a garden calculator to figure out how much you need of any amendment.
5. Adjust Soil Nutrients
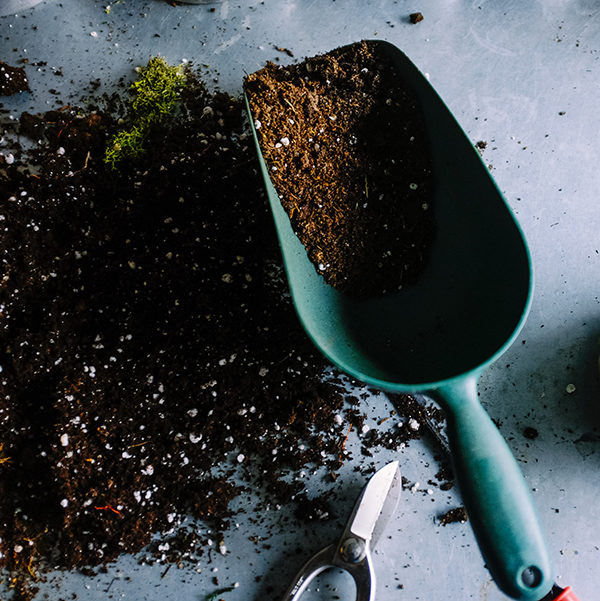
Another thing your soil test will tell you is the nitrogen, phosphorus, and potassium levels in your soil. You often see numbers with NPK listed on fertilizers and plant supplements.
Nitrogen is essential for plant growth and photosynthesis, while phosphorus is vital for flower and fruit production. Potassium helps plants build good root systems and fight off diseases.
Apply an appropriate fertilizer to address any nutrient deficiencies in your soil. For instance, if your soil test says you lack nitrogen, you’ll want to apply a fertilizer that’s high in that element.
6. Till the Soil
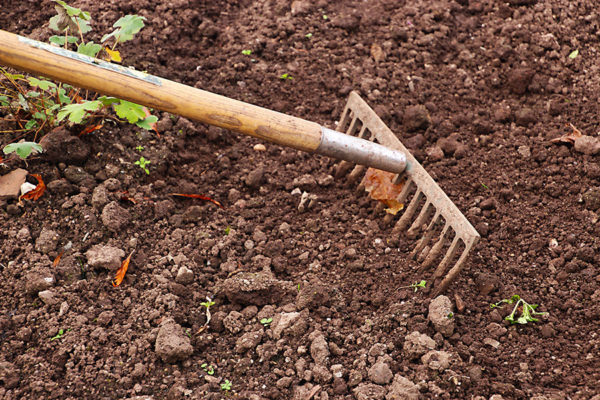
Often after a winter of rain, snow and wind your garden may look a little peaked and clumpy. Your soil is mushed together and doesn’t look inviting. If you’re like me, now that you’ve gotten started with building up your garden soil, you’re itching to get that soil turned.
Hold on! Pick a dry day to turn your soil, and make sure your soil has thoroughly dried out from any snow or rain before you try to turn it over. If you till when the soil is wet you will actually make the ground more compact. Compact soil clumps together and makes it hard for your seeds to germinate or your transplants to push their roots into the soil.
Turning the soil helps to break down the areas that are compacted. It also mixes in the compost, amendments, and fertilizer that you’ve spread on the top. Turning your soil increases the aeration of the soil and makes it easier for water to drain. All of this encourages good plant growth.
If you have a lot of rocks in your garden area, you can use this time to pick out the bigger rocks. Use them to line pathways, as accents in gardens or make a pile outside the garden area for later. Rocks are useful in the right place.
Turning the soil can be done by digging and forking or with a tiller. Both methods have pros and cons.
A spade and or garden fork isn’t as disruptive to the soil as a tiller and they’re environmentally friendly because you aren’t using gas or oil. Turning your soil by hand puts you in touch with your garden so you can really get to know your property, and it gives you quite the workout.
However, if you have a large area, turning the soil by hand can be time-consuming and back-breaking. At that point, you may want to break out the tiller.
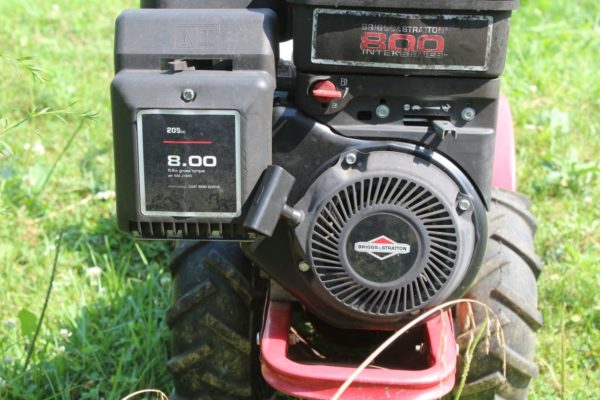
Image via Fox Run
Tillers come in many different sizes and price tags. You can buy or rent them, or maybe a neighbor has one you can borrow. Choose the size that is best for your garden. Over-tilling can cause problems by disrupting soil microorganisms.
7. Add Mulch
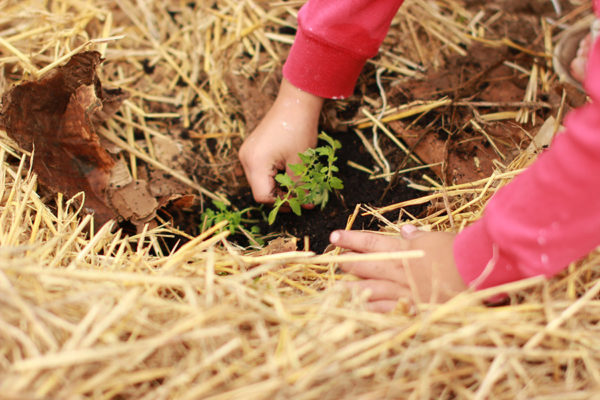
Although you can wait to apply mulch after you’ve put your plants in the ground, it can help to put mulch down in advance of planting as well. Mulch prevents evaporation and protects all that good stuff that you put in your soil. It also helps prevent the soil from getting too compact and keeps weeds at bay.
Add a thin layer of your preferred mulch to the top of your soil.
Planting for Garden Soil Health
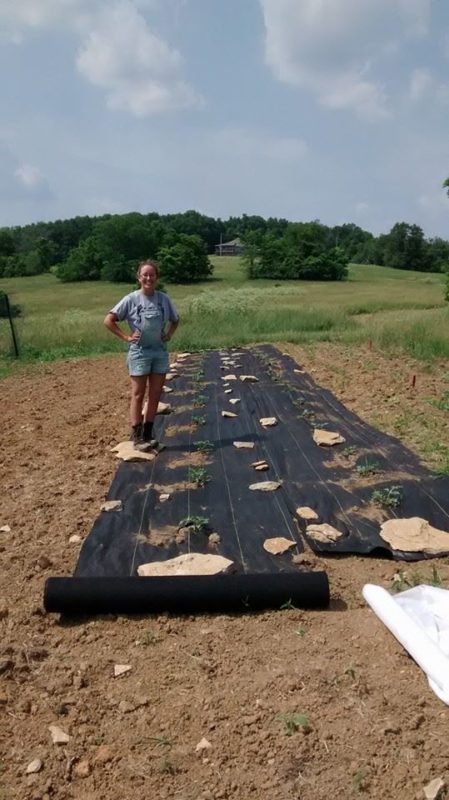
Image via Fox Run
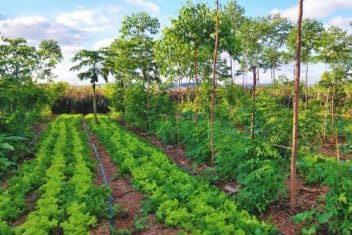
Now that you’ve done the hard work and you have healthy, happy garden soil, it’s time to give some thought to where you want to put your plants to maintain your soil health. First, you need to be sure to rotate your crops. Don’t plant brassicas or tomatoes where you had them growing the previous year.
It also helps to grow plants that are in the same family together. Growing similar plants together means you can amend the soil to satisfy plants with the same needs. It’s hard to fertilize when one plant doesn’t like too much nitrogen, and the one next to it is nitrogen hungry.
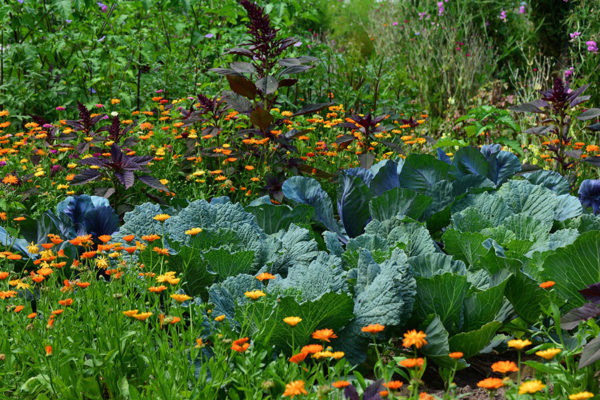
For instance, you can plant brassica crops together such as cabbages, broccoli, and kale. All of them are heavy feeders and like a lot of nitrogen.
That’s it! Now your garden is ready to produce all those luscious flowers and tasty veggies. It may seem like a ton of labor – and it can be – but it will pay off huge dividends in the end.

