Do you enjoy a warm bowl of oatmeal with fruit for breakfast? Or oatmeal and raisin cookies? Then you should be growing oats.
Oats are a nutrient-rich grain that makes a wonderful meal not only for humans, but also for your livestock.
When comparing grains, oats are the highest in protein. Many of the newer varieties contain up to 22 percent. They’re renowned for lowering cholesterol and being high in fiber.
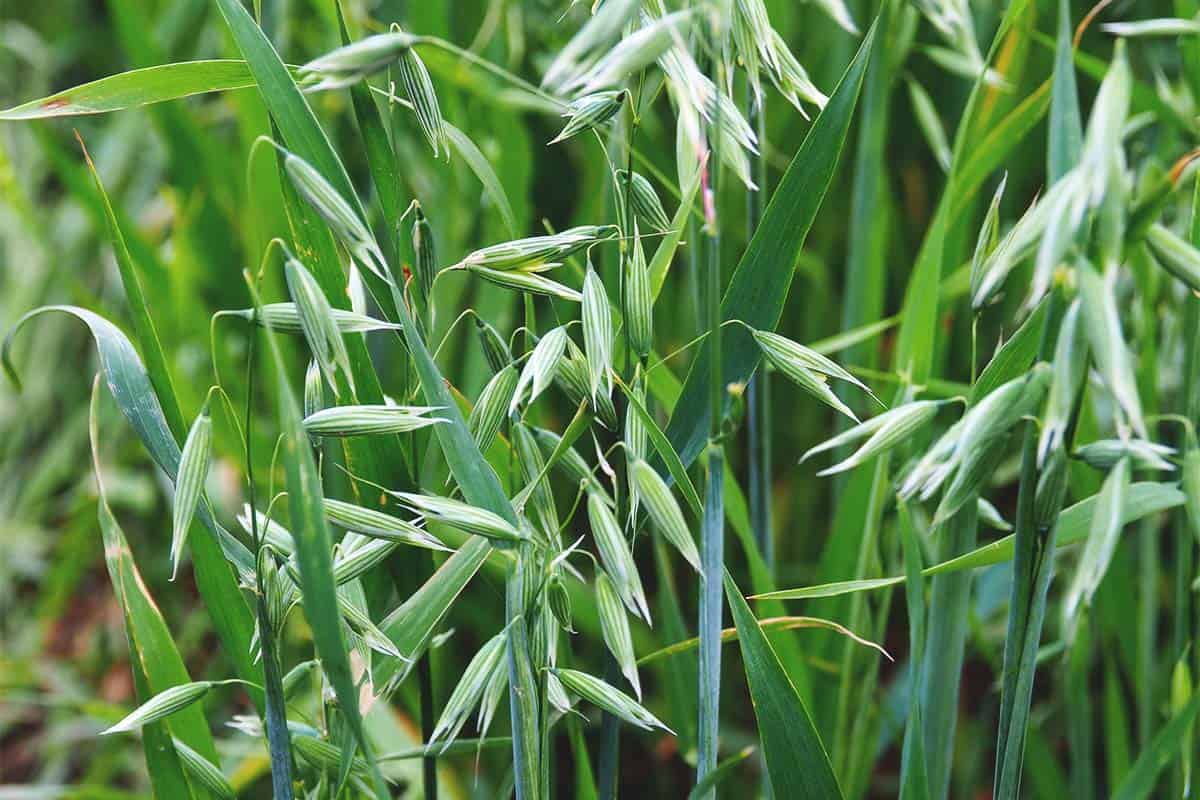
Oats are a hardy grain and actually pretty easy to grow. After all, oats are basically a grass.
How Much Space Do I Need?
Oats can produce 36 pounds per bushel. Gene Logsdon states in his book, Small Scale Grain Raising, that one bushel of raw oats makes about fourteen pounds of rolled oats. So you don’t have to grow a lot of plants for a big harvest.
You can grow five bushels on 1/12 of an acre, which is 60×60 feet. If you break that in half you can grow two and a half bushels of oats, quite enough for a small family breakfast needs, in a 30×30 garden space.
Best Oat Varieties
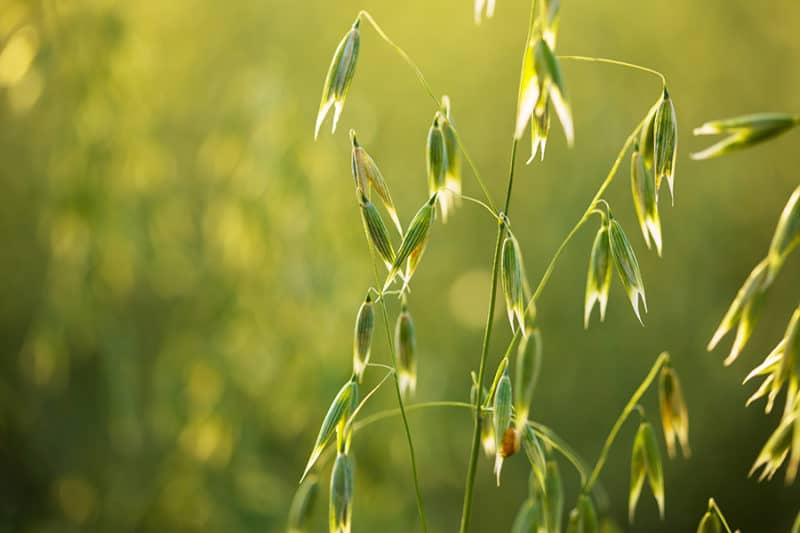
You can grow oats as food for yourself or animals. You can also grow it as a cover crop or a nurse crop. Choose a variety suited to your needs.
Hull-less Oats
Hull-less oats, Avena nuda, are sometimes called “naked oats”.
Technically, the plants still have a hull, but it’s not as firm and easier to remove than the standard hull. It takes 100-120 days for this plant to reach maturity.
Look for varieties like Streaker, which is resistant to crown rust. Plant it at a rate of three pounds per 1,000 square feet.
Common Oats
Common oats, Avena sativa, is a white oat that has a tough hull and needs hand or machine threshing. It grows to maturity in 100-120 days. Common oats grow well in acidic soils and will out-compete many weeds.
They also have a lot of biomass if you want to use them as a cover crop. This variety is high yielding.
Forage Oats
Forage oats, Avena sativa, are a winter hardy variety that you can use as a cover crop or as winter forage for livestock or wildlife like deer and turkeys. They’re incredibly disease resistant, with a softer stem than common oats.
Look for varieties like Reeves, Niagra, and Everleaf. These varieties mature in 49-56 days.
Black Oats
Black oats, Avena strigosa, were originally grown in Scotland as food for humans, but now it’s mostly seen in South America as fodder for livestock. It’s worth a go in the home garden as a food crop or cover crop.
Black oats have a high biomass, they’re incredibly easy to grow and will outcompete weeds.
They’re sometimes called Japanese or bristle oats.
Planting Oats
Oats, like wheat, should be planted in the spring and fall. Most people plant spring oats, but if you’re in the south, you may opt to sow in the fall.
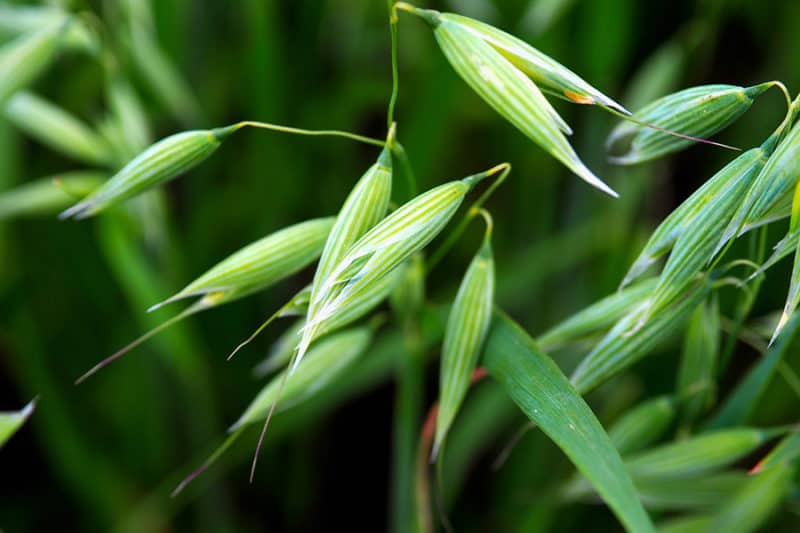
Oats are a cool-weather crop and don’t mind cloudy, rainy weather. Think about how well they grow in Scotland and Ireland, both of which have oatmeal named for them.
Oats like a similar climate to potatoes. They tolerate a cool, wet spring.
Pick the Right Location
Plant oats in a full sun location. They like a pH between 6.0-7.5.
Oats need well-draining soil. There is an old farmer saying that goes “mud in the oats and dust in the wheat.” Even though oats need plenty of water the don’t like sitting in a puddle.
Oats like a moderately rich soil without too much nitrogen. Add in plenty of aged manure before planting.
Planting Seed
Oats should be sown directly in the soil in early spring. Till your garden plot in fall so that your soil will be loose and ready to plant.
Farmers typically broadcast oat seeds and then shallowly till them in. You can also rake dirt over them.
You only need a small amount of dirt to cover the seeds. The seeds that are sitting on top of the soil will germinate, but they’ll likely be eaten by birds first.
If you decide to plant in a garden area instead of a field, plant in rows to make them easier to maintain. Plant seeds four to six inches apart and in rows that are at least 12 inches apart.
Keep seedbeds nice and damp as oats need moisture to germinate.
Caring for Oats
Water
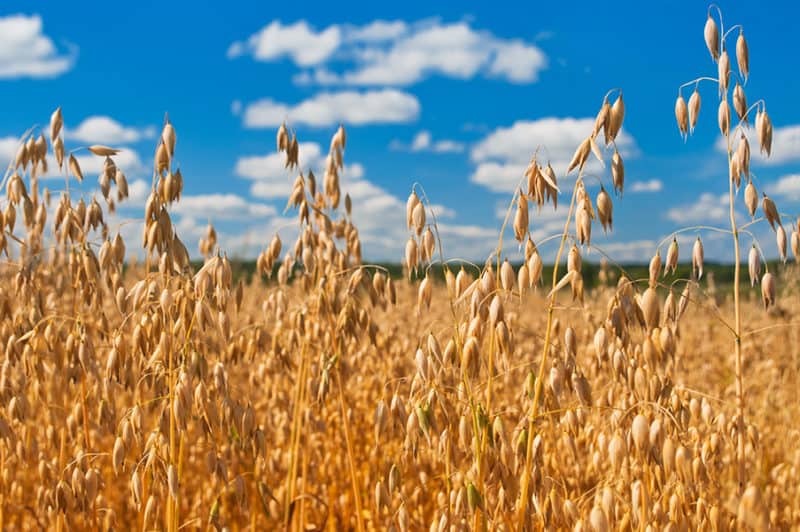
Oats like water. Keep your oat bed moist and check the plants for dryness during the hot sunny days of summer. Drip irrigation works well for oats or you can flood or hand water. Try to water from the bottom so as not to encourage fungal diseases.
Weeds
Weeds, especially perennial weeds, can be a problem for young oats. You should prepare your soil, removing debris and tilling to minimize weed growth.
The advantage of broadcasting seeds is that you create a dense planting that can outcompete weeds. Oats are a grass and grow dense fairly quickly.
If you plant conventionally in rows you will need to hoe or till in between the rows several times throughout the season so that weeds don’t compete with the oats for nutrients.
Fertilizer
Test your soil prior to planting to determine if there are any deficiencies. Amend the soil as needed. If you make sure the soil is appropriately prepared, you don’t need to fertilize during the growing season.
Problems and Solutions to Growing Oats
Oats have fewer insect problems than other grain crops. Here’s what to watch for:
Crown Rust
Crown rust is the most common disease to bother oats, especially in the south where there’s more humidity. It’s caused by a fungus.
You’ll most often see a brown stem base on plants, or you may see whiteheads form on your crop.
Prevention is the best cure. If you’re in a state that’s prone to crown rusts, look for oat varieties that are resistant. Buckthorn plants are a host, so make sure you don’t have any near your gardens. Also, be sure to rotate your crops.
Septoria Leaf Blotch
Septoria is a disease caused by a fungus. This blight affects cereal crops, including oats.
You’ll first notice round or diamond-shaped spots on leaves, followed by black lesions on the stems. If the disease continues, the kernels might be infected and form black lesions.
Make sure you practice good crop rotation and plant resistant varieties if you have this disease in your area. You can also use a fungicide on plants.
Companion Planting Oats
Oats are often grown specifically as a companion plant to help control weeds. Plant them with legumes, winter peas, field beans, clover, vetch, alfalfa, and wheat.
Harvest and Storing
Harvest the kernels while they are still slightly soft. If you wait for them to get hard, the plant will start releasing them and you’ll lose them as they fall to the ground.
You may need to periodically check the oats to see if the kernels are ready. The kernels should be slightly soft but firm. Take one and see if you can make a dent in it with your fingernails. If so, then they’re ready to harvest.
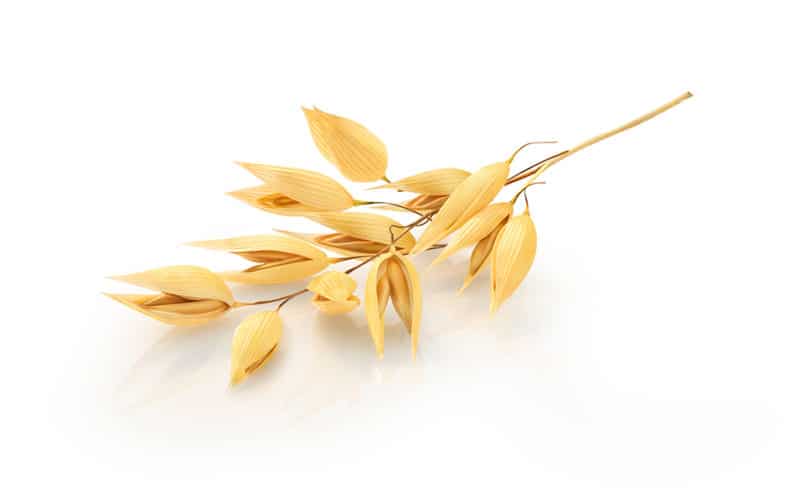
To harvest the seeds you need to remove the seed heads. Cut them as far up the stem as you can, since this will make for easier threshing. You can harvest the stem later and dry for straw.
You can also allow your livestock to go in and eat the stems right from the ground. I have a friend that doesn’t want to take the time to harvest the stems so she lets the goats and chickens in to clean up for her. Then she tills in the remaining stubble as green manure.
Curing
Once you harvest the tops with the seeds they need to cure. There are several ways to do this. Curing means you need to let the seed heads dry out.
This is easy to do by spreading the seed heads out on a screen. Make sure they’re in a single layer. Pick a spot that’s cool and in the shade.
Don’t forget to protect the oats from your chickens or wild birds. I place a piece of mesh screen on top of mine to protect them.
If you want to hang the oats to dry you will need to leave enough stem to tie them together and hang up. If you choose to hang your oats, remember that the hulls may open and release some seeds when dry so you’ll need something under to catch any seeds that fall.
Cut the oats when the grain hardens and the stems are slightly green. The green fades as the plant dries. Tie the stalks into bundles and place them in stooks or hang to dry.
Threshing
Like many grains, the seed of the oats has a covering called a hull which is not edible. You need to remove that to get to the actual oats.
Threshing is simply removing the seed from the hull. On big farms, this is done mechanically. However, it’s easy to do by hand as well.
Threshing may vary depending on what type of oats you are growing.
There are a variety of ways to remove the seeds from the hull. Many of them are quite enjoyable and make for a good family fun time!
One fun and easy way to remove the seeds is to place all the oats between two clean sheets. Then stomp and jump all over the top sheet. See? I told you this would be fun.
This will work the seeds lose without getting your dirty feet on them. Next, remove the top sheet. Let the wind blow away the lightweight hulls. You can also use a fan set on low to do this.
Hulless Oats
For hull-less oats, because the hull is not as attached, you can float off any chaff that’s on the oats. Run the harvested oats in a large water bath and skim off the hulls. Then pour off the water and spread the oats out on a screen to dry. Make sure they dry thoroughly.
Storing
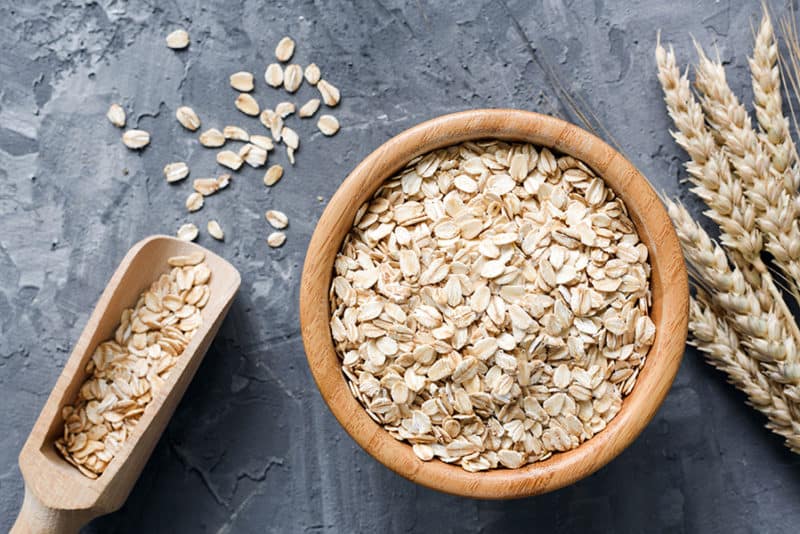
Store your oats in an airtight container. Storing them whole helps them keep well. If you want to roll them do that prior to cooking or in small batches. You can purchase a grain roller from many cooking or hardware stores for under one hundred dollars.
Ideas for Using Oats
Of course, you can make your own oatmeal or muesli, but don’t be afraid to get creative. Try making oat milk at home. Use them to make energy balls, muffins, or a Mexican oatmeal bowl.
You can also use oats to ease inflamed skin or to treat acne.
You’re Ready to Start Growing Oats
Oats are a multi-use plant. You can harvest the grain for human or animal consumption and the stems for straw or bedding. You can even make the stems into silage for your animals.
If you want to impress your friends tell them that at one time Rolls Royce car company used oat hulls to polish the pistons on their cars.
Growing oats is an easy way to add grains to what you produce yourself. Oats are easy to grow and the threshing is not as hard as you would think. Give it a try! Let us know how it goes!
