Are you trying to develop an easier way to keep your garden watered consistently without adding any extra chores to your plate?
It can become confusing when you research different irrigation systems. Drip irrigation is one of the most common irrigation systems.
I’m going to walk you through how drip irrigation works, the different parts to the system, what they do, and share the benefits and drawbacks to choosing drip irrigation.
By the end of this article, it’s our hope you’ll have a better understanding of drip irrigation and know whether it’s the right style of watering for you.
What is Drip Irrigation?
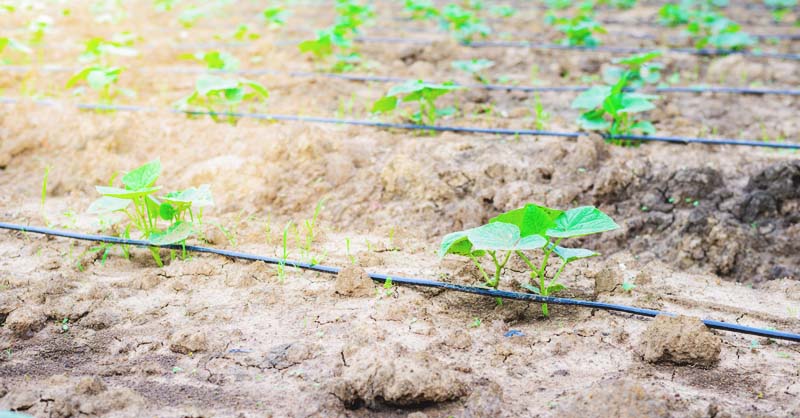
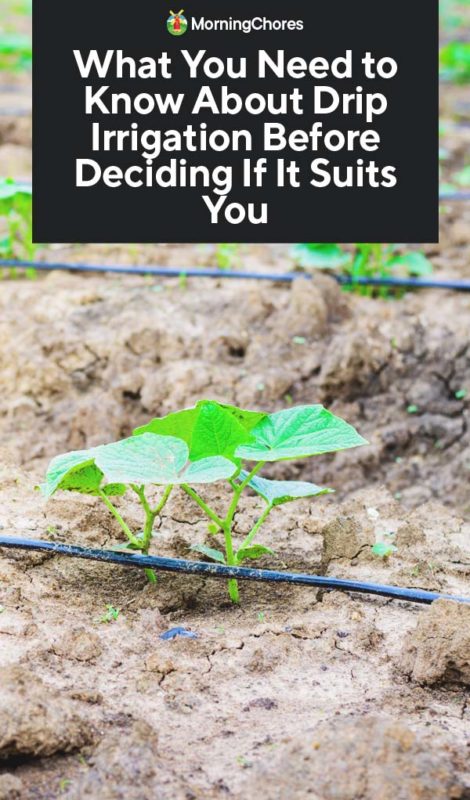
Drip irrigation is a type of irrigation system where a line of tubes is placed around your gardening area. It is also sometimes known as trickle irrigation.
There are valves attached all along these tubes which emit water to your plants directly at the roots from the water source of your choosing.
This gives a consistent amount of water throughout your garden without adding any extra gardening tasks to your plate.
The idea of the system is to apply water directly to the soil with a low flow of water, which prevents the plants from being overwhelmed with overhead watering.
Instead, it gently applies water to the root system consistently. If you need a cost-effective method to watering your garden, drip irrigation could be what you’ve been looking for.
Parts of Drip Irrigation
A drip irrigation system consists of multiple parts. Each part plays a vital role in the effectiveness of the system. Here’s how each part contributes to the system as a whole:
1. Valve
A valve is where the system begins. It attaches to the water source and allows a way for the source to be turned off and on.
You can either turn the valve on manually, or you can purchase an automatic timer which will take care of this part of the process for you.
2. Backflow Preventer
The backflow preventer plays an important role in drip irrigation. It attaches to the valve and is what keeps the water moving towards the plant and not back into the water source.
If you don’t include a backflow preventer, you run the risk of contaminating your water source. If your soil has soil-borne diseases, and the water can flow backward, those diseases could end up in your water source.
3. Pressure Regulator
If you don’t have a pressure regulator included in your drip irrigation system you could have inconsistent water flow.
This isn’t good because either your plants will get a large gush of water or they won’t get anything at times. By adding the regulator, it maintains a consistent flow of water to the plants.
4. Filter
A filter is one of the most important parts of a drip irrigation set-up. If debris flows through the tubes, they’ll become clogged.
By adding a filter, it keeps the tubes clear and allows the water to reach the plants consistently.
5. Tubing Adaptor
A tubing adaptor does exactly what it says it will do. It allows the tubing to attach to the rest of the set-up. Without this there’d be no system.
This one little piece allows the tubes to connect to the filter and the water source. As small as it may be, it has an important job.
6. Drip Tubing
The drip tubing is the meat of the system. This is where the water will flow through and eventually be piped to the plants.
Make sure you have enough tubing to reach each plant and be able to loop the tubing around larger trees or shrubs.
7. Emitters
Emitters are another vital part of a drip irrigation system. They are where the water comes out of the tubes.
You must have the right emitters and the correct number of emitters for the drip irrigation system to work correctly. We’ll discuss more of those specifics in a later section.
8. End Cap
The last part of a drip irrigation system is the end cap. Again, the name tells what this part of the puzzle does.
It’s a small cap which attaches to the end of the tubing which keeps the water in the tube and coming out in the right locations.
How to Install a Drip Irrigation System
Installing drip irrigation is quite simple. Follow these few steps, and you’ll be ready to use this style of system in no time:
1. Connect to Water Source
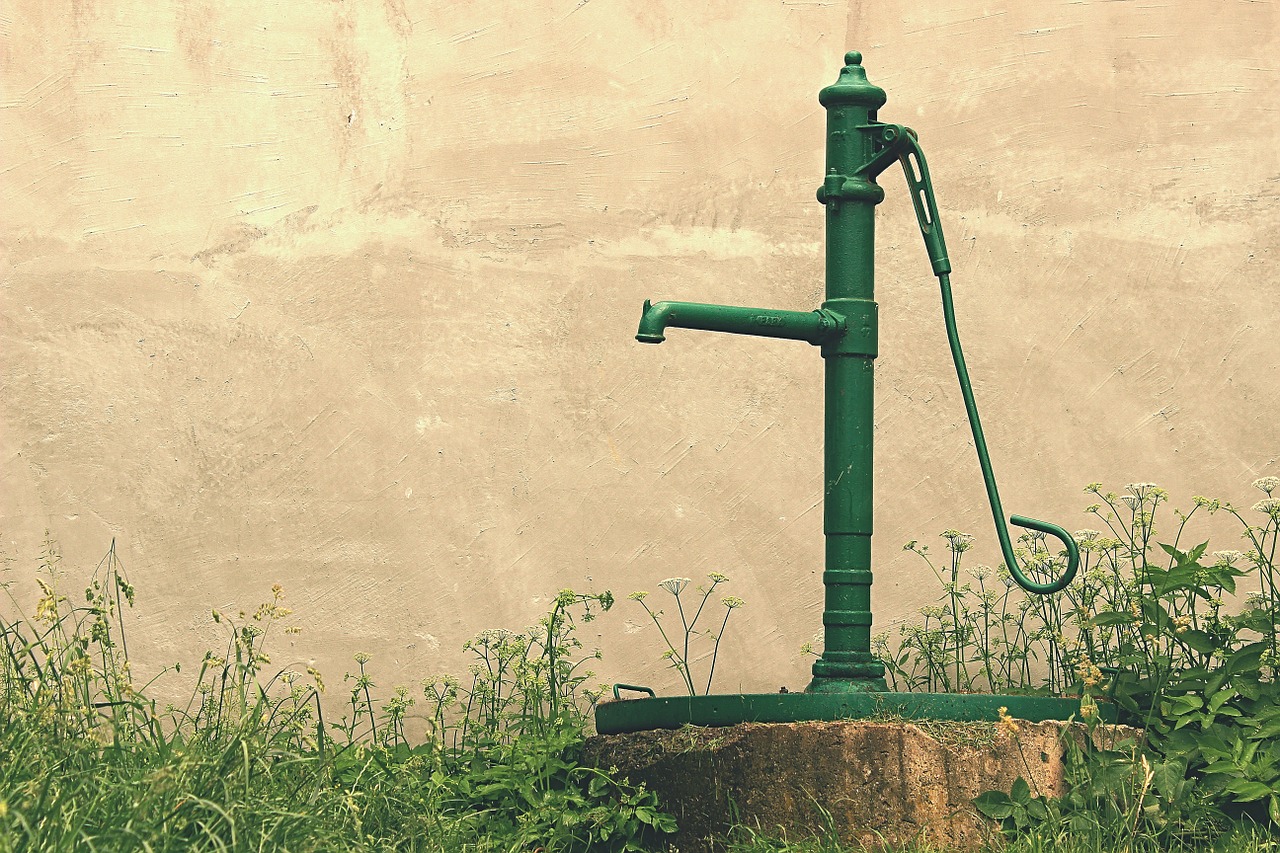
The system begins by connecting the valve, backflow preventer, pressure regulator, filter, tubing adaptor, and drip tubing to the water source.
This water source can be anything from an outdoor spigot to a rainwater catchment system. However you choose to water your garden, it all must start at the source.
2. Spread the Tubing
Once the system is connected to the water source, it’s time to lay out the tubing of the system. Run it throughout your garden.
Make sure you have the emitters in the proper place and make sure you loop the tubing around the base of any trees or shrubs. It should form a wide circle around the base of any tree or shrub to accommodate the wider root system.
3. Stake the Tubing
Be sure to stake the tubing of the drip irrigation to the ground. If not, they can be easily moved around. This will make them ineffective.
If the emitters aren’t placed in the proper position the system doesn’t get water to the proper parts of the plant. Staking helps stop the movement.
4. Cap the End
When the tubing is capped, you can turn on the water and begin to utilize your drip irrigation system.
The last step in the process is to cap the end of the drip tubing. As mentioned above, this will stop water loss and keep the water flowing through the emitters instead of the end of the tubing.
Helpful Tips
There are two important aspects to a drip irrigation system which you must take care of properly and plant properly to get the best experience from this style of watering system. Here’s what you should know before installation:
1. Emitters
Choosing the proper style of emitter and properly installing emitters can make all the difference in your opinion of and the effectiveness of a drip irrigation system.
When placing your irrigation system in your gardening area, you must look to see if you have any elevated areas.
If you have an area elevated over five feet you should choose an emitter variety which will compensate for any uneven water pressure which may occur because of the water fighting to make it up the incline.
If you have flat ground in your garden, you should choose to go with a turbulent flow emitter. Yet, if your water source is one which is gravity fed (i.e., a rainwater system) use a short-path emitter because they seem to do better with lower water pressure.
It’s vital to have approximately two emitters per plant placed 18 inches apart. If you have larger plants in your garden, such as trees or shrubs, you’ll require more emitters to provide adequate water.
By having two emitters per plant, it allows for back-up in the event one of the emitters become clogged.
However, if you’re choosing a more compact style of gardening (such as square foot gardening) you may have to downsize on the number of emitters in the system to allow for adequate spacing.
You should also be aware there are different styles of emitters which can be purchased based upon what you’re intending to water.
If you’re trying to water ground cover plant varieties, there are sprayer emitters which cast water onto the plants because their roots are harder to reach.
If you’re trying to water hanging baskets, there are fogger emitters available which apply adequate water without having such a cumbersome system.
However, if you’re trying to water typical plants in the ground where their roots are easily accessed, single emitters will be your best option.
Understanding the different styles of emitters and proper spacing is vital to properly install a drip irrigation system.
2. Debris
Some people recommend burying your drip lines and emitters in the ground to disguise them and keep them from becoming a trip hazard.
This is a personal choice because though this could stop you from tripping over your irrigation system, it’s also going to cause clogging issues.
Filters help cut down on the number of blockages in the system, but debris will still find a way to block emitters.
Therefore, check your emitters frequently. The other issues with burying your tubes and emitters is pests will chew the tubes in two.
Plus, roots will grow through the tubes and emitters. This will cause your tubes to burst and ruin your entire system.
Please take these points into consideration before burying your drip irrigation system.
Benefits of Drip Irrigation
Drip irrigation is a popular irrigation system because it does boast many benefits. Understanding what the benefits are for this style of watering system can be a key component to choosing the right irrigation system for your garden.
1. Efficient
This style of irrigation system is efficient because it produces little waste. Most overhead watering methods waste approximately 25% of the water they distribute.
When using drip irrigation, only 10% of the water applied to your plants will be wasted. The water is absorbed into the soil faster than it can evaporate.
2. Easy to Install
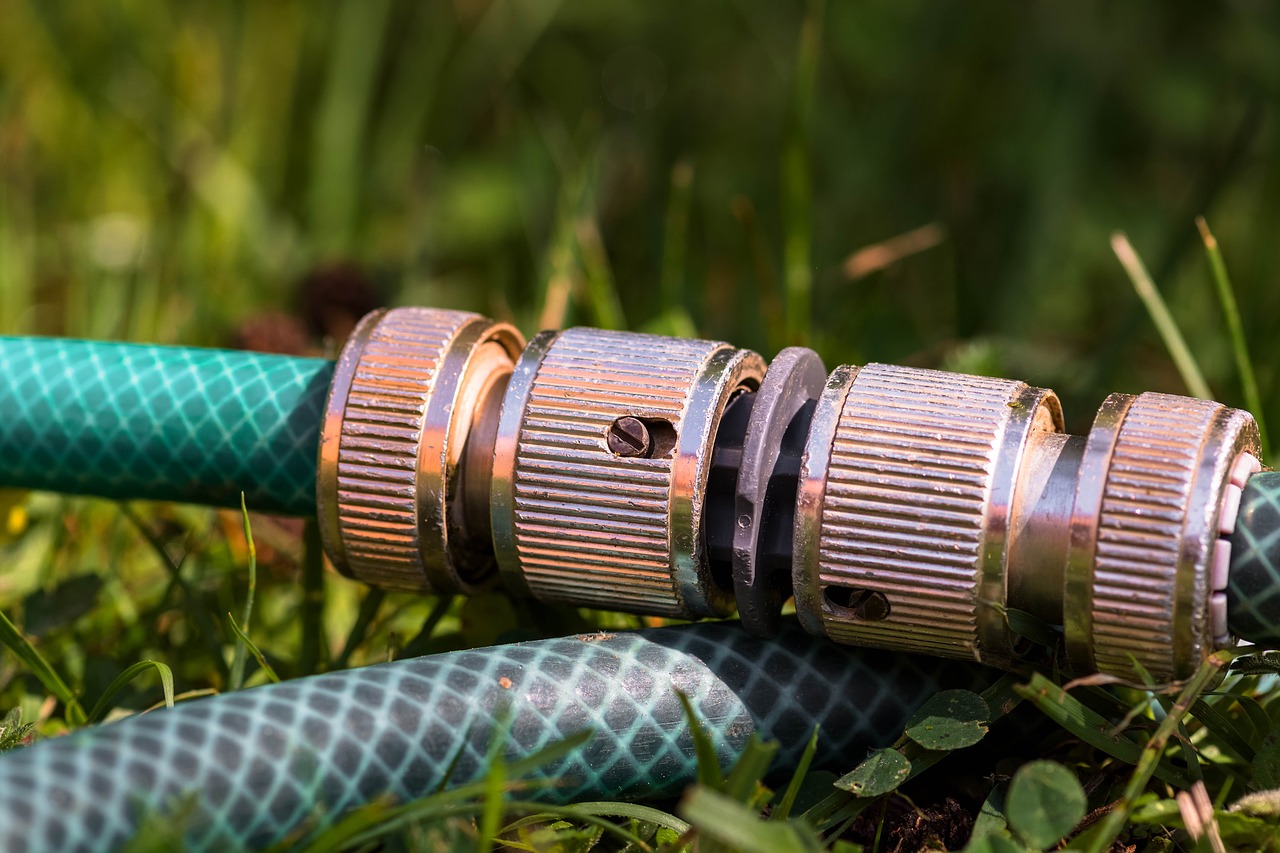
Drip irrigation systems are easy to install. They’re also easy to design on your own. This allows you to have a watering system which will specifically cater to the needs of your plants and the design of your garden.
Therefore, because of the simplicity of the design of a drip irrigation system, it’s feasible for most people to install this system themselves.
3. Cost Effective
Not only is a drip irrigation system easy to install, but it’s also cost-effective. You can purchase kits if budget isn’t your greatest concern.
However, if you desire an irrigation system on a budget, you can also use a DIY version of a drip irrigation system which will be equally as effective and cost less.
4. Reduces Disease and Weeds
Are you tired of your garden being overtaken by weeds? Are you struggling to keep your plants healthy and thriving?
Drip irrigation can help you battle both problems. Where water goes only to the roots of your plants, it makes it difficult for weeds to germinate elsewhere in the garden. The direct watering method also stops diseases from forming on your plants because diseases need excess moisture to survive.
5. Steady Watering
When you use other watering methods, it’s common to have some areas which are standing with water and look like a muddy mess.
While other areas barely get any water and are living in a drought. Drip irrigation stops this from happening. Each plant is watered equally and accurately.
6. Stops Loss
When your plants get too much water at one time, the soil begins to run and with the loss of soil also comes a loss of nutrients for the crops.
Because drip irrigation is a low flow system, it doesn’t cause runoff. Therefore, allowing nutrients and soil to stay right where they are.
The Drawbacks
As with everything in life, when there’s an upside there must also be a few drawbacks. Drip irrigation is no exception. Here are the cons to using a drip irrigation system:
1. Proper Installation
This has been discussed earlier, but it needs to be stated again. You must install the system properly with enough emitters and proper spacing, or the system won’t work effectively.
When the system doesn’t give off enough water, the root systems will dry out and cause your plants to suffer.
2. System Maintenance
For drip irrigation to work properly it must remain free of debris and blockages in the tubing and the emitters.
This requires you to flush the system regularly to remove any blockages and stop further blockages from developing.
3. Falling Hazard
It’s important to stake the tubing to the system in the ground. Not only will this help it work more effectively, but it will also help avoid falling hazards when you’re working in the garden.
Unfortunately, when you have tubes laying on the ground in the garden, it can be easy to get your feet tangled. Keep this in mind when choosing to go with this style of irrigation system.
You now know the good, bad, and the ugly when it comes to drip irrigation. It’s a great system for watering your plants easily.
Yet, there are some concerns which must be explored before investing in this setup. Hopefully, you now have a better understanding of drip irrigation and feel confident you can make an informed decision.

