Have you decided to take the leap and start gardening? Congratulations! A wise decision. I believe growing a garden is one of the best ways to show your love for the environment, increase your self-sufficiency, and enjoy better health.
You can spend your entire life learning how to grow food at home. You’ve got to think about plant spacing, fertilizing, irrigation, trellising, cover crops, crop rotation, interplanting, seed saving, and so much more. Plus, beyond the gardening, there’s harvesting, preparing, and storing all those things you grow.
But not to worry, we have all those topics covered and you can return at any time to find out more, but for now – let’s get started with the easy way to get going and get gardening!
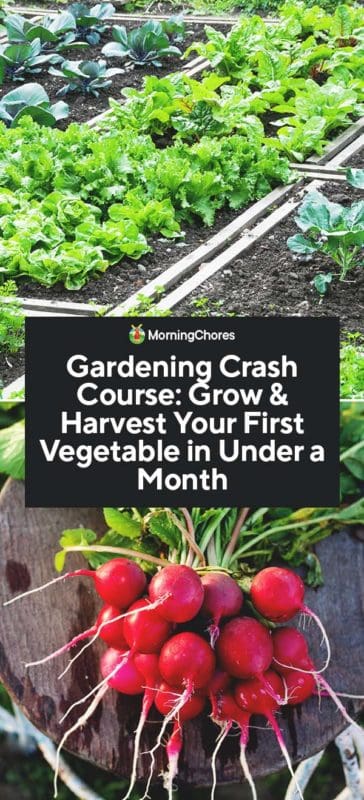
Why Radish for Your First Garden?
To make your journey easier, I created this gardening crash course using one easy, quick-growing vegetable as an example: radishes.
You can learn a ton about gardening and food preservation in under a month using just radishes. They’re a versatile plant—you can harvest sprouts as micro-greens, the leaves as greens, and then obviously the radish.
Radish is an easy plant to grow (not kill), so it is perfect for beginner gardeners, and you can have your first harvest in less than a month. Once you have had success, I hope you will expand your repertoire and try beets and lettuce too, both are equally easy and versatile.
The Quick and Easy Radish Garden
Step 1: Choose a Location
For this crash course, I suggest you find a 4-foot by 4-foot area in full sun. Ideally, this area will have several inches of soil.
It doesn’t need to be high-quality soil, but it should already be growing something such as grass or weeds that you can mow down easily.
Step 2: Pick Your Gardening Method
There are lots of different ways to grow a garden. For this crash course, I recommend you choose one of these gardening methods:
– No-Till Gardening
No-till gardening is an easy way to get started because it only requires two things – cardboard and compost.
After mowing down your designated area, cover it with cardboard. Wet the cardboard. Then cover the cardboard with 3-4 inches of compost.
– Garden Bed
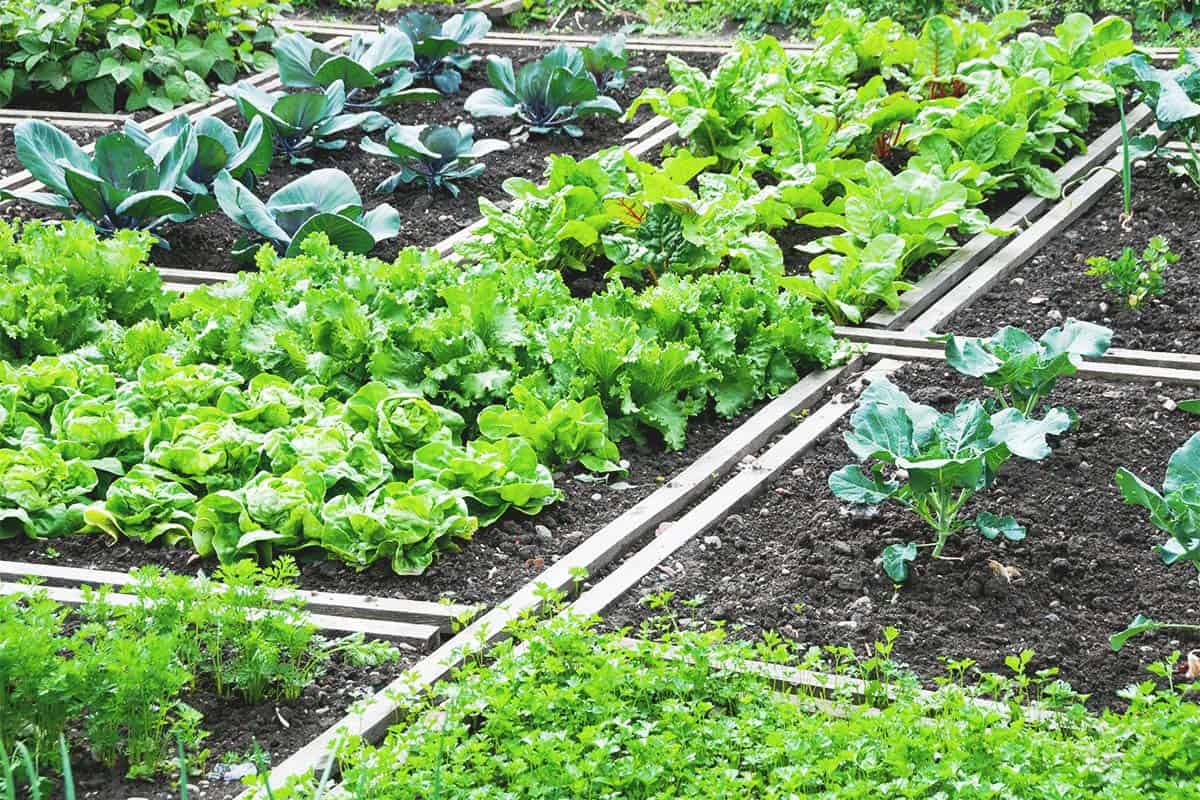
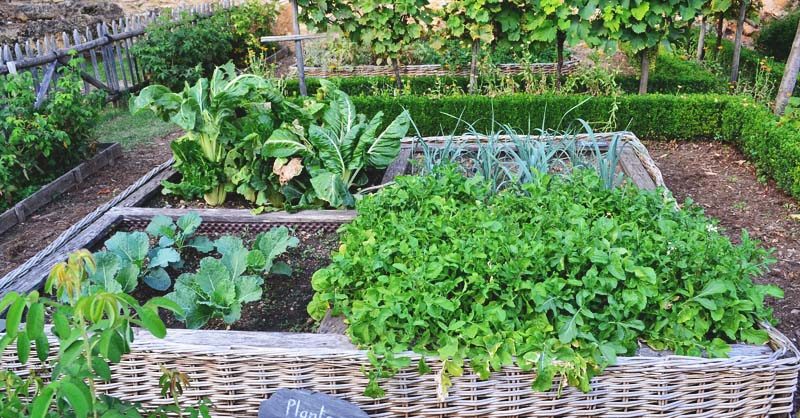
You can also make a garden bed using scrap wood. Use the no-till method, just add a bed frame before you pour in the compost to make it all tidy and have a clearly defined border.
– Compost Bag Bed
Finally, if you want to take the easiest route of all, you can make a compost bag bed. Lay your bags of compost out over your garden area.
Then cut out the center portion of the bag. Leave about 2.5 inches all around so the bag keeps its shape. Also, poke a few extra holes in the bottom of the bag to improve drainage through the bag.
This method is great because the plastic bag suppresses the weeds below. It also helps preserve moisture and warmth in the soil.
The only drawback is that some commercial compost has been heat-treated to reduce weeds and may take a few extra weeks for the compost to reactivate. Putting the bags in contact with existing soil helps speed up that process.
Step 3: Plant Seeds
For this crash course, plant radish seeds in spring when average temperatures are between 50-70℉ (e.g. daytime 70, nighttime 50 = an average of 60℉). Also, low temperatures need to be above 45℉ for good germination rates.
To learn more about seed germination, read How to Succeed at Seed Germination & 7 Common Mistakes to Avoid.
Plant common Radish varieties such as French breakfast or Cherry Belle. Or you can choose other more exciting radish varieties as long as they are under 2 inches in size when fully grown and are ready harvest in under 30 days. (Remember this is a crash course, so no 60+ day radish varieties!)
To plant, scatter seeds across the entire soil surface. Use the whole package to get good coverage. Then water your seeds into the soil using a watering can. If you don’t have a watering can poke holes in the lid of a juice or milk container for a makeshift watering can.
Finally, cover your bed with an old sheet or another piece of thin fabric. Weight this down with rocks or water jugs to hold it in place. It should lay lightly over the bed area and not be stretched so tight that it presses into the soil.
Step 4: Water and Weed
If you do have any weeds come up, gently work them out of your soil using a fork. Don’t disturb any of your seedlings. If you can’t get the roots out without disturbing your seeds or seedlings, then just trim the tops to the soil each time they emerge.
To differentiate between a weed and a seedling, seedling leaves will all look the same while weed will have different leaves.
Take the sheet off to water, and water whenever the top ½-inch of soil feels dry. Unless you have rain, this will be about 2-3 times a week, but may vary based on your climate conditions.
Step 5: Harvest Sprouts
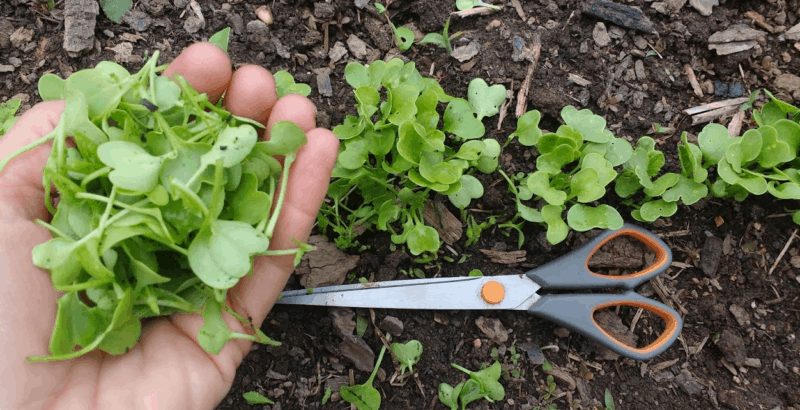
In a few days, your radish will germinate. Woop-woop! Radishes have very big cotyledons (the first leaves to appear) that look like butterfly wings.
Use scissors to make a chessboard pattern of seedlings and soil in your planting area. Each square should be about 2.5-inches wide and long.
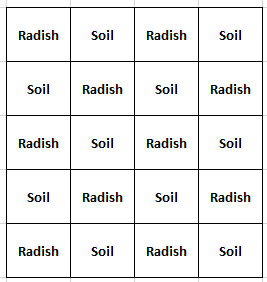
Collect those cuttings. Triple wash them by rinsing, soaking, and straining, and repeating three times. Pat them dry on a clean kitchen towel.
Drizzle a drop of olive oil and some salt and pepper and enjoy. That’s your first harvest!
After this, leave the sheet or fabric off so your plants get full sunlight.
Step 6: Harvest Greens
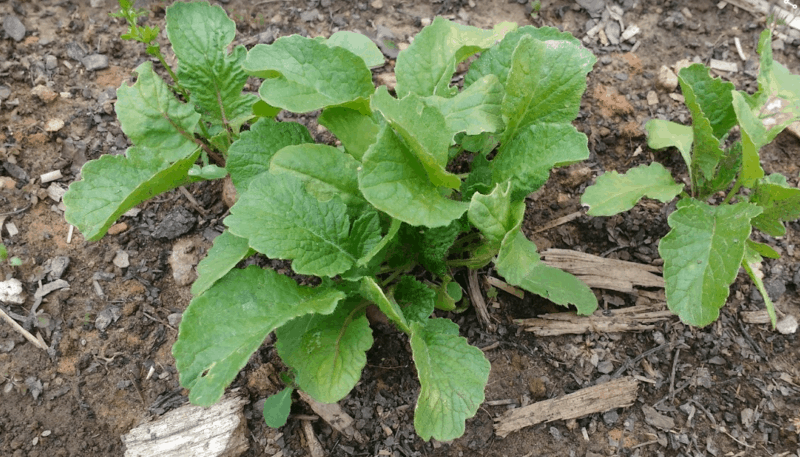
Over the next 1-2 weeks, you can cut most of the green leafy tops that emerge from your radishes. Use scissors and trim the greens at the soil line. Those greens can be eaten fresh or thrown in omelets or sautéed with other vegetables. They are your second harvest.
Don’t cut any leaves on the radishes you plan to let grow. Your goal is to leave about one radish every three inches apart. These will grow to full size to be harvested for the roots.
Step 7: Harvest Radishes
About four weeks after planting, you can start to harvest mature radishes. The few that fatten early, eat them raw or in salads. But leave most of your radish to be harvested at once so you can learn how to preserve them.
When you harvest a large bunch all at once, place the roots and root ball immediately in cold water for about 10 minutes so they soak up extra moisture. I take a bucket of water out with me and put the roots right into it as I harvest.
Seed Saving Note
Important!! Leave your 6 biggest, best-looking radishes with lush greens in the soil to keep on growing so you can also learn how to save seeds. Ideally, these should be about 8-12 inches apart so they have plenty of room to flower while still being close enough for good cross-pollination.
Step 8: Ferment Your Radishes
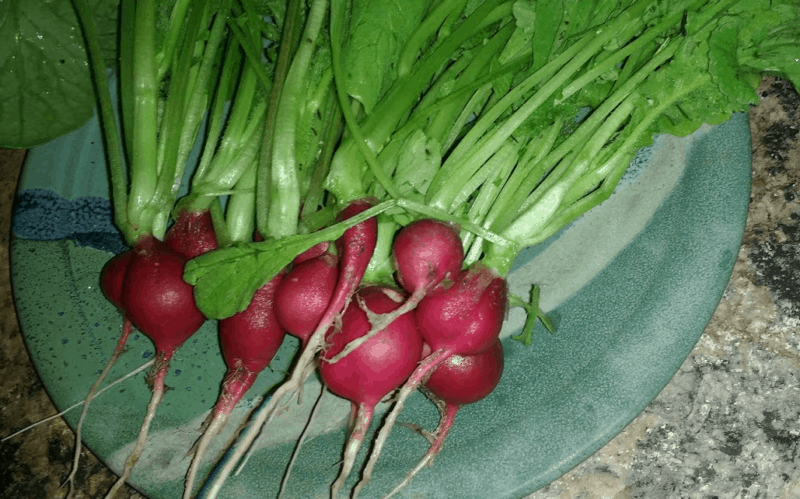
Wash your radishes. Separate the greens from the roots. Chop the greens into ½ inch pieces. Then slice the radishes into thin slivers. Mix those roots and greens back together and weigh them.
– Calculate Your Salt
Multiply the weight of your radishes by 2% to figure out how much salt you need for fermentation. So, if you have 16 ounces of radishes and greens, 2% of that is 0.32, or roughly 1/3 of an ounce of salt.
– Mix and Mash
Mix that salt in with the radish roots and greens. Mash them together with your hands or a wooden spoon until they start expressing water. Then transfer them to a mason jar or another type of glass jar. Push the radish parts down until they are submerged in their own juices.
– Go Anaerobic
If your radish doesn’t quite have enough juice to be submerged add a splash of water to cover them. Radish parts under the saltwater brine will ferment, anything not in water will mold. If you accidentally add too much water, just add a little extra salt to keep your brine acidity high enough.
Then cover your jar with a plastic bag and hold it in place with a rubber band. If the bag puffs up, remove it to release the gas, then put it back in place.
– Eat or Store
In 3-5 days, your fermented radishes will be ready to eat. Use these like sauerkraut or sue Reuben. Or, just eat a tablespoon daily for good gut health and extra vitamins.
Close the jar with a regular lid and store this in the fridge for up to 2 months. You can also keep it in a basement or root cellar with temperatures under 55℉ for 4-6 weeks. Technically, you can keep them longer, but they sometimes develop off-tastes.
Step 9: Save Seeds
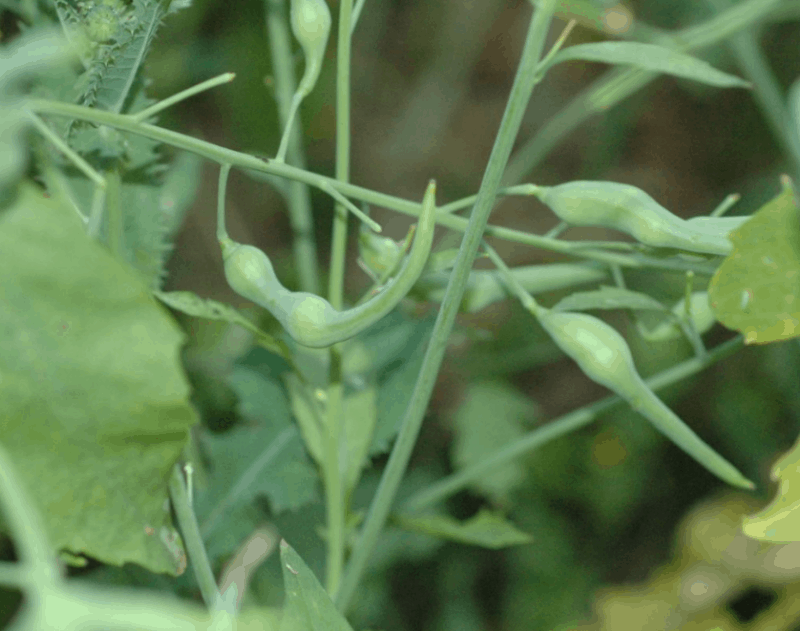
Those 6 plants you left to keep growing will start to put up flower stalks as soon as temperatures are warm enough or plants are mature enough. Slow down your watering to about once a week if there’s no rain, or only when the top inch of soil is completely dry. This slightly stresses the plant to promote flowering and seeding.
– Wait and Watch
For spring-planted radish in areas with warm weather, it takes about two months for seed pods to form. In areas with cool summers, it can take a lot longer. For fall-planted radish, plants may not have enough time to produce seeds before the cold sets in.
Once the seed pods form and fatten, start watching for signs of drying at the tips.
– Cut and Dry
Once the pods start to look a little crispy, you can cut the seed heads off the plant and dry them in a paper bag. Just loosely layer the heads, don’t press them down or they might mold.
Note: If there are pods still on the plant that are still green with no signs of drying, you can harvest those and saute them as a crispy, nutty treat.
When the pods are dry, use your fingers to smash them in the bag so all the seeds pop out. When the pods are all crushed and the seeds have fallen to the bottom of the bag, cut the bottom corner of your bag and drain the seeds into a bowl.
You can separate the chaff if you want to. Or you can just plant the chaff (leaf and pod bits) with the seeds when you start your next round of radishes.
Step 10: Repeat!
Now that you have your own seeds, you can add an inch or two to your garden bed and plant another round of radish when conditions are right. Or, you plant something else, such as lettuce or beets to keep on learning.
Try Different Plants
Easy Gardening: Beets
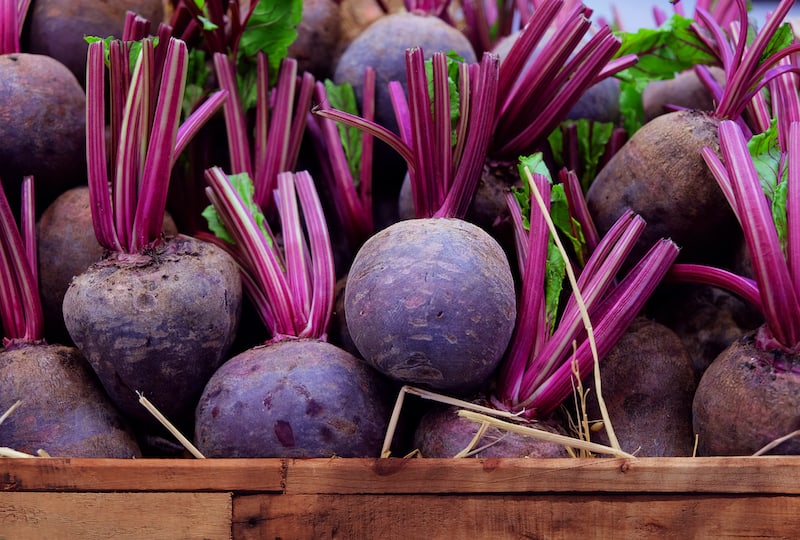
Beets can be grown almost the same as radish. The seeds need to be planted deeper in the soil to start (about ¼ inch). They also need to be thinned to about 4 -5 inches apart for mature plants.
Finally, they are biennial. That means they won’t flower and produce seeds unless they grow through winter and into the next year. So, they take a bit more commitment to save seeds.
Yet, they can also be fermented like radish. The greens are great for eating from when they sprout up to when the beet is harvested. Plus, if you want to store beets without fermenting them, you can bury them in a box or moist sand, in a dark location with temperatures of about 55℉.
For a more in-depth guide read Growing Beets, where varieties and zone preferences are discussed.
Continuous Harvesting: Lettuce
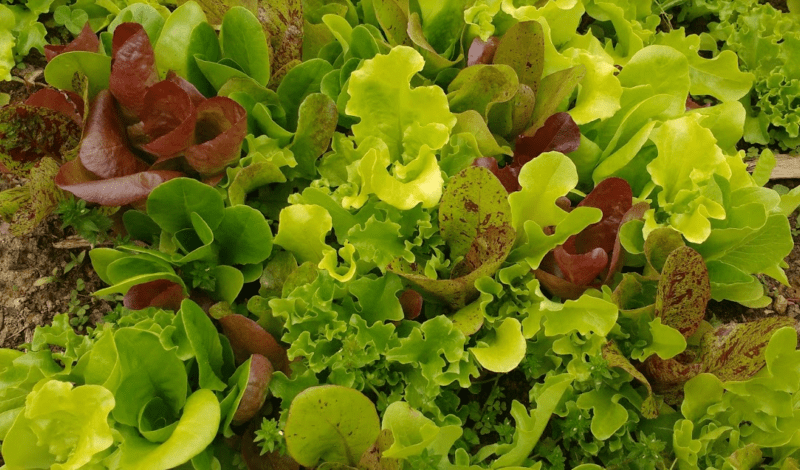
Lettuce isn’t good for fermenting. However, you can cut back the greens several times before the plant loses its will to keep re-growing. Also, the roots are edible too which is why rabbits and voles love them so much.
Humans don’t usually eat them, but you absolutely can. Cook them up like carrots in a soup or mix them into pureed soups.
I do have another post on Salad Gardening where I explain come-and-cut lettuce, and how to plant for a continuous harvest – a great next read if I may say so myself.
Compost Bag to Garden Bed
If you used the compost bag method to start, remove the bags and leave the compost in place. The bags will have done a good job suppressing a lot of weeds over the 3-4 months it took to harvest seeds. So, once you add a little more compost, you’ve got a no-till bed ready to plant.
Gardening Lessons Learned
I know that you’ll want to grow more than radish in your gardens. Plus, of course, you can’t live on radish alone. (Although there are tons of other great radish varieties that you’ll want to try!) However, by learning how to grow, harvest, store, and save seeds one plant at a time, you’ll be an expert homestead gardener in no time.
Plant, Care, and Harvest
From this one vegetable example, you’ve already learned how to plant, care for, and harvest five different ways (sprouts, leaves, roots, pods, and seeds). This knowledge can be applied to lots of other vegetables.
Preserve and Extend
You’ve also preserved food and can use more parts of the plant than most people even realize are edible. That can make your garden far more productive than you may have imagined at the outset.
Compost Garden
Additionally, you’ve learned the value of compost in growing a garden. You’ve learned that you can grow vegetables with very little soil as long as you have a regular supply of compost. So, you won’t be deterred by slim soils!
Next Steps on Your Gardening Journey
Initially, you can buy compost to get started. However, you will also want to start making your own. The best compost is aged for at least a year and preferably two years. So, while you build your skills plant by plant, you can also build your compost pile.
When your compost production is in full swing, you’ll also have the skills to grow a full-scale production and continuous harvest homestead garden!
