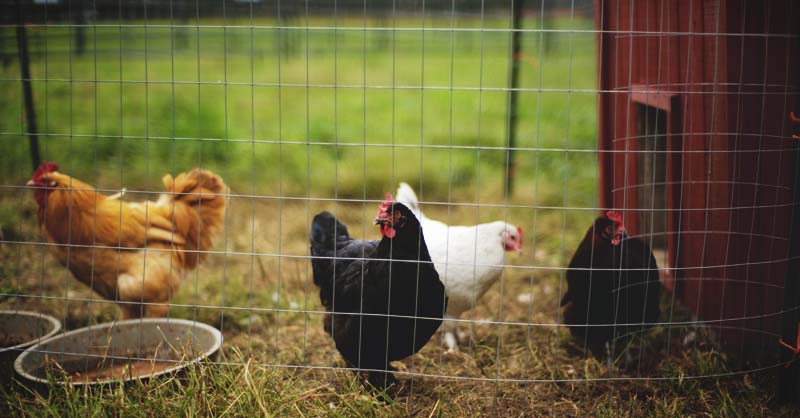
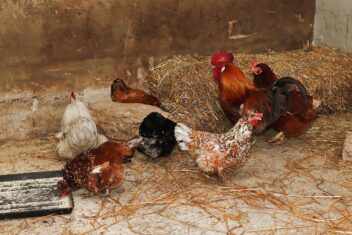
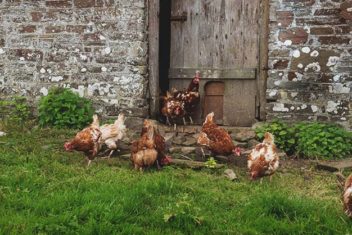
DIY is not always cheaper than buying the store version of some things. However, when it comes to raising chickens, you can provide quite a bit of what they need using stuff you have on the homestead.
Unfortunately, I didn’t know that when I got started. So, I ended up being one of those not-so-clever chicken keepers who spent more on raising chickens than I saved on eggs for the first couple of years.
Now that I know better, I’d like to give you some easy ideas to help you get started caring for your chickens for cheep (cheep, cheep)!
Rules of the Roost Hacks
Roost bars should be low, wide, sturdy enough to support the weight of your flock, and easy to clean under. Other than that, there are no rules for roosts! That being said, I would hate to see you waste money on complicated and expensive roost bars.
Instead, try these.
1. Natural Roost Bars
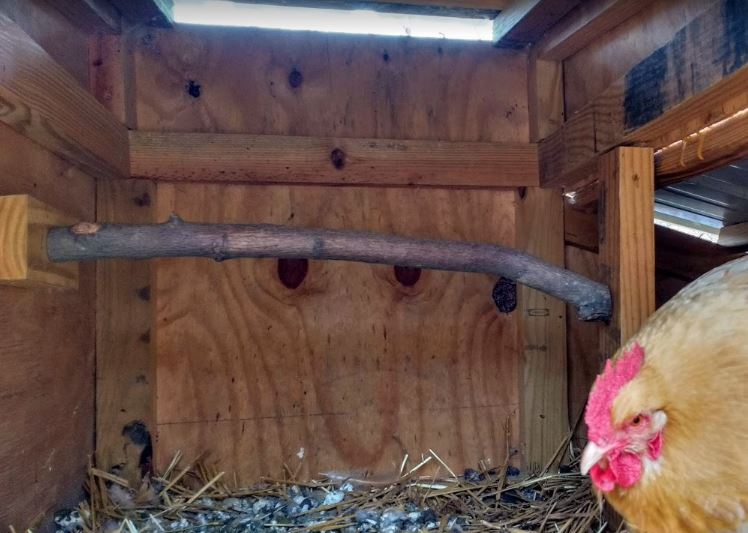
Please don’t buy roost bars! You can easily use free-sourced branches from freshly downed trees. With all the bad weather that’s been going around, these are quite abundant in any woodland area.
Any 2.5 to 4-inch diameter branch cut to fit your roost area will work. They look beautiful in any coop. Plus, since trees are where chickens would naturally roost in the jungle (their native habitat), chickens love them!
2. Pallet Roost Bars
If you live in a desert, downed branches might be hard to find. In that case, you can use slats from free pallets. These usually are nailed in. So, you need a pry bar and a hammer to break down the pallet into usable pieces.
If you have a lot of chickens, you can even use the whole pallet as your roosting area. Hinge the pallet to the wall like a Murphy bed. Then, attach folding legs to the non-wall side to make it easy to move out of your way for cleaning.
3. Lumber Roost Bars
If you must buy a roost bar, then all you need is a 2 x 4, a bit of scrap wood, and wood screws to make safe roosts. Make sure to face the wide-side up so chickens can keep their feet flat on the perch.
Please don’t buy wooden dowels, shower rods, or any other suggestion that costs more than $3. These ideas cost more. Also, because of their small diameter, they can sometimes contribute to chicken feet health issues.
4. All One Level Roost Bars
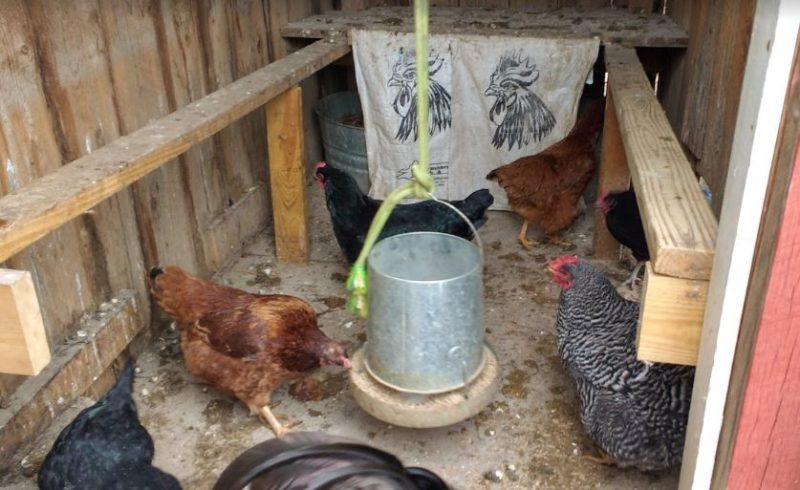
I thought I had to have a ladder roost bar to keep chickens safe at night. After years of watching my hens jostle for position, and occasionally having to treat foot injuries from roost falls, I learned something.
You can run low bars (18-24 inches high) around the perimeter of your coop. That leaves the center of your coop open. It makes cleaning beneath the bars super simple. Plus, even someone with limited carpentry skills can pull off this simple design with no difficulty.
Chicken Feeders and Feed Storage Hacks
I like to let natural chicken tendencies be my guide for how to care for them. Too much of the advice I’ve read about doesn’t mesh with what chickens prefer and what I know keeps them healthy. That’s particularly true when it comes to chicken feeders.
We’ve heard about all the scary pathogens in chicken poop, and so we fear it. We go to great lengths to make sure our chicken feed never accidentally comes into contact with their poop.
As such, we end up with elaborate feeders that make our jobs more difficult because they are a pain to clean and fill. Well, I can tell you from experience that healthy chickens suffer no ill effects from their food coming into contact with a bit of poop.
In fact, if you do have poop in their food, your chickens scratch through it looking for insect larva and seeds all the time. Trust me, they eat every poop-covered, tasty morsel they find. Instead of worrying about elaborate feed systems, give your chickens plenty of space, access to forage (even if you forage it and throw it to them), and fresh water.
Then use these simple ideas to make feeding chickens easier and less costly.
5. The Scatter Feed Method
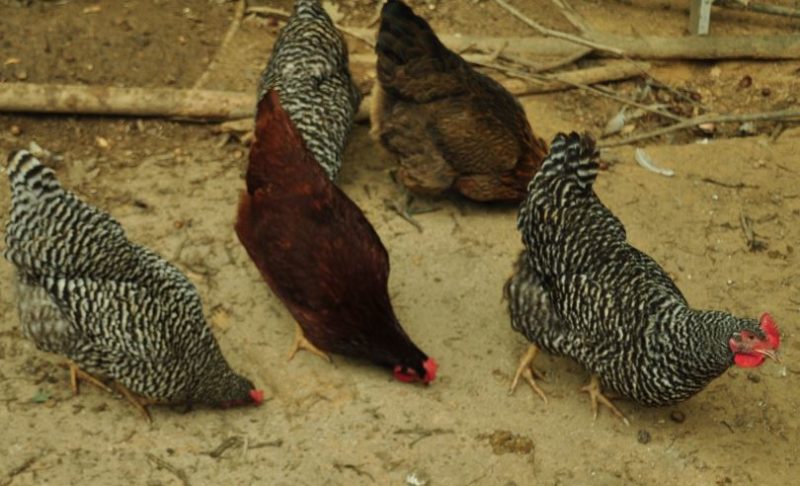
Yes, that’s exactly what it sounds like. Simply scatter their feed on the ground. Your chickens might not eat every speck, every day. But, they’ll eventually get around to it.
I do this with everything I feed my chickens except layer pellets. The layer pellets get mushy when wet and wash away. But, otherwise, all my chicken-safe leftovers, scratch, sunflower seeds, weeds, fodder, and whatever else, gets scattered in their run for them to have fun finding.
I especially love scattering all the whole seeds I feed them. If they happen not to eat something and it rains, then the seeds sprout and give them even more accessible nutrition.
6. Any Available Container Feeder
For your layer pellets, chickens will eat about 4 ounces of feed per day (with limited forage and scraps). So, if you have 4 chickens, any clean food-grade container that holds 16 ounces of feed will work as both a daily scoop and a serving bowl.
If you have more chickens, 8-quart dollar store dishwashing tubs work well. Food grade 1-2 gallon buckets, family-size juice containers on their side with cut-outs, and gallon jugs cut in half also work great.
7. Easy Feed Storage
If you plan to buy feed in bulk, you can store about 250 pounds of pelleted feed and even more scratch in re-purposed 55-gallon drums. Pickle barrels hold a bit less but have twist-on lids that keep feed secure.
Prices for barrels vary by locations. In my area, metal drums are usually 2 for $35. The lids never fit well. But I put a concrete block on them, and they stay in place just fine. Plastic drums run for about $25. Pickle barrels cost $35 and are money well-spent.
Chicken Feed Hacks
The easiest way to keep your laying hens healthy is to buy pelleted commercial feed, appropriate to your chickens’ ages and purposes. The corporations that make that stuff have spent vast amounts of money on research to perfect those formulas for optimal growth, laying, or meat production.
That being said, I am not a fan of buying layer feed. I don’t know exactly what’s in it, where it was grown, or if it’s something I would feel comfortable eating. So, personally, I try to cut down the quantity I give my chickens.
Here are some of the things I give my chickens instead.
Probiotics:
8. Homemade Yogurt
Homemade yogurt is just as good for your chickens as it is for you. All my older milk gets turned into yogurt for my chickens. Not only does yogurt have amazing probiotic benefits, but it has calcium and protein to help with egg production.
As a bonus, because yogurt is runny, I use it for my chicken health inspections. The chickens come running for the yogurt I pour on the ground. Then they stay put as they eat it. This gives me a chance to do visual inspections for my whole flock in broad daylight.
9. Kombucha SCOBYs
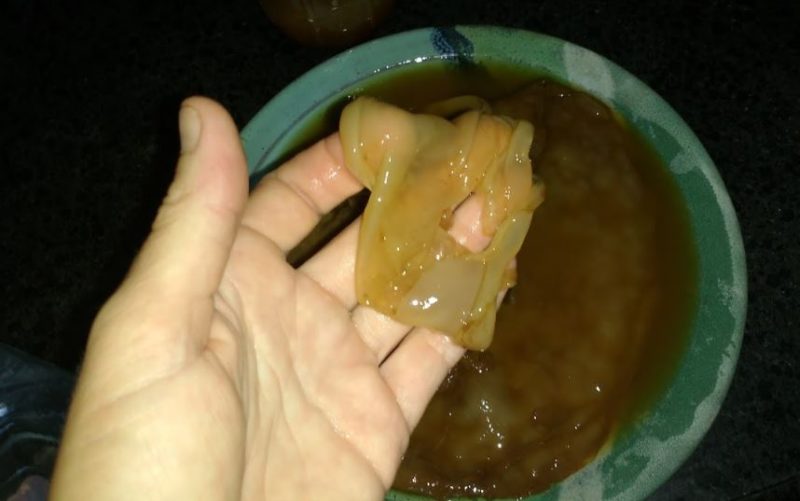
For all you kombucha makers out there, you know how big and unwieldy those probiotic blobs get if you don’t do something with the babies. Well, how about feeding them to your chickens? They are loaded with probiotic goodness and also protein and fiber!
10. Vinegar Mothers
Similar to kombucha SCOBYs vinegar mothers make babies too. Those extra mothers are also probiotic powerhouses.
My chickens don’t like them until they’ve dried out a bit. But then they run around showing them off as they do with lizards before they gobble them up.
11. Fermented Veggies
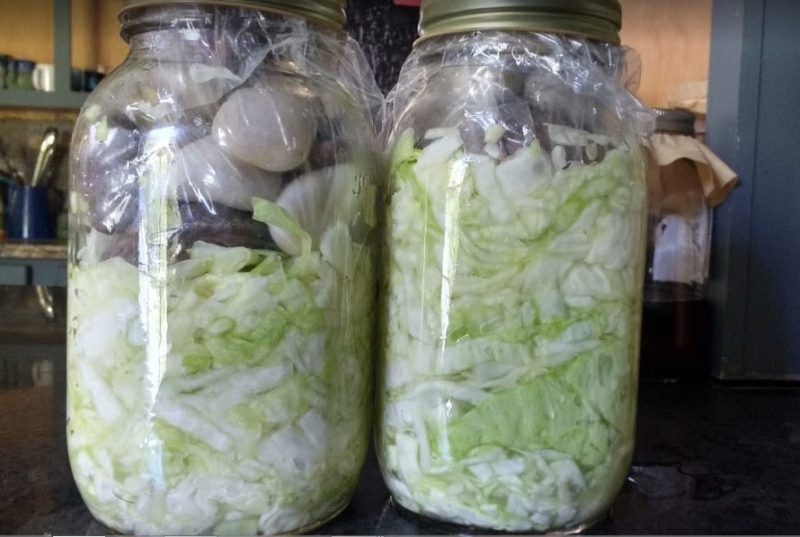
Every so often I make a ferment that I don’t like. Maybe I add too much caraway to kraut or over spice my kimchi. Thankfully, my chickens never complain when I give them my slightly imperfect fermented veggies.
Dose this out a bit each day though, so chickens don’t get overloaded on salt.
12. Fermented Herbs
I ferment herbs specifically for my chickens. Just like for veggies, I use a 2% salt solution and ferment for about two weeks for good, active bacterial cultures. Prolific herbs like oregano, basil, and lemon balm work great for this.
Again, giving only a little bit a day will keep salt in check. I usually go with about a tablespoon a day for every ten chickens. But this is just my own opinion.
Greens:
Looking for ways to get more greens into your confined chickens’ diet without more work? Well, here you go.
13. Weeds
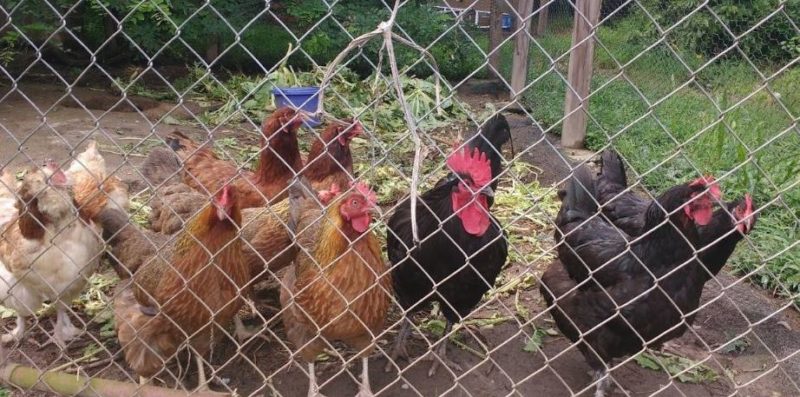
Since I have to do my weeding anyhow, I put all my weeds in a bucket and toss them to my chickens. They don’t always eat them all the same day, but eventually, all the weeds disappear.
They love stuff like henbit, chickweed, dandelion, miners lettuce, upland cress, purslane, bittercress, dead nettle, nutsedge, and various annual grasses. They love weeds with seed heads too.
They also eat some dock (burdock, curly dock) and amaranth. I’ve read somewhere that those can be toxic to chickens, but mine hasn’t had any issues. They do tend to eat them slowly. So, I think they naturally regulate their intake.
Since anything in the amaranth family is a potential host to blister beetles, I check those leaves and flowers carefully before tossing them to my flock.
14. Garden Scraps
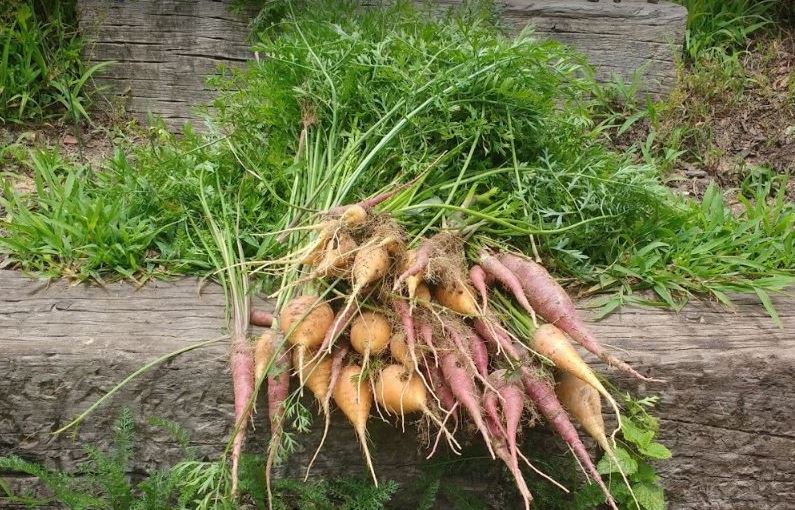
My chickens get all the root vegetable tops that I don’t plan to eat – beet, turnips, carrots, rutabaga, etc. They get insect-infested plants I pull from the garden. (Note, make sure you ID the pest first and confirm they are safe for your chickens).
I also serve my ladies all the chard and kale I can’t keep up with eating. Pea greens, bolted lettuce, outer cabbage leaves, and pretty much every other green thing from the garden goes to my gals.
Come to think of it, the only garden gleanings my hens don’t get are the green parts of nightshade family plants (e.g., tomato, potato, peppers, and eggplant). Oh, and rhubarb leaves and seeds are possible no-nos too. My chickens do taste those leaves and seeds while foraging, but they never eat much. So, I skip serving them to my confined flock.
Protein:
15. Meat Processing Scraps
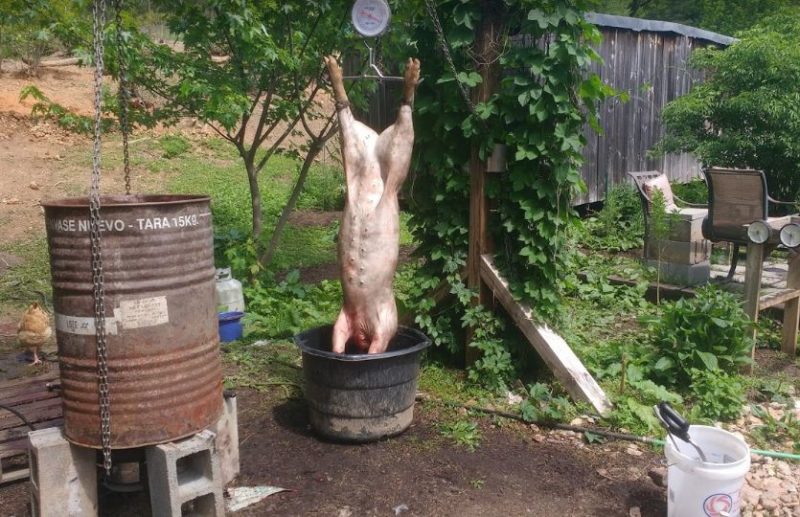
I am in the camp of people who don’t feed chicken anything from chickens (e.g., no feather protein, no chicken processing parts). That idea just doesn’t sit well with me. However, I am also in the camp that does feed my chickens all the parts and pieces leftover from processing non-poultry livestock.
My free range chickens love nothing more than to hang around eating blood, chunks of meat, viscera, skin, and every other part of a once live animal when I process. Plus, I usually throw them some fresh parts well away from where I am working just to keep them busy.
Super fresh meat, fat scraps, and viscera go to my chickens raw. If it’s more than an hour or two old or has been frozen and defrosted, then I cook it.
My theory is that in nature chickens would happily eat up a fresh kill that they stumbled across. So, why can’t they do it on my homestead?
Truthfully, a hungry chicken will eat just about anything. However, since my laying ladies are otherwise well fed, if I give them something they deem unworthy, they just won’t eat it.
16. Maggots and More
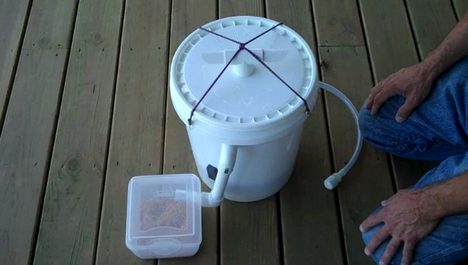
Image via BlackSoldierFly
Pest insects of all sorts make great protein sources for your chickens. Maggots, Japanese beetles, marmorated stink bugs, and grubs found in your garden are all great choices for chickens. You can pick these up where you see them in the garden and take them to your chickens for free bonus protein.
On the maggot front, house fly maggots may carry potentially toxic bacteria and disease. But using soldier fly maggots is becoming a more common way to produce high-quality protein for your flock. You can even easily cultivate your own at home.
You can buy pre-made soldier fly cultivation kits for breeding larva. Or, you can make your own using a 5-gallon bucket, some PVC, and a little ingenuity.
Chicken Litter Hacks
Some people have very strong opinions on the subject of chicken litter. I have been told more than once that I am some kind of criminal for not using pine shavings as my go-to litter material.
To that I say, what did people do before there were plastic-wrapped pine shavings to be bought at the farm supply store? Well, I can give you a few answers that will save you money and also not do any mortal harm to your happy hens.
17. Don’t Use Litter
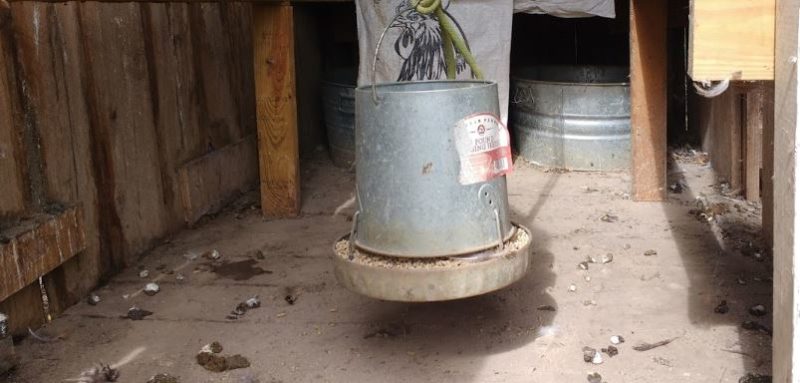
Yep, you read that right. I don’t use litter in my chicken coop. Well, I do put a handful of straw or hay in my nest boxes. But, I don’t cover the floor.
Instead, once a week, I use a flat spade to loosen stuck on stuff from my floorboards. Then I use a broom and dustpan to sweep it up into a bucket for composting.
Think I am crazy? I know a 50+ year “rockstar” chicken keeper who has never used litter (or even cleaned his coop). Instead, he digs out the poop he needs from the floor of his coop when he put his garden to bed for the winter. By spring, the droppings are aged in the garden beds and ready for use.
As long as you free range your chickens during the day and have proper ventilation, loads of litter are not necessary for good chicken health.
18. Local, Cheap, with Less Plastic
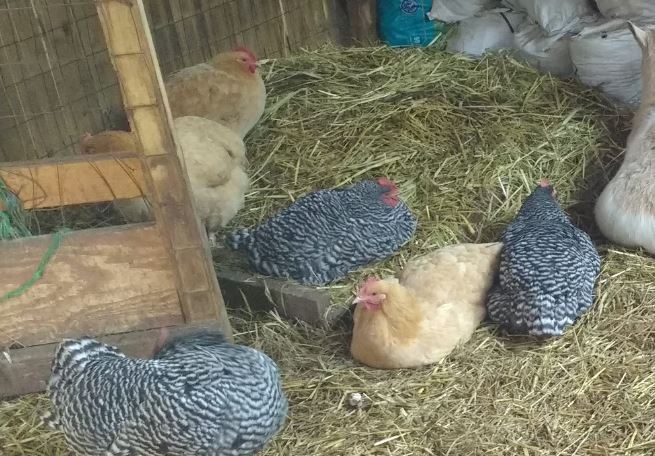
Pine shavings go on sale for $5 a bundle where I live. That’s a good price. Personally, though, I don’t buy them because they come in plastic.
If you want do want to use litter (e.g., for composting purposes), please consider local, inexpensive options, that don’t come wrapped in plastic. Our shared environment will thank you!
– Straw
Locally cut straw bales also cost about $5-6 each. Plus they come with handy bale ties that you can reuse in other projects. A straw bale typically lasts me twice as long as pine shavings for the same price, and it composts faster.
– Hay
Hay bales also work. They tend to be a bit more expensive. Plus they may contain perennial weeds. So, use caution when composting hay litter for annual garden use.
– Shredded Paper
When I worked in an office, I carted home all the shredded paper for homestead use. That stuff is fantastic for all sorts of things from chicken litter to worm food and more. If you have access to used office paper and a shredder, I highly recommend using it as litter.
– Pine Needles and (Maybe) Sawdust
Local lumber mills often have pine needles for bulk purchase or even free pick up. Plus, in a serious pinch, you can also use sawdust from untreated wood.
I have used this in my nest boxes (when I get some for free) since chickens don’t scratch in those much. I also dampen the sawdust to keep it from being dusty. I change it at the first signs of mold, though this rarely happens.
– Miscellaneous Mulches
Chickens did evolve in the jungle and do exceptionally well in woodland landscapes. So, leaf, hardwood, and mixed woodland material mulches also work well.
Utility companies will often drop this stuff at your house for free, during annual tree trimming. It also hot composts quite well if you layer it about a foot deep. As such, it can be used to keep water buckets from freezing and warm late-molting chickens.
Nest Area Hacks
I can’t tell you how many hundreds of posts I’ve read on nest boxes alone. All the different styles and iterations out there are astounding. What’s even more astonishing are all the reasons people choose those various styles.
Truth is though, all you need is a cozy, semi-private chicken-sized place that is easy for you to keep clean. If your chickens feel safe and want to lay their eggs in the nesting areas you provide, you won’t have to go on an Easter egg hunt every day of the year.
19. No Cost Curtains
The first time I saw curtains in a chicken coop, I thought those people must be crazy. Now I get it. Chickens do appreciate some privacy while laying.
So, I use a staple gun and empty 50-pound feed sacks to attach as curtains in my nesting area. If they get too dirty, I pull them off (making sure to collect all the staples). Then I put up some new feed sacks.
20. The More the Merrier
Chickens also love to share nest boxes. No matter how small I tried to make my nest boxes, I inevitably found two chickens crammed into one box. Often, this resulted in broken eggs.
Now, I make my nest boxes bigger. An old plastic tote, a galvanized garden bucket, a cut drum, or broken trash can on its side, and more all make great nest boxes from a chicken perspective.
Using re-purposed 5-gallon buckets also work. They have round sides which makes them apt to roll. A couple of large rocks placed strategically on each side will hold them in place.
Conclusion
Hopefully these low to no cost chicken care hacks have inspired you to use what you already have to provide great care to your chicken flock for less. Trust me, you’ll spend enough on building a coop, installing fencing, and buying feed that there’s no reason not to save when you can.
Also, exercising your ingenuity and using what you already have is a critical homesteading skill. Practice it whenever you can. When in doubt, ask yourself what would MacGyver do?

