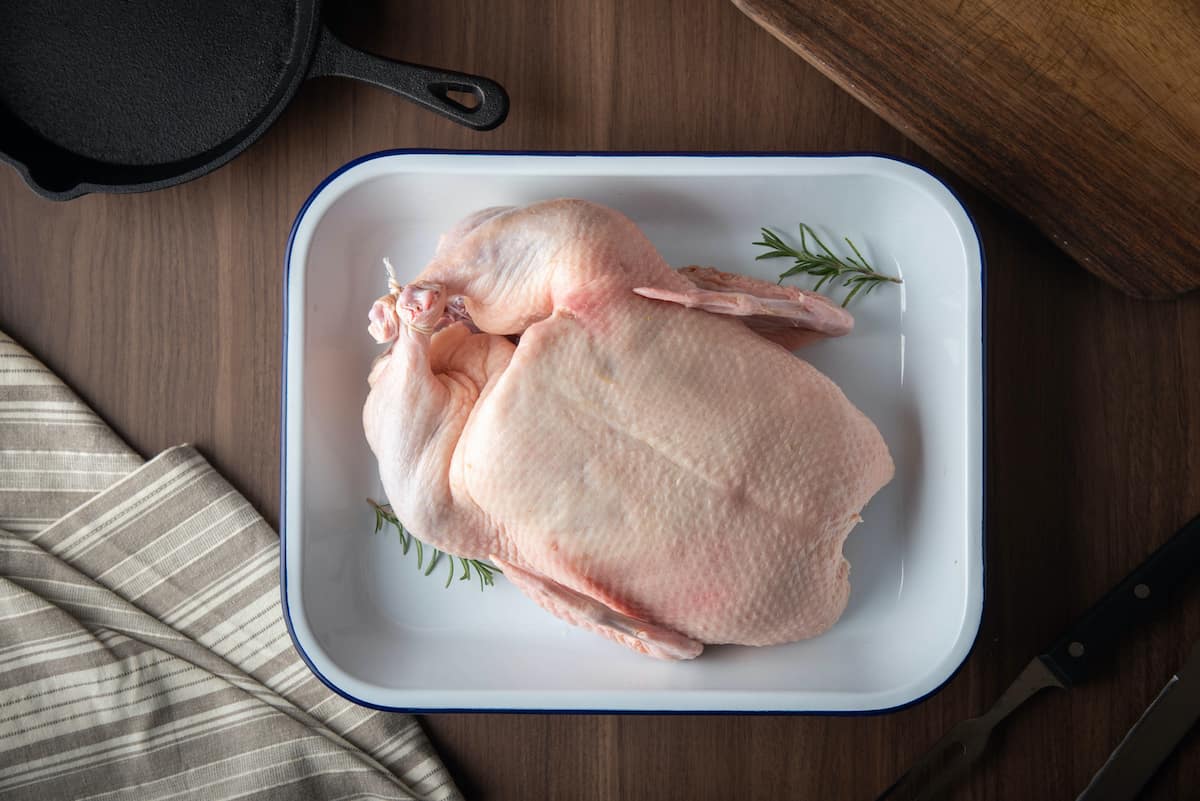
Chickens are usually the first livestock new homesteaders learn to raise and process for meat. Broiler types, like the Cornish cross, have been bred to have light feathering that is easy to pluck. They also fatten quickly and are very economical to raise.
However, if you are ready to move beyond broiler chickens, why not consider ducks? Despite what you may have heard, in the right circumstances, ducks can also be very economical to raise and keep as a self-sustaining meat source.
Processing ducks takes a few minutes longer than processing broilers. However, if you are prepared to put in just a little more work, you can enjoy expensive, gourmet delicacies like duck prosciutto, rillette, liver pâté, bacon, confit, rendered duck fat, and more for a fraction of the cost at home.
The basic steps used to process ducks are very similar to processing a chicken. However, there are some significant differences you need to be aware of before you start.
Let’s go through some old-time, low tech ways of doing it, and some more modern methods to help you make a plan for processing at home.
Old Time Homestead Processing
If you want to process ducks as our homesteading ancestors would have, it’s very simple. When you want to eat duck meat, you go out and pick out one for harvest.
Step 1: Make the Kill
– Break the Neck
Since ducks have long, thin necks that are easy to break, you can hold their body in the crook of your arm. Then use your dominant hand to pull and twist the neck until it breaks.
Then if you twist another two times, the head will come off. At that point, hold the duck by its feet and let the blood drain out through the open neck.
– Butcher Block
Alternatively, you can take the duck to your firewood chopping block and use your hatchet to sever the head. This is a bit harder to do than breaking the neck because you must pin the duck to the block and maneuver the hatchet carefully.
Make sure to keep your hand out of the way. Also, make sure you get enough force behind the hatchet to make a clean kill. A cleaver can also be used if you prefer.
You can either quickly collect the duck by its feet to aid in letting the blood flow out. Or you can just leave the duck to bleed out on the chopping block. The duck carcass may move a significant amount after death. So, make sure the area is clear around the chopping block.
Step 2: De-Feather
– Dry Pluck
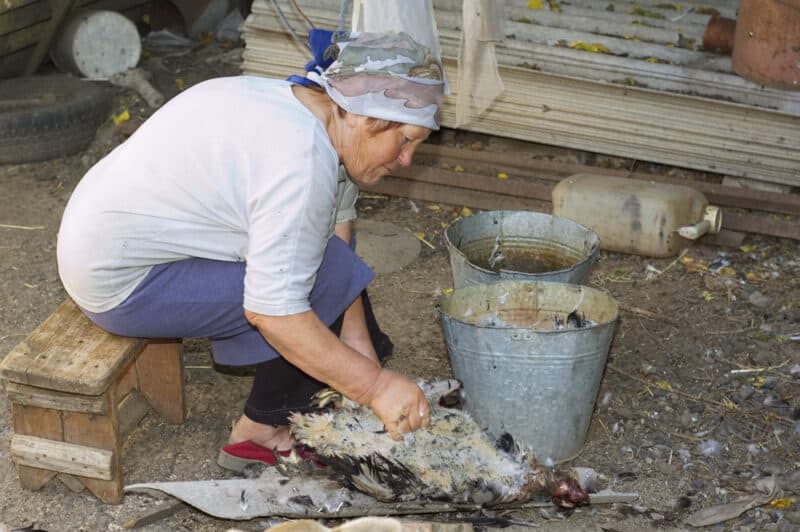
Now you can pluck out the feathers. Dry plucking a duck is a tedious task. You can pull some by clumps. However, other feathers such as on the wings and tail are so deeply embedded that you have to pluck them individually.
Dry plucking takes a half-hour or more. Also, you will likely do significant damage to the skin. So, don’t expect the skin to be smooth like you see served up in fancy restaurants.
– Skin
Because dry plucking a duck is so much work, some people just skin the bird. This removes the skin and the feathers at once.
To skin a duck, you’ll need a sharp knife with a good point. I find it easiest to start my cut at the neck where the skin is loose after the head removal.
Then, you can cut a slit down the neck, like opening a seam. After that, use the tip of the knife to probe and work the skin off of the meat from there. The process takes a few minutes.
It’s also best done by someone extremely comfortable with using a knife. People prone to cutting themselves while chopping vegetables on a cutting board will likely have serious difficulty and safety challenges doing this.
Step 3: Eviscerate
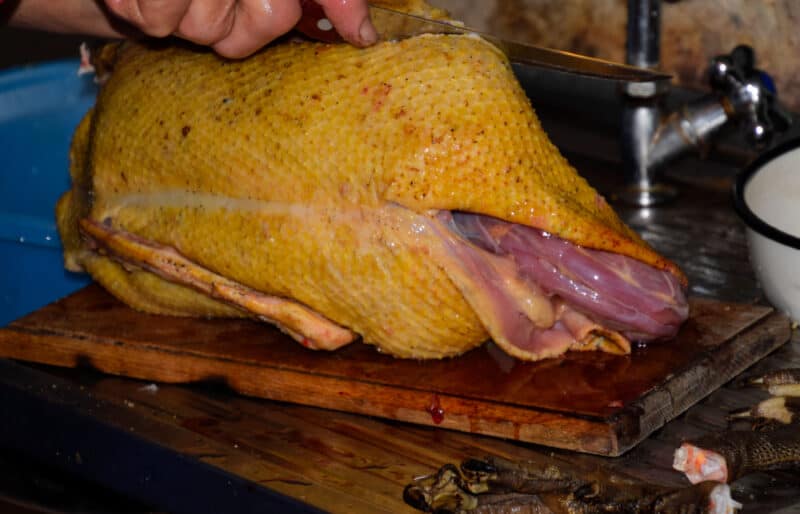
Once you have the feathers out of the way you need to remove the viscera (guts or innards).
The hard part of evisceration is making sure you don’t nick the intestines when removing the vent or break the bile sac when removing it from the liver. Otherwise, it’s just a matter of taking the time to do a good job.
Here are the steps I use for evisceration:
- Loosen the crop and windpipe from the neck tissue.
- Make a slit in the belly area large enough for your hand, high above where the intestines connect to the vent.
- Remove the gizzard to make room to fit your hand inside. Note: It’s fine to disconnect the gizzard from the crop. However, don’t sever the link to the intestines or poop will come out.
- Use your hand to loosen the organs inside.
- Pull out the organs and slide them away from the carcass.
- Separate the gall bladder with bile sac from the liver and set the liver, heart, and gizzard aside to eat.
- Cut around the vent to remove it, careful not to cut the intestines as you do.
- Check inside to make sure you got the lungs and scrape out and any last bits of viscera inside the carcass cavern.
- Cut off the feet at the knee joint.
- Optional: Remove the oil glands.
Here is a video to show you these basic steps.
It normally takes 2-3 minutes to eviscerate a duck. However, the video is 7 minutes long because I exaggerated the steps to demonstrate what’s going on each step of the way. This way you can follow along if you want while processing your own duck.
Also, note, I was running late to feed my livestock and start dinner when I recorded this video. So, I didn’t stop to sharpen my knife.
Clearly, young duck is so tender that you can even do this with a blunt knife. Still, trust me, it’s much easier with a sharp one!
Step 4: Cook and Eat
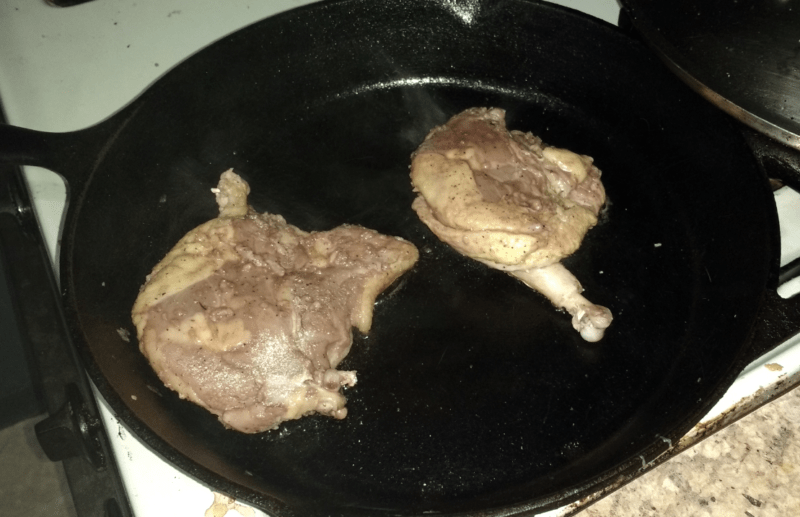
At this point, homesteaders of the past would have just cooked that duck up for dinner. They might have eaten some cold for lunch and dinner tomorrow too.
Modern Homestead Duck Processing
As modern homesteaders, we have other options in how we process and use our ducks. Let’s take a look at some of the things modern homesteaders do differently.
The first place we often differ is in the kill. Today many people, who are accustomed to killing chickens in a kill cone, will use the same process for ducks.
The main reasons we use kill cones for processing chickens these days are to:
- Remove more blood before eviscerating so that there’s less mess.
- Avoid the complications of trying to hold poultry still as it fights for its life long enough to chop off its head.
- Make the poultry more comfortable in its final moments.
Unfortunately, these things aren’t entirely true when processing ducks. So, before you decide to use a kill cone for ducks, consider this.
Kill cones are incredible for chickens because when you hang a chicken upside down, its organs press up against the lungs. This slows the oxygen flow to the brain making them calmer and more sluggish. Since they can’t think clearly, they aren’t as afraid.
This is absolutely not true for the ducks we raise for meat. They are “dabblers” who are designed by nature to routinely put their heads upside down underwater for long periods of time without losing oxygen flow.
Kill cones do not reduce their stress at the time of death in the same way it does for chickens. In fact, it might actually increase it because it can add a few minutes to the processing time just trying to secure them in the cone.
Unless you are skilled at swiftly getting them in and securing them in the cone, it can be very stressful for you and frightening for them. Frankly, I find ducks to be less stressed if I simply pick them up and break their necks.
They are usually gone before they have time to register that I am holding them. There are very little stress and fear for either of us.
I know that lots of people aren’t comfortable with neck-breaking. Also, some people don’t exert enough force for a clean break and may take several attempts to break a neck. So, in many cases, a kill cone will be the most humane way to process a duck.
How to Use a Kill Cone to Process Ducks
Put the duck headfirst into the kill cone. Pull their head through the bottom. Finally, use a sharp knife to slit their jugular and carotid arteries on both sides of the neck.
In this case, it is extremely important to have a very sharp knife ready before you make the kill. You will need to use the side of the blade to raise up some of the feathers. Then make deep cuts, near to the bone so that the blood begins flowing quickly once cut.
If you want to use a kill cone, then keep these tips in mind to make it quick and less stressful.
– Tip 1: Use a Large Cone
For most meat ducks, you need a large-sized kill cone. These cost a few dollars more than a chicken cone. However, if you try to use one designed for chickens and not for ducks, you’ll have a hard time fitting them in the cone.
– Tip 2: Immobilize
Even non-flying ducks have wide, powerful wings. They can very easily use them to back out of the kill cone and escape.
When they do, they might damage their wings or bruise their muscles, making the carcass less nice for you. Not to mention you’ll have to deal with the stress of chasing them down. Plus, their stress and fear will make the meat taste less desirable.
Instead, keep a hand on the duck’s back, securing it in the cone until you have complete control of the neck. Then, you can use the neck to keep the duck from backing out of the cone while you do the deed.
– Tip 3: Cut Deep
Ducks have more feathers and thicker skin than chickens. Make sure to cut deep to hit the jugular and carotid arteries on both sides. Once you see blood gushing quickly from both sides, it will take nearly twice as long for a duck to pass as it does for a chicken.
If the blood is not flowing fast, you likely missed or didn’t cut deeply enough. When in doubt, cut again rather than waiting to see if you did or didn’t get it right. You can even remove the entire head to be certain.
– Tip 4: Control Bleed Out
Even after you have a good bleed, some ducks will try to escape right to the bitter end. As such, they can back or twitch out of the cone while bleeding out.
Control the neck until you are certain a duck has passed. That way they don’t have to suffer needlessly. Also, the carcass isn’t damaged in the process.
Additionally, you can direct that blood flow into a bucket of water to use as fertilizer. Or you can direct it into the straw to compost. Blood is an excellent nitrogen source for plants.
Scalding
Another thing that modern homesteaders do to make plucking feathers easier is to apply some source of heat to soften the follicles around the feathers prior to plucking. The trick with this is to get the skin warm, but not to cook it.
Scalding is my preferred method.
- Warm a pot of water to 155°F.
- Wash and wet the duck.
- Submerge them by their feet into the hot water.
- Move them around with tongs for a few minutes until you can easily pull out the feathers on the breast and thighs.
- Remove the duck and immediately pluck.
For chickens, you can scald at 130-135°F, but for ducks 155°F seems to work better. Also, chickens only take a minute or less, but for ducks, it can take 2-3 minutes for their follicles to soften.
The key is to move the duck gently up and down in the pot, so the hot water gets under the downy feathers. Also, keep checking the feathers because they get soft then start to cook and harden. If you aren’t paying attention, you can miss the window and set the feathers.
Paraffin and Singeing
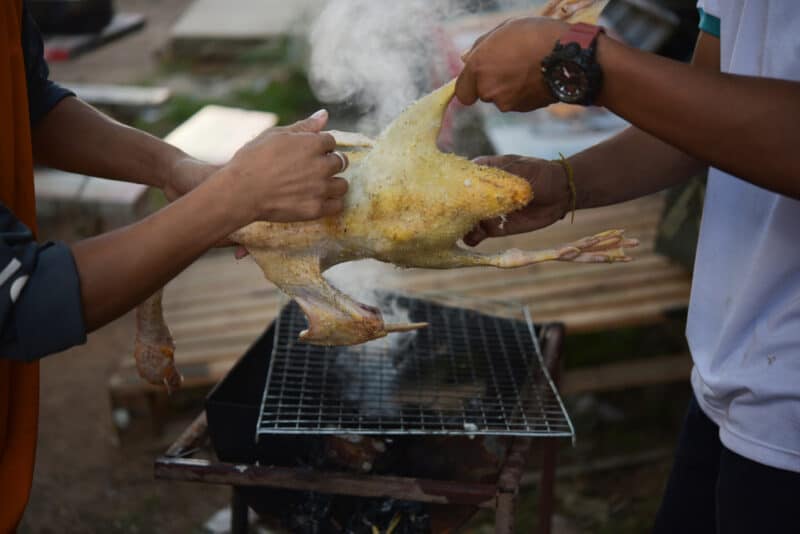
Other ways to get the skin warm is with paraffin or singeing.
Singeing is done with a blow torch or burning straw. Paraffin is basically similar to the idea of waxing your legs.
I have never used either of these methods for softening feather follicles. They both seem frightening to me. Even so, some people swear by them.
Other Considerations Before you Process Ducks
There are a few other things to consider when processing ducks.
1. Withholding Food
Some people withhold food for 8-12 hours prior to processing. If you are a professional processor, food withholding is usually required.
Personally, I process in the morning before ducks eat. This way their crop and intestines are already mostly empty. Or I let ducks forage like normal and only use a little bagged feed to lure them to me so I can catch them.
As you saw in the eviscerating video, the crop and intestines should come out intact so there’s little chance of spillage. However, it can be harder to loosen up and remove a stuffed full crop. As such, skipping heavy feeding prior to processing is a good idea.
2. Feather Window
I have also heard the term “feather window”. I have not found this magical opening for easy plucking. Still, I do find it much easier to pluck when ducks are fully feathered.
– Fully Feathered
If you try to pluck during molts, there are always some partially grown feathers that are hard to grab. You may even have to get your tweezers out.
So, if you are processing young ducks, who go through two feather revolutions, wait until their feathers are filled in and smooth. Don’t try to process them in one of their gawky in-between stages.
– Feather Timing
These “windows” vary by breed because they are based on when ducks size up and outgrow their old feathers. Just look at your ducks.
If they are fully feathered, and at the right weight, you’re good to process. If not, wait until the feathers finish coming in or have the tweezers ready.
For mature ducks, beware of the nuptial molts and wing molts. The exact timing of these molts depends on weather and environmental conditions.
– Downy Light
It’s also easier to pluck in late spring or early summer after ducks have lost many of their downy feathers and before they put on a new thick winter coat.
3. Processing Multiple Ducks
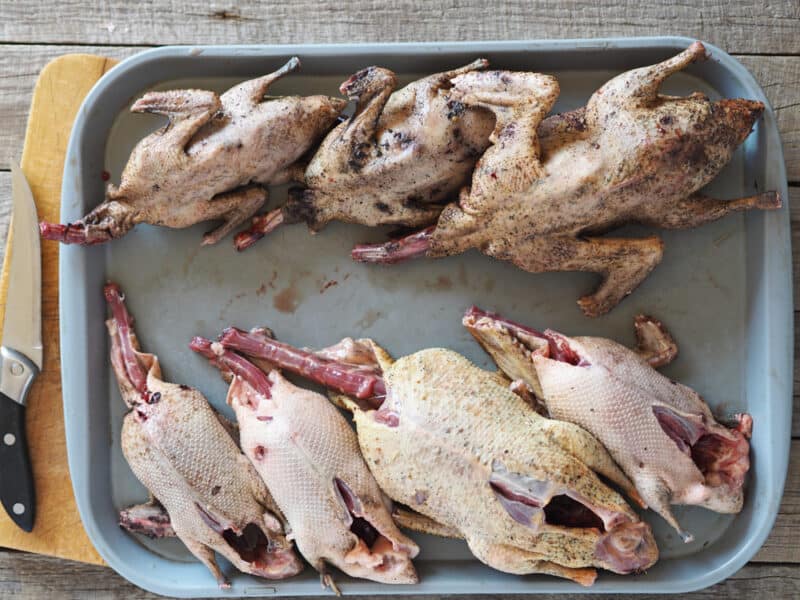
I used to hand process ducks to sell at the farmers market. It took me about 20 minutes per duck start to finish including cutting them up for the packaging.
However, on any given day, I found doing more than 10 ducks was just exhausting. Now I will process one as needed for dinner.
Or I’ll process 3-4 at once if I have some time to make gourmet items like duck rillette, confit, or prosciutto or bacon. To make those items, it really works out better if you have several ducks to work with at the same time.
4. Mind Set before Processing Ducks
One final consideration, on when to process, is your state of mind. Killing animals, though necessary if you want to eat meat, does cause some mental stress. I treat is a sacred act and do everything in my power to make sure things go well.
For example, I only process when I am rested, healthy, and mentally ready for the work ahead. Or if I have lots of other stressful things going on, I might put off processing until I can get some of it under control.
Sometimes you have no choice about when you process. However, if you can plan ahead, and be in good form for doing the job, definitely do!
Then, make sure to appreciate every bite of that duck you raised, processed, and prepared entirely on your homestead.
