The first time I hatched chicken eggs, I thought, “Wow, this is easy!” It only took 21 days. It did require a few special pieces of equipment. Plus, I had to follow a few basic instructions. But, for the most part, it seemed like nature did all the work.
When I tried to incubate my first clutch of duck eggs, it was a whole different story. The equipment involved and the fundamentals of incubating duck eggs are basically the same as with incubating chicken eggs. Yet there are a lot of nuanced adjustments you must make to get reasonable hatch rates with duck eggs.
Thankfully, incubating duck eggs are still simple if you understand the basics about how duck eggs are incubated in nature. It’s also totally worth the trouble. There is absolutely nothing as adorable as watching a baby duckling hatch into the world.
Duck Egg and Chicken Egg Differences
If you asked poultry people the difference between duck eggs and chicken eggs, you’d probably hear some of these replies:
- Duck eggs are bigger.
- Duck egg shells are harder to crack.
- Duck eggs have more vitamins, cholesterol, and protein.
These things are all true. But when it comes to incubating duck eggs, the important thing to understand is why these differences exist.
Features of Natural Incubation

A duck egg is designed to be the perfect shelter and nutrition source for the transition from embryo to duckling. As such, duck eggs have fantastic features that are specific to the needs and natural habitats of waterfowl.
Let’s look at how these features play out during the natural incubation process and how to apply that knowledge when hatching your own duck eggs.
Ground Nesters

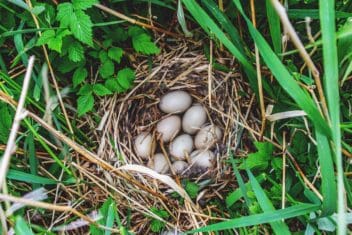
Ducks generally nest in the ground. Some breeds search for cavern-like locations such as underneath the root mass of a downed tree or in a hole in the decaying body of a tree trunk. A few wild species even nest in boggy areas or on floating nests.
These locations all have one thing in common – high moisture content. Unlike chickens who prefer elevated, dry nests made of brittle materials like straw, ducks aim for mushy, decaying, moisture-holding nest locations.
Ducks typically create their nest bowls by making depressions in the soil or in decomposing plant matter to create a high humidity environment. Like chickens, they also use their downy feathers from their underbelly to help trap heat in the nest.
Feather Wetters
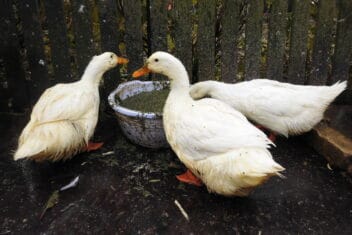
Additionally, each time broody ducks leave the nest, they groom themselves in a water source. They may preen a little, but they don’t preen long enough for their feathers to dry fully. That means they go back to their nests partially wet and transmit that moisture to their clutch of eggs.
The Porous Shell
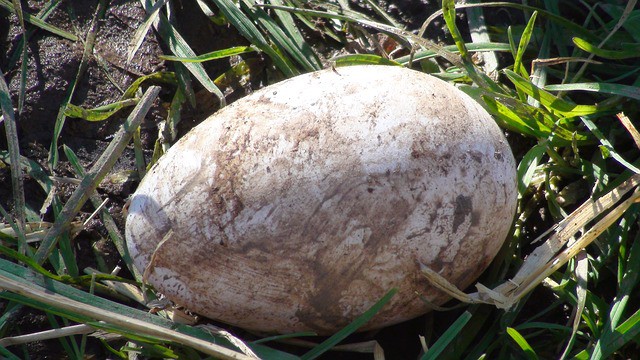
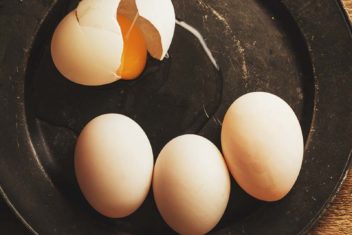
These nesting habits help explain why duck eggshells are so much harder to crack then chicken eggshells. It’s almost like you need to tear them apart after cracking them. That’s because those extra thick shells are also extra porous as they are designed to hold water like a thin sponge.
In fact, in one study on the moisture absorbency of eggshells, duck eggs out-performed chicken eggs by 22%. This was even after the inner membrane was removed, and the shells had been dried, ground, and heated to 1300℉. The basic structural make-up of the duck eggshell is simply more moisture absorbent than that of a chicken eggshell.
I’ve noticed that when I let my ducks sit their own nests, their eggs often absorb the water-soluble pigments in our dark loam topsoil. Amazingly, those dirty-appearing eggs seem to hatch at higher rates than the cleanest eggs.
It might just be that mama turns those eggs more often, making them dirtier. But I suspect that the stained eggs are more porous and hold more water during incubation. That extra moisture then seems to improve hatch rates.
Features Ducklings Develop During Incubation
Chicken eggs take 21 days to hatch. Most domesticated duck breeds take 28 days. Muscovy eggs take 35 days. Some wild duck breeds take between 27-31 days. In human terms, the additional 6-14 days may not seem like a lot of time. But, for the duck sitting those nests, it’s a huge difference.
That’s 1-2 weeks longer for those brave mothers to be at extremely high risk for predator attacks. That’s also a whole lot longer for a nest sitter to be limited to infrequent, short breaks to dash out for food and water. Also, every trip away from the nest increases the chances that something could eat those developing embryos.
Despite all the downsides, there are some important reasons why a longer incubation period is necessary for ducklings.
Getting Water Ready
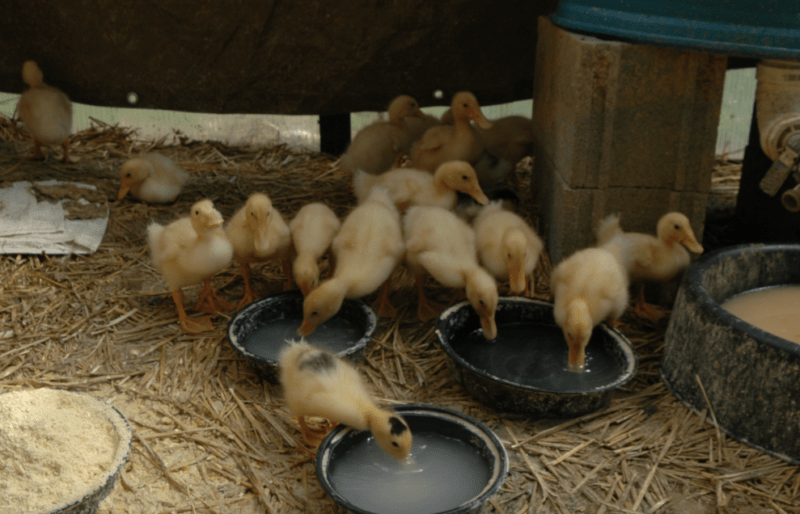
To survive in nature, ducklings must emerge from their shell ready to swim. Contrary to popular belief, the oil gland on a duck’s tail is not required to make a duck waterproof. Good nutrition is the key.
While incubating duck eggs, the nutrients in the egg are absorbed by the embryo and used to form the bones, blood, organs, skin, and feathers. This is true for chicks too. Yet chicks only need a light coat of downy fluff to protect them from cold air temperatures. Their mamas will do the rest.
Ducks need their downy fluff to be structurally ready for cold water conditions. Those kinds of heavy-duty downy feathers require more time and additional protein and vitamins to form fully.
Prepare for Mating and Migration
Ducklings are also born more cold hardy than chicks. This is essential because the natural duck mating season occurs in early spring, while temperature fluctuations are still wildly varied.
It would seem a lot easier for ducks to nest later in the season once it warms up. But the natural nesting instincts start early in the season because ducklings will need a lot of protein in their diet to develop flight feathers and store fat to be ready for the winter migration.
By starting ducks earlier in spring, nature times their births for when the food supply is ramping up and gives them several months to mature before traveling. Even though domesticated ducks don’t migrate, they evolved from ducks that do. So, they still retain those wild-inspired traits.
Chickens are not migratory birds by nature. They are more likely to go broody when the weather is consistently warm, later in spring or early summer. Chicks will have to harden up by winter too, but they don’t need extra fat stores for long flights and can do it in less time.
These fundamental differences mean that ducklings must come out of the shell more mature and ready for life than chicks do. The longer incubation period and the extra nutrition in a duck egg makes that possible.
Tips for Artificial Incubation
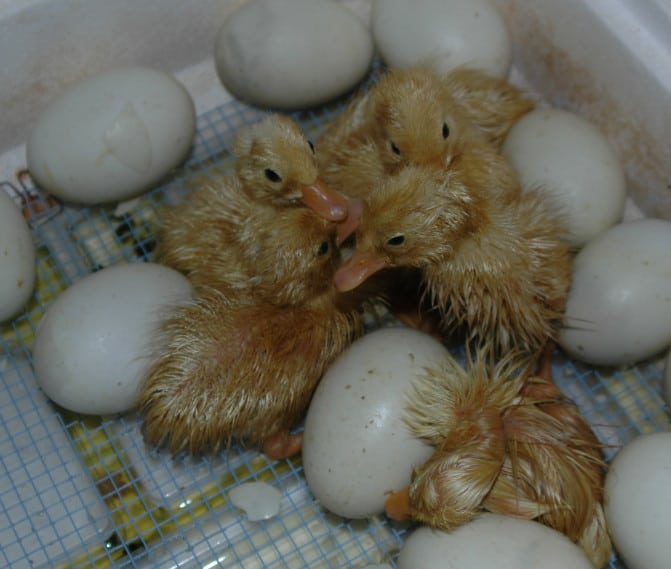
Quite frankly, there are about a million other amazing tidbits of information I could share about why duck eggs require different incubation procedures than chickens.
But I don’t want to spoil all the fun of you making these observations on your own. However, if you are going to incubate your own duck eggs, and not use a broody duck, I’d like to share some tips to help you have successful hatches.
Tip 1: Aim for Nature Inspired Incubation
Watching my ducks incubate their eggs has given me a lot of inspiration for how to have better hatches. For example, I used to freak out when I had to open the incubator because I worried about temperature and humidity fluctuations.
Then, I realized that even mama ducks get off the nest periodically. Mamas have to go eat, drink, and groom. On really hot days, they stand next to the nest, presumably to let the eggs cool. On cold or windy days, mamas never leave the nest at all.
So, when you are using your incubator, try to think like a mama duck. Your incubator is designed to maintain the temperature and humidity levels inside. But every time you open it, you expose those eggs to whatever conditions exist outside the box.
Duck mamas take their extended breaks when it is warm and sunny. If you warm the area around your brooder before you open it, you can simulate those ideal conditions for egg exposure. Avoid opening your brooder if it’s cold or drafty.
Since our homes tend to be very dry, make yourself a steaming cup of herbal tea and set it next to your incubator to sip while you work. That will humidify the air just a bit and keep you calm too!
Tip 2: Rotate Like a Duck
Another thing I learned from watching my ducks is they don’t just roll their eggs back and forth the way an egg turner does. They rotate the eggs on the outside of the nest to the inside. This helps uniformly distribute the mama’s body heat and humidity to all the eggs.
Your incubator will also be cooler and drier towards the edges and more humid and warmer toward the center, even with a forced-air fan model. So, rather than just rolling eggs back and forth, rotate them outside-in while turning.
I’ve noticed my ducks aren’t very methodical in their turning frequency. But they do turn eggs more often early in the incubation cycle. They turn eggs much less frequently as they progress towards hatching.
Breeders say you should rotate eggs as often as you can for the first week. After that, you can cut down to turning eggs a few times a day.
Tip 3: Collect Your Clutch Like a Duck

Ducks only lay an egg a day (at best). Typically, they won’t start to sit those eggs until they have 8-12 of them collected. Until it is time to start, they store them in the nest, protected by some feathers.
When you are gathering your clutch of duck eggs to hatch, collect them daily. Store them between 55-75℉ and out of direct light. Start incubating duck eggs within two weeks of when your first egg is harvested (or sooner when possible).
Also, like my ducks, I’ve hatched dirty and clean eggs. I’ve had success both ways. However, when I’ve tried to hatch eggs that were laid randomly on the ground and not in a nest, those usually don’t work out so well. So, using only clean eggs isn’t a criterion for me. But using only eggs that my ducks deemed worthy of putting in a nest is.
Tip 4: Let the Shell Tell
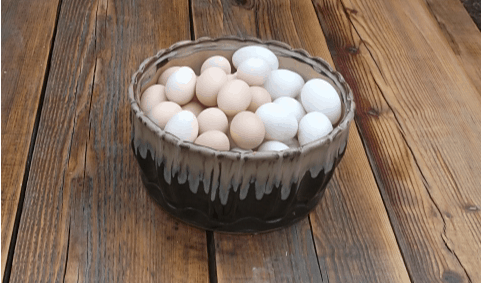
My ducks have never pushed eggs out of their nests as chickens do, though other duck keepers have reported seeing this behavior. But I’ve also never seen a misshaped egg in any of the nests that my ducks have sat. I suspect that a nest full of perfectly formed eggs helps trigger the brooding instinct in some ducks.
So, when choosing eggs to hatch, pick those with the best shells. The shape should be wider at one end and narrower at the other. Don’t choose overly large eggs that could contain double yolks. Reject eggs with cracks or excess calcium deposits.
Tip 5: Humidity is Key
When you hatch chicken eggs, relative humidity should be about 50-55% for the first 17 days of incubation. Then, it’s raised to 70% for the last few days of incubation.
With ducks, aim for 55-60% humidity to start. Then, for the last 2-3 days of incubation, raise that humidity to 80%.
Maintaining those levels of humidity in a non-commercial incubator can be difficult. Try adding a couple of saturated sponges to your humidity tray. You may also have to fill trays more often.
If that doesn’t do it, run a humidifier adjacent to your incubator. This way the air that is drawn into the incubator is humid as well.
Also, like the way ducks carry moisture back to the nest on their feathers, spraying your eggs with cool water once a day just before you close the incubator lid can improve hatch rates. Start this about 10-14 days into incubation and stop when you raise the humidity to prepare for hatching.
How to Incubate Duck Eggs
Now you know a bit about natural duck egg incubation and how you can emulate that process when doing artificial incubation. You also know about differences between chicken and duck eggs and hatchlings. But just to give you a handy all-in-one instruction set, here’s a quick overview of the incubation process.
1. Incubator Set Up
Start your incubator and add water. Raise the temperature to 99.5℉ and humidity to 55-60%. When it is stable at those settings, put your eggs in the incubator.
Use our all-purpose incubation calculator to estimate your hatch date and mark that on your calendar.
2. Daily Maintenance
Rotate your eggs often during the first week (e.g., seven times a day). You can put a mark on one side of the egg to tell the difference.
Make sure to turn them an odd number of times daily. That way, when you are sleeping or have gone to work, the egg rests on the opposite side than it was on during that same period the day before. After the first week, turn eggs about three times per day.
If you plan to use an automated egg turner, make sure it is rated for use with duck eggs. The eggs are too large and heavy to work well in some models built for smaller chicken eggs. Also, set eggs in the turner pointy side down, so the air sac in the wider egg side is always facing upwards.
Each time you turn your eggs, check the temperature and humidity to ensure your incubator is working well. Add water to your humidity trays as needed to maintain those high humidity rates.
About 10-14 days into incubation, start spraying your eggs once daily before closing the incubator lid after turning.
3. Hatch Preparation
About 2-3 days before hatch time, raise the humidity in your incubator to 80%. Drop the temperature to 98.5℉.
Remove the eggs from the egg turner, if you are using one, and set them on the incubator floor.
At this point, stop spraying and turning the eggs. However, continue to make sure the temperature is right, and the humidity stays high. Don’t open the incubator unless necessary to add water to your humidity tray. Then, be quick about it.
Also, start listening. The ducklings will begin clicking and peeping as they prepare to leave the shell. This is supposedly how the ducks tell each other to begin hatching, so they all come out around the same time.
You can peep back at them if you want. I can’t swear it helps. But this is when mama ducks make sounds that help her ducklings imprint and recognize her as their guardian. Since you are going to be mama, it’s worth a try.
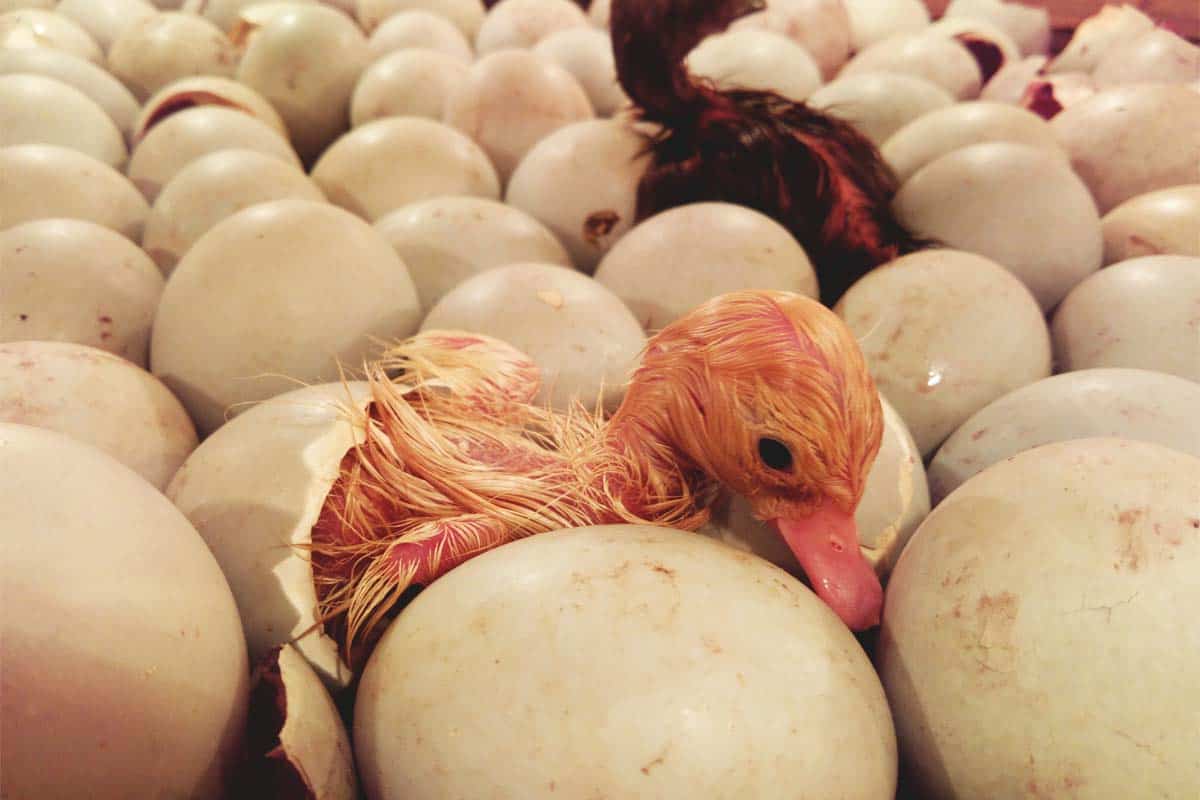
Next, the ducklings will start pipping. Pipping is the process of using a pointed bump called an egg tooth on the top of their bill to break free from the egg. You’ll hear tapping and cracking. After pipping, there might be a delay as ducks turn in the shells and then use their feet to expand the cracks and escape.
This is the moment when ducks unfurl from the shell, looking like a scrawny, drowned duckling. Have no fear, though. After a few minutes rest, they’ll make their way up to their feet and start looking perkier.
Note: Commercial breeders use a different device for hatching. But at home, your incubator is usually used for incubating duck eggs (or other poultry) and hatching.
4. Post-Hatch
After hatching, leave ducklings in the incubator until all of the hatchlings are completely dry. It can take 30 hours for a whole clutch to hatch. Occasionally it takes longer, but that typically only happens if the incubator had problems (e.g., humidity issues, too low temperatures).
Resist the temptation to take some ducklings out before others. Opening that incubator now can mean disaster for any late ducks not quite ready to pip yet. Once the ducklings are dry, transfer them to the brooder and start your duckling care procedures.
Helping with Hatches
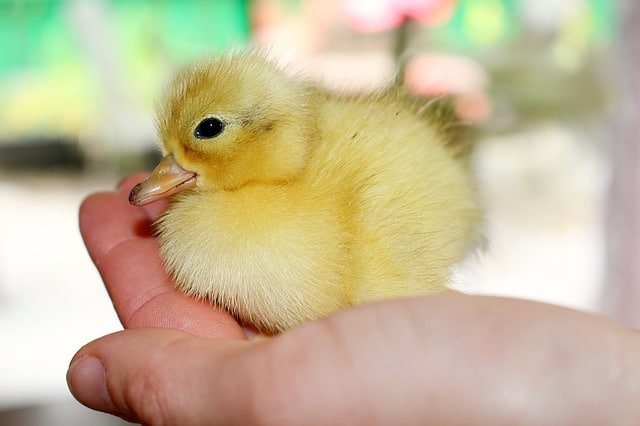
There’s a lot of advice on the internet about whether to help with hatches or not. I still don’t know the answer. I’ve tried to crack the code on when to help and when not to. But, frankly, once I got my incubation practices down, all my ducklings made it out on their own.
I can tell you that most duck hatch problems result because of humidity issues. Those humidity issues usually cause a duck to be underdeveloped at hatch time.
Ducks that can’t make it out of the shell often grow slowly and are at greater risk for being trampled by larger siblings. Also, those ducks don’t always have waterproof feathers at birth and aren’t cold hardy. So, they are at risk of catching a chill from playing in their drinking water or being around their wet siblings.
Yet, in some instances, helping with a hatch has a happy ending. So, it’s always a tough call.
If you do help with a hatch, be prepared to give those ducklings extra care until they are as healthy as the rest of the flock. Also, know that even your best efforts might not be enough to save an underdeveloped duckling.
Conclusion
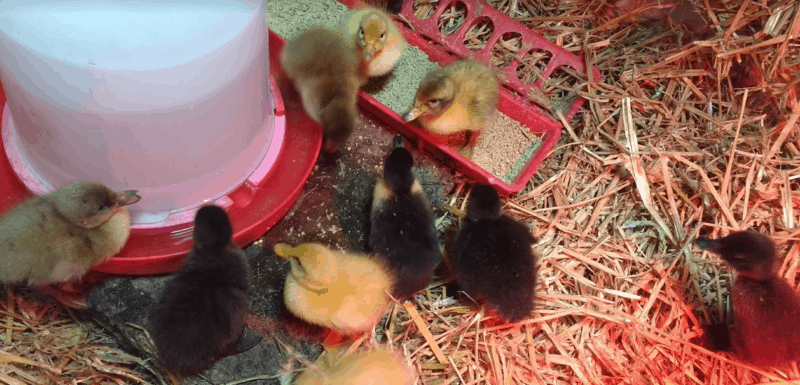
Incubating your own duck eggs or having a broody mama do it for you is a fascinating experience. There are some challenges, and not every hatch will be perfect. Yet, the whole process is a miracle and a pleasure to participate in.
Also, don’t forget, when you buy ducklings from breeders, you can often buy them sexed. At home, you get what nature gives you. So, don’t start counting your laying ducks before they hatch! (Warning – I once hatched 21 males and only 9 females).
