After you start your seeds and sprout your seedlings, the next hurdle that you need to conquer is transplanting your plants into your garden.
Transplanting the wrong way could kill your plants, and that’s the last thing you want to do! That’s why this common process can feel a bit scary; you don’t want to do it wrong, but how hard can it really be if everyone does it all the time?
With the right knowledge, it’s not hard at all. Here’s what you need to know.
4 Steps to Prepare
Transplanting is one of those skills that you absolutely must learn if you want to garden. At some point, you will inevitably need to transplant a seedling or a plant that you purchased at the garden center.
But even though it’s super common, many people do it wrong. With gardening, doing things the wrong way can mean killing your poor plant.
Here are the steps you should take to transplant the right way and keep your garden doing well.
1. Plan Ahead
It’s all in the timing when it comes to transplanting your plants into your garden. If you do so too early in the spring, your plants might be killed by the frost or the cold temperatures.
If you transplant too late, the hot sun could fry them, or they might not be ready to harvest in time before the first frost date.
Planning is key, so here’s how to prep in advance:
- Know your average first and last frost dates for your region. Your last spring frost is used as a guideline as to when you need to start seeds inside and when to transplant them outside.
- Figure out when each of your plants can go outside. Cool-season crops typically can go outside 2-3 weeks before your final frost date; they can handle light frosts. Warm-season crops need to wait until any danger of cold weather is gone.
- If you started your plants indoors from seeds, mark that in your calendar so you know when it’s time for them to go outside.
- Always watch your local forecasts before you transplant. This year, for example, we had a frost almost a week after our final frost date, killing many people’s warm-season crops because they simply go by the date without looking at the predicted forecast.
2. Get Your Garden Beds Ready Ahead of Time
Don’t wait until the day beforehand to prepare your garden beds for transplanting your plants. Here are the steps you should take well in advance!
First and most important is to test your soil.
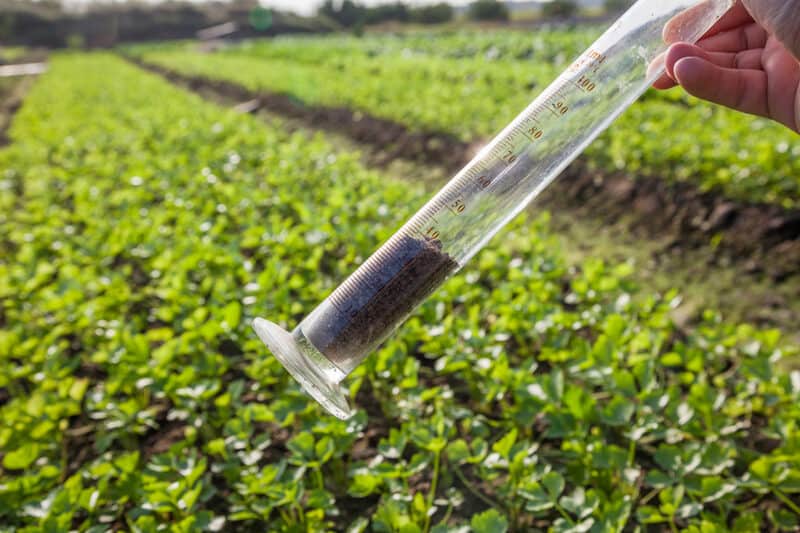
You should get your soil tested every year before you plant. It’s much easier to amend the soil before you’ve planted. You can buy a soil test or see if your local extension office offers the services for residents.
Check for a deficiency in the top three nutrients: Nitrogen, potassium, and phosphorus.
Pay special attention to the phosphorous levels.
Phosphorus is a necessary nutrient to promote healthy and strong root development, and it needs to be available in the root zone as your new transplant tries to establish.
To add phosphorus, mix a 15-30-15 starter fertilizer into your soil. Then, you can address any other issues.
- If you live in a region that receives snow, your soil can become compacted over time. To encourage root growth, loosening and aerating it is a good idea. That means you’ll need to use a hoe or a rake to break up the soil.
- Erosion is far from uncommon; you might need to add fresh soil to your beds or address erosion years in advance.
- Mix in fresh compost. It’s always a good idea to add more compost to your garden beds. They need additional nutrients each year because the plants absorb a good deal while growing.
- Try tricks to increase the temperature of the soil in your garden beds. It helps to decrease any shock that plants might feel once exposed to the cold ground. Try frost blankets, plastic ground cover, or landscaping fabric.
3. Look for True Leaves
Are you wondering if your seedlings are big enough to go out in your garden? This is a good question that most gardeners ask at one point or another, but there is one big problem.
There is no hard rule to follow about the size of your plants!
Seedlings all grow at different rates and to different sizes, so you can’t judge it based on how tall your plant is. The best way to decide whether or not your plant is big enough to go outside is to look at the number of true leaves.
What is a true leaf?
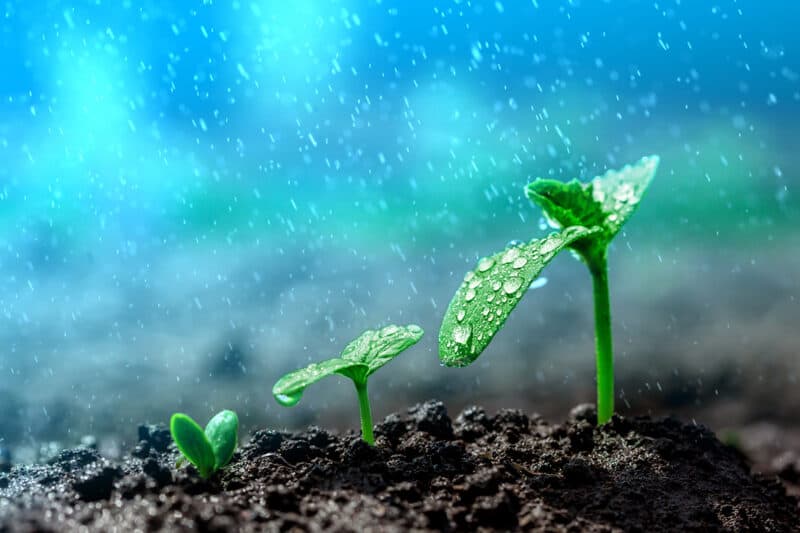
When you planted your seedlings, the first leaves that emerge are called cotyledons. They look different than the leaves you’ll see later because they are there to provide the stored food to the seedling.
After the cotyledons, the true leaves begin to grow. They emerge and create energy from photosynthesis – the process we all learned about in elementary school.
The general rule to follow is that a seedling is big enough to go outside when it has 3-4 true leaves. That’s when your plant has enough leaves to sustain its growth through the season.
4. Start The Hardening Off Process
Without a doubt, one of the most important parts of preparing to transplant your plants is the hardening off process. This is when you will introduce your plants to life outside. Believe it or not, it’s quite a difference from life inside for little plants.
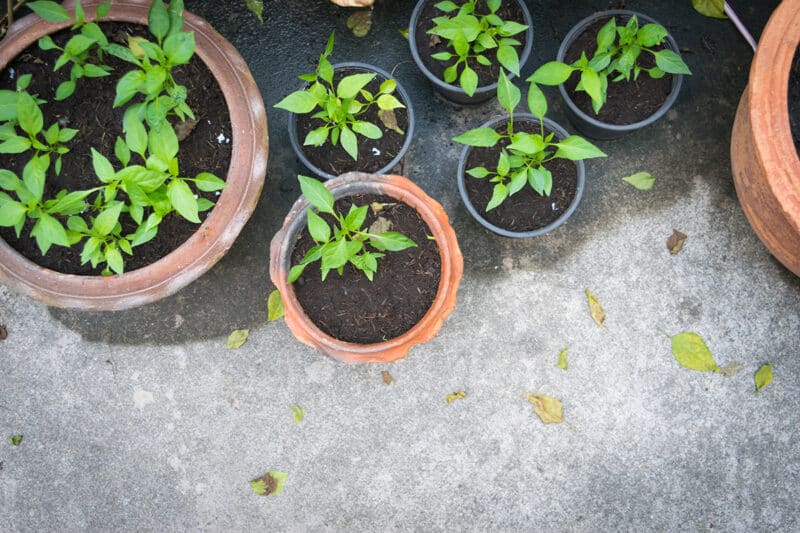
Hardening off takes time; each day, you have to move your plants outside then back inside. Here is an example of the steps I follow to transplant my seedlings.
- Starting 10-14 days before I plan to put my plants into the ground, I place them outside in dappled shade that’s protected from the wind for 2-3 hours. Then, I bring them inside.
- The next day, I do the same thing, but I leave them outside for another hour or two longer and expose them to a bit more sun and wind.
- Each day, you want to lengthen the time that they’re outside while also increasing their exposure to full sunlight and wind conditions.
During this period, you should keep the soil moist. Hardening off and exposure to new elements will cause rapid water loss.
It’s Time for Transplanting!
After all of your hard work, it’s time to put your plants outside. However, things can still go wrong, so don’t jump too fast just yet. Make sure you understand the correct process of transplanting.
The ideal situation would be to transplant your seedlings outside on a warm, overcast day in the early morning. While this might not be feasible for everyone, doing so give your plants a leg up, allowing them the chance to settle before being exposed to midday sunlight.
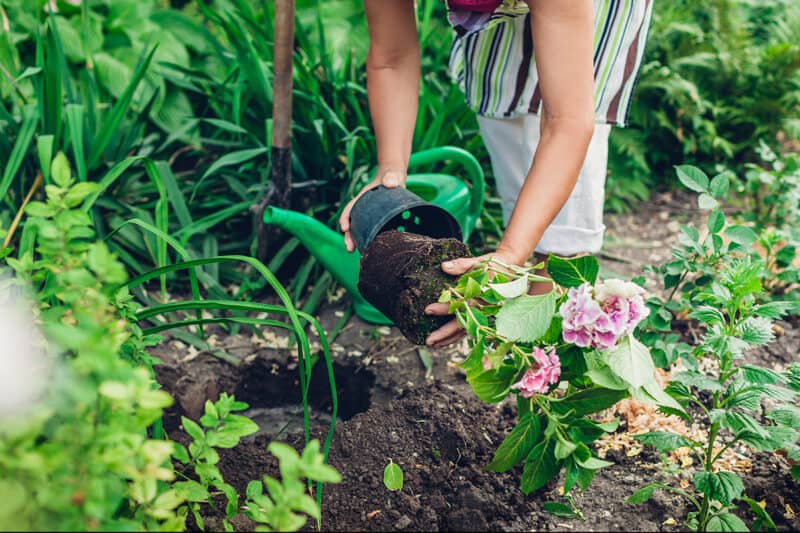
Here are the steps to follow when you transplant your plants.
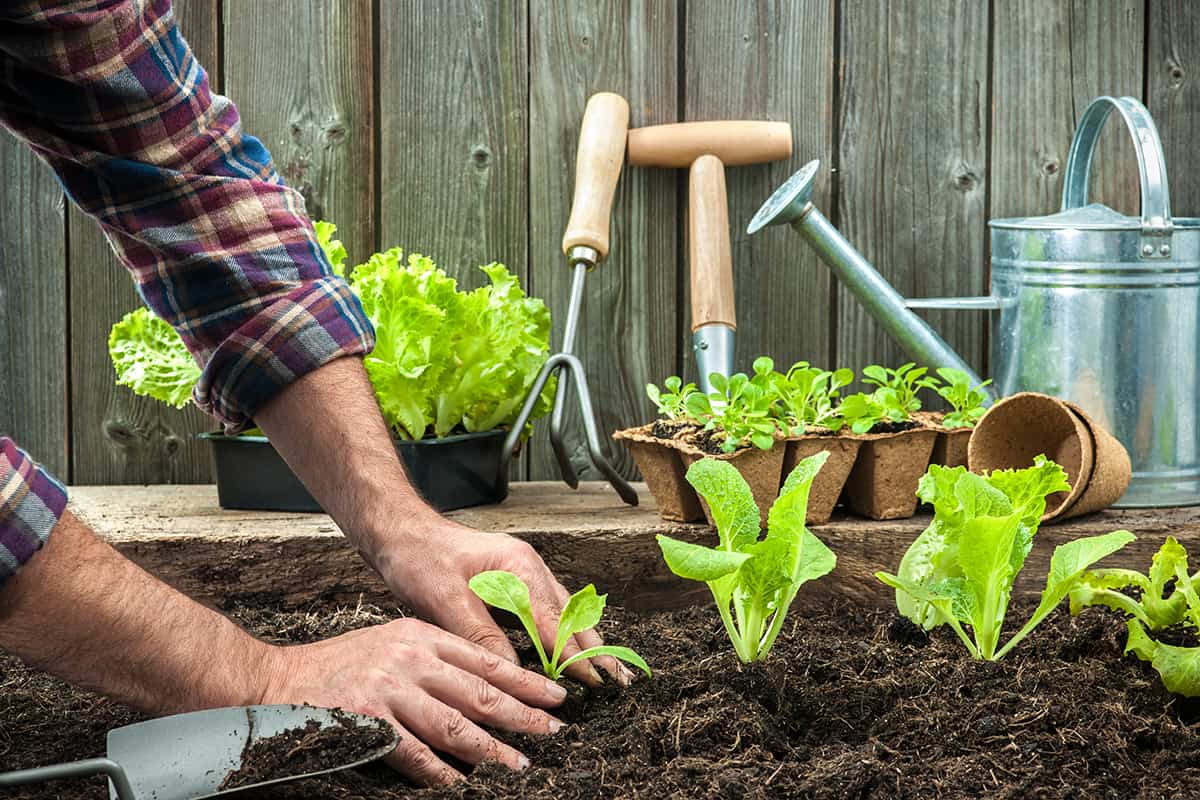
- Dig a hole slightly bigger than the size of the container your seedling is already planted in.
- Check to make sure it isn’t rootbound. If so, you’ll need to gently loosen up the roots before putting them into the ground. You can do this by squeezing the container or rolling it in your hands and against the ground.
- Typically, you only want to bury your seedlings to the existing root line on your plant, but that’s not true for some plants like tomatoes. It’s healthier to bury them deeper than they were in their pots. Be sure to do your research on planting depth.
- Press firmly down on the soil as you plant to help keep the plants established in the ground. For larger plants, it can help to water your plants as you refill the soil to help pack it down.
- Once planted, soak the soil around the new plant immediately. It helps to settle the roots while giving them an opportunity to get established in your garden beds.
- Try spreading mulch around your plants, especially if you live in a region that is dry or where drought conditions are common. Mulch reduces moisture loss from the soil.
- Always pay attention to the forecast for several days or weeks after transplanting. Watch for late frosts or damaging weather that would require protection for your plants. You can use cold frames, cloches, or row covers to protect your plants from harmful weather conditions.
Avoid the Dreaded Transplant Shock
Unfortunately, if you don’t follow the right steps and conditions, your plants might face transplant shock. The name can a lot worse than the reality.
You’ll know that your plant has transplant shock if it shows these signs:
- Dying branches
- Wilting or falling leaves
- Abrupt loss of flowers or fruits
- Immediately bolting and going to seed
- Death of the plant
Most plants will bounce back from transplant shock, but it slows their growth after transplanting. Some plants may be so shocked that they never produce to their potential.
Continue to water well and watch the plants closely. Sadly, if they aren’t bouncing back, there isn’t much you can do to revive them.
How do you avoid it in the future? Follow the steps we lined out above! Some careful preparation, healthy soil, a period of hardening off can avoid most issues.
