I discovered pre-seeding a few years ago when I was super-busy with multiple projects, and I was looking for ways to enhance my efficiency in the vegetable garden.
Pre-seeding gave me a head start on spring gardening and improved the health of my plants. An additional benefit is the plants often germinate earlier than ones planted in the spring.
To get a head start on your spring planting, consider pre-seeding in the fall. You’ll wonder why it’s a practice you didn’t start before.
Read on, and we’ll cover the ins-and-outs of this simple yet effective practice.
What is Pre-Seeding in the Fall?
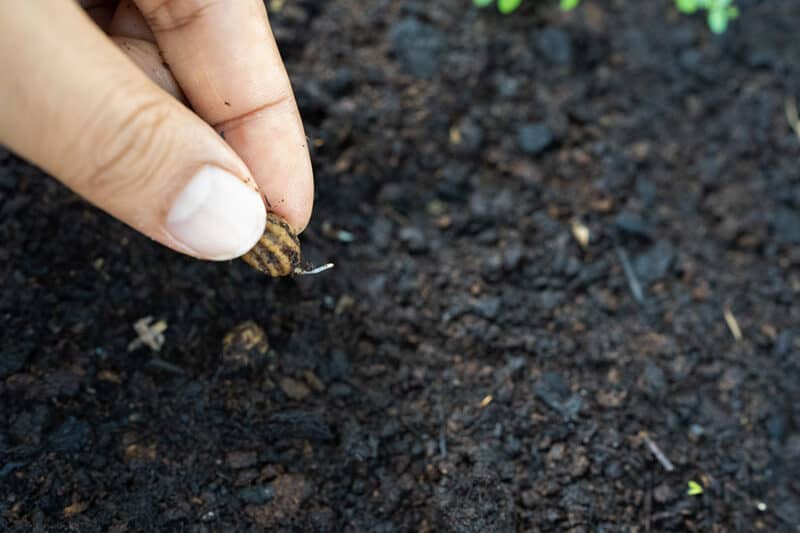
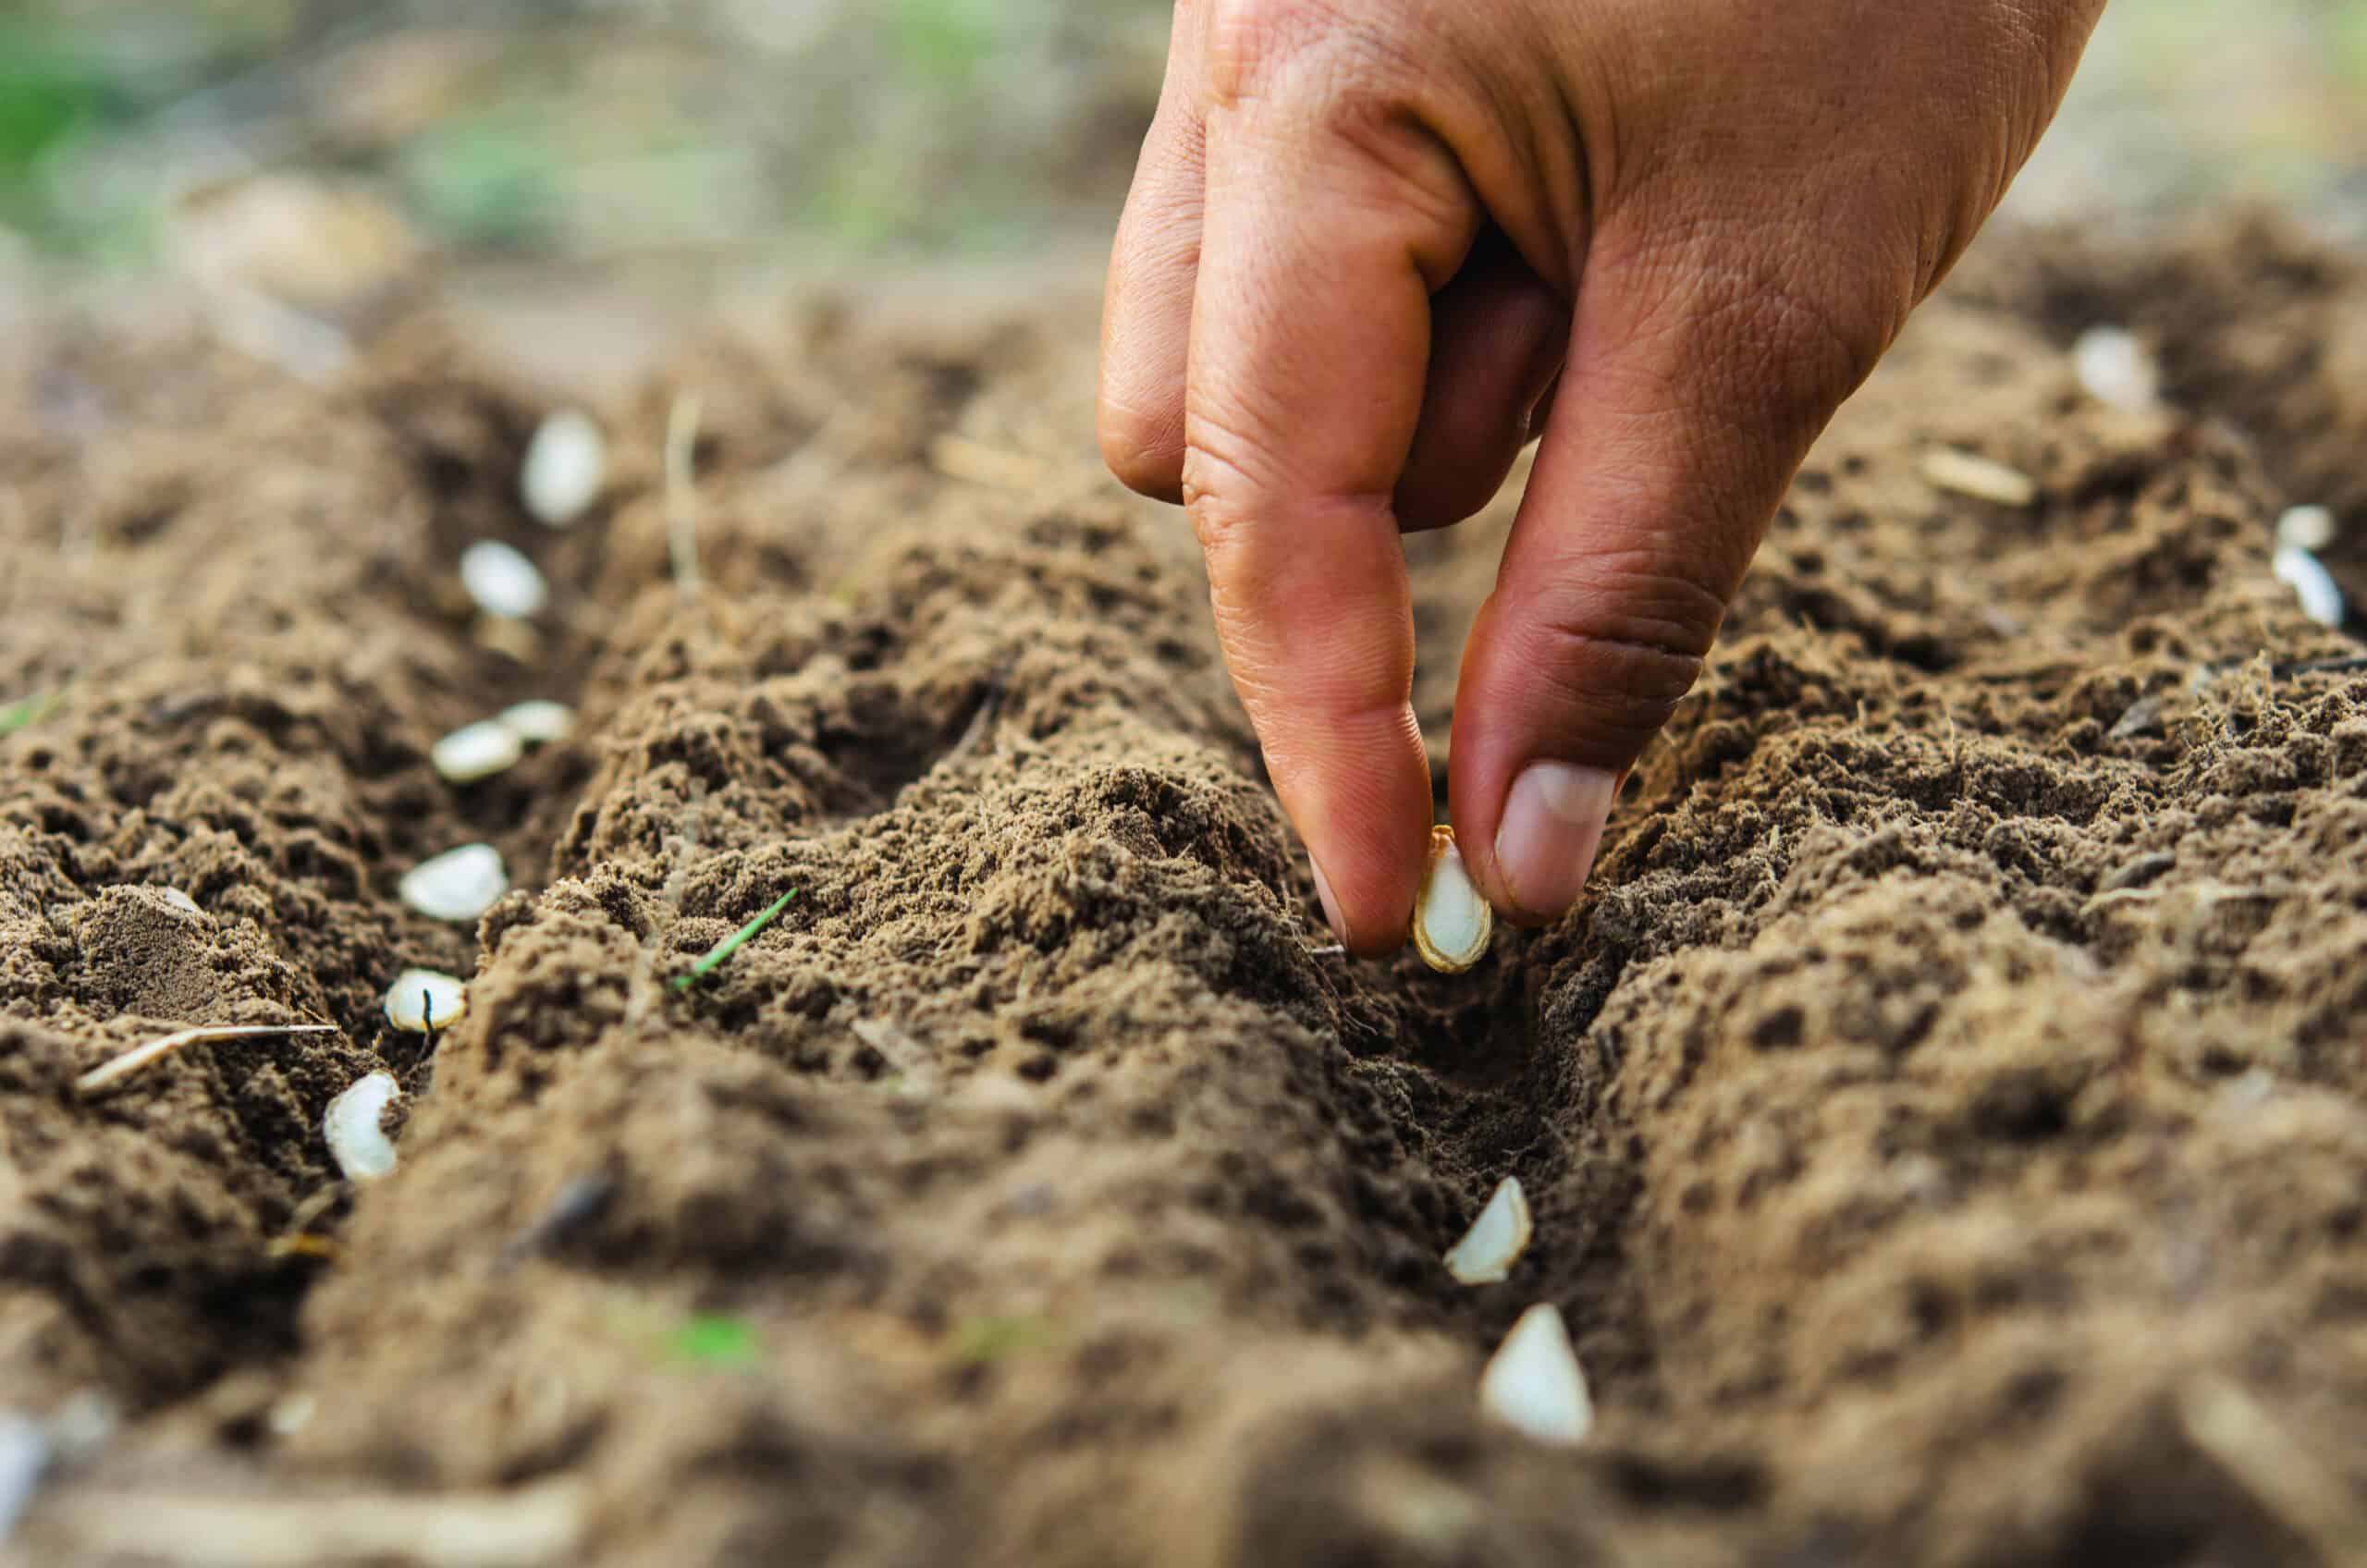
To put it as simply as possible, pre-seeding is planting your seeds outside in late fall or early winter before the ground freezes.
This mimics what often happens in the garden naturally. When plants drop their seeds, they stay dormant on or in the ground until the weather warms up in spring and they germinate. It’s the natural cycle of plants.
Pre-seeding works best in areas that remain frozen all winter. If the ground freezes and thaws, the seeds may rot.
Another way of explaining pre-seeding is many seeds benefit from cold stratification, and this is a natural way of doing it.
Why You Should Pre-Seed in the Fall
Pre-seeded plants are generally healthier and grow with more vigor.
It has a lot to do with the fact the seeds germinate naturally when the conditions are favorable to the seed. It promotes higher quality than the artificial environment of glasshouses or warm spots in your house.
The seeds are exposed to the elements much earlier and this results in resilient and vigorous plants that yield a big harvest.
How to Pre-Seed
Pre-seeding is pretty straight-forward. Here are the three necessary steps.
1. Choose the Right Site
You need to pre-seed in a garden that drains well and gets a lot of sun. Thinking ahead is important here. Watch the movement of the sun in your garden and keep track of where it falls during the growing season.
Remember that the light changes from summer to fall, so plan ahead.
2. Prepare the Garden
Clear the soil of weeds and any garden debris that will rot over the winter. You do this to limit where pests and diseases can overwinter. They wait for spring as much as you do.
Dig in well-rotted and good quality compost. Keep the garden free of weeds until you plant seeds.
3. Plant the Seeds
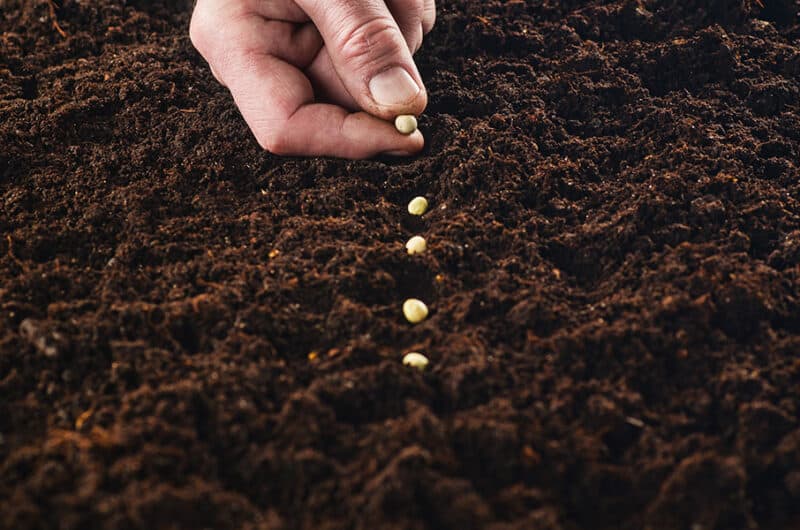
Wait until the air temperature drops below freezing but before regular deep freezes. You’ll need to time it so that the ground hasn’t frozen yet.
Direct sow into the soil at the correct depth and spacing for what you are planting. If there is no moisture in the forecast, water well without soaking or causing water to pool.
Cover the bed with a layer of mulch such as straw. You’ll need at least two inches, but I prefer three. This is to stop the ground from thawing out if the winter gets the odd warm spell.
You don’t need to water again because this method relies on the natural cycles of the season.
In spring, look for the green shoots as your little seeds germinate and begin their new growth. Done right, the germination rate will surprise you.
Plants That You Can Pre-Seed
I plant any cold-hardy vegetables that I can find. If I haven’t pre-seeded them before, I’ll give it a go and keep notes in a gardening journal. Sometimes you think specific seeds will work, and they don’t. Other seeds will germinate that you didn’t think would.
Look for plants that are:
- Cold-hardy
- Frost resistant (or withstands frost)
- Self-sowing
- Suitable for early spring planting
I’ve successfully pre-seeded the following seeds:
- Leeks
- Kale
- Beets
- Onions
- Peas
- Spinach
- Carrots
- Broccolli
- Beans
- Squash
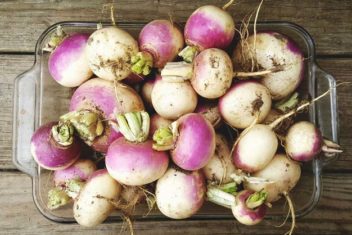
- Turnip
- Celery
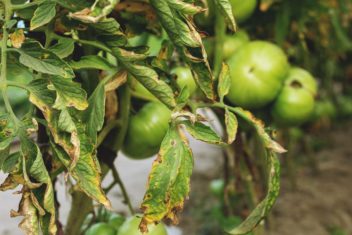
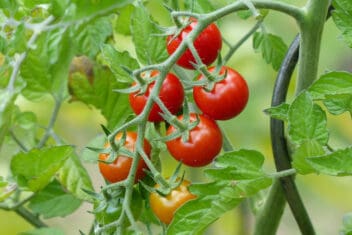
One plant I have pre-seeded and failed with is tomatoes. I have found, though, that if you let some of your tomatoes ripen and fall to the garden bed, they self sow for the following season all on their own.
Cherry tomatoes do this well in my area. One year when I was particularly behind on my planting schedule, all of my ripe cherry tomatoes were the ones that self-seeded from the year before.
This is why it’s important to trial all seeds you think may be good for pre-seeding. Some work well; some don’t. Others don’t work when you do it but self-seed on their own.
Common Problems with Pre-Seeding
Although the process of pre-seeding is simple, that doesn’t mean things can’t go wrong. Here are a few things that might cause your seeds to fail to emerge in the spring.
Winter Rain and Weather
Sometimes the seasons don’t go as we expect them to. If the winter ends up being an especially warm one, this can impact seed germination.
Given the natural process of pre-seeding, which can see lots of ups and downs, weather variations aren’t fatal. But they can affect the overall success.
Sitting Water
If your chosen area remains in pools of water during the winter, it’s likely the seeds in the ground will rot. This is why you must choose a site that drains well.
Regular Freeze and Thaw
If the ground freezes and thaws constantly, you may find the seeds rot in the ground or lay dormant.
Pre-Seed Perennials
Pre-seeding is a great way to introduce perennials to your garden. In fact, with so many jobs pending on the homestead, I plant most of my perennials by way of pre-seeding.
I plant them in the fall and wait for them to push through the soil in spring. I no longer have to germinate seeds indoors in spring, harden off, plant, water, and hope for the best.
Plus, the seeds decide for themselves when the right time to emerge is. Strong healthy seeds establish strength over winter and burst out in spring.
Try these perennials:
- Rhubarb
- Artichokes
- Sorrel
- Ramps
- Any perennial herb such as lavender, rosemary, lemon balm, sage
Alternative to Pre-Seeding in the Garden
If you’re interested in pre-seeding but aren’t totally convinced or you want to try it on a smaller scale, there is an alternative.
The concept is the same, but you can use small plastic ‘glasshouses’ to hold the medium while the cold stratification of the seeds happens.
Method
- Choose a plastic or glass container. Takeout containers with a lid work well.
- You can also use old plastic bottles with holes drilled for drainage. Cut an opening along one side of the bottle and lay on the opposite side. Basically, you are creating a little garden in a plastic bottle lying on its side.
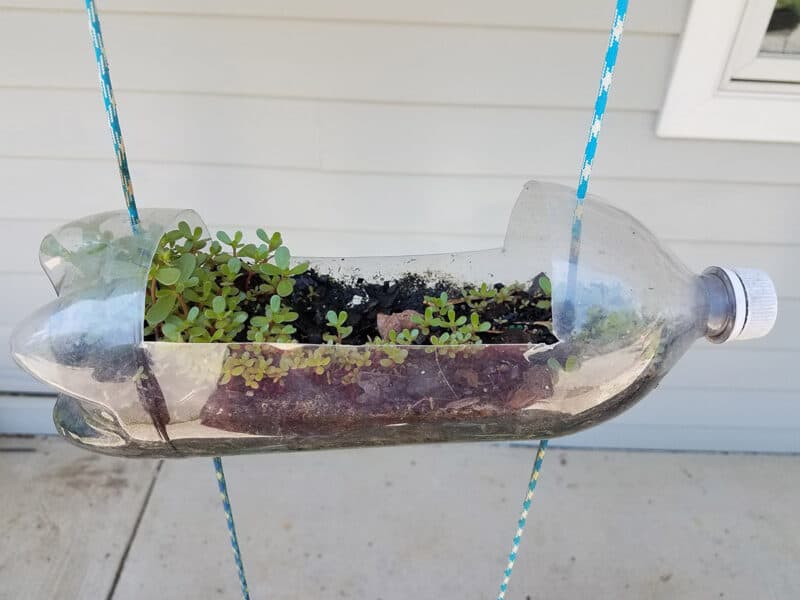
- Fill your container with seed raising mix or soil suitable for a container. You will need at least five inches of medium.
- Water well and allow it to drain thoroughly.
- Plant seeds in the container as per the instructions on the packet or for the type of vegetables you’re growing.
- Cover the container with the lid or a plastic sheet with air holes drilled in.
- Place this outside in the winter in a protected spot. Under a covered veranda is perfect.
- Now for the most important step: leave the containers alone.
- When spring arrives and temperatures during the day are above freezing, start watering. Do this until germination.
As the germinated plants grow, widen the airholes to increase airflow. Once the temperatures are consistently warm, remove the lid or cover completely.
Transplant these seedlings when the size is right and the beauty is, no hardening off is required,
The Bottom Line on Pre-Seeding in the Fall
Pre-seeding in the fall is such a simple yet effective way to get a strong, healthy spring garden established.
Prepare it right, and you’ll reduce the workload of a spring garden significantly. You will also produce strong, vibrant plants.
Have a go and see if you get bigger harvests for longer. Pre-seeding in the fall is worth a go because it’s such a different way of gardening that most people are totally surprised by.
