
Do you enjoy growing succulent plants? They’ve become all the rage for adding a unique appearance to your outdoor gardens.
They are also an excellent option for growing as houseplants too. If you’d like more succulents in your garden or home you don’t have to buy more, instead, you can propagate the plants you already have.
For those new to gardening – propagation is the process of taking cuttings or offsets from parent plants to make more plants.
If you are interested in knowing how to do this, I’m going to share the process with you. It’s easy to do and can become a fun new hobby.
Here’s how you propagate succulents:
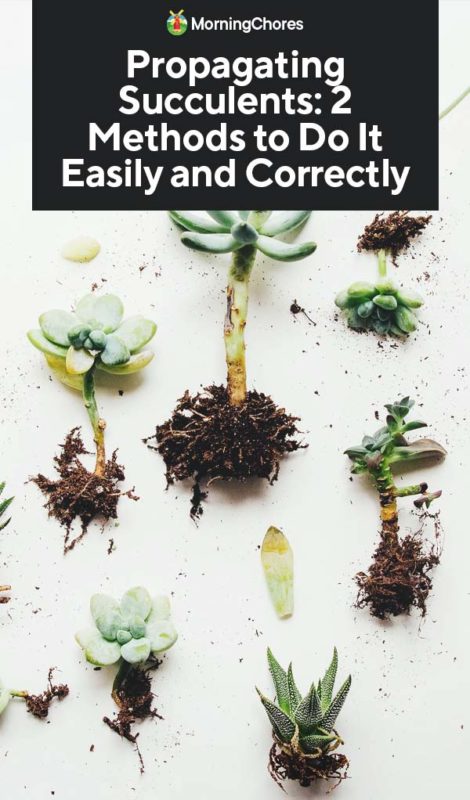
Method One: Propagating Cuttings
If you’ve ever raised a succulent plant that wasn’t getting enough sunlight, you might have noticed the plant has begun to stretch towards the closest light.
This makes the plants lanky in appearance. These are the perfect plants to propagate their cuttings.
Take the parent plant and place it closer to the sunlight which will give it a second chance to grow into a bigger and healthier plant. Here’s how you do this:
1. Locate the New Rosettes
When your parent succulent is growing, you’ll begin to see smaller rosettes pop up next to the parent plant. These are what you’re looking for to cut and remove to form new plants.
Once you see new rosettes popping up, you’ll know you’re ready to propagate. However, be sure you don’t begin snatching or cutting out the rosettes at first sight.
There’s a method to remove them properly. When you’ve located your rosettes, you can move on with the process.
2. Remove the Rosette
Removing the rosettes should be done carefully. You’ll need first to make sure you include the stem of the rosette.
When cutting, be sure to be gentle to keep the plant in one piece. Remove the leaves below the rosette on the stem.
Once the leaves are removed, you can cut the stem back slightly. You’ll need it to be a couple of inches long to ensure it can reach into the soil for one propagation method or water for the other propagation method.
3. Dry the Cutting
Next, you’ll need to allow the cutting to dry for 2-3 days. The areas you’ve cut will look new and tender at the beginning of the drying period.
You’ll know the plants have dried when the areas you’ve cut are dry to the touch and have developed a tough outer layer.
After the cuttings are dry, you have 2 different methods to choose from to complete the propagation process.
Propagate the Cutting in Soil
1. Proper Soil
Fill a tray with succulent or cactus soil and place the cuttings on top of the soil.
When you’ve done this, wait 2-3 weeks. At the end of the waiting period, you should see roots forming and tiny plants forming as well.
2. Water Properly
During the 2-3 week waiting period, you should only water the cuttings when the soil is totally dry. This is to avoid overwatering.
After you see the root systems developing, you should water the cuttings once per week to ensure they receive an adequate amount of water without overwatering the plant.
3. Remove Original Cutting
The final step to this process is to remove the original cutting. As the process continues, the original rosette will die off. When this happens, remove the rosette as gently as possible to avoid disturbing the roots of the new plants.
Also, be sure you don’t place the plants you’re propagating in direct sunlight. If you’d like to replant the cuttings, you can after the root systems have developed.
Now you’ve officially propagated a succulent in soil.
Propagating the Cutting in Water
Your next option for propagating a succulent cutting is to propagate it in water. This method requires fewer supplies to get started with and could be considered easier by many.
When the succulent cutting has dried fully, place it on the edge of a glass of water. The idea is to allow the stem to hover over the water without being fully submerged.
Place the cutting on a sunny window seat and wait. Over the course of a few weeks, you’ll begin to notice roots developing. They’ll stretch towards the water as the root system develop.
When the root system has fully formed, you can either leave the plant in the water or transplant it into a tray or pot with soil by using the method shown above.
Method 2: Propagating Offsets
Transplanting offsets are similar to transplanting cuttings. To begin let’s discuss which plants will produce offsets and what you do with them once they’ve grown offsets.
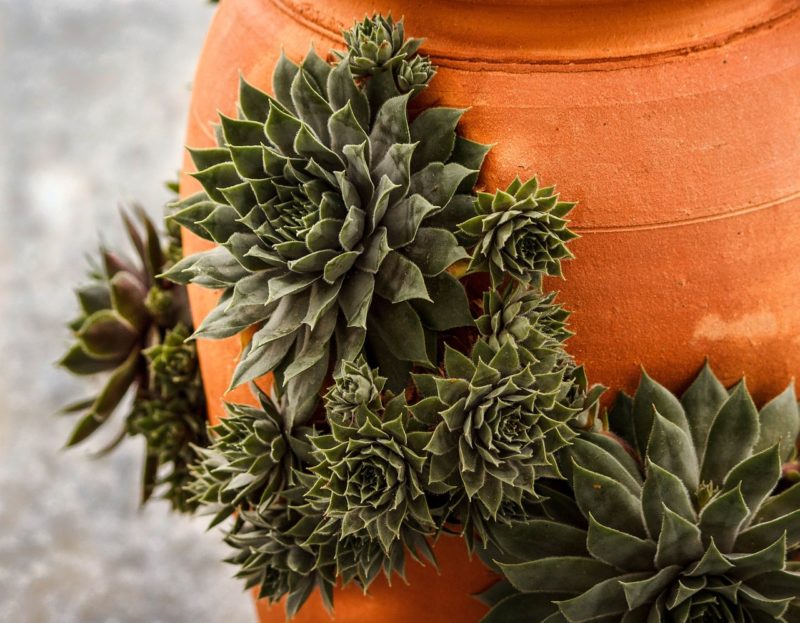
Plants such as aloe, cacti, and hens and chicks produce offsets. Offsets are smaller versions of the parent plant which grow at the base of the plant.
When you see the succulents producing offsets, allow them to grow for approximately 3 weeks. At the end of the 3-week waiting period, check to make sure they have a developed root system.
If they do, remove the offset from the parent plant. You can do this by cutting it loose with a sharp knife or by gently twisting the offset until it releases from the parent plant. The focus is to prevent damage to the roots.
Don’t be afraid to remove the offset because it’s good for the parent succulent. It allows the original plant to put its energy back into its own growth and should be a healthier plant because you removed the offset.
Once the offset is removed, decide whether you want to propagate the plant in soil or water. If you choose soil, follow these steps:
Propagate an Offset in Soil
1. Fill Tray with Proper Soil
Fill a tray with succulent or cactus soil and place the offset on top of the soil in the tray. Wait 2-3 weeks while the root system is forming.
At the end of the 3 weeks, a root system should be developed, and other tiny plants should be in the beginning stages as well.
2. Water Properly
Before the roots form, water the offsets only when the soil is totally dry. This is to avoid overwatering the plants.
However, when the roots have begun to form, be sure to water the offsets once per week. Give them an adequate amount of water without overwatering.
3. Give Adequate Care
Finally, when you see the original offset beginning to die off, remove it carefully from the tray without disturbing the root system.
Remember not to place the offsets in direct sunlight when they’re growing in soil. Once the root system has developed, it’s okay to transplant your offsets into other pots if you desire.
Propagate an Offset in Water
If you don’t have all of the materials to propagate in soil, you have another option. You can propagate your plants in water too. Here’s how:
1. Place on Rim of Glass
When you’ve removed the offset from the parent succulent, place it on the rim of a glass of water. Again, the idea is for the offset to be hovering over the water and not be fully submerged in it.
2. Give it Sun
Be sure to place the glass of water with the offset in a sunny location in your home. The plant will flourish and begin producing its own root system.
3. Let it Grow
Finally, wait for the offset to grow. You will see roots forming and heading towards the water. When this happens, you can leave the offset in the glass of water to continue growing, or you can transplant it into a pot or a tray of soil.
In most cases with offsets, I’d personally recommend transplanting them for the best growth. You could find your experience to be different which is why it’s a good thing to experiment with different growth methods with your plants.
As you can see, propagating succulent plants isn’t difficult. You need to decide which method you’d prefer, determine what type of succulents you’d like to propagate, and follow the steps.
Not to mention, propagating your succulents can save you money in raising more houseplants, or it could even be a nice side business to boost your income.
You now know multiple ways to propagate your succulents, and we sincerely hope you’ll find great success in the process.


