Just about every one of us has heard how probiotics improve our gut health. But did you know that probiotic gardening can improve your plant’s health?
Now, before you tip your yogurt around your plants, stop. The concept is similar, but there are many differences between your gut probiotics and this gardening technique.
If you are conscious of chemicals, toxic runoff, and synthetic plant food, probiotic gardening may be for you.
Once you get into probiotic gardening, you will be glad you did. Why? Because the improved health and yield of your garden will impress you.
What is Probiotic Gardening?
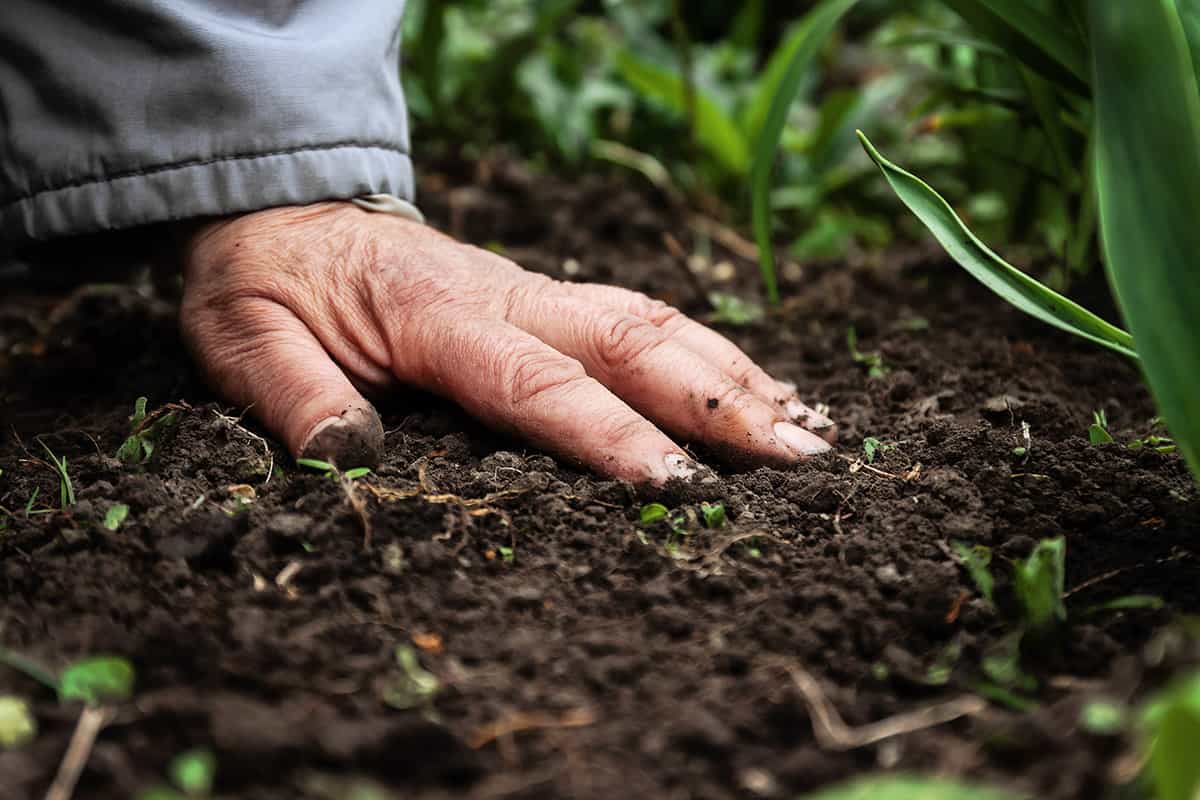
In short, probiotic gardening is all about nurturing your soil to encourage the highest quality minerals, nutrients, microbes, and bacteria.
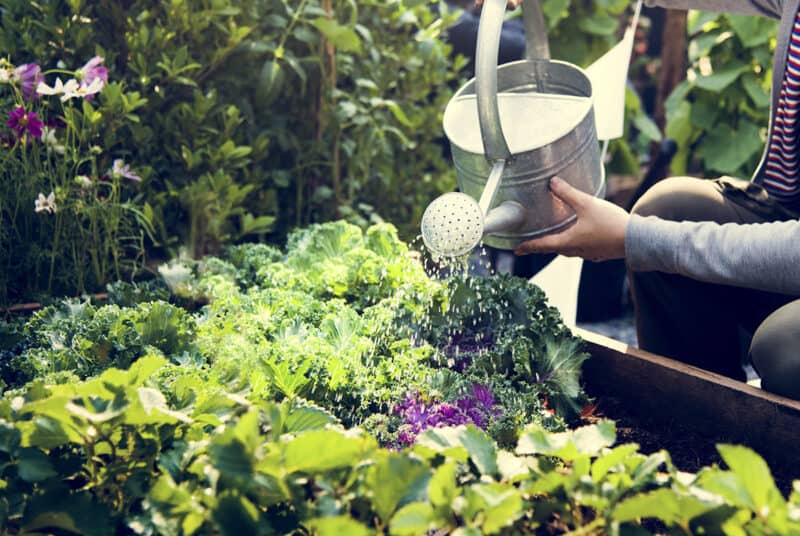
Healthy soil helps create strong, robust plants that grow fast with a high yield. Healthy, strong plants are better able to resist pests and diseases naturally.
A probiotic garden has several layers of healthy microbes, minerals, and nutrients, and they all work together to keep the soil in optimal condition.
At its most basic, probiotic gardening is adding beneficial bacteria and then nurturing the soil to help them spread and thrive.
Benefits of Probiotic Gardening
Of course, improving soil health isn’t a guarantee that your plants will be better off, but it’s a pretty safe bet. Here are some of the benefits you might see:
- Faster plant growth: Plants provided with all the nutrients they need produce a higher yield and for longer.
- Less pest and disease problems: Ever notice how more of your plants that are struggling tend to end up diseased and attacked by pests? This is because they lose their vigor and ability to fight.
- Safer and better for the environment: You can eliminate those nasty chemicals and toxins when your garden receives all it needs naturally.
- Natural and fun: I’m always energized in the garden when I can use natural techniques, and learning new techniques is fun for the whole family. It’s all about using what nature provides, not synthetic manmade chemicals.
Just like our gut, the plants and soil need different microbes for various functions. Most bacteria and microbes have a specific function and work tirelessly to do it. They work to :
- Increase nitrogen uptake
- Increase root size
- Enter the roots for plant health
- Enter the entire plant for vigor
- Influence the uptake of sugars
- Influence the uptake of water
- Assist the plant in producing its own beneficial hormones
- Increase the efficiency of nutrient uptake
As you can see, having a healthy colony of beneficial microbes and bacteria keeps the plants and soil in tip-top condition. This can only improve plant condition and yield.
Probiotic Gardening Mixtures
The first step is to innoculate your soil with beneficial bacteria and microbes.
This first method uses the soil bacteria and microbes already present in your property. It just requires a little physical labor to get to it, but it’s worth it.

Molasses and Soil Mixture
Here’s what you need to get started.
- Posthole borer
- Molasses (must be sulfur-free)
- Filtered water (rainwater or any non-chlorinated water will do)
- 1 Gallon container (I prefer glass)
Steps
- Wait until the soil temperature is at least 60°F or more. This will ensure the good bacteria you find will be plentiful and healthy.
- Dig a hole three feet deep with the post hole borer.
- As you dig, take a sample of the soil every six inches or so. You will only need a cup of soil. Place this in a clean wheelbarrow or container. Mix the samples well.
- Put two cups of hand-hot water into your clean container.
- Add about two and a half ounces of molasses into the container with the water.
- Fill the container halfway with the filtered water.
- Making sure your soil samples are well mixed, add one cup to the container.
- Shake or stir well. Make sure the dirt is well mixed into the water.
- Fill the container the rest of the way with filtered water. Leave a space of about two inches at the top.
- Store the mixture in a warm but not hot space. Keep out of direct sunlight. Keep an eye on the foaming. This is the bacteria working their magic.
- At about 90ºF, the mixture will be ready to use in about one to two weeks.
- The foaming needs to have stopped, or be just about complete.
- If you have a pH testing kit, you want the pH to be about 3.5 to 4.0.
To use, mix one part mixture to 20 parts water. Add to a foliar sprayer and spray directly on the plant foliage, stems, and any exposed roots. Spray directly on the soil as well.
This version makes a big batch and you can retain your soil samples to make more later if you need to.
Premade Probiotic Method
This method is similar to the soil method, but you need to buy the probiotic from your local supplier. It’s easier because you aren’t digging down three feet and collecting samples.
This store-bought probiotic comes in a capsule form or as a premade powder. One benefit of this method is the probiotic is already made, balanced, and in easy-to-use powdered form.
- Two mason jars with rings and lids.
- 1/2 cup of sulfur-free molasses (1/4 cup for each jar).
- Store-bought garden-specific probiotics (see the manufactures instruction on how much to use).
Steps
- Put molasses to both jars.
- Add the probiotics (remember to follow the instructions from the manufacturer).
- Add lukewarm water to the jars to about 1/4 to 1/2 inch from the top.
- Seal with the lid and ring and shake gently, but well.
- Place in a warm environment (about 90ºF), and in a week, the foaming should have started and settled on the bottom.
- This version should be used straight away or refrigerated until use.
You can keep adding to this mixture to create more probiotic goodness for the garden.
When the jars get 1/2 empty, add another 1/4 cup of molasses and refill with water. The microbes will still be insufficient in number and will increase with the added molasses and water.
To use, mix one part mixture to 10 parts water. Spray on the foliage, stems, roots, and surrounding soil.
Tips to Enhance Probiotic Gardening
The job doesn’t end just because you added the probiotics. Instead, there are a few more steps to ensure that they can expand and multiple in your soil.
First, practice no-till gardening. You should also be sure to rotate your crops and consider using cover crops in the off-season.
Finally, be sure to work in plenty of compost to your soil each year.
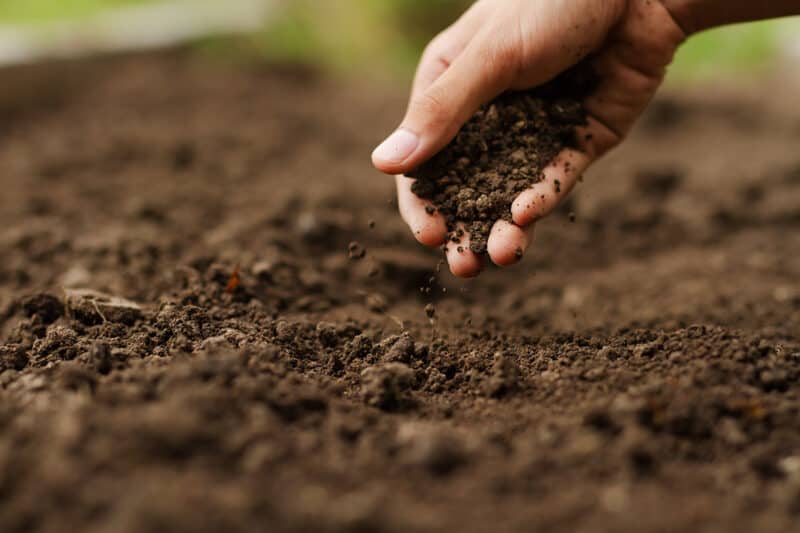
If you use compost, you’re already using microbes in your garden. Adding well-made compost will improve your probiotic gardening techniques.
I’ve found that the best way to use compost in a probiotic garden is to dig in well-rotted compost when you prepare the bed for planting.
Once you start spraying the probiotic sprays on the plants and soil, add a layer of compost about two inches deep.
Continue to spray the probiotic mixture every two to four weeks. This will depend on the growth you see, the types of plants, and the mixture you are using.
Wash your produce when you harvest as you always have.
Make sure you provide water to your plants as normal as well. Alternate your watering and spraying because you don’t want to wash the probiotic spray off the plants. Give it a day or two to be absorbed.
Try to water the base of the plant and soil, not the foliage.
Don’t spray the probiotic mixture in the heat of the day. Spray morning or evening.
Test the Difference
If you’re not convinced about probiotic gardening and its benefits, try an experiment in your garden.
If you have two areas, implement probiotic gardening in one and continue your traditional methods in the other. This way you will see the difference the bacteria make in the health of your plants and the yield at harvest time.
Use the same plants in both gardens and let us know how you get on.
