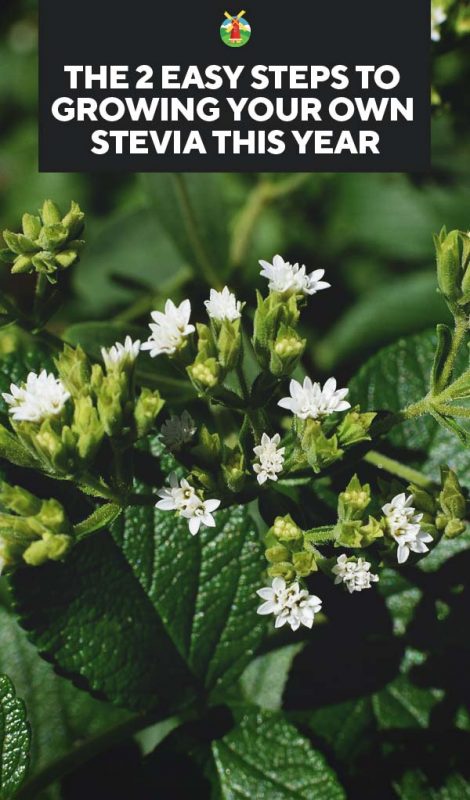
Looking for a sugar replacement that you can grow in your own garden? You should be growing stevia.
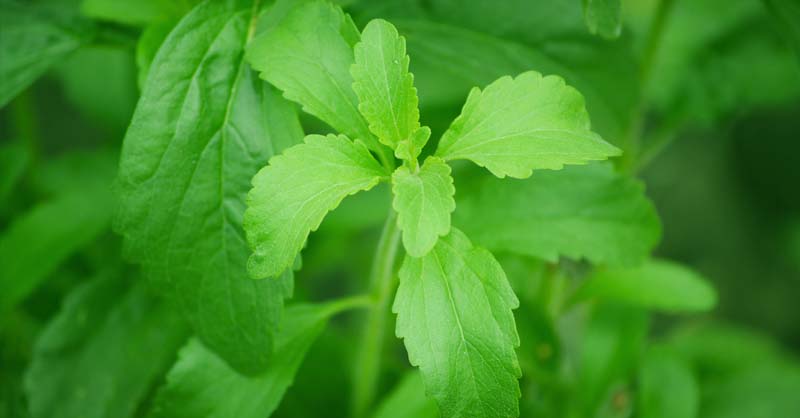
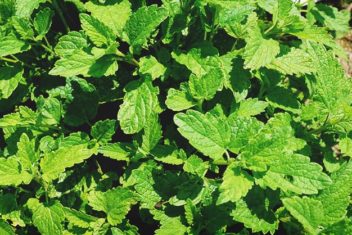
Stevia is a herb that is used as a natural and low-calorie sweetener. It’s great for people with diabetes who need to avoid sugar or those who just don’t want the extra calories.
But how do you grow stevia? Are there particular things you should know before planting? I’m going to answer all of those questions right here.
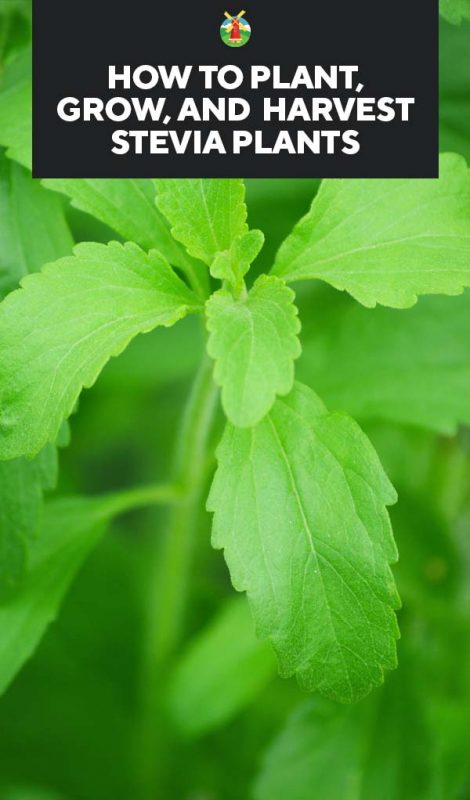
What is Stevia?
Stevia is a perennial, which means it will come back year after year. However, the leaves stop producing quite as much after year two. This is why many recommend that you replant every two years.
Stevia doesn’t have lots of different varieties, like some plants. Some nurseries sell stevia simply as Stevia rebaudiana. Other places will sell it as Candy Stevia, Sugar Leaf Stevia, and Stevia Sweet Leaf.
Either way, it is all the same plant and is said to be 20-30 times sweeter than regular table sugar.
How to Grow Stevia
Stevia is such a simple plant to grow. You can buy it online or at a local garden center. You can also start stevia from seed in late winter.
Either way, stevia is ready to plant outdoors after the danger of the last frost has passed.
Where to Grow Stevia
The first thing that you need to do is decide where to grow stevia in your garden. This is a plant that loves sunlight, so you have to select an area that gets full sunlight. That means it needs 6-8 hours of sunlight each day, but more is preferred if possible.
If you live in an area that has extremely hot summers, it can be beneficial to plant stevia somewhere that has afternoon shade. That’s the only exception to the full sunlight requirement.
The Right Soil
Next, you have to think about the soil for stevia. It needs to be well-draining with a pH range of 6.2 to 7.2.
Stevia does well in loose, loamy soil. You should add compost to the soil to increase the drainage as well as to increase the nutrient content before planting. It’s best to add compost 2-3 weeks before planting.
When to Plant Stevia
An important fact to know about stevia is that it doesn’t like frost – at all. You have to wait until all possibilities of frost are gone in order to plant this outside. Otherwise, you risk killing your plant overnight, and no one wants to do that.
Start Stevia Seeds Inside
Unless you find a stevia plant at your local garden nursery, you’ll need to start the seeds indoors in the later winter to transplant the seedlings in the spring outside. Another option is to grow it from root cuttings if you have access to those.
Be aware that germinating stevia seeds can be a bit troublesome, so be sure to keep the seeds under bright lights. Plant lots of seeds to ensure that a few will be viable.
Transplanting Stevia Outside
When you’re ready to plant stevia outside, make sure that you keep 18 inches between each plant. Otherwise, you’ll decrease air circulation and increase the risk of diseases.
Harden seedlings off for a week before putting in the garden.
Dig a hole the size of the pot in which the stevia seedling is growing. Place the herb into the hole, cover with soil, and water deeply.
Growing Stevia in Containers
If you don’t have garden space to grow stevia, you can still grow it in containers. You need to make sure that you use a 12-inch pot with a good quality potting mix as well.
You can typically grow 1-2 plants per pot, especially if you have a larger container.
Caring for Stevia
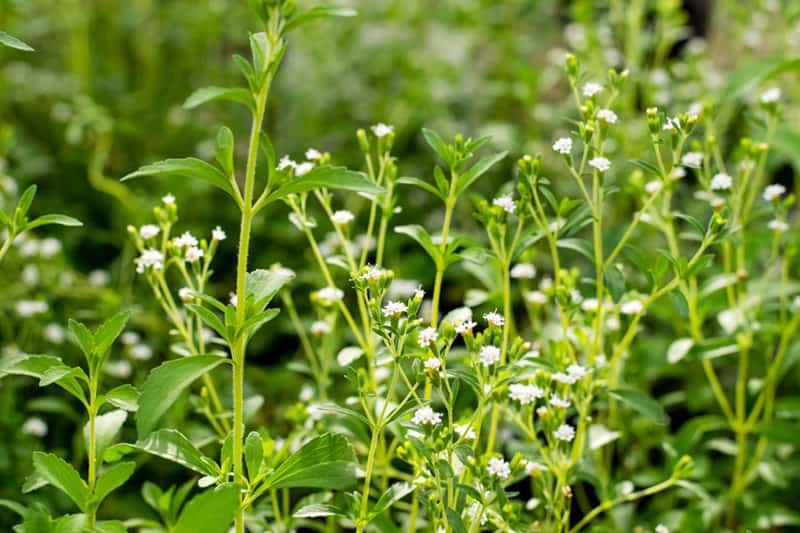
Your plants are in the ground (or container), and now you have to take care of the plant until it’s time to harvest. Here’s everything about caring for stevia plants.
How Often to Water Stevia Plants
You do need to water your plants regularly. While stevia doesn’t like soggy ground or standing water, they don’t like dry soil either.
So, put your finger into your soil to find out if the top one inch of soil is dry. If so, then it’s time to water your plant. If not, check again the next day.
One thing note is that the leaves wilt easily on stevia plants especially when the soil is dry. The good news is that the plant perks up fast once you give it a drink of water. However, wilting does apply stress to the plant, so avoid it as much as possible.
Fertilization Needs of Stevia
Stevia needs to be fed regularly, ideally with water-soluble plant food. Fertilizing your stevia plants encourages better and healthier leaf production.
Mulching Around Stevia
It’s always a smart idea to mulch around stevia plants. Mulching helps to prevent the soil from drying out on hot summer days.
Another benefit of mulching is that it helps to regulate the soil temperature. In the hot days, it keeps the soil cooler but keeps the soil warmer during the cooler days.
Don’t forget that mulch also suppresses weeds, and no one likes to deal with weeds.
Pruning Is A Smart Idea
You don’t HAVE to prune stevia, but it grows better and will maximize leaf production if you do.
Trim back the plant several times to encourage branching. The first trimming should be when the plant is around 8 inches tall. Then, do it again in the early summer.
Don’t just toss out those trimmings! You can root them in potting soil to grow more stevia plants.
Overwinter Stevia
If you live in USDA hardiness zones 8 or higher, stevia is considered a winter hardy plant, and it grows as a perennial with a winter mulch.
If you don’t live in one of these warmer zones, you can grow and prepare healthy parent plants to overwinter indoors and plant outside in the spring.
To do that, pick a 1-year-old plant. Cut it back to 6 inches tall. If they’re in containers, move the plants to a warm, sunny location or a heated greenhouse.
In the spring, new growth starts to appear, and you can cut off new stems and root them in the seed starting mix.
Common Problems and Solutions to Growing Stevia
When people grow stevia, they usually run into one of two problems. These are what they see:
Stevia Dies Due to Frost
If you live in a colder climate, don’t be surprised if your stevia gets chilled to the bone and dies off completely. This happens sometimes.
That’s why we recommend bringing the plant in to overwinter it, or to cover it from frost until the plant falls dormant.
Then, it will hopefully come back next year. If not, then plant stevia as an annual. You can start it from seed every year to help curb the cost.
Stevia Dies Due to Soggy Soil
It is essential that stevia is planted where the soil is well-drained. The reason is that too much water will rot the roots of the plant.
If this happens, your plant will die. It is important you use a quality soil that is loose and well-drained to prevent this from happening.
Pests and Diseases
Stevia doesn’t suffer from too many diseases or pests, but there are a few that you should remember.
Alternaria Leaf Spot
This disease causes reddish, round, small spots with white or grey centers on the leaves and midrib. Sometimes, the lesions encircle the stems, causing the plant to wilt. It gets worse in warm or humid weather.
Make sure that you don’t get water on the foliage and always remove infected plant parts. Keep the plants apart for air circulation.
Botrytis
This is a nasty fungus that leads to grey mold forming on the stems, leaves, flowers, and all parts f the plan. It loves cool, wet weather conditions.
If you notice this fungus developing, remove all affected parts of the plant and don’t water at night.
Damping Off
This is one of the most common problems when you start the plants from seeds. At first, the seedlings look healthy, but then they wilt all of a sudden. Damping-off is a fungus that typically appears when the soil is to wet or you have too much nitrogen in your soil.
It’s vital that you keep seedlings moist but avoid overwatering. Never over-fertilize your seedlings and quickly thin the seedlings to avoid overcrowding. Also, wash containers before you reuse them, and add a bit of bleach o the containers to kill the remaining fungus.
Aphids
Aphids are tiny little insects that can be red, black, green, yellow, brown, gray, or peach scored. They suck on the leaves, typically clinging to the underside of the leaves. Then, they leave a sticky residue that attracts ants.
You can knock aphids off of the leaves with a jet of water from your hose. Another option is to use insecticidal soap on the leaves.
Slugs
Chances are you know what slugs look like! They leave big holes in the foliage or eat the entire leaf. You’ll find slime trails in the morning; slugs are more active, eating at night.
At night, go into your garden and try to handpick them off of your plant. Try attracting them to traps made of either cornmeal or beer.
Best and Worst Companion Plants
Every plant has other plants that it does better when planted alongside and some that they don’t do so well with.
Plants that stevia works the best with are marjoram and thyme. They form mounds when producing which is why stevia works well.
How to Harvest and Store Stevia
The best time to harvest stevia is in the fall because the leaves are the sweetest in the cooler temperatures. The leaves also taste better before blooming.
Between September and October, it’s time to harvest the entire plant when the flower buds appear but aren’t quite open yet. The best time is to harvest is in the morning because the plant has a high sugar content
It’s important that you don’t let those flowers open. As soon as more than 3-4 flowers open, the entire taste of the leaves change and they quickly lose their sweetness.
Your plant will continue to grow throughout the summer and fall, so continue to cut and use it. You can also dry it. Cut the whole stems, wash them, and hang them to dry.
Another option is to put them on a non-metal screening outside to dry on a sunny day. Typically, they dry in one day. If you have a food dehydrator, you can use one of those as well.
Once dried and crisp, you can crush the leaves by hand or use a food processor to grind into a powder form. Homegrown stevia powder should be stored in an airtight container.
How to Utilize Stevia
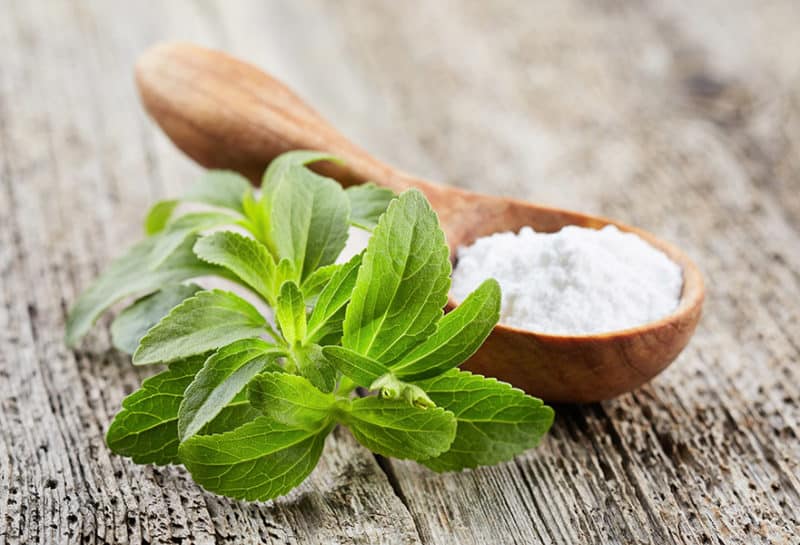
Once you grow stevia, you have to know how to turn it into a usable product. Yes, you can put the ground up leaves into your beverages as is to sweeten.
But wouldn’t you like to know of a few other ways you can turn those stevia leaves into something useful?
Here they are:
Stevia Simple Syrup
When I can fruit, the recipes often call for a simple syrup. I am also someone that tries to avoid a lot of sugar because of the extra calories.
In this case, a simple stevia syrup could come in handy. It helps that the process to make it is straightforward. You just boil stevia leaves in water until it thickens.
Then you utilize the syrup. Overall, it takes about five minutes and cuts a lot of calories.
Sugar-Free Ice Cream with Stevia
Do you love ice cream, but don’t like the pounds it packs on? Maybe you have diabetes and have to watch your sugar intake?
Well, either way, this recipe is a delicious and easy recipe to make ice cream. It uses stevia in the place of sugar.
Easy and Cheap Stevia Extract
Do you like to use stevia extract instead of using it in powder form? If you aren’t sure how to go about doing that, then you need to follow this tutorial.
It’s a cheap option for making your own stevia extract, and uses easy-to-find ingredients.
